

Tuck a folded gum wrapper heart into your partner’s pocket or lunch bag and you’ve turned a two-cent piece of foil into the kind of tiny surprise that makes someone smile all day. It only takes a few folds, using the wrapper you were about to throw away anyway.
This is the love note I fold when I don’t have a card handy: an empty gum wrapper, flattened out and refolded into a heart in under five minutes, no scissors or glue. It’s part of our Origami Hearts and Gifts collection, and the same five-minute trick works with a sticky note if you’d rather fold with paper that’s already on your desk.
It costs nothing beyond the piece of gum you already unwrapped, and it’s sturdy enough to tuck into a card or clip onto a gift bag. A handful of them lined up on a card front makes a quick, no-glue Valentine’s decoration too.
Gum Wrapper Heart at a Glance
- Difficulty: Beginner
- Time: 5 minutes
- Cost: Free (just the wrapper you already have)
- Ages: 6+, with an adult’s help on the tighter folds
- Best for: Valentine’s cards and pocket-sized love notes

What You Need to Fold a Gum Wrapper Heart
Materials
- 1 rectangular gum wrapper, close to a 2:1 ratio. Square wrappers, the kind some brands use, won’t hold this fold, so check the shape before you start.
Tools
None. This is a no-tool fold, just your hands and a flat surface to press the creases.
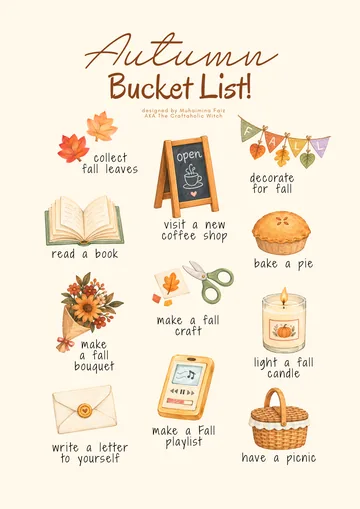
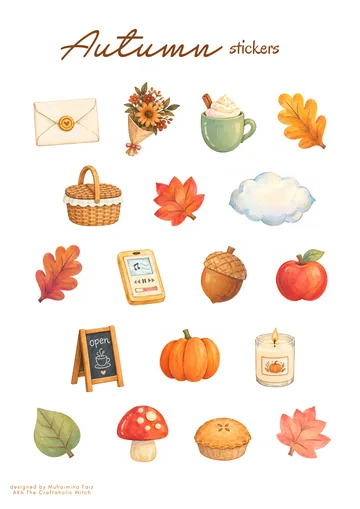
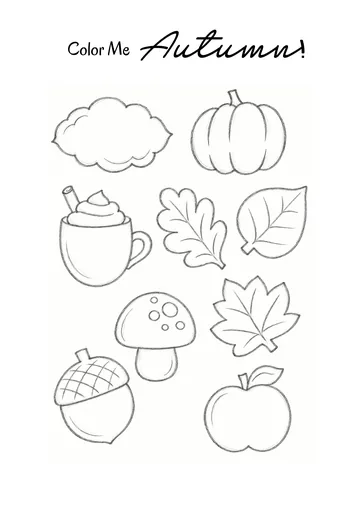
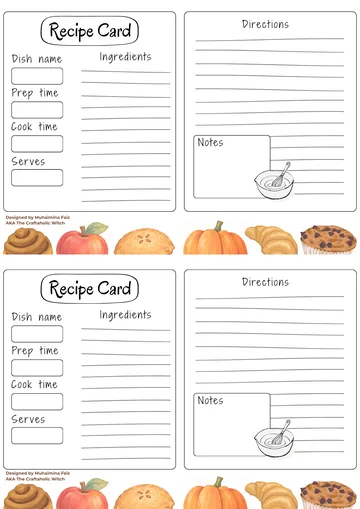
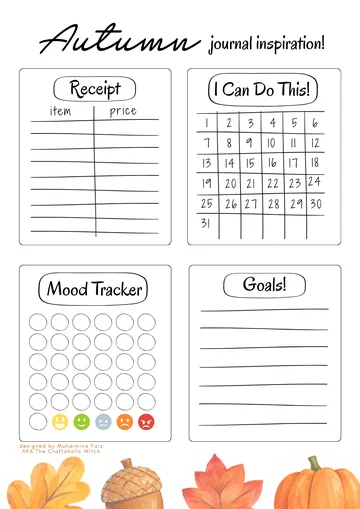
Free Autumn Bucket List + Printable Journal Pack
Everything you need for a cozy autumn, ready to print at home. Join the community for free and download it in one click.
- 13-page printable PDF
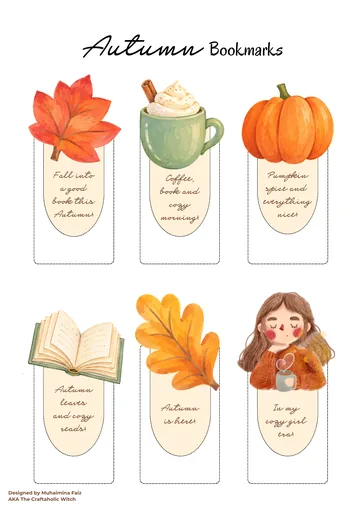
- 18 stickers and 6 bookmarks
- Journal pages and recipe cards
- Phone and computer wallpapers
Watch How to Fold a Gum Wrapper Heart
This video walks through three folding patterns for a gum wrapper heart, including the version in the steps below.
Step-by-Step Instructions to Fold a Gum Wrapper Heart
Step 1: Fold the Wide Side In Along Its Crease

Flatten your gum wrapper on a flat surface with the silver or finished side facing down. Use the crease already pressed into the wrapper as your fold line, and fold in the wide side first, pressing it flat.
Step 2: Fold the Narrow Side In

Fold in the narrow side the same way, using its own crease, so the wrapper is refolded almost exactly how it came off the gum stick. Two short edges stay open at this point, which is normal and sets up the next fold.
Step 3: Fold Up the Right Half to the Center Crease

Unfold the half-fold you just made. Take the right half of the pattern and fold it up so its lower edge lines up with the middle crease running down the center.
Step 4: Fold Up the Left Half and Flip the Pattern Over

Do the same with the left half, folding it up to meet that same middle crease. Once both sides sit flush against each other, flip the whole pattern over to the other side.
Step 5: Fold the Top-Right Flap in Half

Look at the extra paper sticking up along the top edge and start with the right side. Fold that extra flap in half, then fold its outer corner in toward the center. You’re building the rounded top of the heart, so this fold should start to look like a small triangle.
Step 6: Tuck In the Top-Right Corners

Fold the flap’s other corner in the same way, then tuck the top corner and the outer edge slightly inward. This is the fussiest fold in the whole project, so go slow if the paper starts to bunch under your thumb.
Step 7: Fold the Top-Left Flap to Finish the Heart

Repeat the same two folds on the left side to finish rounding out the heart, then flip the whole thing over. What was just a stack of creases a minute ago is now a heart you can hold up and hand to someone.
Share it in "I Made It" and let us cheer you on.
Post your finished make in "I Made It" so the community can celebrate it with you. Cheer on other makers too. Each month, the most loved craft wins 1 year of Craftaholic Premium ($59)
Tips for Folding a Gum Wrapper Heart
- Stick to rectangular wrappers close to a 2:1 ratio. Square wrappers won’t hold this fold.
- Line up every base fold with the wrapper’s existing creases so the heart sits flat instead of puckering.
- No real gum wrapper on hand? Colored craft paper or scrapbook paper cut to the same rectangle works just as well.
Frequently Asked Questions
Can I use a Starburst wrapper instead of a gum wrapper?
Yes, as long as it’s a rectangular wrapper close to a 2:1 ratio. A square Starburst wrapper won’t fold into this pattern the same way, and the crease lines will land in slightly different spots than a gum wrapper, so fold your own crease lines rather than hunting for existing ones.
How long does it take to fold a gum wrapper heart?
About five minutes once you know the folds, less after you’ve made a few. The top-right and top-left corners in steps 5 through 7 are the fiddliest part, so budget a little extra time on your first try.
Why does my gum wrapper heart look lopsided?
It’s almost always an uneven middle crease from steps 3 and 4. If the right and left halves don’t line up exactly against the center fold, the top corners in steps 5 through 7 end up mismatched too. Unfold back to the half-fold and realign both sides before redoing the corner folds.
Is this safe for kids to make?
Yes. Younger kids can flatten and fold the first few steps on their own, though the tight corner folds in steps 5 and 6 usually need an adult’s hands to get crisp. There’s no glue, no scissors, and no small parts, so it’s a low-risk project to make together.
What can I do with a gum wrapper heart once it’s folded?
Tuck it into a card, clip it to a gift bag, or leave it somewhere your person will find it as a tiny surprise. A few of them glued to a card front also make a quick, no-cost Valentine’s decoration.
More Origami Tutorials
Enjoyed this quick fold? Explore our full origami tutorials collection for more paper projects, or start with a few more heart-shaped ideas:
- Three more ways to fold an origami heart
- An origami heart box for small gifts
- These no-glue origami boxes
Share your gum wrapper heart in the I Made It space inside Craftaholic Community. The most-loved post each month wins a one year free Premium membership.
2 Comments
thank you for the steps this is awesome i love it lol
Very happy to know that! Thank you!
Join the conversation
Log in to your Craftaholic Community account to comment, ask questions, and cheer on fellow makers.
Log in to comment