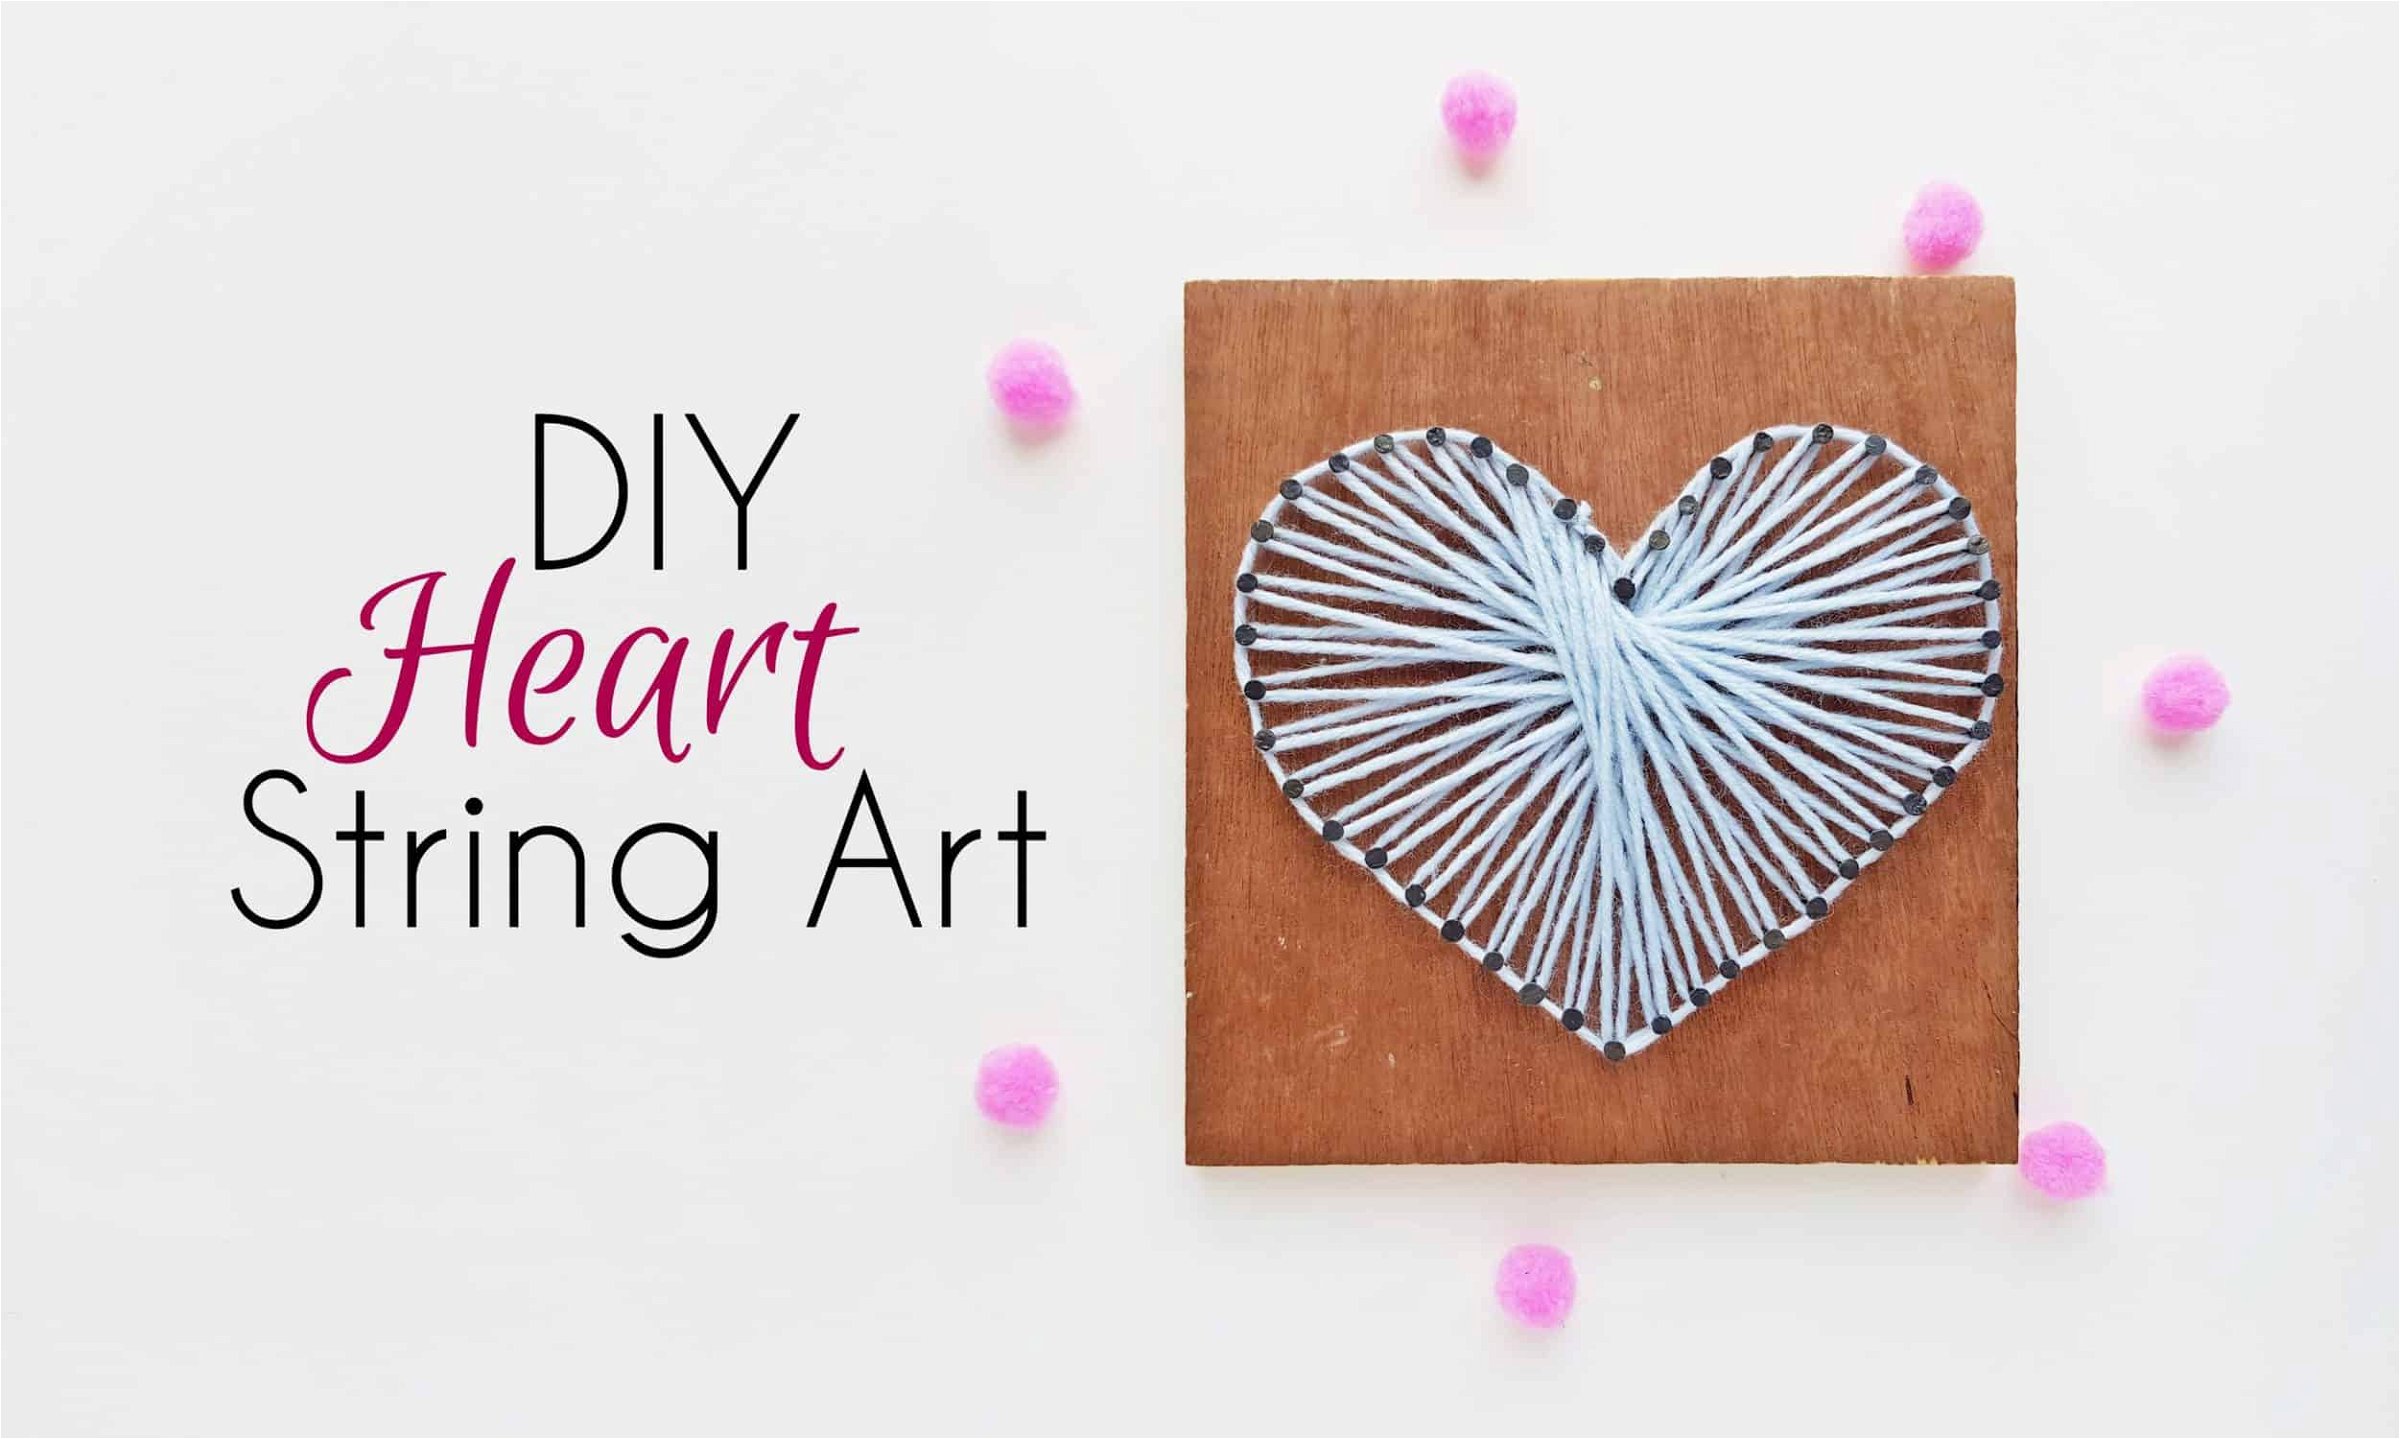
Easy DIY Heart String Art for Beginners (+ Free Template)

Whether you’re looking for a cute gift for a loved one or something to decorate an empty wall, this DIY heart string art can do both! Handmade gifts are the best, undoubtedly and this heart string art is so easy to make and the whole making process is quite therapeutic!
This DIY string art heart project is designed for beginners. Anyone can carry out this project even without knowing much about string art. So, it can be a great start if you ate new to this world. Plus, It can be a great valentine’s day decoration or gift.
There are many ways to make string art and you can illustrate thousands of things using this. We chose heart because it is one of the most elegant things to do without much effort. Plus, you can make a heart with just a handful of supplies. Speaking of which, some artists don’t prefer nails and boards to make their string art. But we are using it to stabilize the heart and simplify the process. Well then, let’s gather the supplies and jump into the project.
Things You’ll Need
Supplies
- Wooden board
- Yarn
- Scissors
- Hammer
- Pencil
- Nails
Free Template
You will need a string art heart template to complete this project. Well, we have created a template for you and you can download it for free. Scroll to the end of this tutorial and download the free heart template.
How to Make a String Art Heart
Step 1: Tracing Heart Shape with Nails
To create this DIY heart string art you can download our free heart template and print it out. Prepare a piece of wooden board into a square shape. The printed heart size should be relatively smaller than the wooden board size, making sure it fits inside the board nicely. Trace the heart pattern on the board. Grab some nails and a hammer; start hammering the nails along the traced heart pattern on the board, keeping a cm gap between every 2 nails.
Step 2: Tying the String
At first, I was going to use pink-colored yarn but in the end, decided to go for a blue yarn. Tie a knot with the yarn around the nail right at the top end of the heart pattern.
Step 3: Getting Started with String the Art Part!
Draw the open end of the yarn towards the opposite nail and then draw the yarn to the next nail (of the opposite nail). Draw the yarn from the outer side of the nailed heart.
Step 4: String Wrapping
Now draw the nail to the opposite nail of the current nail and similarly, draw the yarn from the outer side, around the next nail.
Step 5: Create a Pattern Sequence
Keep repeating this process clockwise. Or if you want to go anti-clock-wise, you’ll have to do it from the very beginning.
Step 6: Continue the String Wrapping
If you notice that the wrapped yarns are being pulled upwards, firmly press them downwards. Make sure to keep the wrapping nice and tight; a loose wrapping will ruin the craft.
Step 7: Fill the Heart Pattern
You can stop wrapping once the yarn reaches near the first nail.
Step 8: Tying the Closure Knot
Tie a tight knot with the yarn around the last nail.
Step 9: Cutting off Extra String
Cut off extra yarn carefully after tying the knot. You can apply a drop of the on the knot just to make it a little extra secure.
Attach a hanging mechanism at the backside of the board to complete the string art wall decor.
Free Printable Heart String Art Heart Template
We’ve made a heart string art template for you guys, and the best part is, it’s completely free. Now download the printable template and jump on the project.
If you make this DIY heart string art, please do share a picture with us, we’d love to see how yours turn out! (You can share your picture with hashtag #craftaholicwitch or just DM your picture to us on Instagram. )
happy Crafting!


