Easy DIY Clay Jewelry Dish (No Special Pottery Tools Needed)
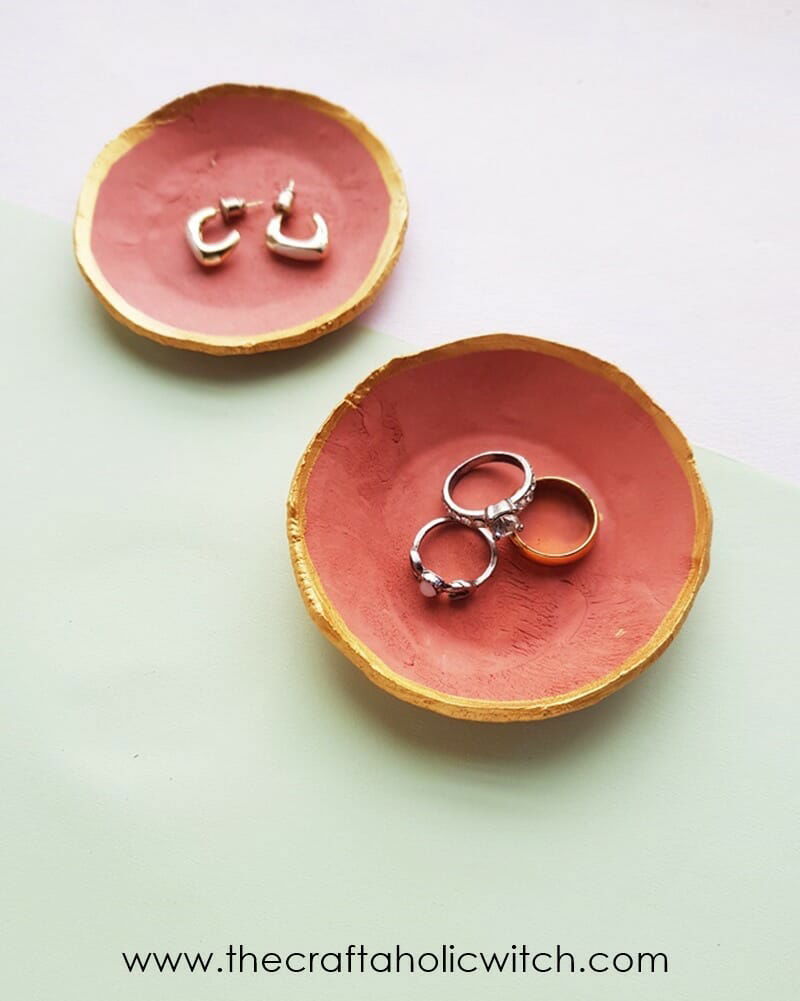
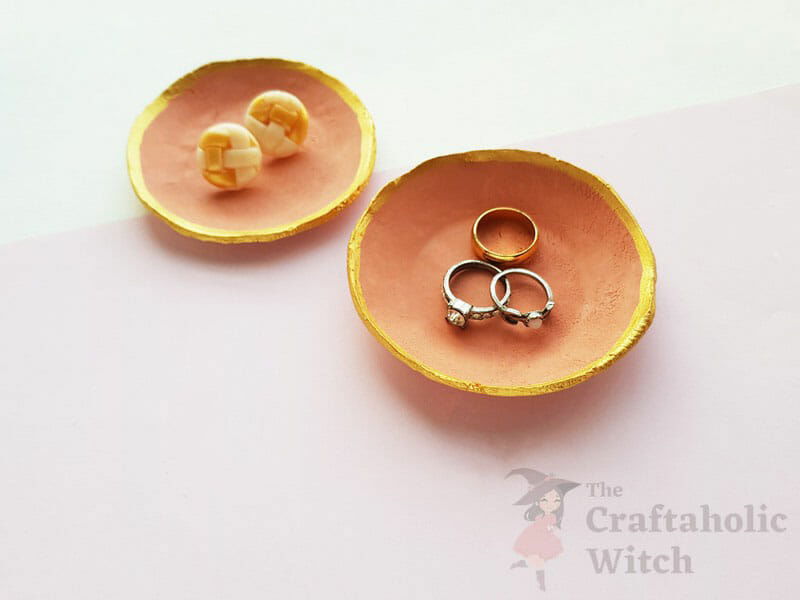
In this DIY Jewelry Dish tutorial, you will learn how to make simple yet beautiful jewelry dishes or bowls, or trays that you can use for keeping things like rings, earrings, nose pins, or any small accessories.
Hello there, we’re here today with a really fun clay craft project, a DIY clay jewelry dish. You’d be surprised to know how easily you can craft a clay jewelry dish even without the basic clay tools. Clay jewelry dishes are perfect for gifts, for keeping small accessories or jewelry pieces safe, or for keeping your vanity table clutter-free. The clay jewelry dish crafting technique that we’ll share is so easy, quick, and therapeutic that you’ll love crafting more!
If you want to use air hardening clay or air dry clay as we did, you can purchase a 2.2 LB (around 1000 grams) air hardening clay for $10; and craft up to 10 small (10 cm diameter) clay jewelry dishes. The cost would be somewhat the same for polymer clay as well. In case you decide to use clay craft tools, you can purchase a starter kit for $25. But if you’re not planning to make clay crafts regularly, we would suggest you purchase the clay only and use alternative tools from around your house. For our air dry clay jewelry dish, we also used alternative clay tools from around the house, check out the list of supplies to know more.
Things You’ll Need
[Some of these links are affiliate. If you click and buy, I may receive a small commission (at zero cost to you)]
Materials
Tools
- Clay rolling board
- Clay rolling pin
- Clay cutter (round)
- X-acto knife
- Small bowl
- Paintbrush
Alternative materials and tools
You can use polymer clay or air hardening clay, whichever is available or easy to get from your end.
As for the tools, I didn’t have the basic clay/pottery tools so I used things from around my house. I used a plain drinking glass as a rolling pin, used cake icing nozzle as a clay cutter, and the backside of my cutting mat as a rolling board.
How to Make Clay Jewelry Dish/Tray
Step 1: Shaping the Clay Ball
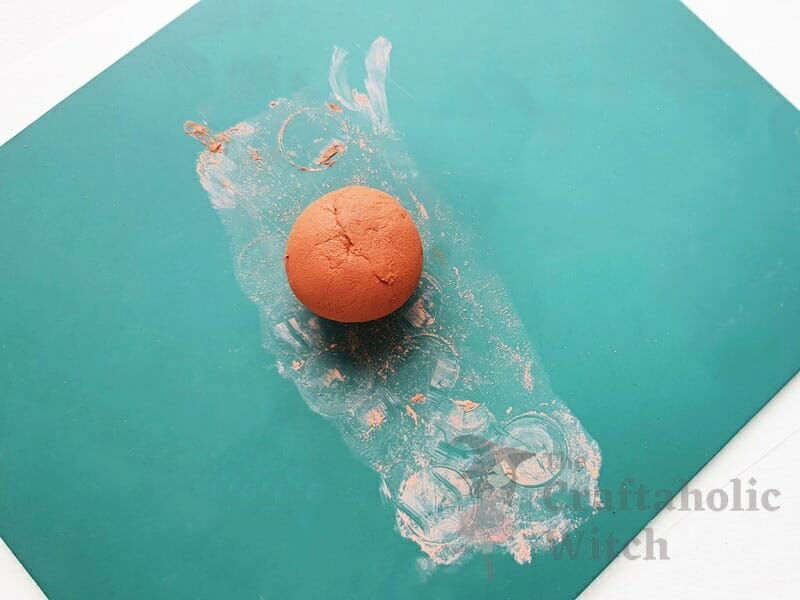
Carefully open the clay packet from any one end, do not rip off the entire packet. Use a sharp knife or x-acto knife to cut a 1.5 cm slice of clay from the clay bar. Knead the clay slice with both hands by pressing it against your palm. Try to form a round ball shape with the clay. Use a flat, nonsticky surface for this craft. We’re using the backside of a paper cutting mat.
Step 2: \Flattening the Clay Ball
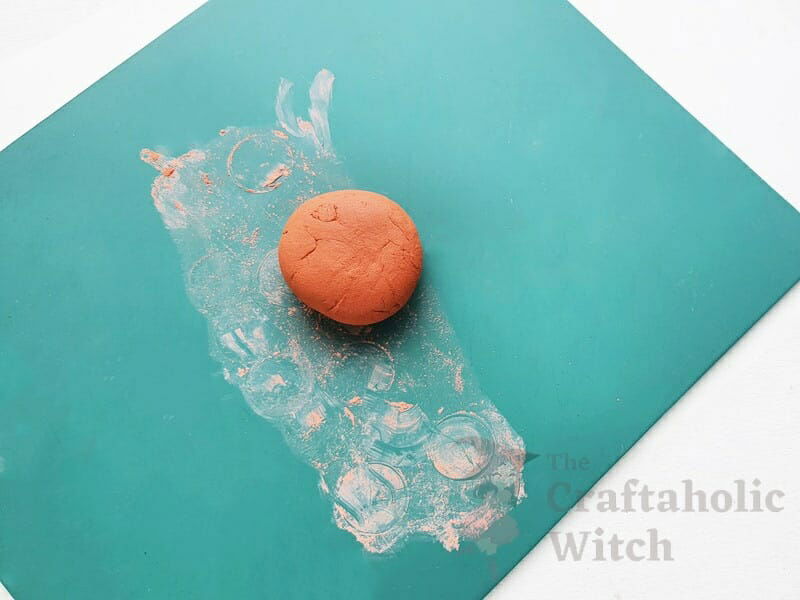
Press the clay ball against the mat with the palm of your hand to flatten it.
Step 3: Rolling the Clay Ball
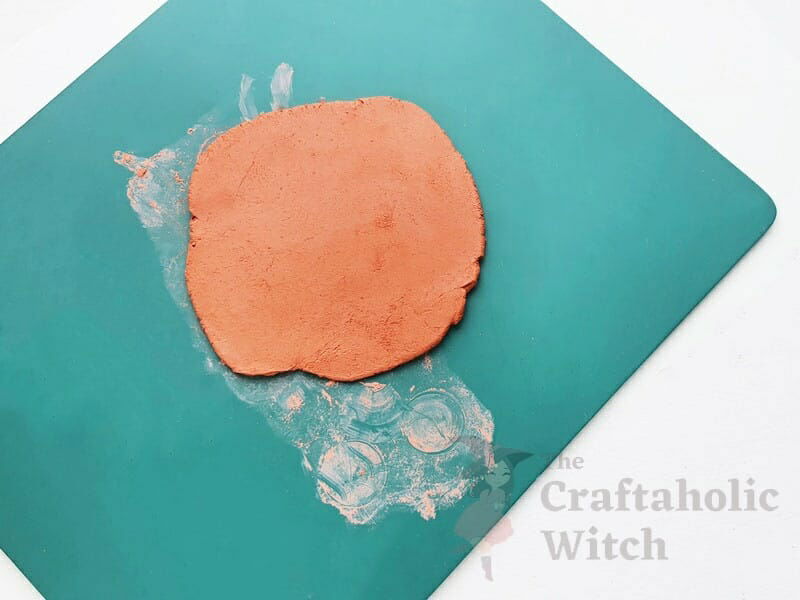
As we did not have a clay rolling pin, we used a plain drinking glass as an alternative rolling pin and it worked quite well. Roll the clay until it’s nicely and evenly flat and around .25 cm thin.
Step 4: Select a Small Bowl
You can select any small bowl from your house to use as a mold, just make sure that it is smooth on the outer surface. Place the small bowl on a surface with its outer bottom surface facing upwards.
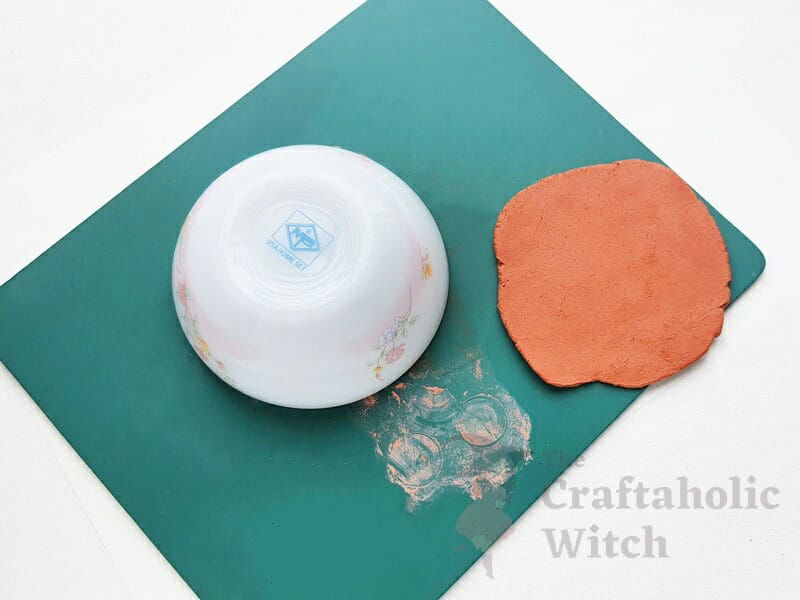
Step 5: Place the Clay on the Mold
Place the flattened clay piece on the top-middle part of the small bowl’s outer bottom surface. Press the clay piece against the bowl firmly, to make sure that it is molded around the bowl nicely.
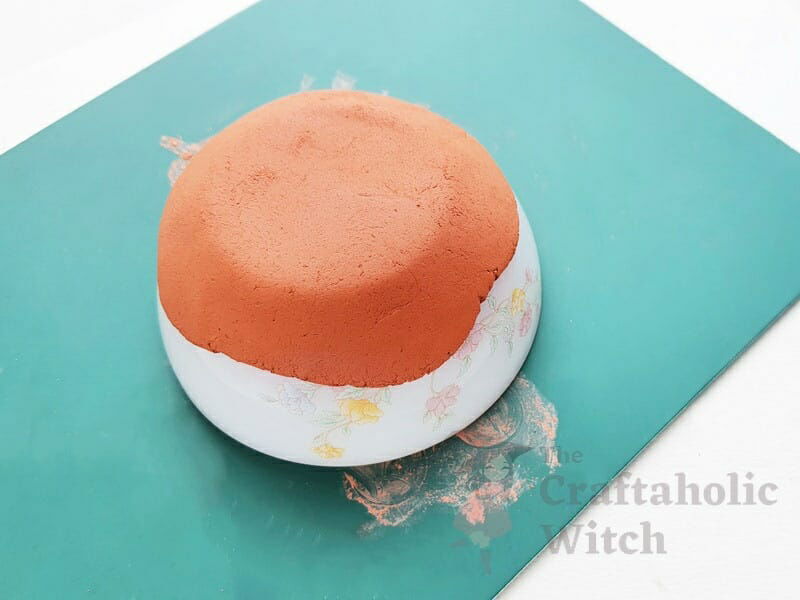
Step 6: Cut the Uneven Edges
Use an x-acto knife to trim the uneven edges of the clay piece. Or you can keep the uneven edges if you like it that way. Remove the trimmed uneven edges carefully if you decide to craft the clay jewelry dish with nice and even border.
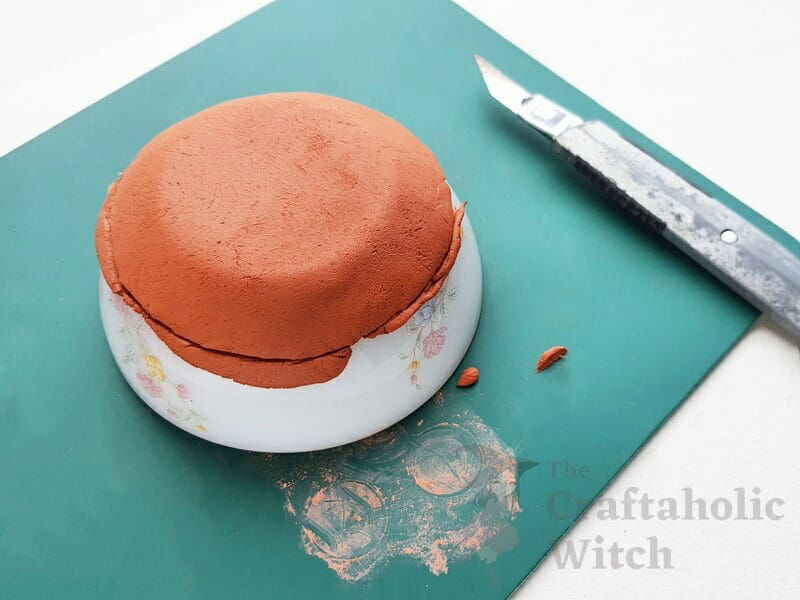
Step 7: Allow to Dry
As we’re using air-dry clay, we left the clay on the mold (small bowl) for a few hours and then removed the clay dish. After that, we kept the clay jewelry dish in a dry place overnight to allow it to dry entirely.
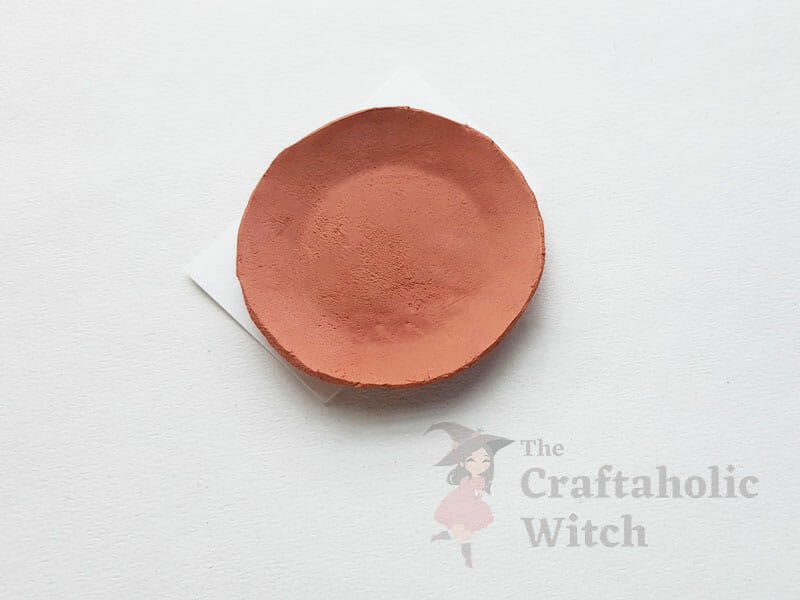
Step 8: Paint the Jewelry Dish
You can apply acrylic paint to the clay jewelry dish. We applied a thin border around the top edge. If you apply paint, make sure to let it dry before using the clay jewelry dish.
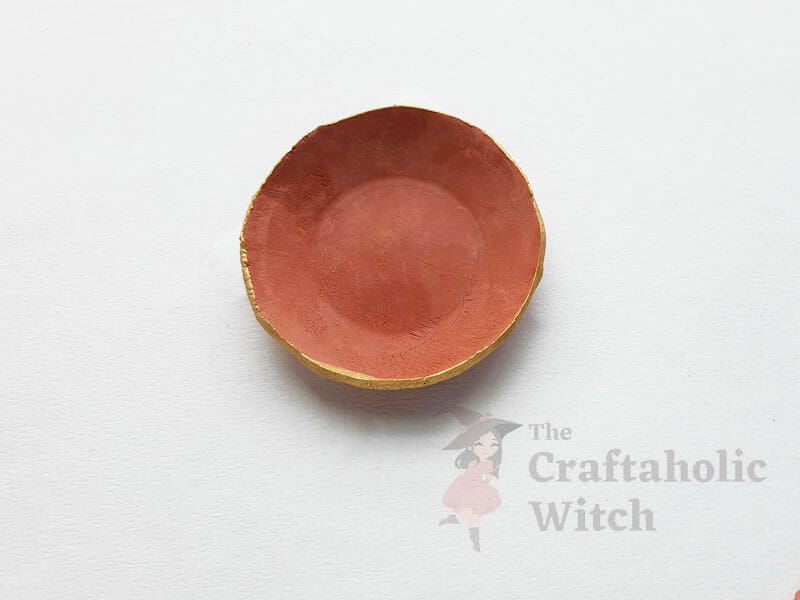
And done! Although the air-dry clay dish takes a little time to dry, the crafting time is relatively quick and it doesn’t require any expert skills to craft one.
Air Dry Clay Jewelry Dish: Tips for Beginners
Here are some tips if you’re having difficulty crafting the air-dry clay jewelry dish.
- If you’re new to clay crafting, air-dry clay would be a good choice. Make sure to check if the clay is air-dry before purchasing.
- If you’re skeptical about purchasing clay tools, you can use alternative tools from around the house as we did.
- To roll the clay you will need a flat, even, and non-sticky surface, we used the backside of a paper cutting mat. You can also use a tiled floor surface.
- Instead of a clay rolling pin, we used a plain and straight drinking glass.
- As for the mold, select a ceramic bowl or any sort of round object with a non-sticky surface.
- As we’re using air-dry clay, we will keep the clay on the mold for a few hours but then carefully remove it from the mold.
- Keep the clay dish in a dry and cool place for the next couple of hours or overnight so that it dries entirely.
- Apply paint after the clay dish dries entirely.
Here are some of our DIY organizing projects you may like.
Jewelry organizing crafts are always fun and this air-dry clay dish is a win-win project for anyone who gives it a try. You can keep trinkets or any kind of small objects safe, you can keep your vanity free of clutter or you can gift one to a loved one.
Happy Crafting!
Thank You


