DIY Felt Christmas Tree in 6 Easy Steps (+ Free Pattern)
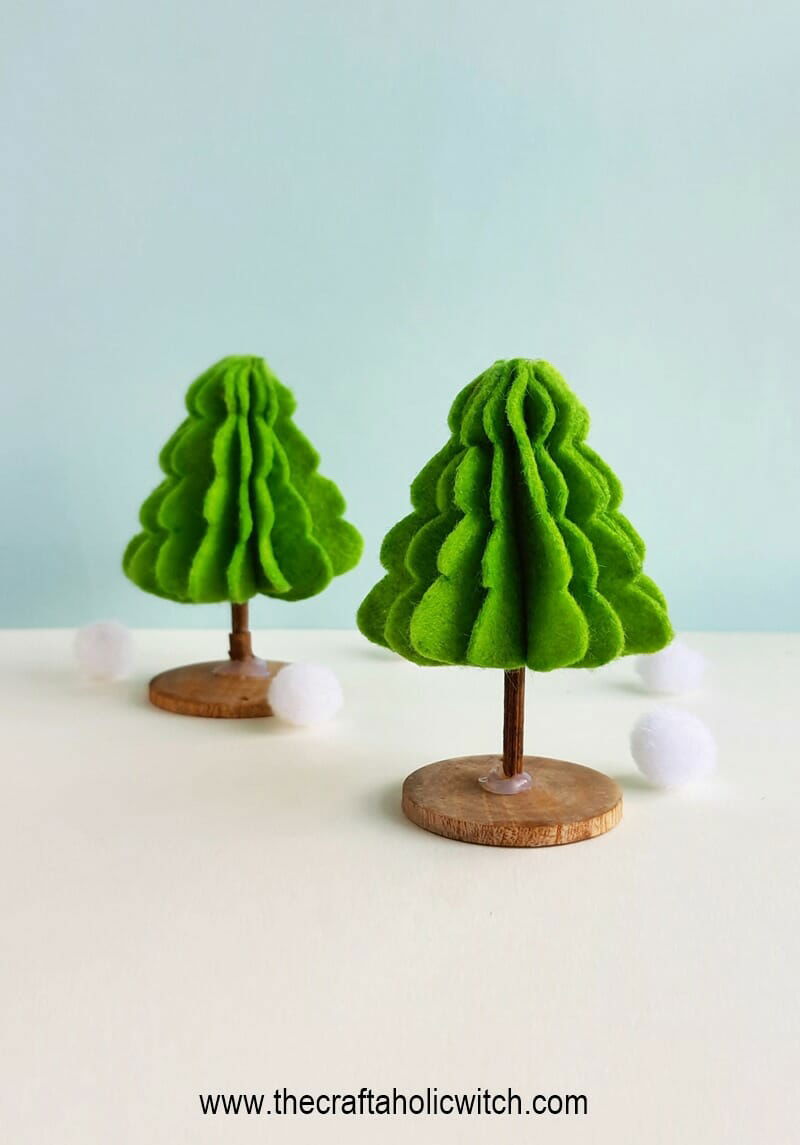
Easy DIY felt Christmas tree project. Learn how to make a mini Christmas tree that You can use to craft mini-scenarios, tabletop decor, centerpieces, gifts, and so on.
As we’re moving closer to December and a festive time, we’re so excited to share all the Christmas crafts we’ll be crafting throughout the next few weeks. We’re here with a quick and beautiful craft, felt Christmas tree. This felt Christmas tree craft doesn’t require many supplies nor too much time.
What we really love about this craft is that it can be used in many different ways. You can use these mini Christmas trees to craft mini-scenarios, tabletop decor, centerpieces, gifts, and so on. You can craft them in different shades and sizes for variation. You can also engage and teach the kids how to make mini Christmas trees but of course, under adult supervision. You can use our free felt Christmas tree pattern, grab the supplies and follow the tutorial to craft one in no time.
Cost of This DIY Felt Christmas Tree Project
To make 1 tree you’ll need around 15 minutes or more if it’s your first attempt. But, once the patterns are prepared, this craft does not take much time. You can collect dry twigs outdoor. As for the total cost of this craft, you will need to purchase felt and hot glue only. A set of 50 felt fabrics sheets costs around $30 and you can craft up to 100 felt Christmas trees with them. A hot glue gun is around $5 and a set of 50 glue sticks won’t cost more than $5. One felt Christmas tree would cost less than a dollar and you can keep the rest of the supplies for future craft projects.
Things You’ll Need to Make Felt Christmas Tree
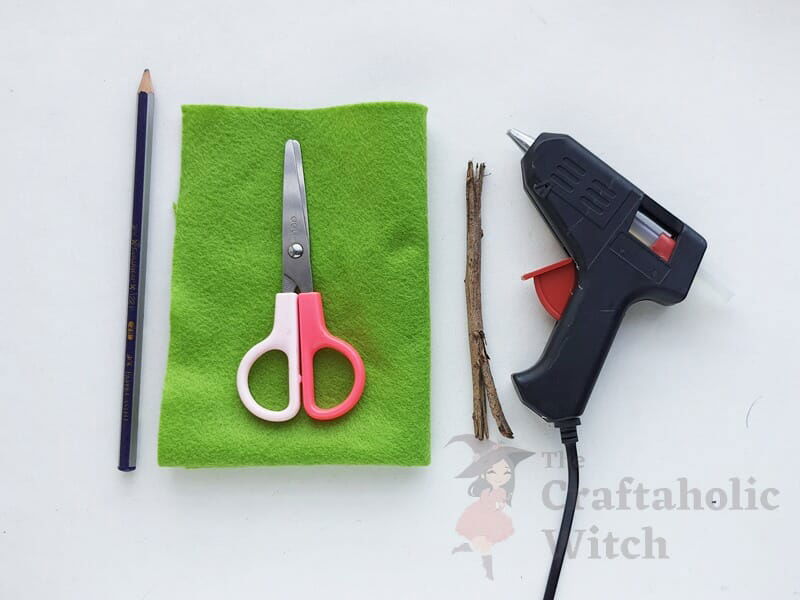
Materials
- Dry twigs (not more than 1cm diameter)
- Felt fabric
- Glue sticks
Tools
- Scissors
- Pencil
- Hot glue gun
Felt Christmas Tree Template
Download our free Tree Pattern file and print it out. The template includes 4 different sizes, you can choose any size you like. Cut out the selected tree pattern from the printed sheet.
How to Make Felt Christmas Tree
Step 1: Preparing the Patterns
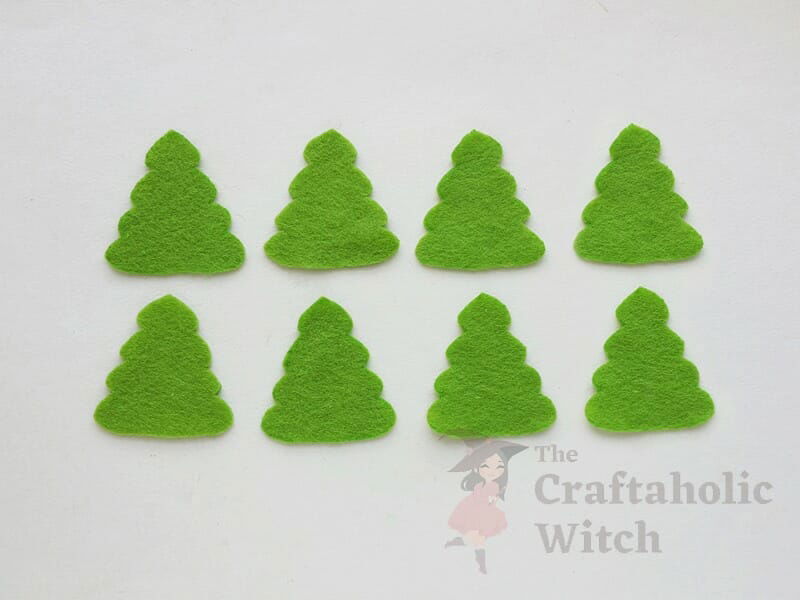
The provided template includes 4 different sizes for the tree pattern, select the one you want and trace 8 patterns of the same size on a piece of felt. Cut out the traced felt tree patterns using sharp scissors. Cut them out as neatly as possible. You can prepare up to 12 patterns, as you like, we’re using 8 patterns for our felt Christmas tree craft.
Step 2: Preparing the Twig or Stick
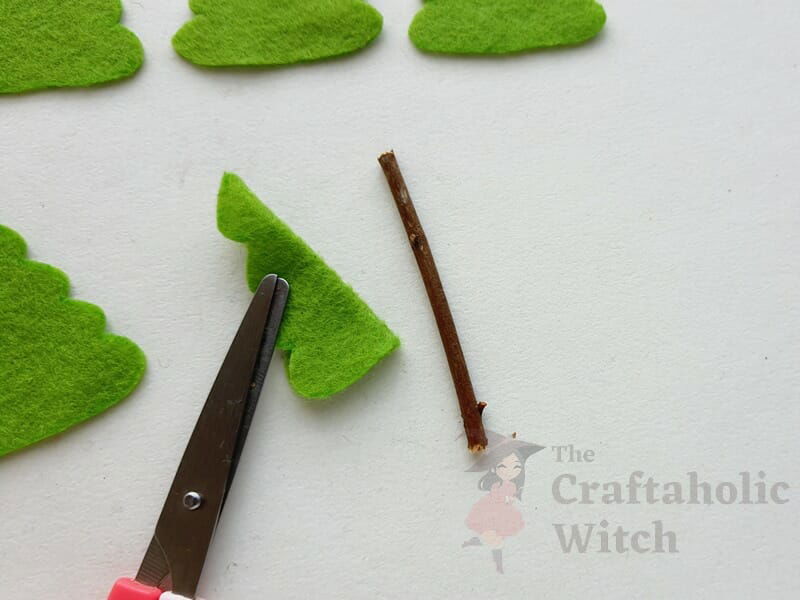
Prepare a piece of dry twig, not more than 1 cm diameter, if you’re planning to craft a small tabletop decor. The height of the twig should be 1.5 times longer than the height of the prepared felt tree patterns. Prepare the hot glue gun. Take a piece of felt tree pattern cutout and fold it into half symetrically.
Step 3: Attaching the First Pattern on the Twig
Apply hot glue along the closed side of the folded tree pattern and quickly attach it to the twig, from a side. The narrow end of the pattern should be faced outside.
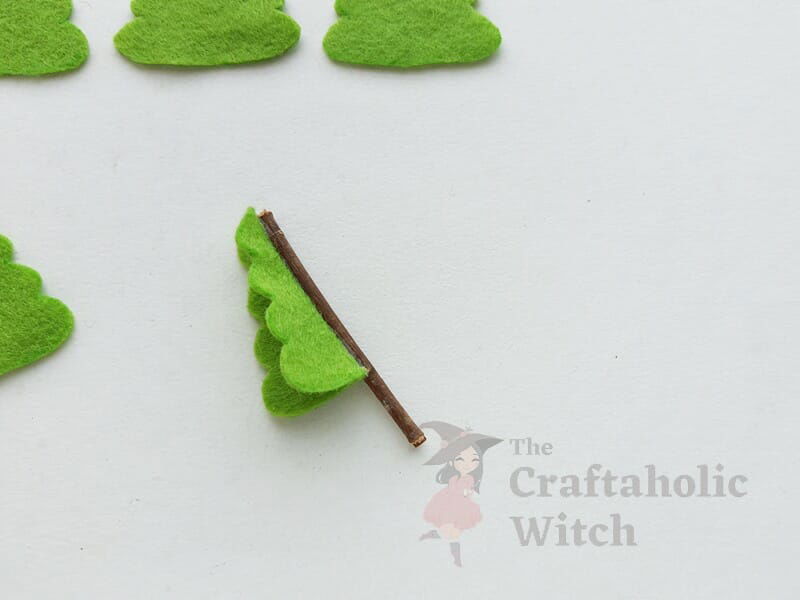
Step 4: Attaching the Next Pattern
Attach the 2nd felt tree pattern similarly and adjacent to the first pattern attached to the twig.
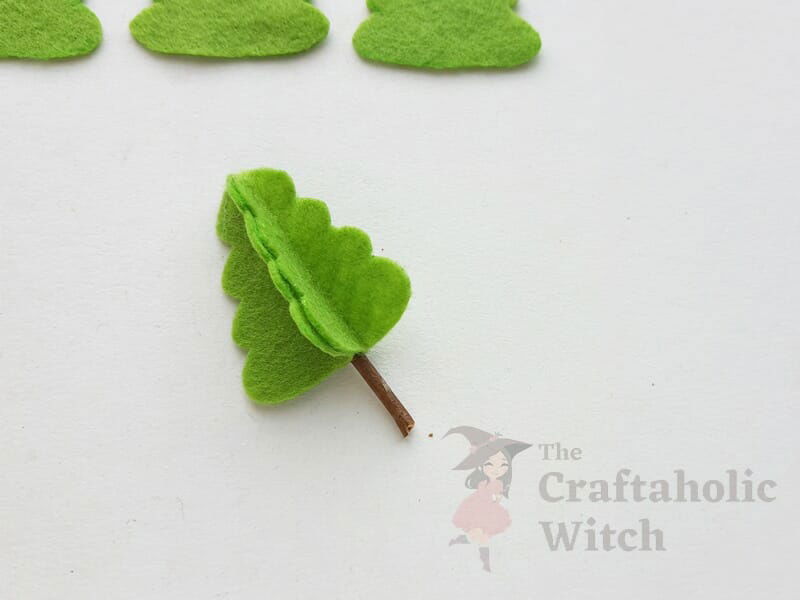
Step 5: Preparing the Rest of the Patterns
One by one attach all felt tree pattern cutouts until the twig’s outer surface is filled.
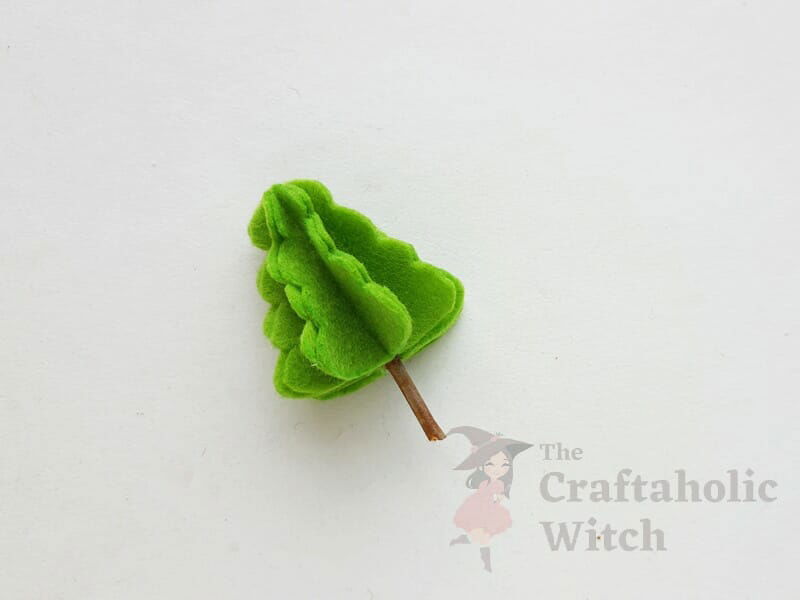
Step 6: Attaching the Tree on Base
For the base of the craft, you can use a small piece of wooden piece. Simply attach the bottom end of the twig to the base using hot glue.
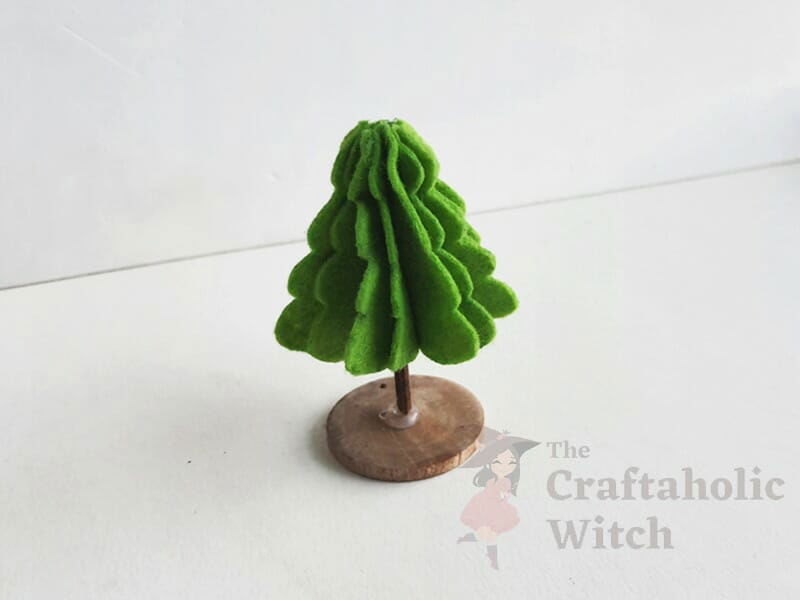
You can use different shades of felt fabrics to craft different colored 3d felt Christmas trees. These are easy and quick to craft and turn out very cute.
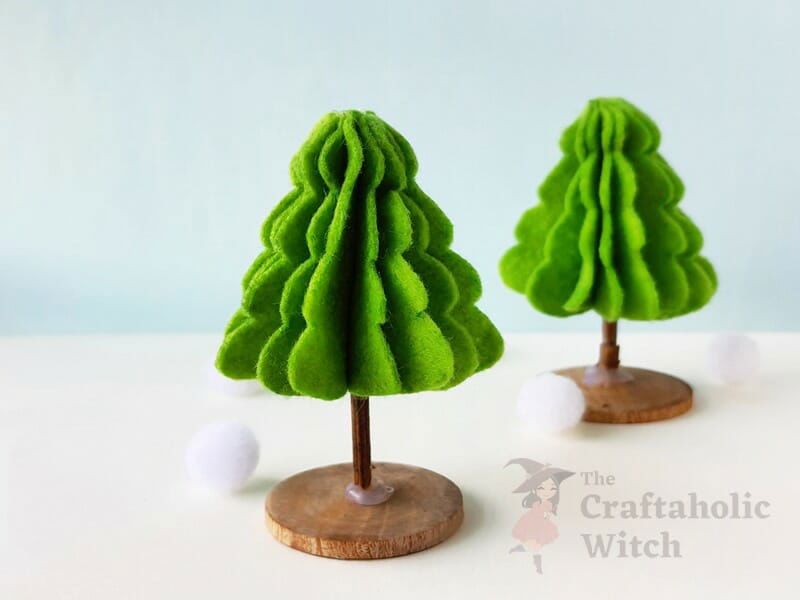
3D Felt Christmas Tree Crafting: Tips for Beginners
Here are some tips if you’re having difficulty crafting the felt Christmas trees.
- Use thin felt fabric for the patterns. Too thick felt fabrics are difficult to cut out neatly, especially when you need to prepare a number of patterns of the same size and layout.
- Use sharp and fabric-cutting scissors to cut out the tree patterns from the felt.
- Use hot glue for this craft, it’s quicker. You can use fabric glue but it would require more time.
- After folding the felt tree pattern in half, apply hot glue along the closed side of the pattern, it’s easier this way rather than applying glue on the twig.
- For the base, use any object with a plain top surface. We used a plain round wooden piece.
Here are some of our Christmas craft projects that you may also like, do spare a few minutes to check them out.
If you do re-create this small felt Christmas tree using different colored felt fabrics and use them for a different craft, please do share a picture with us or tag us on Facebook or Instagram (use #thecraftaholicwitch), we would love to re-share your crafts.
Happy Crafting!


