Easy No Sew Gnome Dolls DIY Tutorial With Free Pattern

No Sew Gnome Dolls DIY
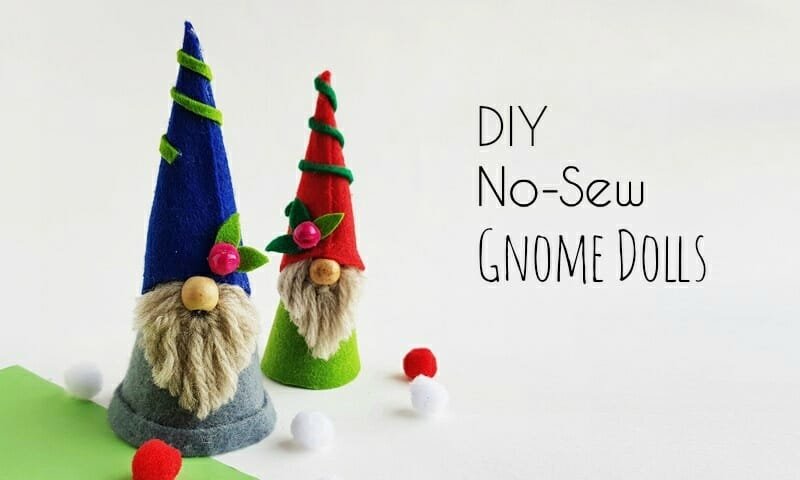
Hello Winter! My favorite season right after Fall and I can’t wait to get all Wintery-Crafty! I’ve already posted a felt Gnome plush a few weeks ago and came up with these DIY No Sew Gnome dolls this time. These are relatively easy to make and can be a great addition to your Christmas decorations.
Aren’t they adorable! I LOVED making them and this is a great project to use scrap cardstock papers, felt fabrics and yarns. For this DIY No Sew Gnome Dolls project, you will only a few basic craft supplies. Check the list of supplies, grab ’em and get crafty!
List of Supplies
- Felt fabric
- Yarn
- Wooden beads
- Cardstock paper
- Pencil or fabric marker
- Scissors
- Hot glue gun
Template
Download the Gnome Template and print it. Cut out the patterns from the printed paper.
Learn How to Make No Sew Gnome Dolls!
Step 1
Print and cut out the template patterns. Select coloured felts and trace the patterns on the selected felts. Trace the cone template on a cardstock paper.
Step 2
Select any coloured yarn for the beard of the gnome. Cut out a bunch of yarn strands from the selected yarn bundle. I’ve prepped mine into 4 inches long strands; better to keep the strands long because you can always trim them later if required. Grab a long strand of yarn and place it on a flat surface, this will be the base strand. Grab another yarn strand and fold it into half. Place the looped part of the folded yarn under the base strand.
Step 3
Grab the open ends of the folded yarn and draw them over the base strand. Draw the open ends through its looped part.
Step 4
Pull the open ends as tightly as you can to securely attach the strand with the base strand.
Step 5
Similarly, attach the rest of the 4 inches yarn strand to the base yarn strand. You can stop attaching strands once you are satisfied with the volume of the beard pattern.
Step 6
Push the attached yarns and bring them together, as adjacent as possible. Hold the open ends of the base strand and tie a knot with both ends.
Step 7
Use sharp scissors to trim the strand and give the beard a nice shape.
Step 8
You can simply draw a quarter circle on a cardstock paper and cut it out for the cone.
Step 9
Roll the quarter circle to form a cone shape. Apply glue along the overlapped sides of the cone pattern to secure the shape.
Step 10
Use hot-glue to attach the clothe pattern around the bottom side of the cone.
Step 11
Attach the beard on the cone, by aligning the top end of the beard with the top end of the clothing attached to the cone.
Step 12
Attach a half wooden bead on the hole of the yarn beard.
Roll the hat felt cutout to form a cone-shaped hat and decorate the hat with the small felt patterns (leaves and cherry).


