


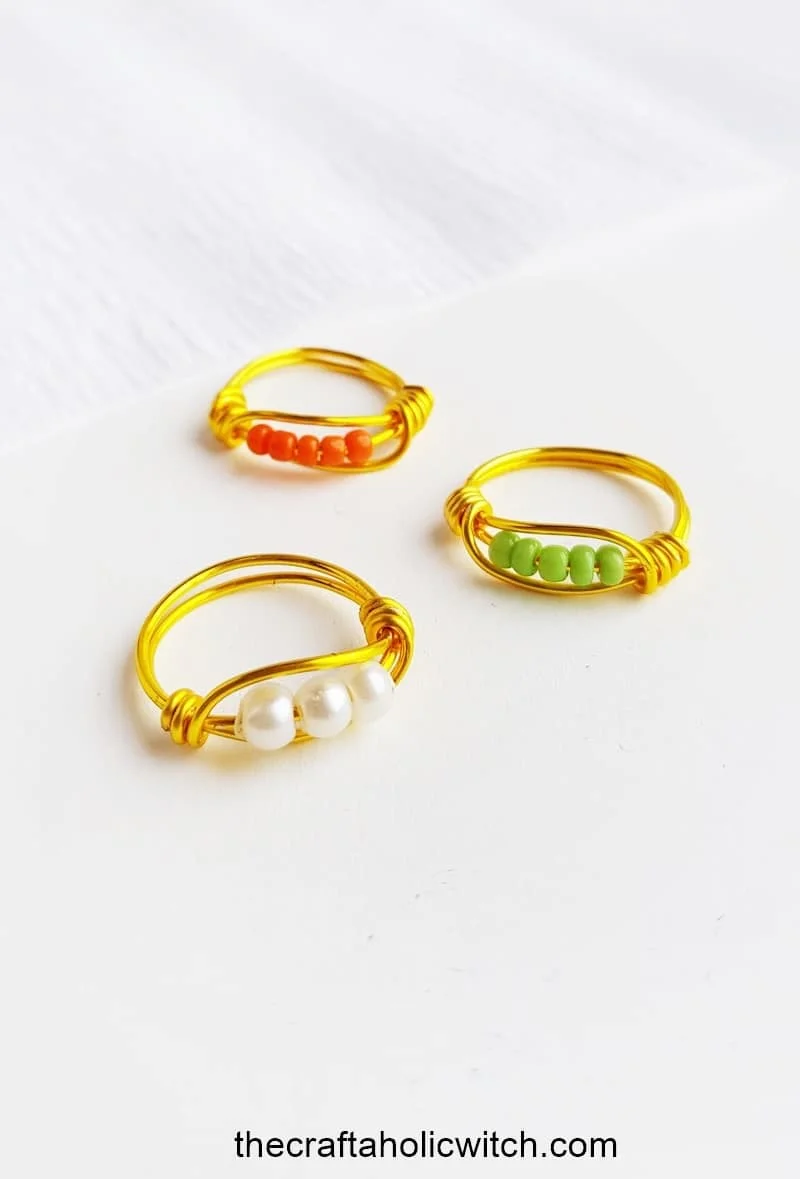
Beaded wire rings look harder than they are. Once you have a mandrel and about a foot of 20-gauge wire in hand, the whole thing comes together in under half an hour, and you end up with a ring worth wearing or giving away.
I picked this up as my re-entry into wire jewelry after a long break from it. If you’ve already tried my wire wrapped bead earrings or beaded earrings, the wire handling here is similar, just on a much smaller form. Rings feel more intimidating than earrings, but working on a mandrel makes the sizing a lot less stressful. If you want a bigger challenge after this, the caged gemstone ring is a natural next step.
Use whatever seed beads you have on hand. Three small pearl beads, a handful of opaque rounds, a single chunky focal bead. The technique stays the same regardless.
Beaded Wire Ring at a Glance
- Difficulty: Beginner
- Time: About 25 minutes
- Cost: Under $5 if you have pliers already
- Ages: 12+
- Best for: First wire jewelry project, quick handmade gifts
Join Craft Challenge: Craft Your Calm
Make something that brings you a sense of peace, share a photo, and tell us your story. It's free to enter, open to everyone, and the entry with the most reactions takes home a $100 gift card. Takes five minutes to join.
Entries close August 30, 2026. No purchase necessary.
What You Need to Make a Beaded Wire Ring
Materials
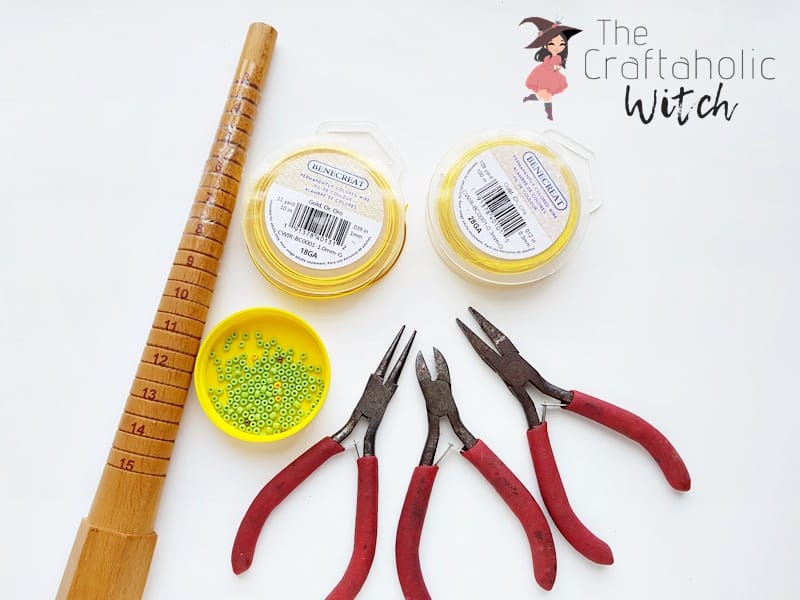
- 20-gauge craft or jewelry wire, copper-coated or silver-coated. Copper holds its shape a bit better for first timers; silver gives a cleaner, more modern look.
- Seed beads or small decorative beads, any type with a hole wide enough for 20-gauge wire. I used 3 faux pearl beads; 3 to 5 seed beads or a single focal bead all work just as well.
Tools
- Ring sizing mandrel, wooden or stainless steel. Both have the size markings you need; the wooden one is cheaper if you’re just starting out.
- Jewelry pliers set with cutting, round-nose, and flat-nose pliers. A basic 3-piece set covers everything you’ll use in this tutorial.
Heads up: some of the supply links above are affiliate links. If you buy through them, Craftaholic Witch may earn a small commission at no extra cost to you. We only link supplies we would actually use ourselves.
Ask inside "Crafty Q&A" while you are making.
"Crafty Q&A" is free to join. Share your question, photo, or the exact step where you got stuck, and chat with other makers plus the Craftaholic Witch team. You can also join any discussion thread already happening inside the space.
How to Make a Beaded Wire Ring
Step 1: Cut the Wire and Thread On the Beads

Cut about 12 inches of wire from the bundle. Err on the longer side: you can trim excess later, but there’s no fixing a piece that ran short mid-wrap. Slide your beads onto the wire now, centering them roughly by feel so you have equal tails on both sides.
Step 2: Center the Beads and Wrap Around the Mandrel
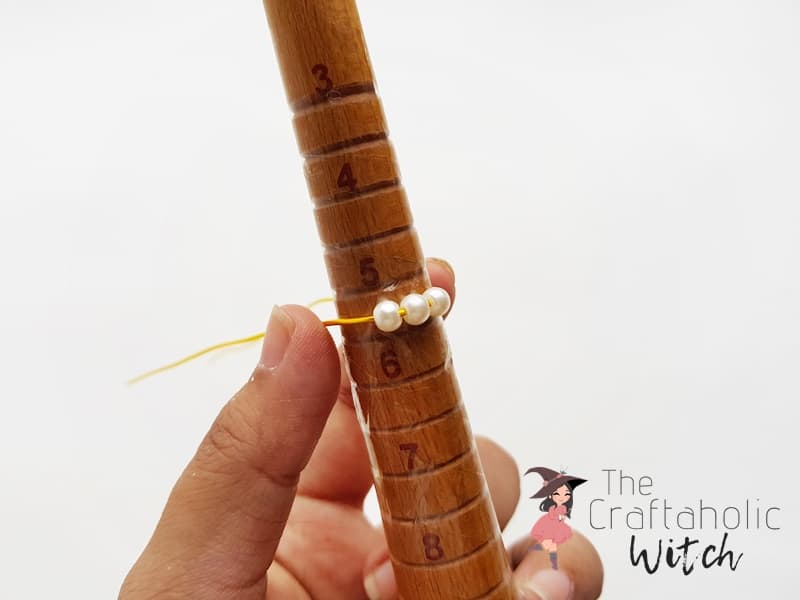
Hold the bead cluster in place with one finger at the mandrel’s front and wrap both wire tails around behind it. Aim for one half-size larger than your target. Wire tightens slightly as the coils lock in, so starting big is what keeps the finished ring from being too snug to get off.
Step 3: Shape and Tighten the Band on the Mandrel
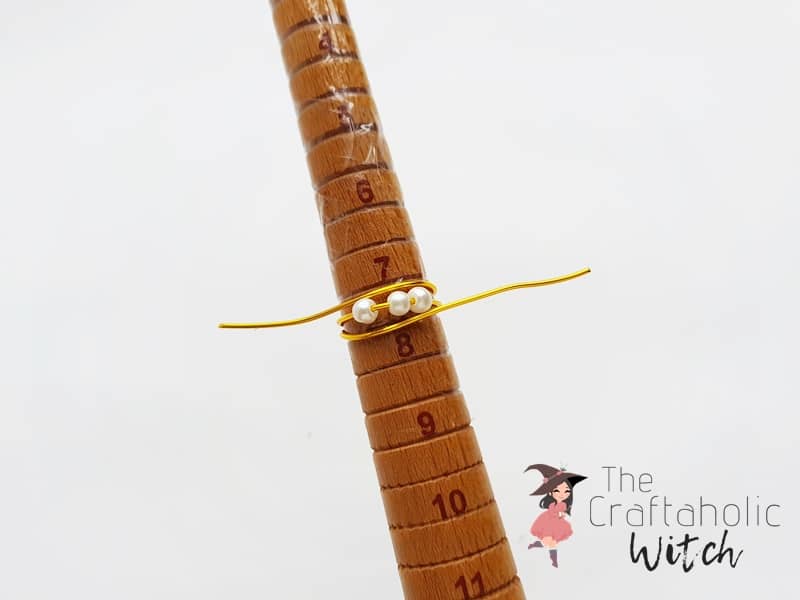
With the beads sitting at the front, wrap the left wire tail up and over one side of the mandrel, and the right tail down and under the other, so the two tails cross behind the ring. Press each tail firmly against the mandrel with flat-nose pliers to smooth out any kinks. This is the last easy moment to adjust the size before the coiling locks everything in place.
Step 4: Ease the Ring Off the Mandrel
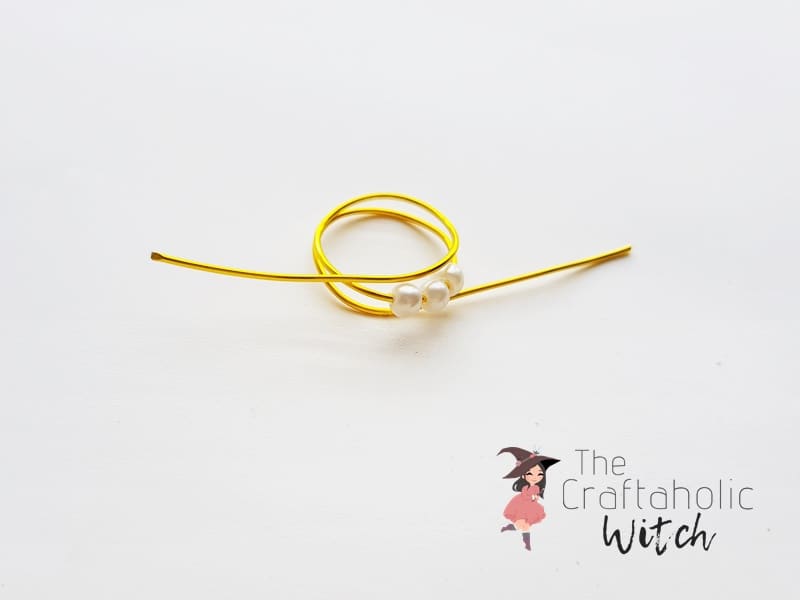
Gently slide the ring off the mandrel. The band may flex open slightly as you remove it; that’s expected. If it opens more than a millimeter or two, seat it back on the mandrel and press it into shape before moving on to the coiling.
Step 5: Coil One Wire Tail Around Its Band
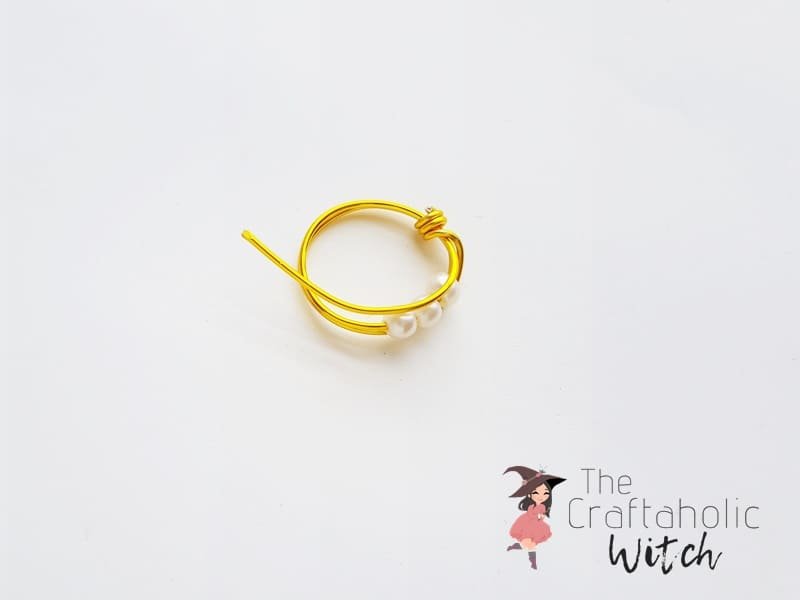
Pick either wire tail and coil it around the ring band that runs alongside it, between the bead cluster and the wire’s free end. Wrap firmly, keeping each coil snug against the last. Three or four tight coils is enough. Trim the end with cutting pliers and press it flat with the flat-nose pliers so nothing snags on your finger.
Step 6: Coil the Other Tail and Do a Final Size Check
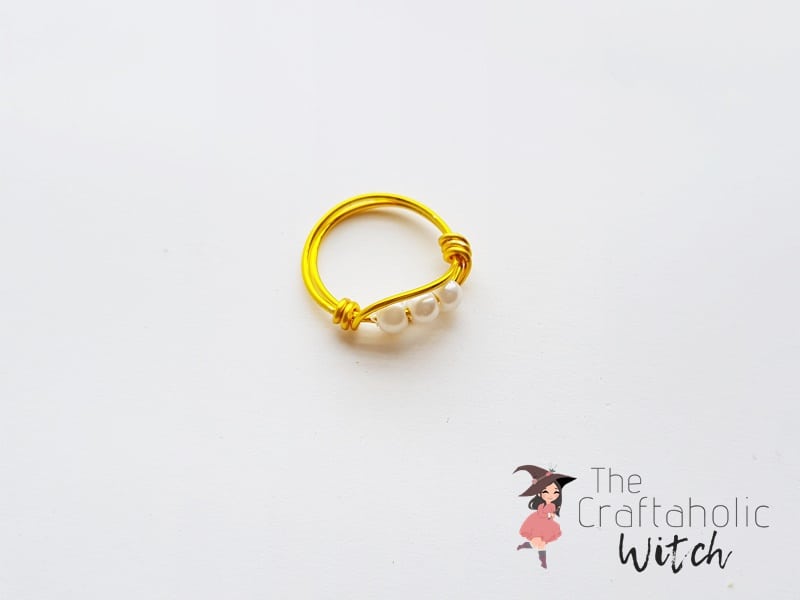
Coil the remaining wire tail around its adjacent band the same way. Same firmness, same number of coils. Trim and press the end flat. Now slip the finished ring back onto the mandrel for a final size check and give the band a gentle press to smooth it into a clean round. That’s your beaded wire ring done.
Share it in "I Made It" and let us cheer you on.
Post your finished make in "I Made It" so the community can celebrate it with you. Cheer on other makers too. Each month, the most loved craft wins 1 year of Craftaholic Premium ($59)
Tips for Your Beaded Wire Ring
- Mix bead types for contrast. Matte opaque with one metallic accent bead in the middle reads as intentional rather than random.
- If your coils spread unevenly in Steps 5 or 6, run the flat face of your pliers along them to compress everything back into a tidy line.
- Copper wire has a warm vintage look; silver-coated wire reads more modern. Both behave the same way at 20 gauge.
Frequently Asked Questions
What gauge wire is best for making a beaded wire ring?
20-gauge wire is the best starting point. It’s sturdy enough to hold the ring’s round shape through everyday wear but flexible enough to coil cleanly by hand. Thinner wire (24 gauge) wraps more easily but bends too readily to last. Thicker wire (18 gauge) is very durable but much harder to coil without heavy pliers.
Do I need a ring mandrel to make a beaded wire ring?
A mandrel makes sizing accurate and repeatable, but you can substitute a thick marker, a wooden dowel, or a round pencil in a pinch. The drawback is that improvised mandrels have no size markings, so you’d be trying the ring on as you go rather than working to a number.
How many beads should I put on the wire?
There’s no fixed number; it depends on how wide you want the bead cluster to sit on the ring face. Three small pearls (roughly 8mm total width) give a delicate look. A single 10 to 12mm focal bead fills more of the face; five to seven 2mm seed beads read as a dainty stack. Thread them on and hold the wire up to your finger before wrapping to see how it looks.
Can I make a beaded wire ring without flat-nose pliers?
Yes, though the finish will be a little rougher. Flat-nose pliers are most useful when pressing the wire against the mandrel in Step 3 and smoothing the coils in Steps 5 and 6. Without them, use the barrel of your round-nose pliers or your thumbnail to press the coils flat. The ring holds its shape either way.
More Wire Jewelry Tutorials
- How to Make a Paper Clip Ring
- How to Make Wire Charms: Swirly Style in 3 Steps
- How to Make a Wire Wrapped Bead Pendant
- How to Wire Wrap Stones and Make a Pendant
Share your finished beaded wire ring in the I Made It space inside Craftaholic Community. The most-loved post each month wins a one year free Premium membership.
2 Comments
Thanks. Easy to follow directions. Will try.
You’re very welcome, Jenny ? Please don’t forget to share pictues with us.
Join the conversation
Log in to your Craftaholic Community account to comment, ask questions, and cheer on fellow makers.
Log in to comment