

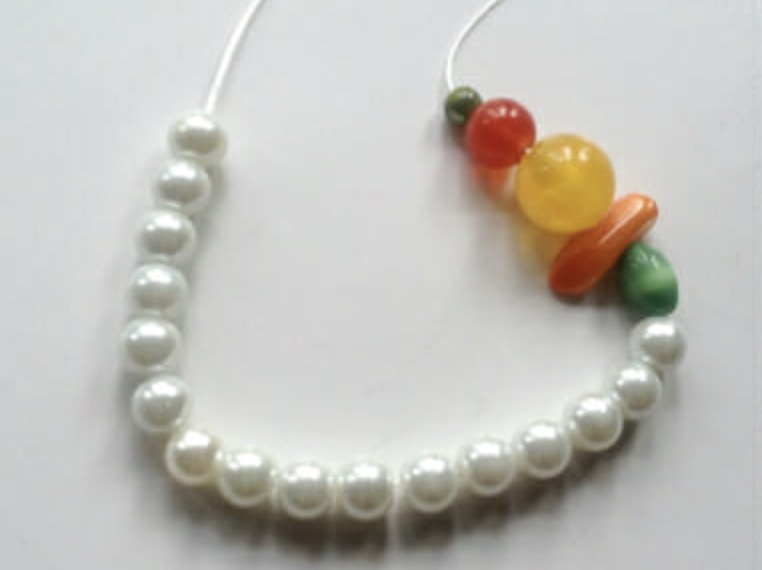
That dish of leftover beads is enough to make a mixed beaded bracelet you will actually wear. I pair faux pearls with a few bright accent beads so the bracelet looks polished instead of random, and you can finish one in about half an hour.
This is a beginner-friendly project that works well when you want a quick make from your stash. If you want more jewelry-making tutorials or you are browsing more bracelet tutorials, start here.
Mixed Beaded Bracelet at a Glance
- Difficulty: Beginner
- Time: 20-30 minutes
- Cost: Under $5
- Ages: 10+
- Best for: Using leftover beads and making quick handmade gifts
Join Craft Challenge: Craft Your Calm
Make something that brings you a sense of peace, share a photo, and tell us your story. It's free to enter, open to everyone, and the entry with the most reactions takes home a $100 gift card. Takes five minutes to join.
Entries close August 30, 2026. No purchase necessary.
What You Need to Make a Mixed Beaded Bracelet
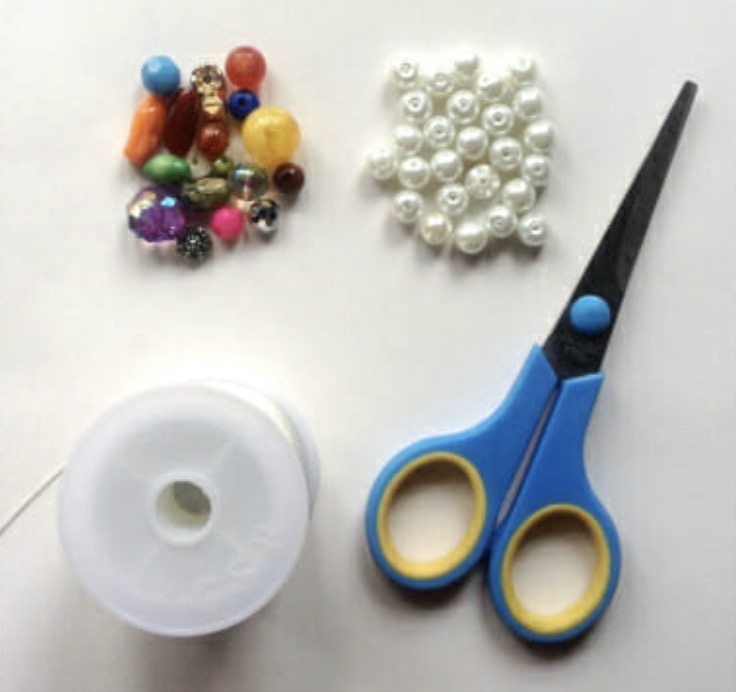
Materials
- Faux pearl beads, about 18-24 pieces: These build most of the bracelet band. They make the bold accent beads look more intentional and keep the bracelet easy to wear with everyday outfits.
- Mixed accent beads, about 5 pieces per bracelet: Pick one larger focal bead, two medium beads, and two smaller spacer beads. That mix keeps the bracelet balanced instead of bulky on one side.
- Elastic thread or stretch cord: Use the thinnest cord that still feels strong in your hand. If your bead holes are tiny, a finer elastic is easier to thread.
- Super glue or jewelry glue: One tiny drop on the final knot keeps the bracelet closed after repeated wear.
Tools
- Sharp scissors: Clean cuts make the knot easier to tie tightly.
Ask inside "Crafty Q&A" while you are making.
"Crafty Q&A" is free to join. Share your question, photo, or the exact step where you got stuck, and chat with other makers plus the Craftaholic Witch team. You can also join any discussion thread already happening inside the space.
How to Make a Mixed Beaded Bracelet
Step 1: Sort Your Beads into One Small Color Story
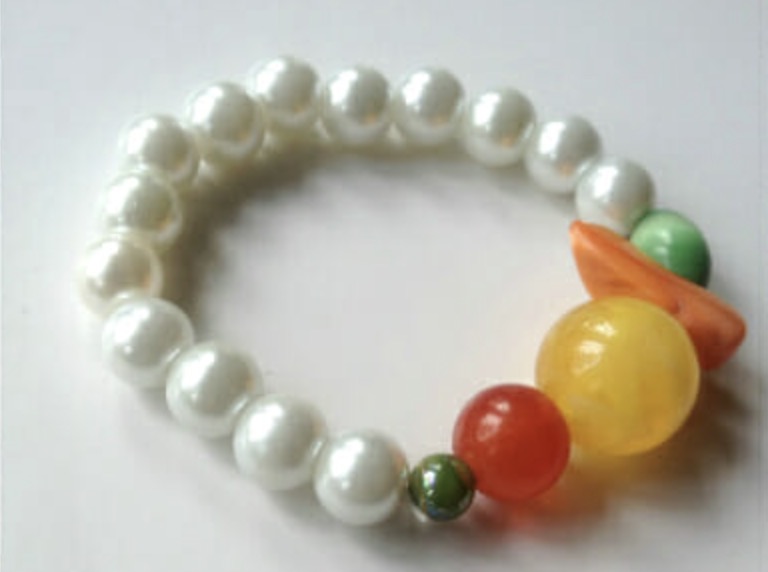
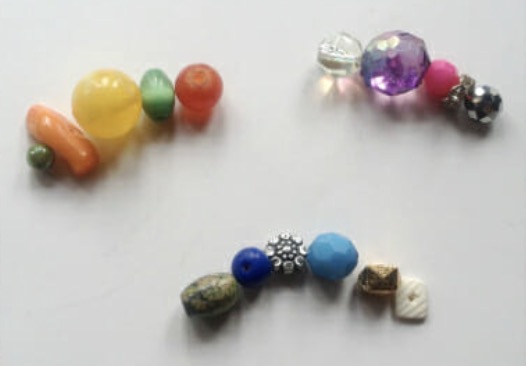
Pull out the mixed beads that look good together and keep the set small. I like using one large bead, one flat or unusual bead, one medium round bead, and one tiny spacer bead so the bracelet still bends comfortably on the wrist.
Lay the groups out on the table before you thread anything. It is much easier to swap a color on the table than to undo the knot later.
Step 2: String the Accent Beads First
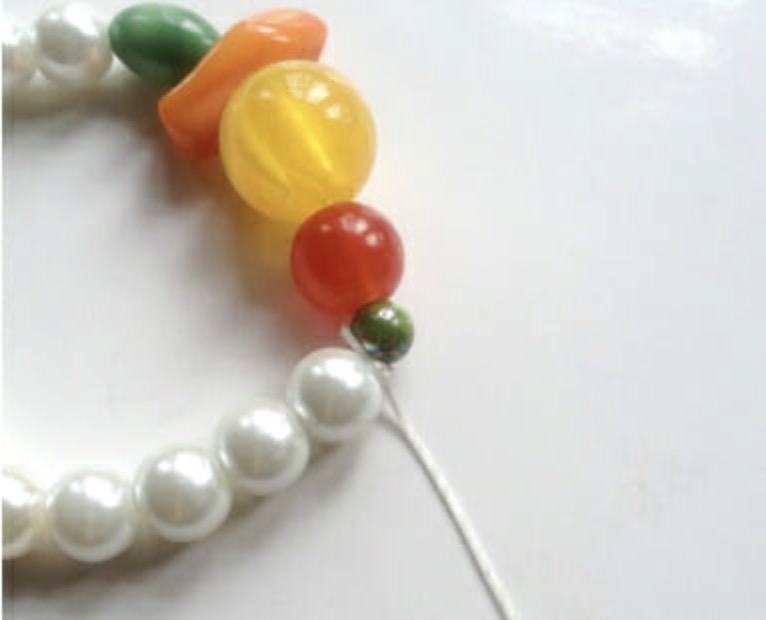
Cut elastic that wraps around your wrist twice, plus a few extra inches to hold onto while you knot. Thread the accent beads in the order you want them to show. Keep the largest bead close to the center of the group, because that gives the bracelet a natural focal point once the pearls are added on both sides.
Step 3: Add Faux Pearls to Form the Bracelet Band
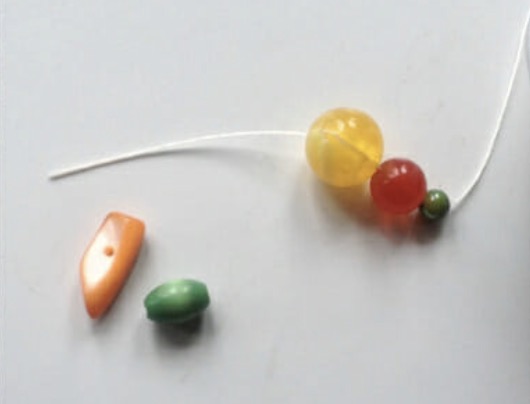
String pearls onto both sides of the accent cluster until the bracelet wraps around your wrist with a little stretch. Most bracelets use about 18-24 pearls, but bead size changes the final count, so check the fit as you go rather than committing to a number.
Step 4: Tie a Double Knot and Glue It in Place
Pull the elastic snug and tie a firm double knot. Give the bracelet a light stretch to test the hold before trimming the ends. You are looking for a knot that holds under tension without the bracelet pulling uncomfortably tight.
Add a tiny drop of glue right on the knot, not on the elastic around it, and let it dry fully before wearing. Trim the elastic tails close once the glue has set.
Step 5: Check the Fit and Make More from Your Leftovers
Slip the bracelet on and turn the knot toward the inside of your wrist. If you still have sorted bead groups left on the table, run through the same steps again. The second and third bracelets go faster now that you have the rhythm.
Share it in "I Made It" and let us cheer you on.
Post your finished make in "I Made It" so the community can celebrate it with you. Cheer on other makers too. Each month, the most loved craft wins 1 year of Craftaholic Premium ($59)
Tips for Your Mixed Beaded Bracelet
- Use bigger pearls to make a stack of gift bracelets faster. Fewer beads to string, same polished result.
- Keep chunky accent beads in one small cluster. Spreading them all the way around makes the fit uneven on the wrist.
- Try spacing accent beads evenly around the whole bracelet if you want a fully beaded look instead of a focal cluster.
- Tuck the finished bracelet into a DIY recycled jewelry box for a simple handmade gift set.
Frequently Asked Questions About Mixed Beaded Bracelets
Can I use stretch cord instead of thin elastic thread?
Yes. Use whichever option fits through your beads without forcing it. Stretch cord is a little sturdier for everyday wear, while thinner elastic is easier for smaller bead holes.
How many faux pearls do I need for one bracelet?
Most bracelets need about 18-24 faux pearls, but the number changes with bead size and wrist size. Check the fit before tying the knot instead of relying on a fixed count.
How do I stop the knot from coming undone?
Tie a tight double knot, pull it snug, and add a tiny drop of glue right on the knot. Let the glue dry before stretching the bracelet again.
Is this a good bracelet project for kids?
Yes, especially if the beads are already sorted into color groups. Have an adult handle the scissors and glue so the last step stays tidy and safe.
More Bracelet Tutorials to Try Next
- How to Make Beaded Bracelets with Adjustable Cord — try this next if you want a bracelet that adjusts instead of stretching over your hand.
- How to Make a Cherry-Inspired Beaded Bracelet — uses a brighter focal design if you want to keep working with playful bead combinations.
- DIY Vintage Button Bracelet — swap beads for buttons and keep the same quick-make energy.
- How to Make Flower Bead Bracelet — a more detailed pattern for when you are ready for a new technique.
Share your finished bracelet in the I Made It space inside Craftaholic Community. The most-loved post each month wins a one year free Premium membership.
0 Comments
Join the conversation
Log in to your Craftaholic Community account to comment, ask questions, and cheer on fellow makers.
Log in to comment