DIY Stud Earring Organizer (Easier Than You Think)
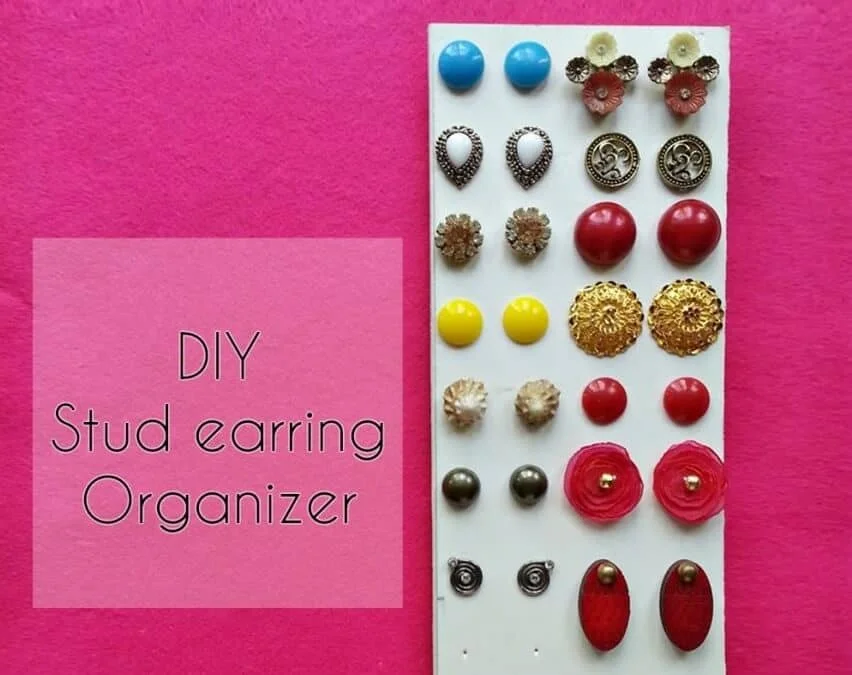
Easy and simple DIY stud earring organizer tutorial. Learn how to make it and prevent your earrings from getting lost.

If you’re a stud earring lover it’s very obvious that you’ve lost so many of them so far. I have. And it really hurts when you lose 1 earring from a pair, especially if it’s a favorite one. Well, I’ve had enough, so had to come up with an idea and stop losing more of my precious stud earrings.
In today’s post, I’ll show you a quick and easy way to keep your stud earrings organized and never lose’em, not even a single one!
DIY Stud Earring Organizer (How to Make Tutorial)
Supplies
- Foam board – any size you want
- X-acto knife
- Wooden board
- Awl
Instructions
You can cut the foam board into any shape you want, but I think it’s better to keep it rectangular or square. Measure the size of your largest stud earrings and mark points for holes on the foam board. Keep in mind that the largest stud earring should fit side by side after inserting the pair into the holes of the foam board.
Place the marked foam board on a wooden board and use an awl to punch holes on it, just as simple as that!
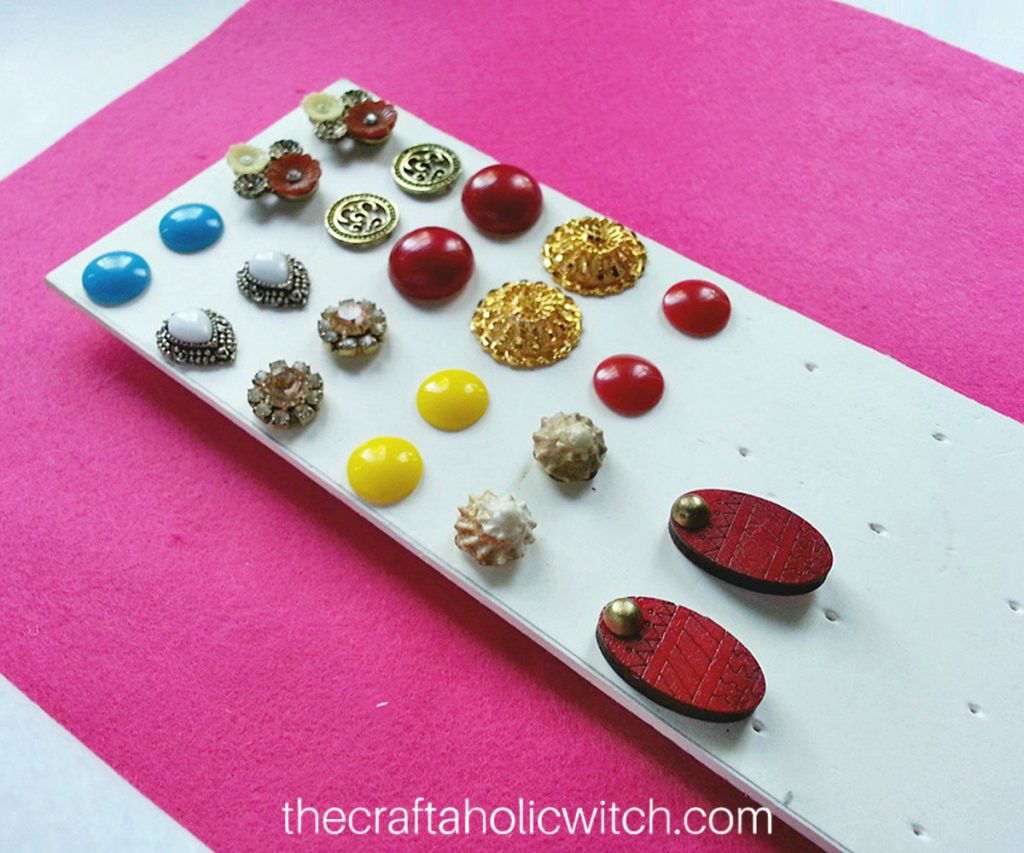
Simply insert your stud earrings through the holes made on the foam board. Secure the earrings by attaching their backs at the back side of the foam board. This way you’ll find all your stud earrings at one place and you’ll hardly lose any.
Besides, it feels great to see all your favorite stud earrings together!
BTW, if you love stud earrings them you may love these cute stud earrings made using wire and beads. Check it out. Link: How to Make Stud Earrings.
Don’t forget to share your feedback in the comments below. Share pictures of your version of the craft with us if you do give them a try. You can share your picture with hashtag #craftaholicwitch on Instagram or Facebook or just DM your picture to us on Instagram or Facebook page.
Happy Crafting!
Thank you!


