Cross Stitched Rose Wall Art
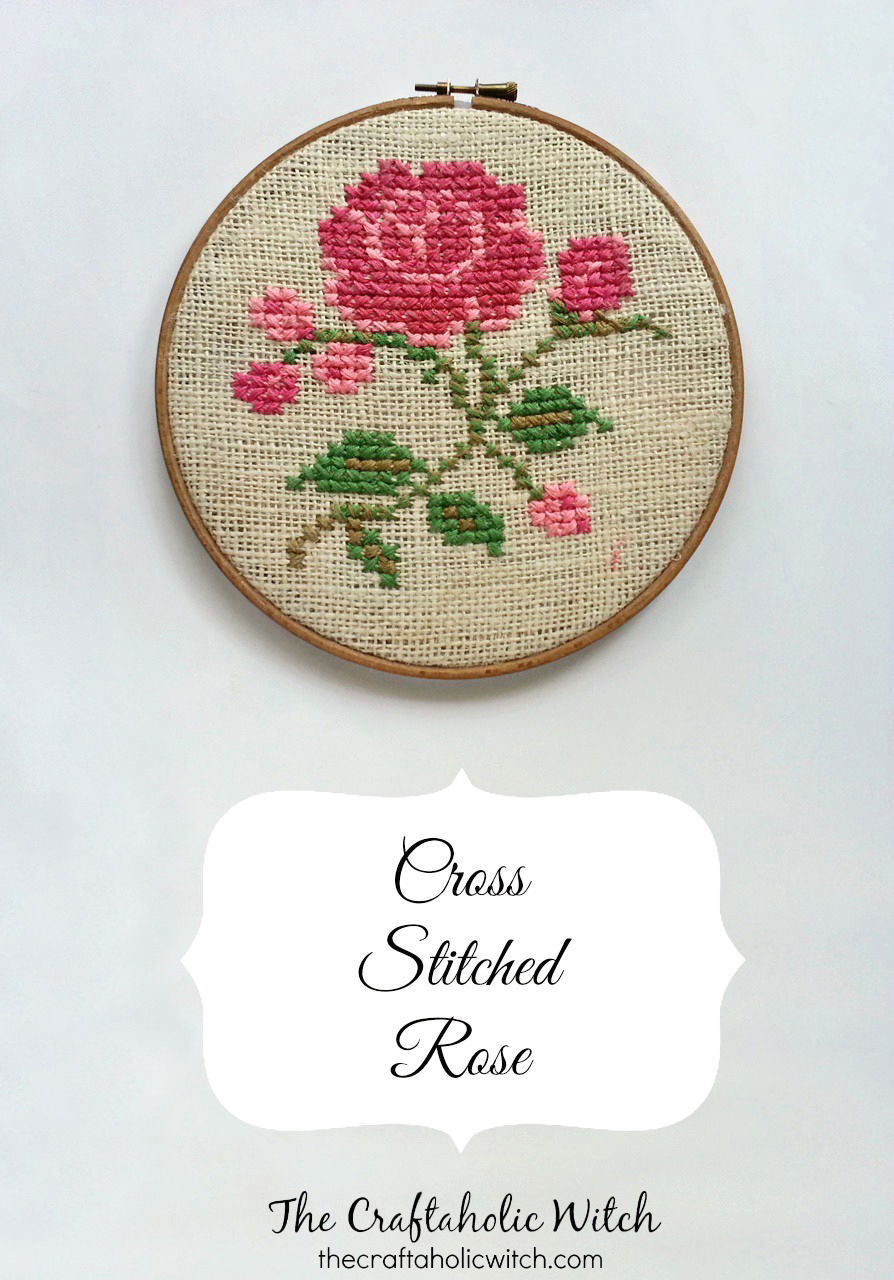
Cross stitching is one of my favorite needleworks! I love it soooo much because I’ve learned how to do cross-stitch from my grandmother when I was 6 years old and I’ve done a bunch of cross stitch works ever since. What I love about cross-stitch is the process of doing it, no rush, no fuss… a bunch of organized crosses to make any patterns you want!
This is my first cross stitch post on the blog. I didn’t post the exact steps, only the template and a few steps from the beginning to the end. I’ll share my way of cross stitching on another post very soon, but for now check this out!
Cross Stitch Pattern Template:
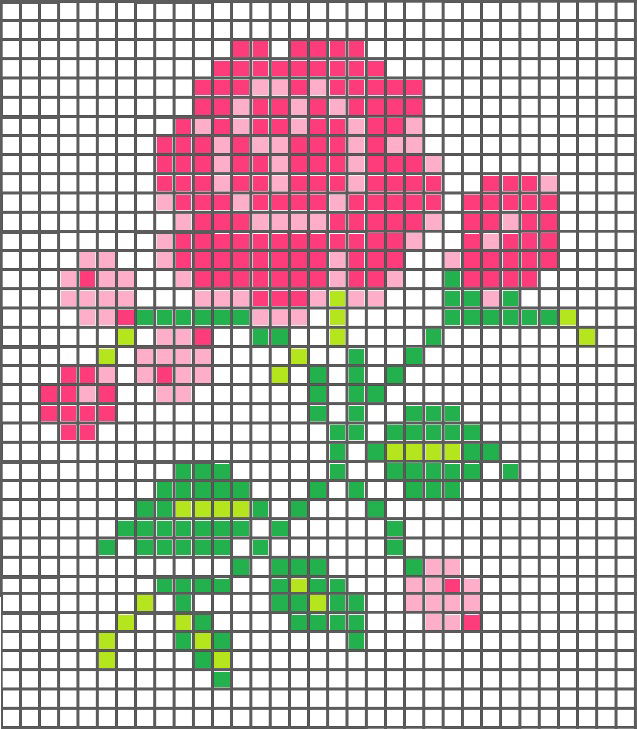
This is the template / pattern I created. Once upon a time I made a digital grid paper using windows paint, yes, paint . I made several copies of it so that I can make cross stitch patterns on them -_- I know, silly me but hey I still use them!
But you can transform any pattern into a cross stitched pattern with the help of this website- https://www.pic2pat.com/index.en.html
Supplies:
- Tapestry needle
- Scissors
- Embroidery thread
- Embroidery hoop
Steps:
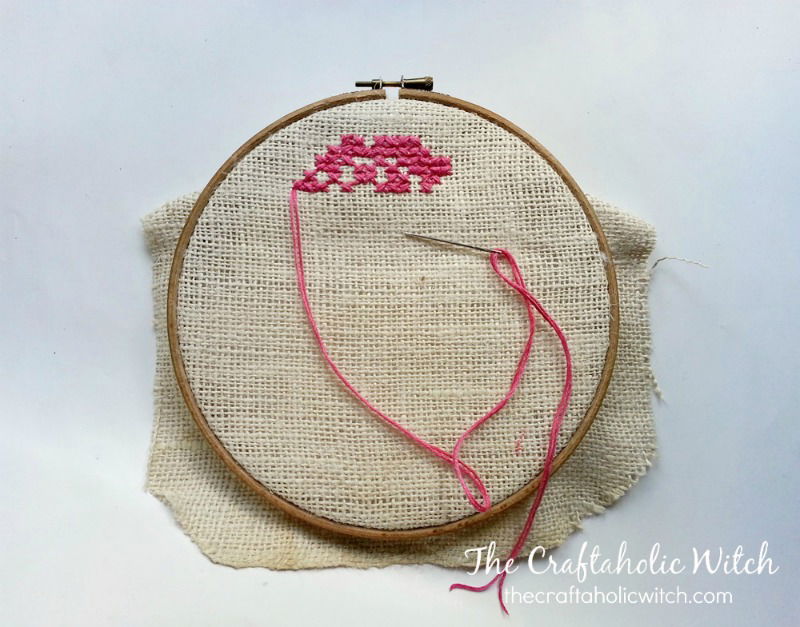
Attach fabric with the embroidery loop, tighten the loop but not too tight. Start from the top part of the large flower.
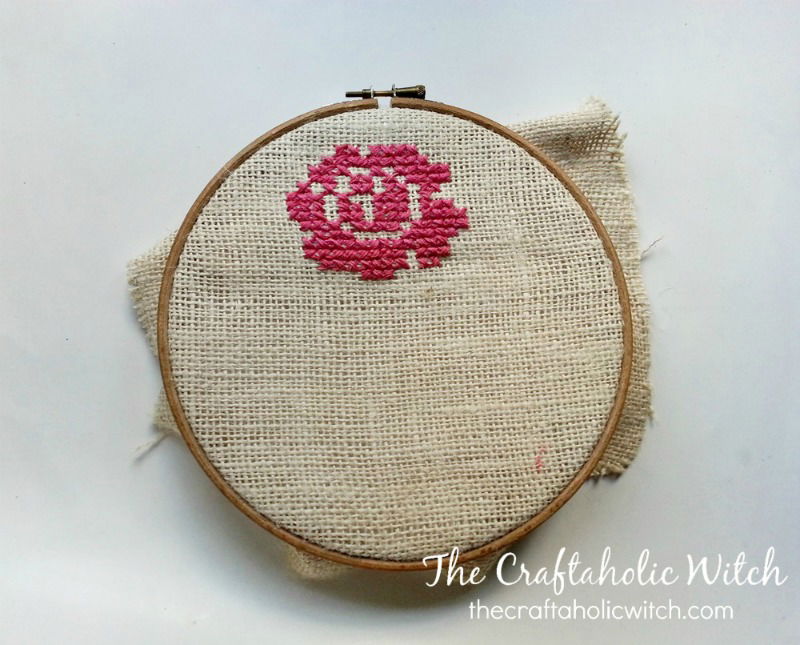
Complete the dark shaded patterns and then go for the lighter shades. Follow the template to complete the cross-stitch.
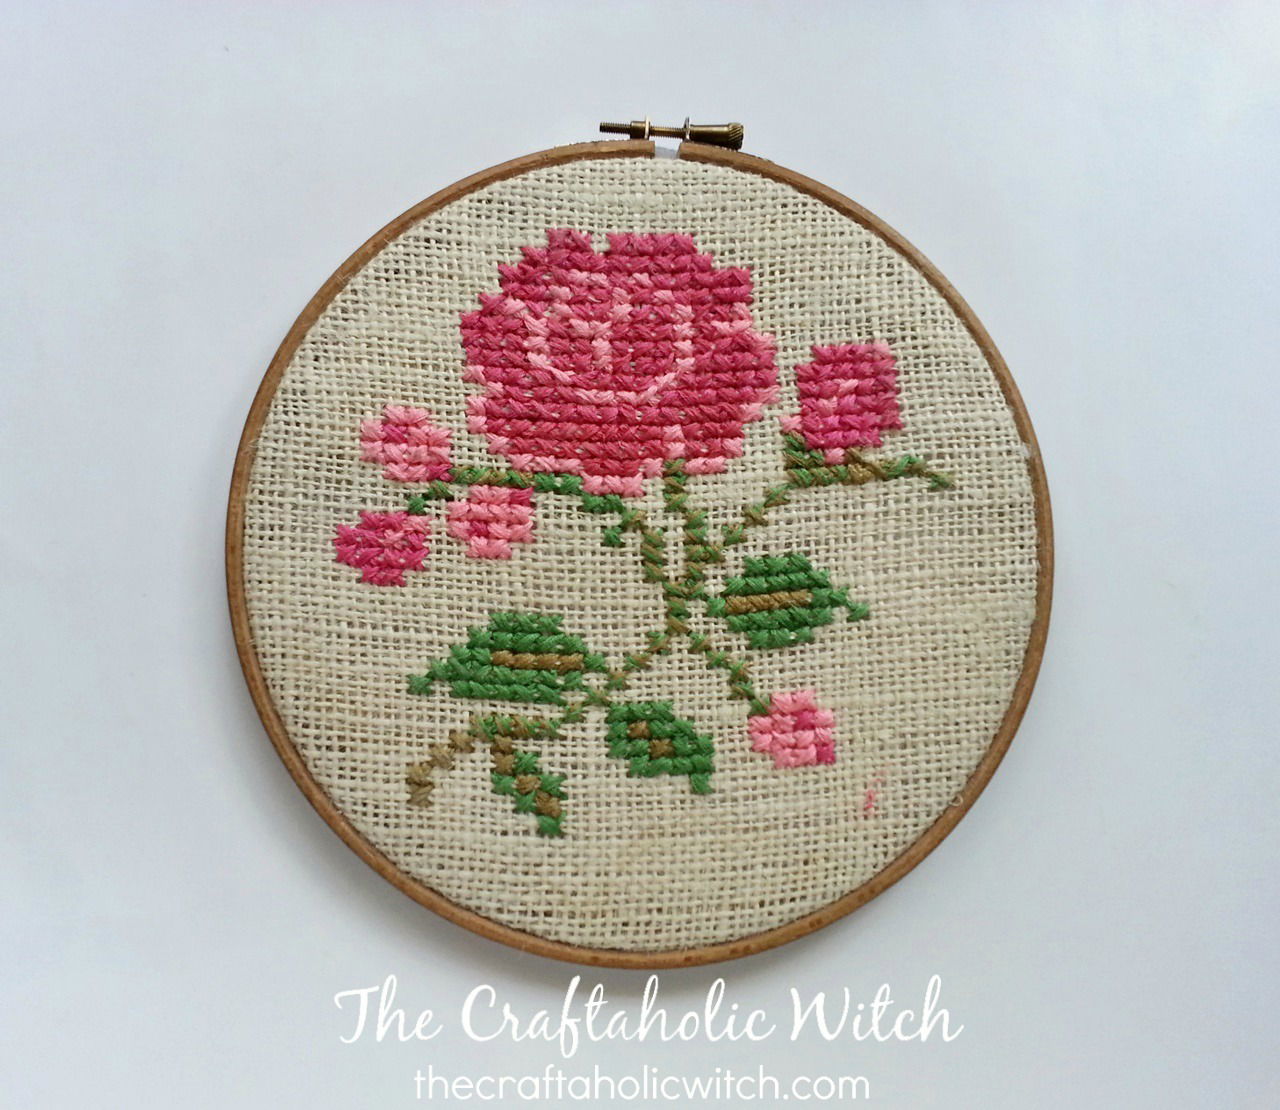
Trim the fabric around the loop, glue a piece of felt to cover the back, apply a coat of white glue-water mixture all over the pattern and hang it on the wall!
Enjoy!


