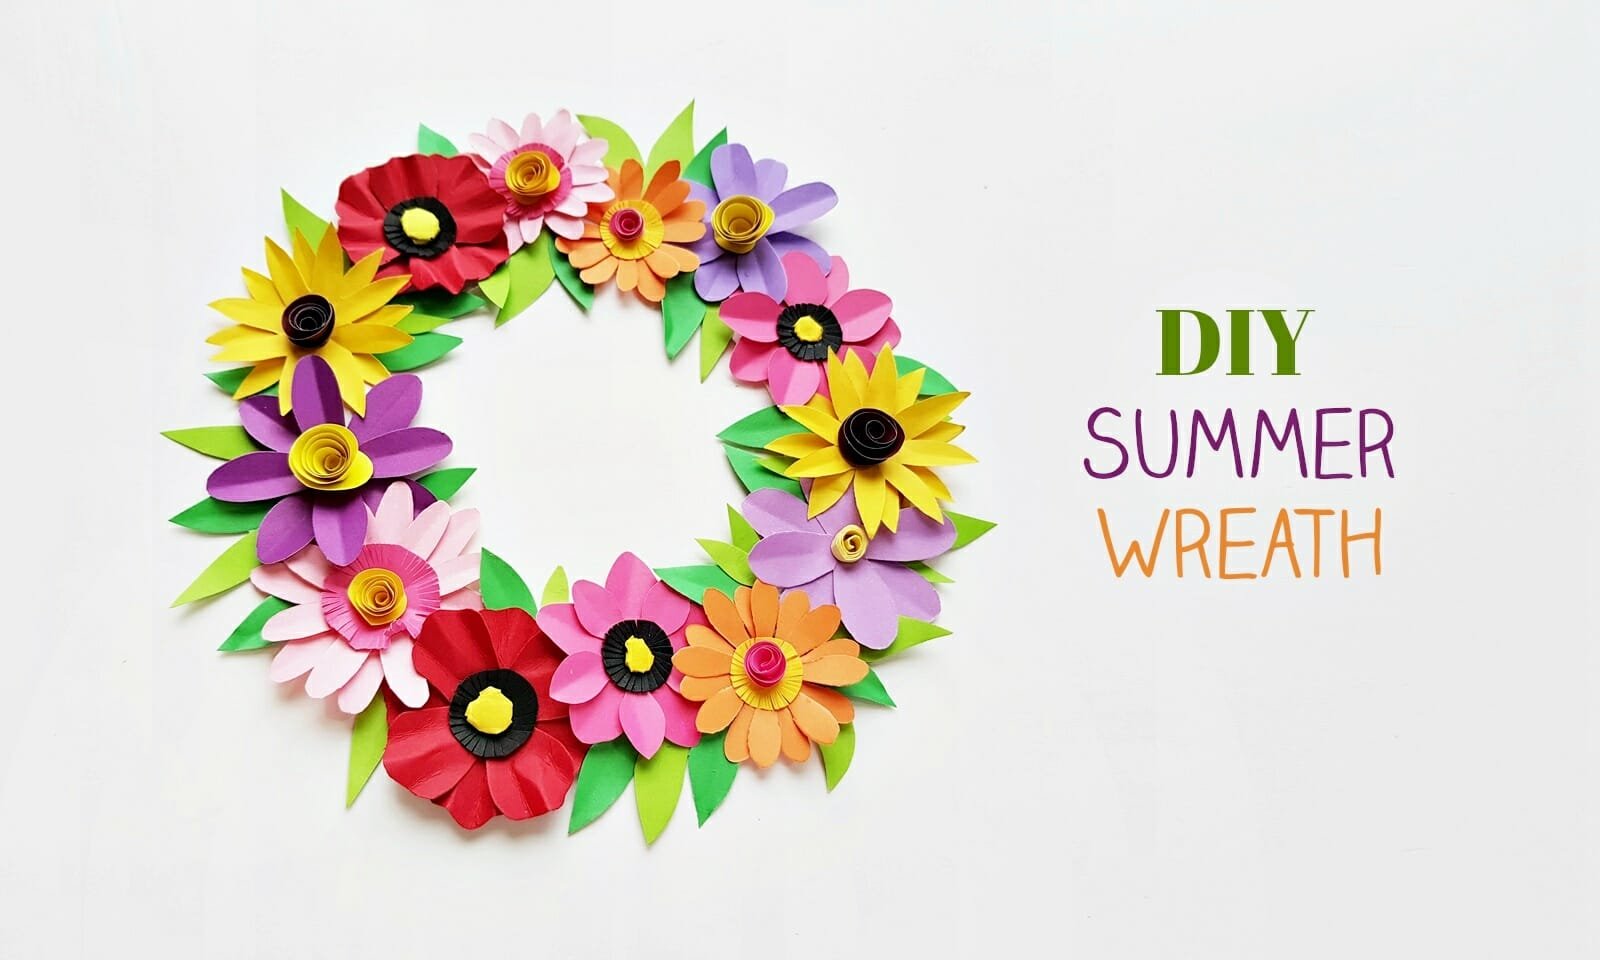
DIY Beautiful Paper Flower Wreath

In this tutorial, you will learn how to make 6 different paper flowers and how to make a beautiful paper flower wreath using them. Enjoy.
I can’t get enough of summer crafts! My head is filled with so many fun and colorful ideas and this DIY paper flower wreath was on my top list! A really easy-to-make paper flower wreath turns out so pretty and definitely brings a summer vibe to your collection of home decors. What are you waiting for? Grab some colorful craft papers and get going!
Meanwhile, have a look at my other paper flower (hyacinth) crafts, paper hyacinth craft, and tissue paper hyacinth craft.
Things You’ll Need
Supplies
- Colored craft papers
- Scissors
- Pencil
- Craft glue
- Wreath base or cardstock paper
Paper Flower Templates
Download and print out the paper flower templates. Cut out the patterns from the template to trace them on the selected craft papers.
Peony and Mexican Sunflower Template
DIY Flower Flower Wreath (Tutorial)
We divided the tutorial into 2 parts. First, we will show you how to make paper flowers and then you will learn how to make the paper flower wreath.
Making the Paper Flowers
Making Mexican Sunflowers
Prepare the Mexican sunflower patterns on craft papers. Use the spiral shape to create a rolled flower pattern. Cut fringes around the outer surface of the round shape. Attach the flower patterns together criss-cross wise. Stick the round fringed cutout on the center of the flower and then stick the spiral pattern on the center of the round fringed pattern.
Making Peony Flowers
Trace the peony flower patterns on pink-colored paper and the round shapes on yellow and black paper. Cut small and even fringes around the outer surface of the round shapes. Crumple the fringes of teh yellow shape towards teh center to form a small round shape. Create crease lines on the petals of teh peony patterns. Attach the peony patterns criss-cross wise. Attach the black pattern on the center of the flower and then attach teh yellow ball pattern on the center of the black fringed round shape.
Making Paper Cosmos Flower
Trace and cut out the cosmos flower patterns on colored craft paper of your choice and trace the strip on yellow craft paper. Use the yellow strip to make lose coil shape. Create crease lines on the cutout cosmos flower patterns, from the tip of each petal towards the center. Glue the flower patterns together criss-cross wise and then add the loose coil on the center of the flower.
Making Paper Daisy
Prepare the daisy patterns on craft papers. Create crease lines on the petals from the center towards the tip of each petal. Use the spiral shape to create a rolled flower pattern. Cut fringes around the outer surface of the round shape. Attach the small flower to the big flower criss-cross wise. Stick the round fringed cutout on the center of the flower and then stick the spiral pattern on the center of the round fringed pattern.
Making Paper Poppy Flower
Trace the poppy patterns on craft papers and cut them out. Create accordion folds on the petals. Cut fringes around the outer surface of the round cutouts. Take the big round cutout and crumple the fringes towards the center to create a small ball shape. Once again, attach the flower cutouts together criss-cross wise. Attach the round fringed shape on the center and then attach the crumpled paper on the black round shape center.
Making Paper Sunflower
Prepare the sunflower patterns on yellow papers and the spiral pattern on brown-colored craft paper. Make a rolled flower using the spiral pattern and stick the flower cutouts criss-cross wise. Attach the rolled spiral on the center of the flower to complete the paper sunflower.
How to Make Paper Flower Wreath
Step 1: Making Paper Leaves and Gathering the Flowers
Trace and cut out the leaf patterns from green-colored craft papers. You may follow this tutorial on making paper leaves. Prepare the wreath base from cardstock paper or simply use a store-bought one. Place the base on a flat surface and gather all the paper flowers and leaves.
Step 2: Attaching Flowers on the Base
Apply glue on the backside of the flowers and stick them on the base. Arrange the flowers nicely on the base, try to fill the base with the paper flowers as much as possible.
Step 3: Filling the Gaps with Leaves
Done attaching the flowers on the base? Now stick leaves to fill any gap between the flowers. Add as many paper leaves as you want, it’s a summer craft after all!
Once the wreath is complete, attach a hanging mechanism on the backside to complete the wreath and hang it on a wall!
We hope you will enjoy this craft and do leave feedback in the comments. If you try out our tutorial, we would love to see your version of the craft. You can share your picture with hashtag #craftaholicwitch or just DM your picture to us on Instagram.
Happy Crafting!
Thank you!


