How to Make Stud Earrings with Wire and Beads (With Video)
Learn how to make earrings with wire and beads in our easy DIY tutorial. These earrings sell for between $8 and $15, but making them using our tutorial will cost you less than $1. We’ve added a video guide to make it even easier.

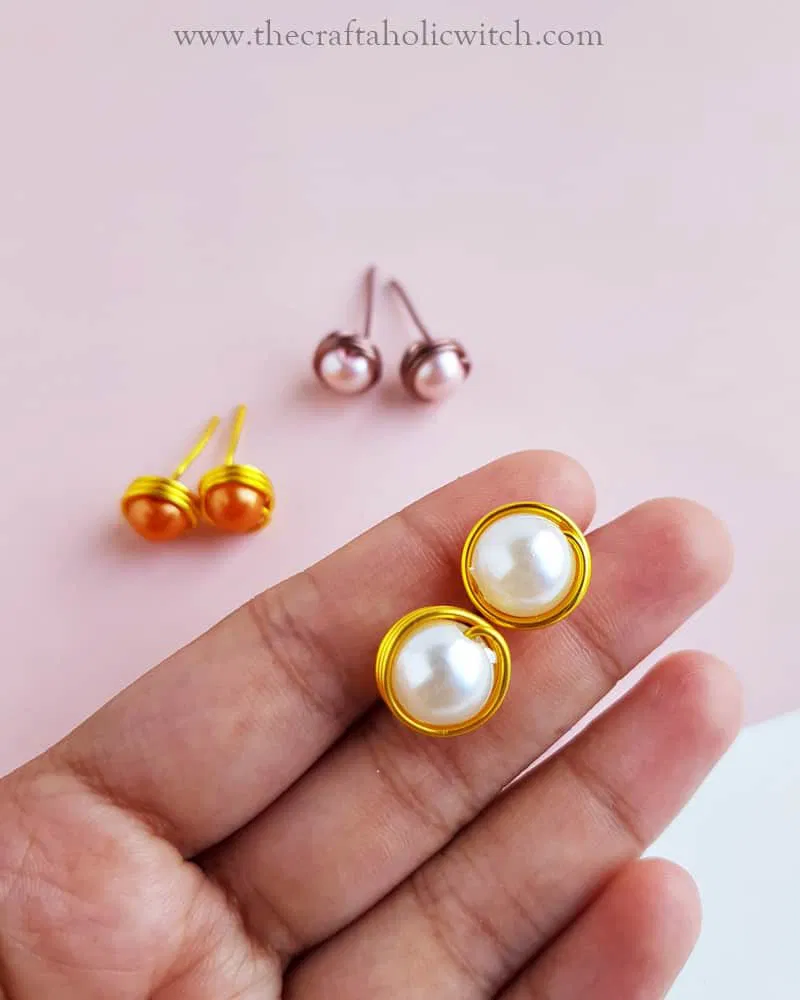 All you need is a pair of beads, jewelry wire, and pliers and you’re good to go. You can craft the perfect pair of cute and simple stud earrings for your summer jewelry collection. So what are we waiting for, let’s get started!
How to Make Stud Earrings
Supplies
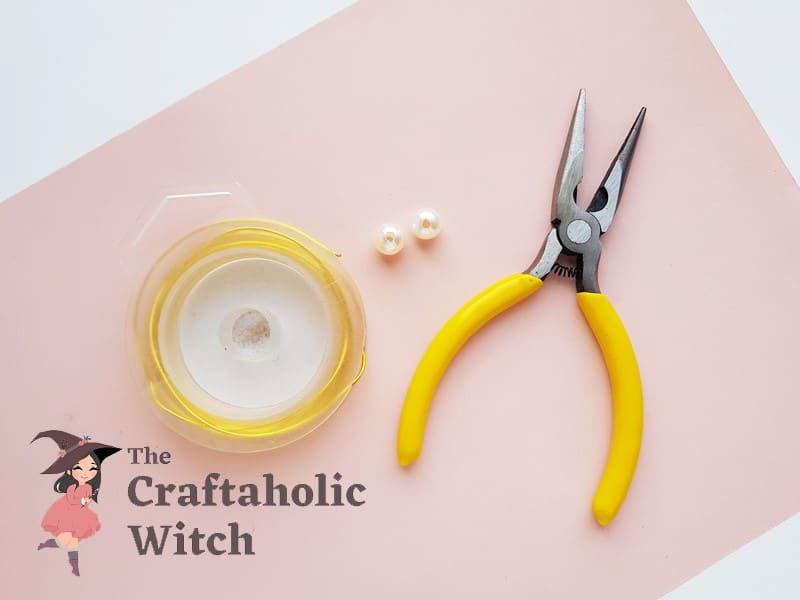
- Jewelry pliers – cutting, looping, and flat nose pliers
- Jewelry wire – 18 gauge
- Round beads – 1.5 cm or less
Instructions
Step 1: Selecting Materials
Make sure to check if you are allergic to craft wire before crafting a pair for yourself. Select 18 gauge, firm wire. Select a round bead of 1.5 cm diameter, you can select beads with a diameter less than 1.5 cm as well, but do not use beads of more than 1.5 cm diameter, the studs might not turn out comfortable to wear if any larger bead is used.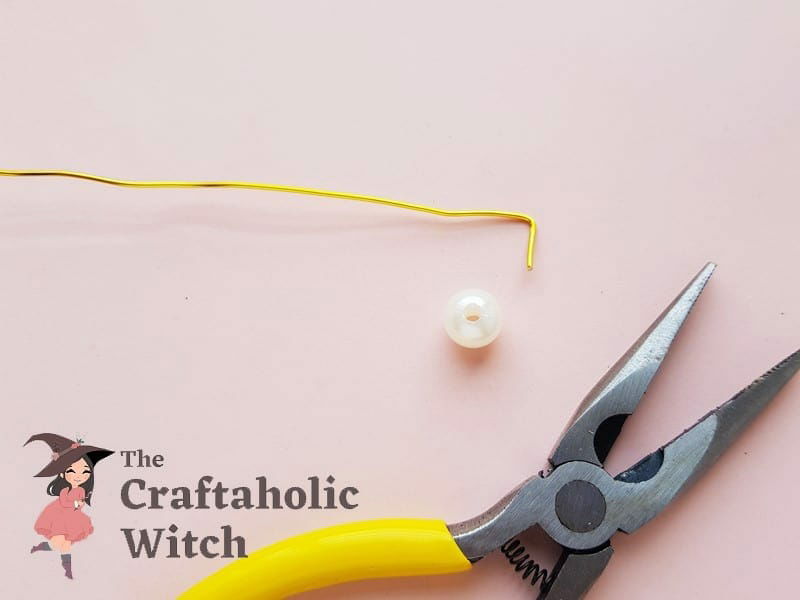
Step 2: Forming the Bead Base
Use the flat nose pliers to bend 1 cm of the wire to 90 degrees. The bent part of the wire is the base of the bead.
Step 3: Insert Bead into the Base
Carefully insert the bead into the 1 cm bent part. Keep this in mind, the size of the bent part should be close to the diameter of the bead selected for the craft. We’re using a 1 cm diameter bead, so we had to bend the wire to 1 cm.
Step 4: Wrap the Bead with Wire
Hold the bead firmly inside the bent part of the wire with one hand and use the other hand to coil the wire around the bead nicely and tightly.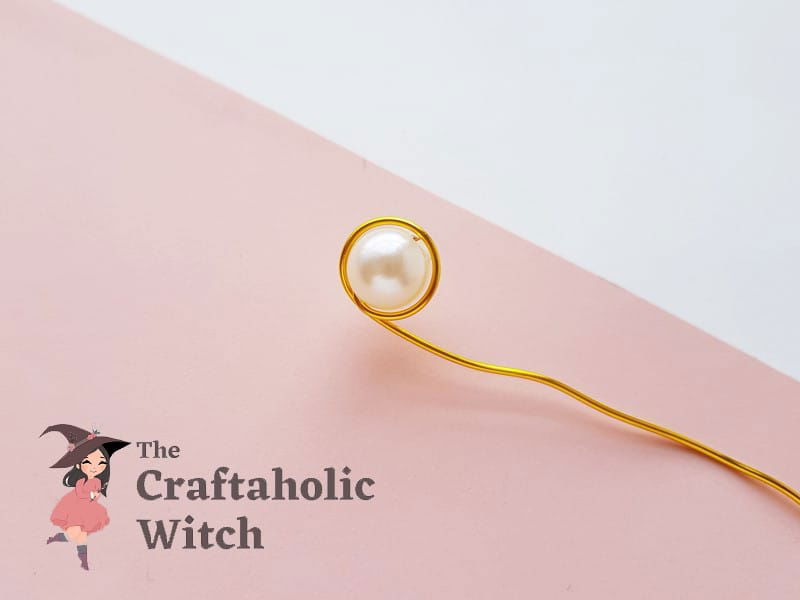
Step 5: Coil the wire Around the Bead
Coil the wire around the bead 2 to 3 times. Make sure to keep the coiled wire flattened with the bead. You can see how the coiled wire looks like around the bead after coiling it 3 times.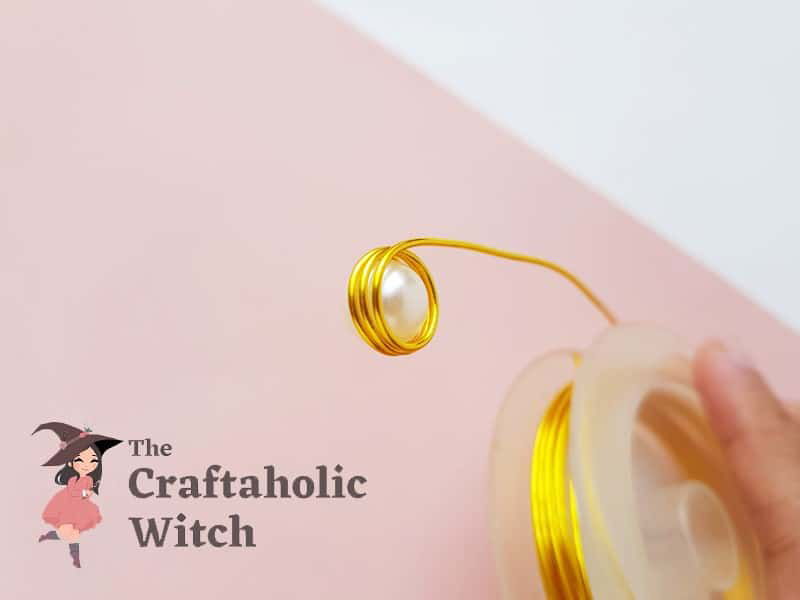
Step 6: Bending Wire to the Backside
Hold the bead and coiled wire firmly, and then bend the open end of the wire to the backside carefully. Bend the wire and draw it along the mid-line of the bead.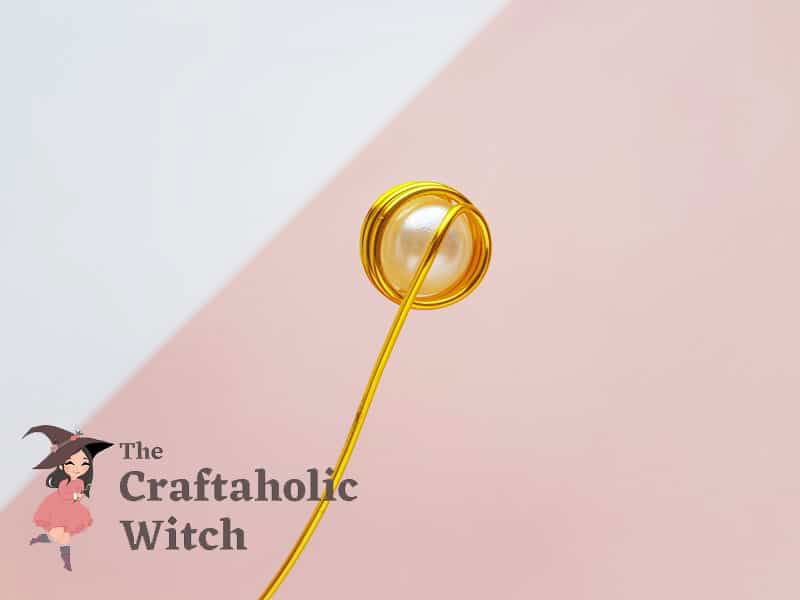
Step 7: Second Bend to the Backside
Hold the wire on the backside and use the flat nose pliers to bend the wire to 90 degrees from the center of the bead. Draw the open end of the wire towards a straight position, opposite the bead’s position.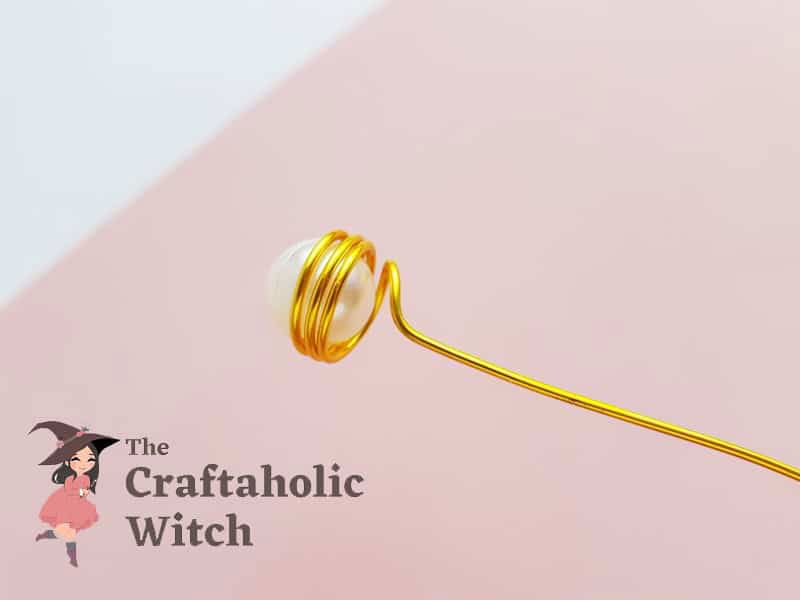
Step 8: Cut Extra Wire
Measure the amount of length required for the backside of the stud earring and cut off the extra wire with the help of cutting pliers.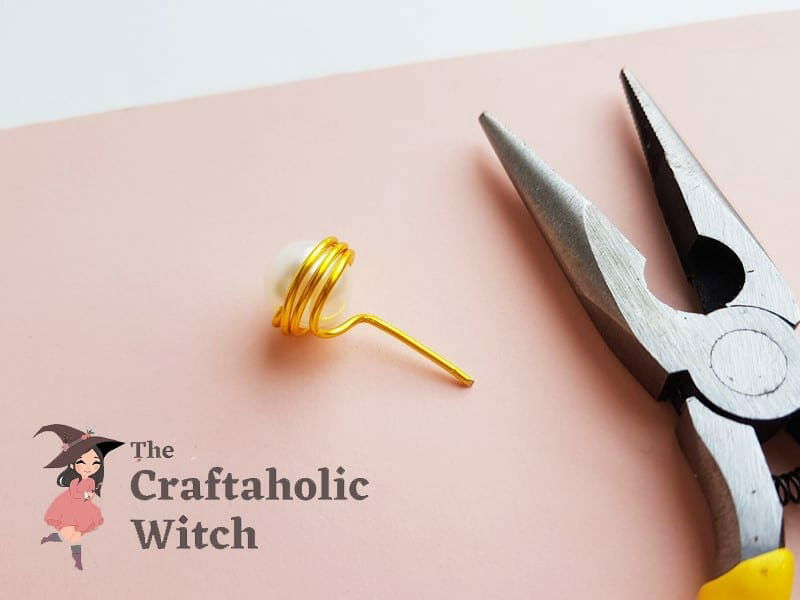
Step 9: Craft the Other Pair
Similarly, use the same bead to craft the other stud earring to complete the pair.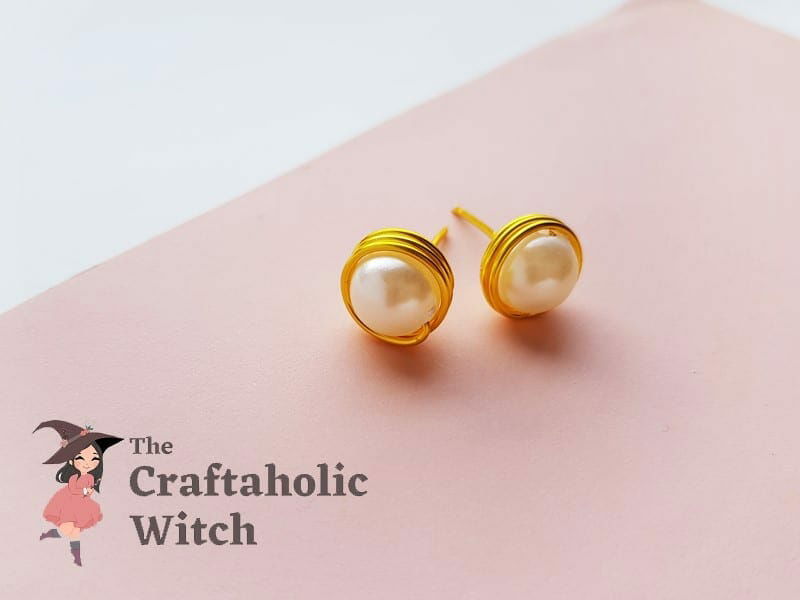
Video Tutorial on How to Make Stud Earrings with Wire and Beads
We also have a video tutorial on how to make stud earrings, you can check it out in case you have difficulty understanding any step.Tips for Beginners
If you’re a beginner in wire wrapping here are some tips to follow while you learn how to make stud earrings with wire and beads.- For wire wrapping projects use wires that are easy to bend but for this project, it should also be sturdy.
- For this particular project, do not cut wire until you’re done wrapping the bead.
- To craft stud earrings use beads ranging from 0.5 cm to 1.5 cm but not larger than that.
- You might need to go for several attempts before crafting the perfect pair so don’t be disappointed about that.
- Always keep practicing, the more you practice the better your skills will get.
These stud earrings are one of our favorites and we really hope that you will like them too! Don’t forget to share your feedback in the comments below. Share pictures of your version of the craft with us if you do give them a try. You can share your picture with hashtag #craftaholicwitch on Instagram or Facebook or just DM your picture to us on Instagram or Facebook page. Happy Crafting! Thank you!
Check ’em Out
- Have you ever lost your earrings? I guess yes. Check out our DIY Stud Earring Organizer tutorial. Keep your earrings organized and never lose’em, not even a single one!
- A beautiful wire warped bead pendant that matches with these stud earrings.


