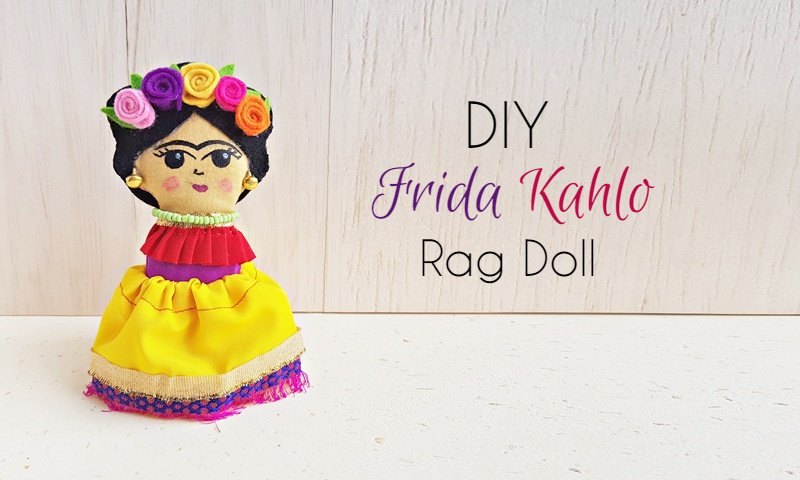
DIY Frida Kahlo Doll

Frida Kahlo Doll Sewing Pattern
I’ve been wanting to make a rag doll for a while now but my basic being not-so-good, I had to start from the very beginning. So, I tried to come up with some beginner friendly doll sewing patterns and obviously my first choice was a Frida Kahlo doll! If you’re also a beginner in sewing projects and looking for a good and easy start, this DIY Frida rag doll is it!
To be honest, I’m not quite satisfied with the final craft but it was definitely better than my first two attempts! But yes, this Frida Kahlo doll pattern is very beginner-friendly and requires only a few basic craft and sewing supplies. Hopefully, I’ll be practicing from now on and keep you guys updated as I pass each difficulty level for ragdoll sewing projects 🙂
List of Supplies
- Cotton fabric
- Golden or colorful lace
- Felt fabric
- Fabric chalk or marker
- Scissors
- Needle and thread
- Cotton
- Fabric paint and paintbrush
- Seed bead
Template
Download the free Frida Doll Pattern and print it out.
Tutorial
Step 1
Select brown (or any other coloured fabric as you want) fabric for the Frida doll base and black felt fabric for the hair. I’m using colourful felts to make the flowers from spiral cutouts. Select fabrics of your choice for the dress for the Frida doll. Also grab some pretty ribbons or laces to decorate the dress.
Step 2
Use needle and thread (or you can also use a sewing machine) to attach the top and the bottom parts of the dress, for both front and backside. I used a small piece of red fabric to create a ruffled lace along the neck opening of the front side of the dress.
Step 3
Grab the body cutouts (the base of the doll) and place them on a flat surface. Place the front side of the dress on any one of the body cutout and place the other side (the back side of the dress) on the other body cutout. Use a fabric pin to attach the dress parts with the body cutouts, to secure their placements. Stitch along the top side of the dress with the body base for both pieces.
Step 4
Now place both body bases on top of each other with their wrong sides facing out. Prepare needle and thread to stitch around the side of the fabric patterns.
Step 5
I did simple running stitch around the open side of the fabrics to attach both body cutouts together. While stitching keep in mind to keep a small opening to turn the right side of the fabric doll pattern out.
Step 6
Carefully turn the right side out through the small opening. Keep the small opening as it is, we’ll be filling the doll pattern with cotton through this opening.
Step 7
I used cotton to stuff the fabric doll pattern. Keep stuffing cotton until you are satisfied with the doll pattern.
Step 8
Use needle and thread to stitch the small opening and secure the stuffing. Make sure to stitch the opening as neatly as possible, use matching thread.
Step 9
Grab the back side of the felt hair pattern and place it under the head [art of the Frida fabric doll.
Step 10
Now, grab the front pattern of the felt hair pattern and place it on the front side of the Frida head part. Prepare needle with black thread.
Step 11
Match the open sides of both hair patterns (back and front) and stitch them along the outer side with the black thread. Use fabric paint to draw the eyes, eyebrows, nose and lips of the Frida doll. I glued 2 golden jewellery charms for the earrings.
Step 12
Make a small necklace using seed beads, flowers from felt fabrics and attach pretty laces along the bottom side of the dress. Attach the felt flowers on the hair of the Frida doll by using hot glue.
You can add as much details as you want for the Frida Kahlo doll!
Share a picture with us if you give it a try and let us know in the comments below if you’d like to see more doll sewing patterns.
Happy Crafting!


