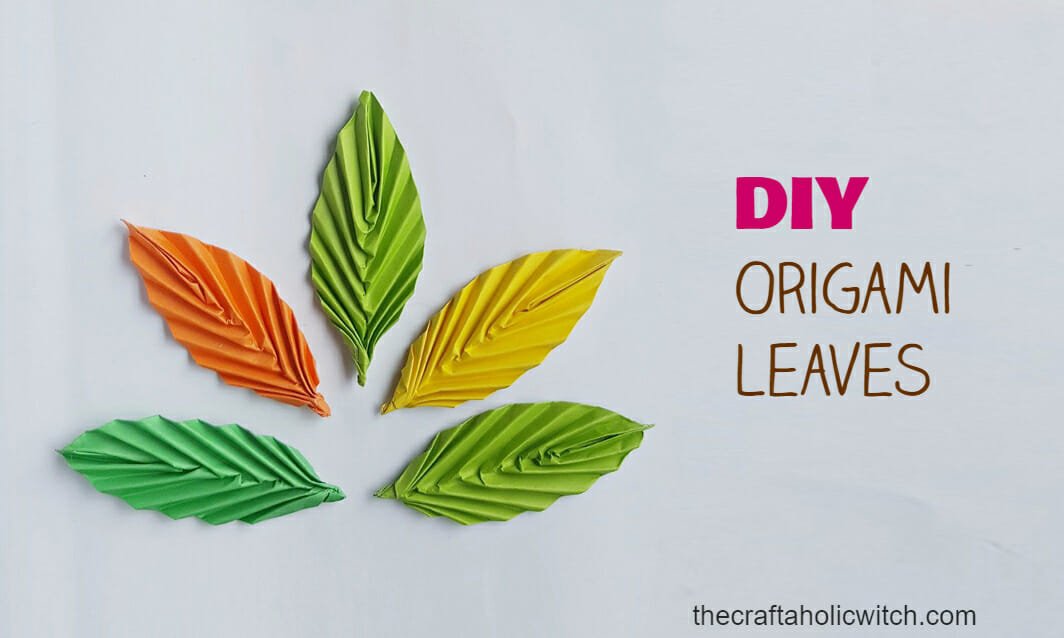
How to Make Easy Origami Leaves (for Beginners)

Folding an Origami Leaf can be a great start if you are jumping into the vast world of origami. On top of that, origami leaves have thousands of real-world uses. you can use them as decorations. Hang on the wall or use it as accessories of other origami crafts. Let’s jump on to our how to make an origami leaf tutorial and make some for yourself.
DIY Origami Leaves
If you’re new to the craft world and looking for a project to get started, well, paper crafts are surely a good choice. And among all kinds of paper crafts ‘origami paper craft’ is the best to get crafty. All you need is a piece of paper to learn and practice your skills, no other tools required. But it’s handy to keep a pair of scissors and craft glue near. What I love about origami paper crafts is that you don’t need any tools or supplies. Grab a little paper and you’re good to go!
What I love about these paper origami leaves is the final texture and did I mention that I L-O-V-E making accordion folds! This craft can also improve your accordion folds-making skill. So what are you waiting for? Spare a few minutes, grab a paper and make one!
How to Make Origami Leaves
Supplies:
- Colored craft papers
- Scissors
- Craft glue (optional)
Follow the tutorial and make some fun origami leaves!
Instructions:
Step 1
Take a square piece of craft paper or prepare a craft paper into a square. Fold the paper into half (lengthwise) to mark the center line. Unfold it again.

Step 2
Fold the paper evenly from both sides and align their ends with the center line created in step one.

Step 3
Again, fold the paper into half lengthwise.

Step 4
Create a small and diagonal fold on the folded paper from any one open end corner.

Step 5
Create diagonal accordion by keeping the folds aligned with the first fold. The folds should be very neat and even.
Step 6
Continue making small diagonal folds until you reach the other end of the folded paper.

Step 7
Unfold the last half fold that you did in step three.

Step 8
Squeeze and glue the bottom of the folded paper to create the bottom part of the leaf.

Step 9
Also, squeeze the top of the folded paper to form a basic leaf shape; also apply a small amount of glue to keep the pointy edge fixed.
Step 10
You’ll see a small part of the paper pointing out at the back side of the leaf, use scissors to trim that part.

These paper leaves can be used for a number of other crafts. Besides, this project can be a great start for origami beginners!
Happy Crafting!


SUPER..AWESOME..NEED MORE
I’m glad that you liked our tutorial. We also have an origami maple leaves tutorial on our website. I hope you’ll like that too.