How to Make Beautiful Tissue Paper Roses

Roses are one of the most beautiful flowers, no doubt, and people have been making them out of various materials for ages. This time I will show you how to make tissue paper roses that you can give as a gift to your loved ones or use as home decor.
DIY Tissue Paper Roses
I had a bunch of mulberry papers in my stock but wasn’t sure what to do with them. However, I’ve gotten into making paper flowers these days (it’s really an addiction!). And here we have, ombre mulberry paper roses!
These are super easy to make and turn out really cute. Check out the tutorial and let me what you think 🙂
Things You’ll Need
Supplies
- Craft tissue papers – 3 shades of similar colors
- Scissors
- Craft glue
- Green craft paper
- Pencil
Tissue Paper Rose Petal Template
Download this tissue paper rose template and print it out. Use scissors to cut out the patterns.
How to Make Tissue Paper Roses
Instructions:
Step 1: Prepare the Petals
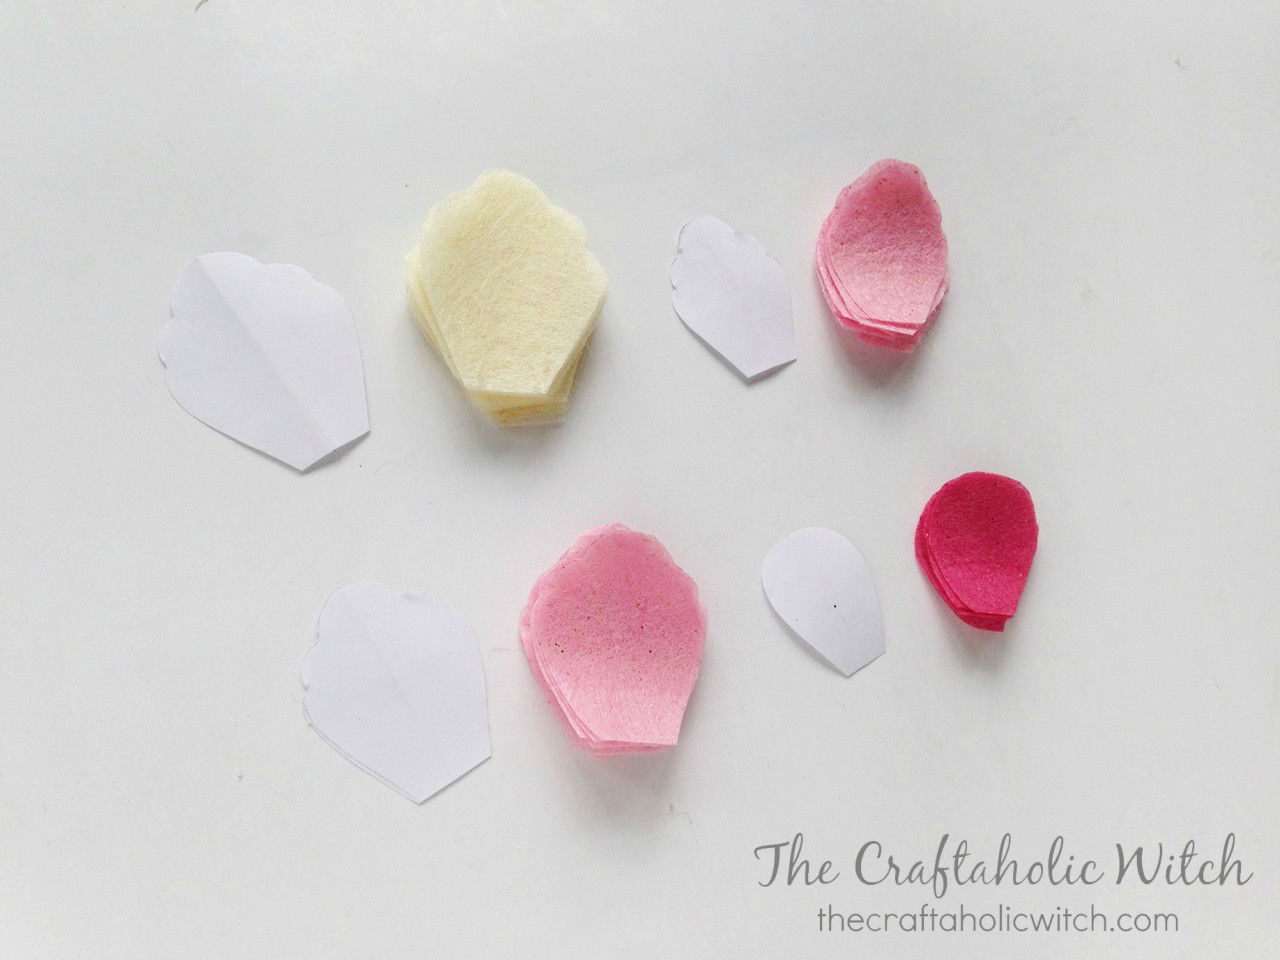
Print and cut out the petal patterns from the template. The template includes 8 small petals, 10 medium petals, 12 medium-large petals, and 16 large petals.
Select at least 3 ombre shades of similar colored tissue paper for the flowers. Trace the petals on the tissue papers and cut the petals out of them. Either start (from the smaller petals) with the lighter shade and use darker shades for the outer edges or do the opposite.
Step 2: Make the Stem and Fringe of the Tissue Paper Rose
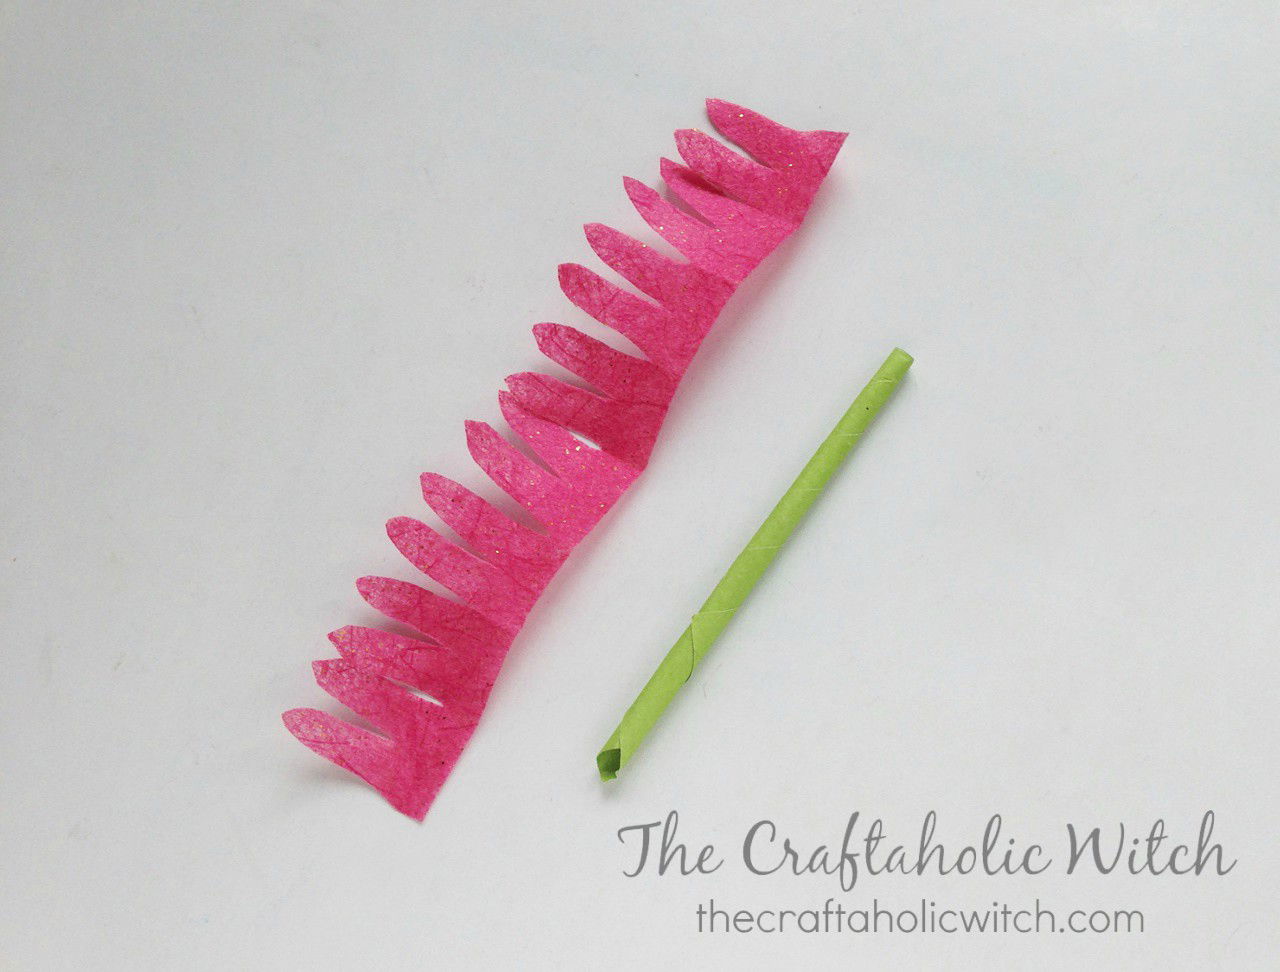
Cut a rectangular piece out of green craft paper and roll it into a straw pattern to create the stem of the flower; apply glue to secure the roll. Also, use the paper chosen for the center petals to cut out a strip and create fringe on it with round edges.
Step 3: Attach Stem and the Fringe
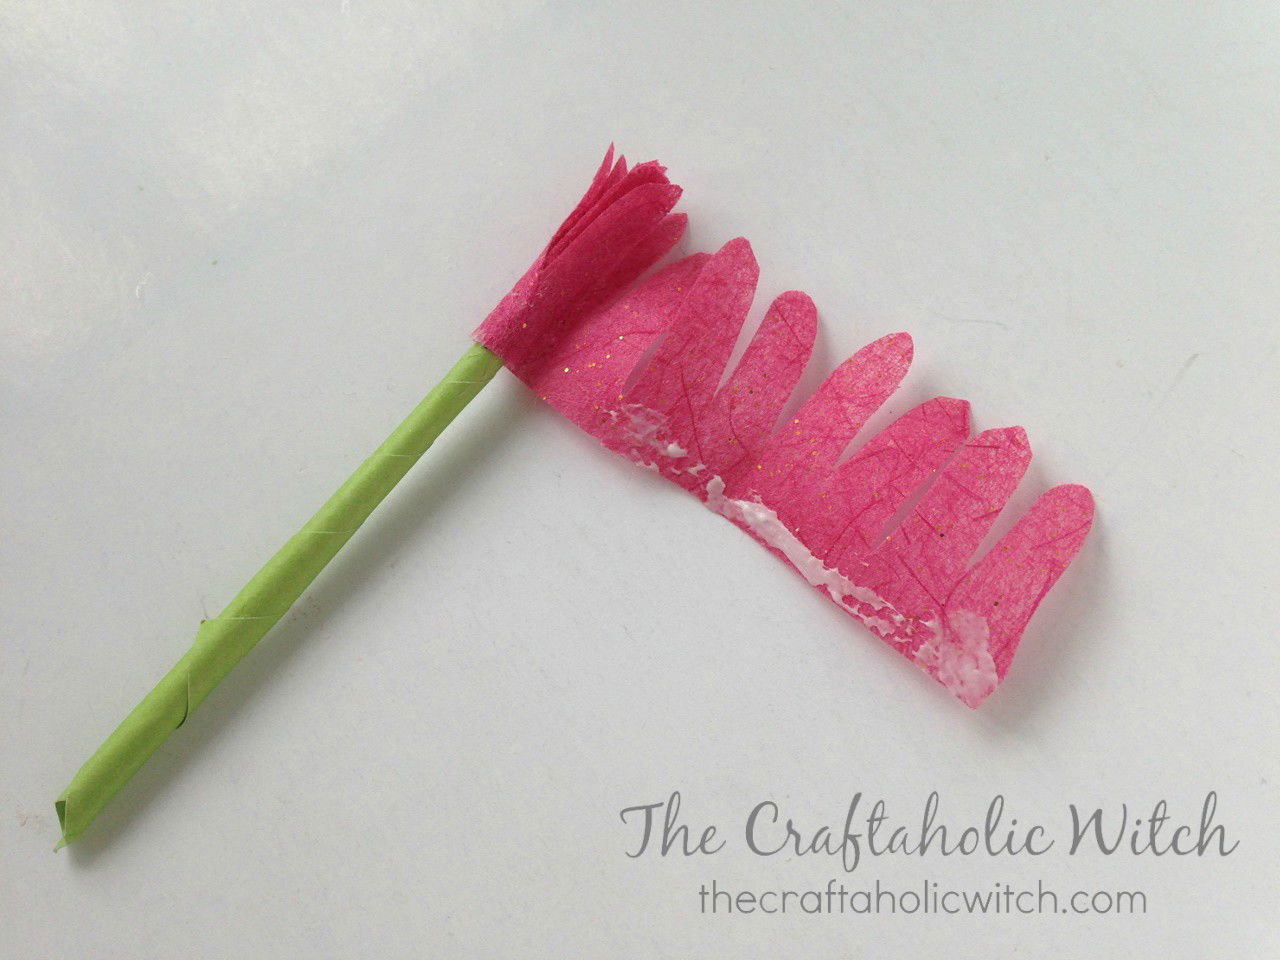
Apply glue on the fringed piece from the previous step and roll it around the green stem near any one of its open ends.
Step 4: Attach Small Petals
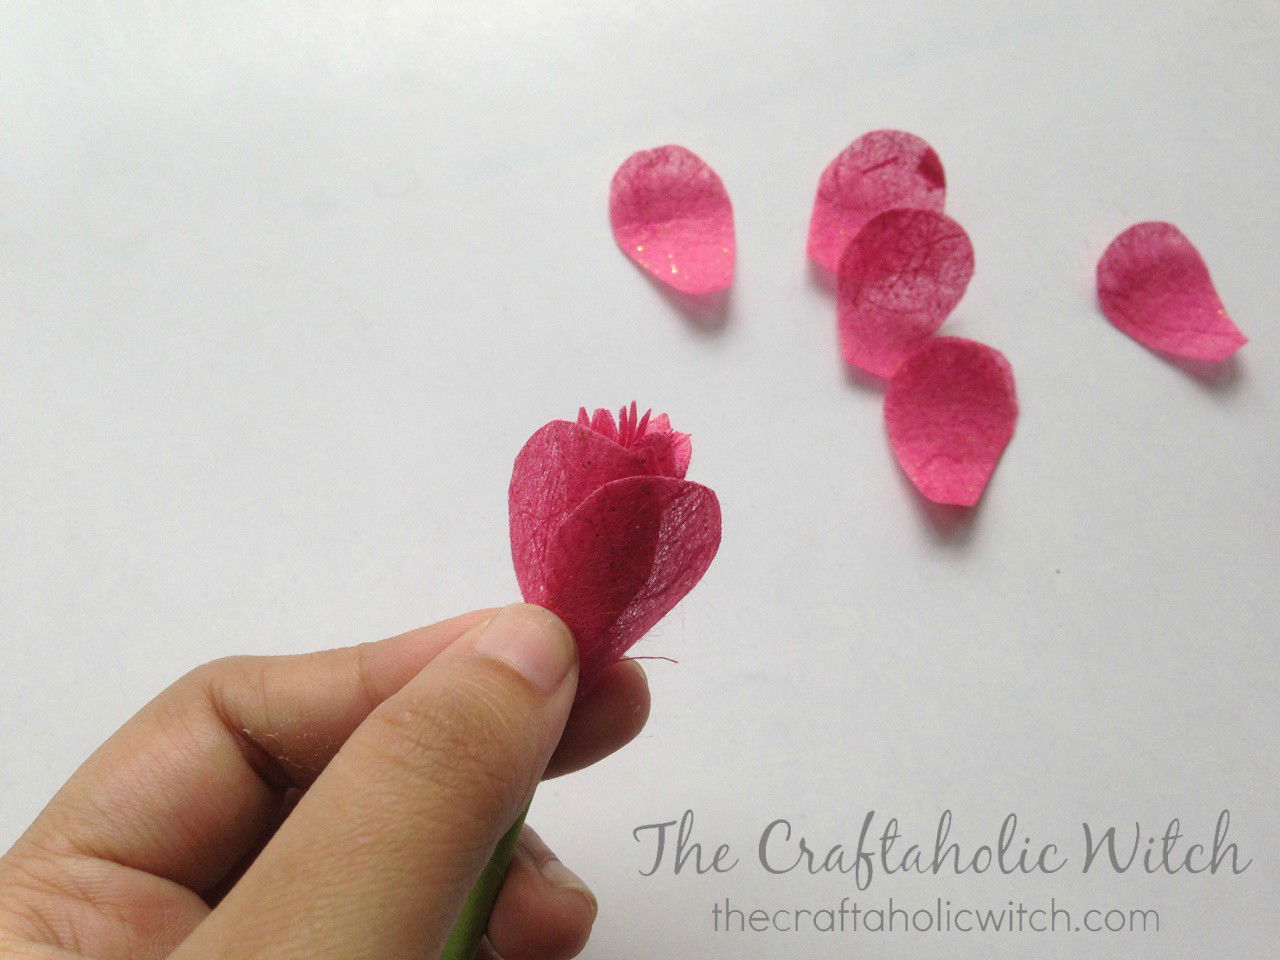
Now, adding the petals. Start by gluing the smaller petals around the rolled fringe. Keep a nice and blooming pattern while adding the petals.
Step 5: Attach Medium-Large Petals
Done adding the small petals? Let’s start to add the medium-large petals. Once again, don’t forget to create a blooming pattern while gluing the petals. I used the same shade for the medium and medium-large petals.
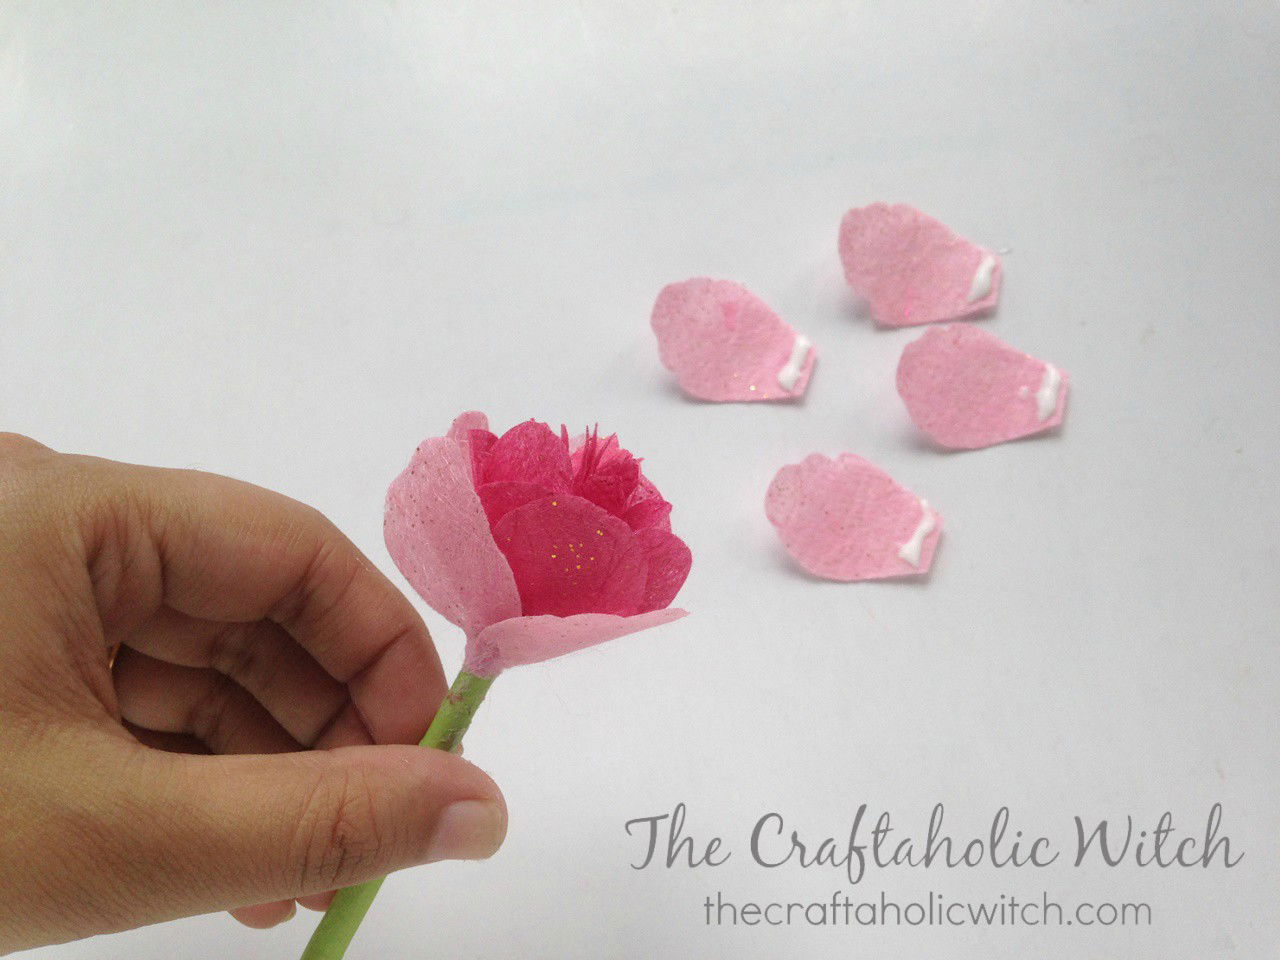
Step 6: Attach Large Petals
And, at last, gluing the large petals. This will be the last layer, so make sure to add the petals as neatly as possible to give the flower a nice finished look.
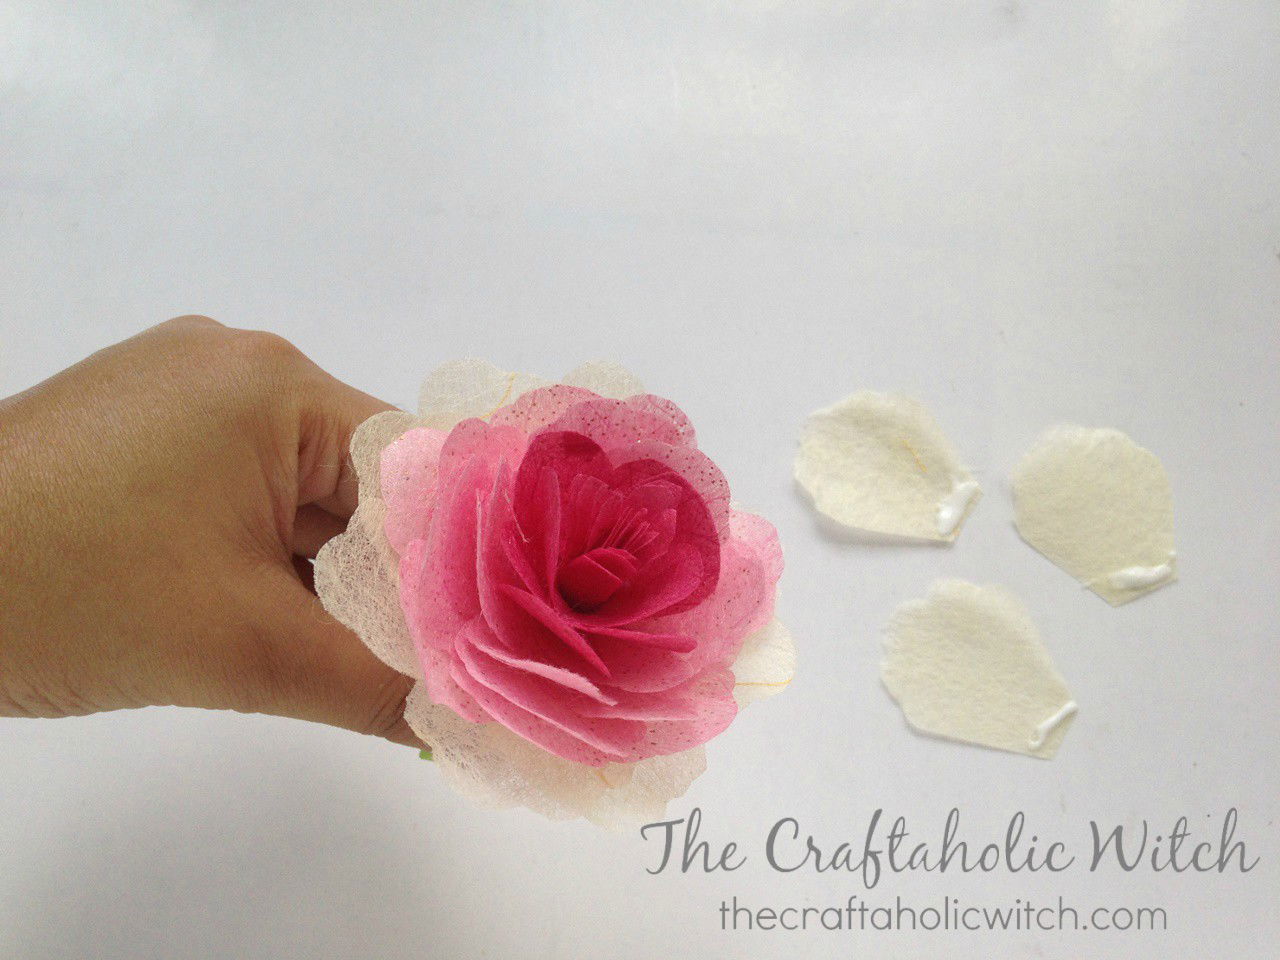
Step 7: Make and Attach Leaves
Create leaves from green tissue paper or fabric. Now, carefully glue them with the stem.
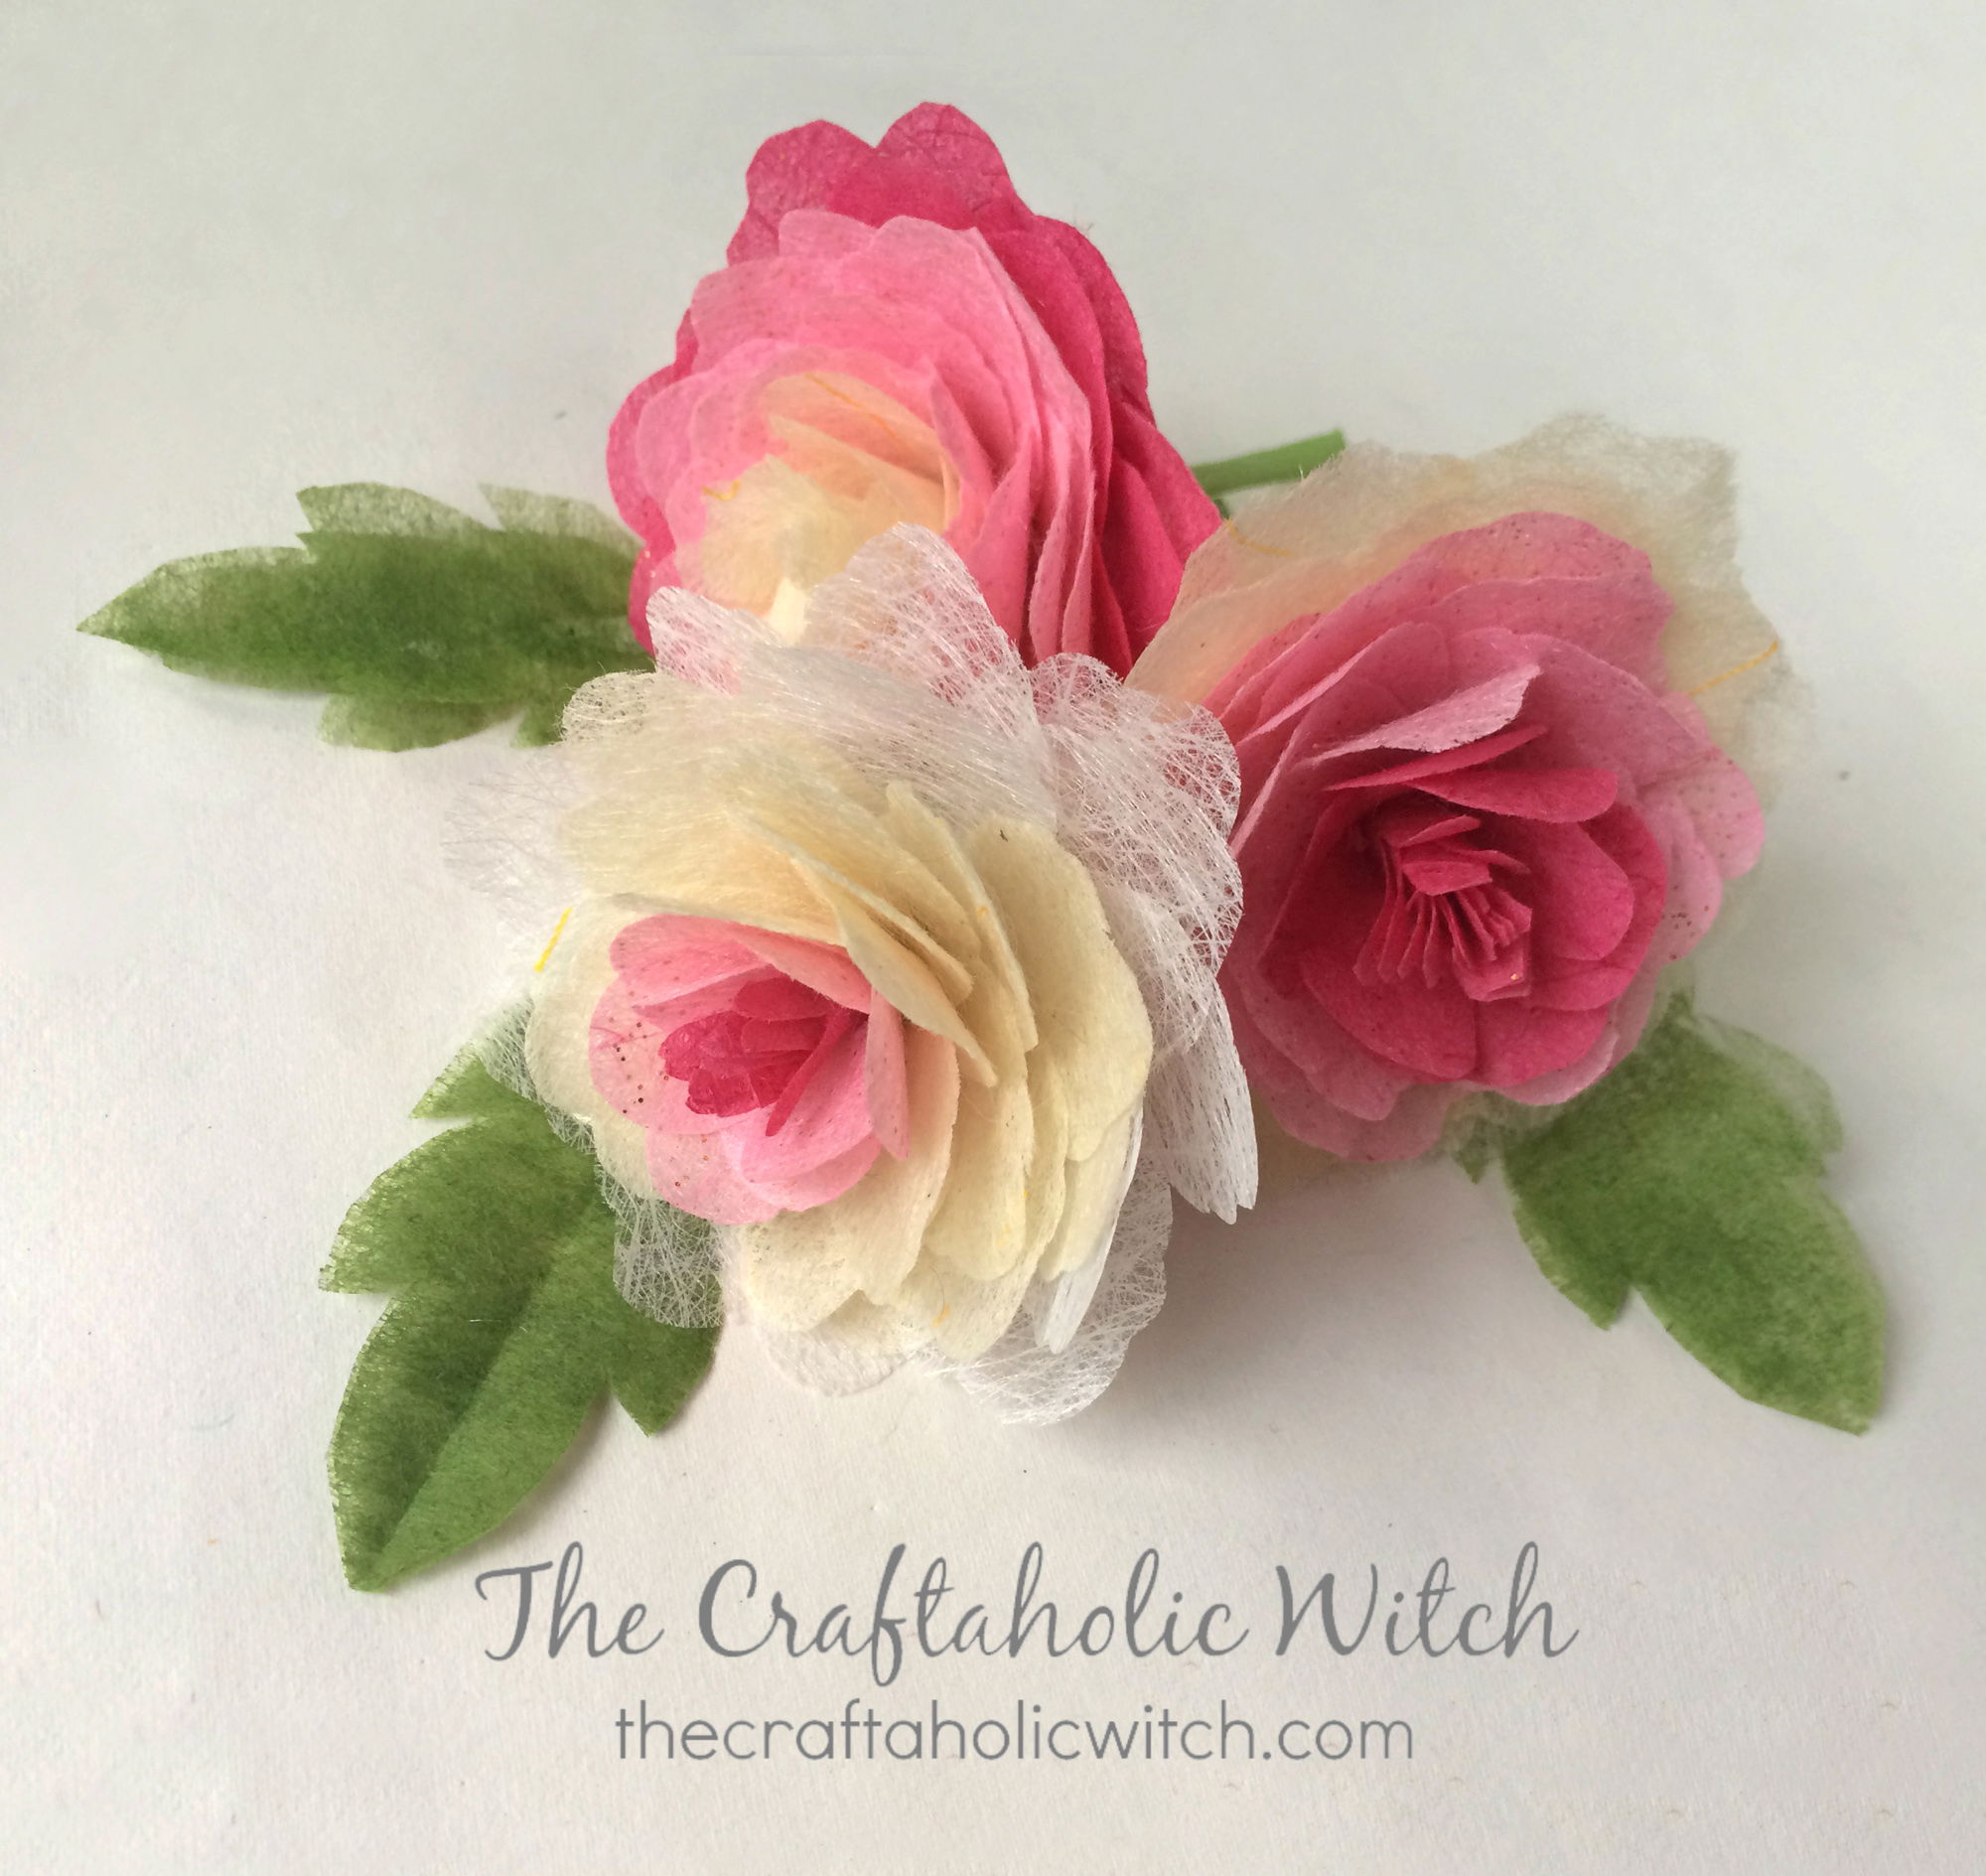
Have fun by mixing and matching different colors and shades!
Don’t forget to share your feedback in the comments below. Share pictures of your version of the craft with us if you do give them a try. You can share your picture with hashtag #craftaholicwitch on Instagram or Facebook or just DM your picture to us on Instagram or Facebook page.
Happy Crafting!
Thank you!


