Create Spring Flower Art!

Lets celebrate spring! How? well, I’m sticking to crafting!
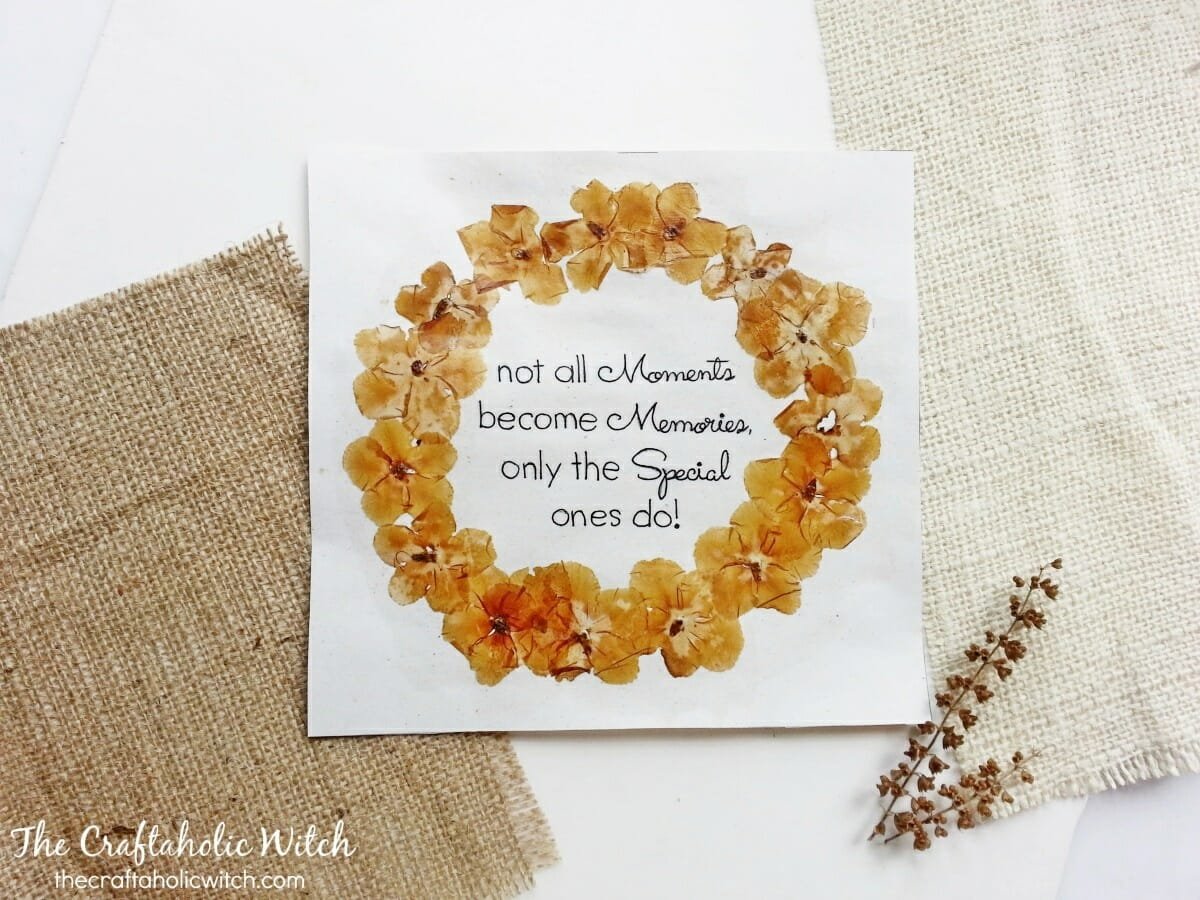
Try making this pressed flower art using this years spring flowers. I’m loving the final pattern of the art so I couldn’t resist sharing the tutorial. I’m sure you already have the supplies, just collect some spring flowers and you’re good to go.
“You can cut all the flowers but
You cannot keep spring from coming”
-Pablo Neruda
 Ahh, fresh spring flowers, aren’t they the prettiest! Picked them on the very first day of spring, there were tons so I thought picking a few wouldn’t hurt. I wanted to keep these flowers as remembrance of this years spring and this was the first idea that hit me.
 I used handmade art paper for the canvas because after pressing the flowers the colors are definitely going to fade and it’ll create a rustic look, so handmade paper was my first choice. You can use any kind of paper but don’t use too thin papers.
 I had to cut off the stems of the flowers so that I could lay them flat. Arranged the flowers on the paper in circle. I simply placed a heavy book on them carefully, making sure that the flowers stay on their position.
 I kept the flowers pressed for the next 24 hours and this is how they turned out. Used a pencil to write down a quotation inside the circle and then traced the writing with a gel pen.
 Mix water and white glue 50:50. Brush the water-glue mixture over the pressed flowers nicely and allow the glue to dry. This will keep the flowers from further fading, stiffing or shrinking.
 You can create so many different and fun patterns using this technique. Hope you enjoy creating one!
Happy crafting! 🙂


