

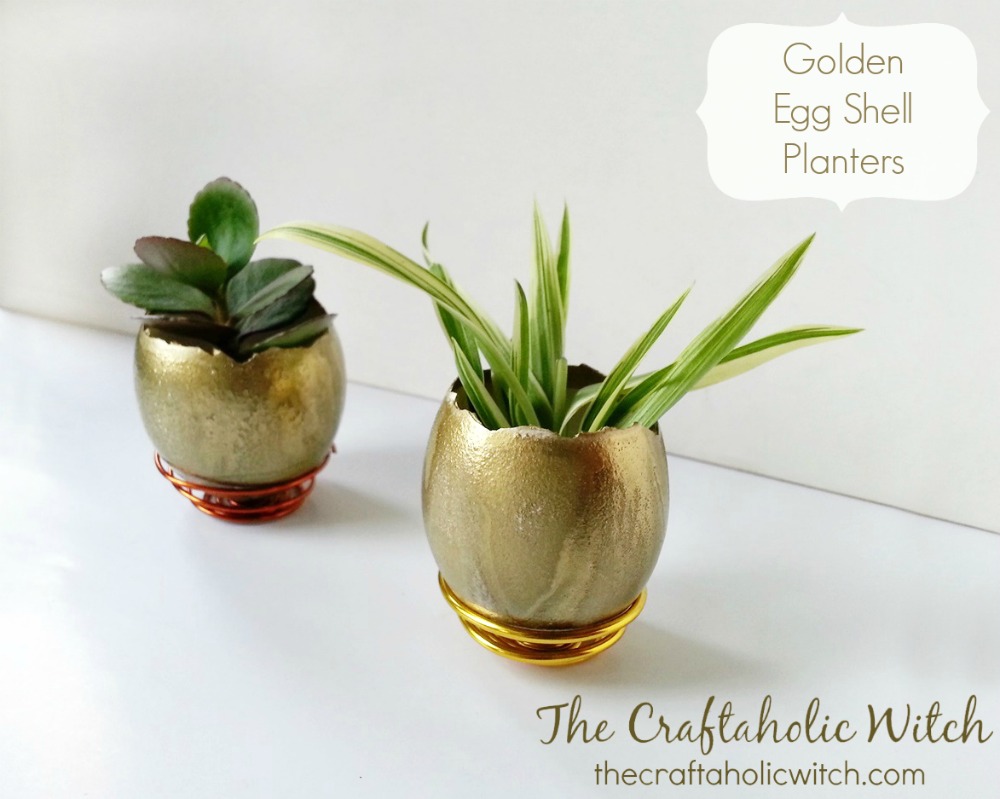
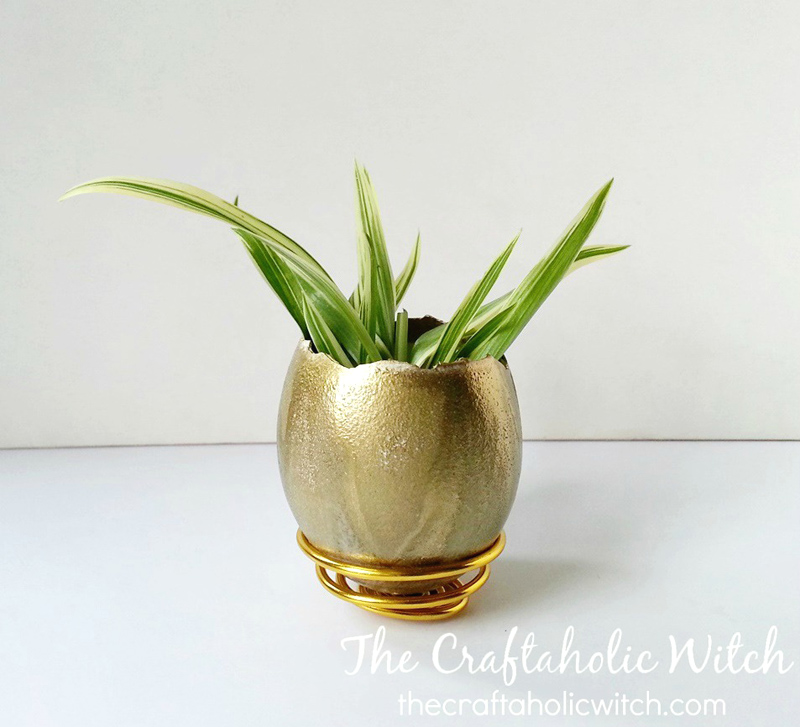
These golden egg shell planters came together in a spare afternoon, and I haven’t stopped making them since. The wire spiral stands are the part that surprises people most. They look intricate, but you’re really just coiling wire around itself and pulling it into shape. If you’ve got eggs, wire, and a can of gold spray paint, you’re ready to go.
They make a lovely Easter centerpiece with tiny succulents tucked inside, and a cluster of 5-7 looks beautiful on a windowsill year-round. Small herb seedlings work too; basil and mint look sweet poking out of a golden shell.
Golden Egg Shell Planters at a Glance
- Difficulty: Beginner
- Time: 15 minutes
- Cost: Under $5
- Ages: 10+
- Best for: Easter decor, windowsill gardens, handmade gifts
Join Craft Challenge: Craft Your Calm
Make something that brings you a sense of peace, share a photo, and tell us your story. It's free to enter, open to everyone, and the entry with the most reactions takes home a $100 gift card. Takes five minutes to join.
Entries close August 30, 2026. No purchase necessary.
What You Need to Make Golden Egg Shell Planters
Materials
- Raw eggs: the shells become the planters; 3-5 eggs make a nice cluster
- Gold spray paint: metallic gold gives the richest finish; bronze or copper work too for a mixed-metal look
- Small plants or decorative moss: tiny succulents, herb seedlings, or air plants all fit comfortably inside a shell
- Potting mix: just a small pinch per shell to anchor the plant upright
Tools
- 14-16 gauge craft wire: 16 gauge is easiest to shape by hand; 14 gauge gives a sturdier stand if you want more rigidity
- Round-nose or looping pliers, for starting the central loop cleanly; needle-nose pliers work in a pinch
- Push pin or thick needle, to make a drainage hole in the bottom before cracking the top
Ask inside "Crafty Q&A" while you are making.
"Crafty Q&A" is free to join. Share your question, photo, or the exact step where you got stuck, and chat with other makers plus the Craftaholic Witch team. You can also join any discussion thread already happening inside the space.
How to Make Golden Egg Shell Planters
Step 1: Crack, Drain, and Paint the Egg Shells
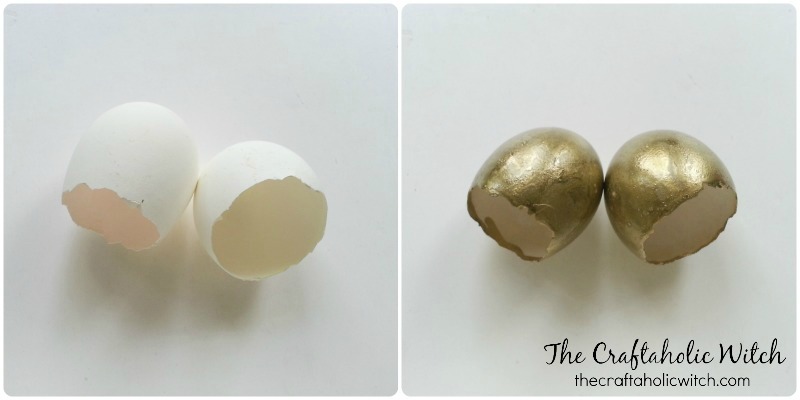
Use a push pin to make a small hole in the bottom of the egg first; the air gap lets the white and yolk drain cleanly when you hold the egg over a bowl. Then tap the top quarter of the shell with the back of a spoon and peel it away carefully, aiming for as even a break as possible. Rinse the inside with cold water, drain it upright, and let it dry for about an hour.
Once dry, spray the outside with gold paint. Two coats give a solid, even finish. Let the first coat dry fully before adding the second. Spray from about 30 cm away and rotate the shell slowly for full coverage. A slight wobble in the broken edge is fine; it adds to the handmade look rather than working against it.
Step 2: Coil the Wire into a Flat Spiral
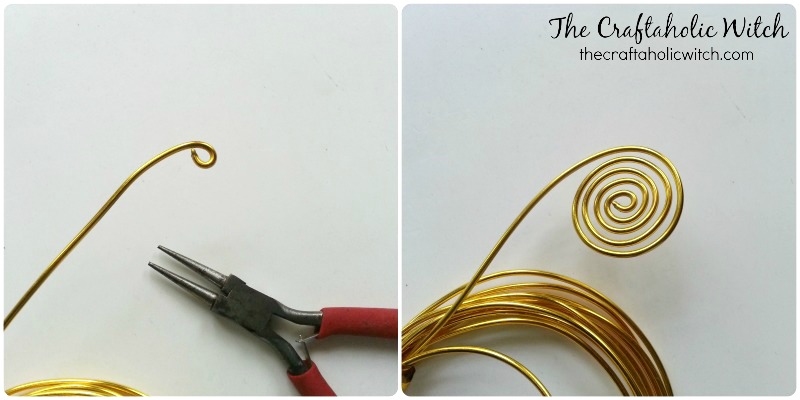
Work from the open end of the wire bundle without cutting a length first; the bundle gives you something to hold onto. Use round-nose pliers to make a tight small loop right at the tip of the wire, then wrap the wire around that loop in flat rings, keeping each ring snug against the one before it. Once the spiral is wide enough to support your egg, cut it from the bundle.
The right size is roughly the diameter of the egg’s widest point. Test the spiral flat against the egg before cutting; you want the egg to rest on the center without slipping through.
Step 3: Pull the Spiral into a Cup Shape
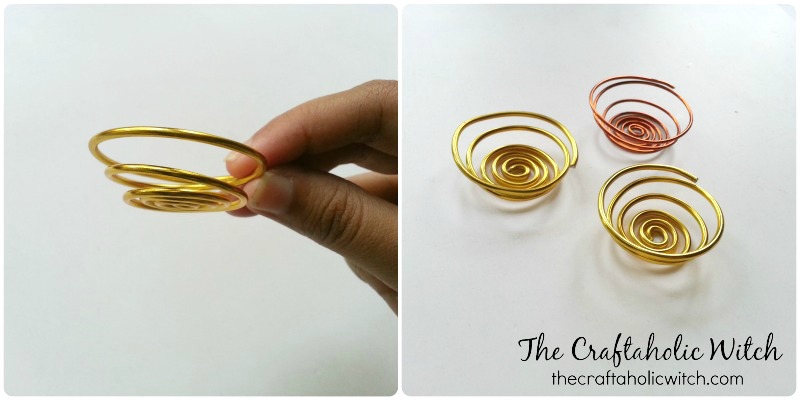
Grip the outer ring of the spiral and ease it gently upward, working a little at a time around the circle rather than pulling one spot all the way up. You’re aiming for a shallow bowl, somewhere between flat and a tall cone. Leave the 3-4 innermost rings flat. Those flat center rings are the actual resting point for the egg, so they need to stay level.
Slow, even pressure is what makes a clean cup. If you pull one side faster than the other, the rings bunch and the cup ends up lopsided. Just take your time and adjust as you go around.
Step 4: Set the Eggs in Their Stands and Fill with Plants
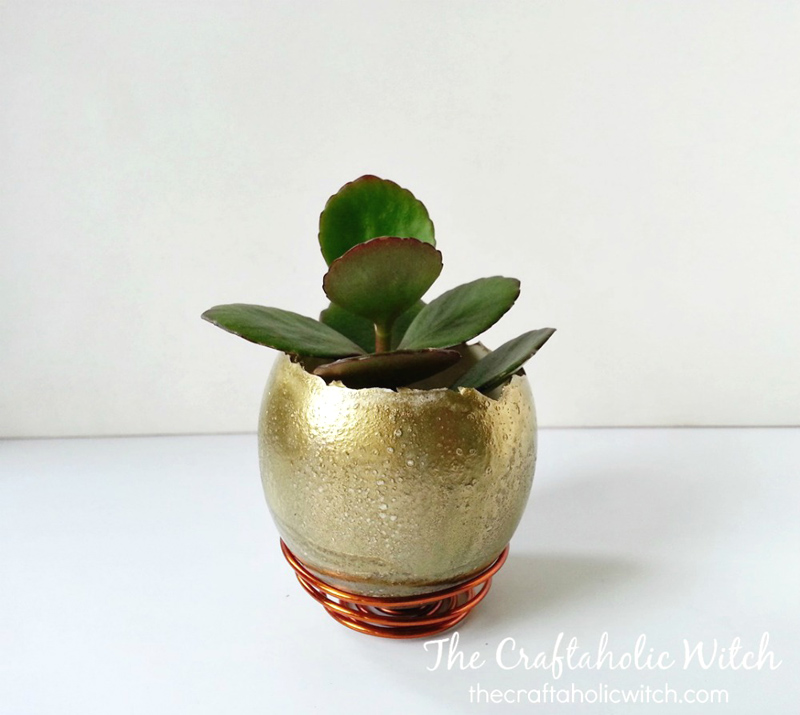
Rest each painted shell, open end up, into its wire cup. If the egg tilts, pinch the outer rings inward slightly until it sits straight. Add a small pinch of potting mix, then press in a tiny succulent, herb seedling, or a tuft of decorative moss.
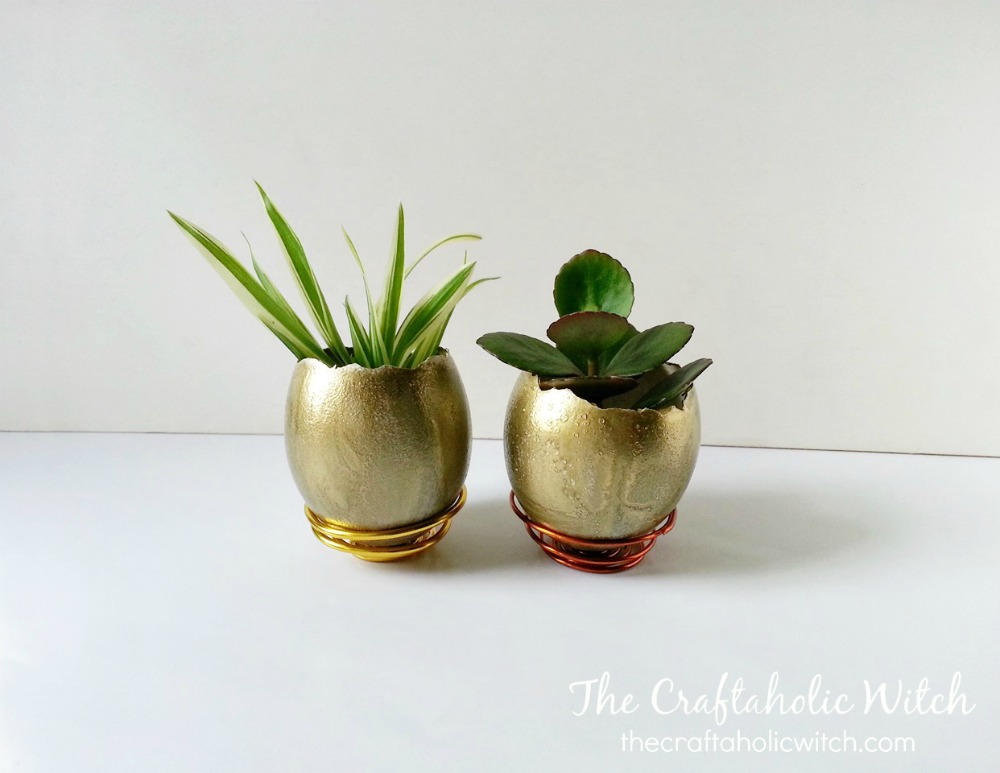
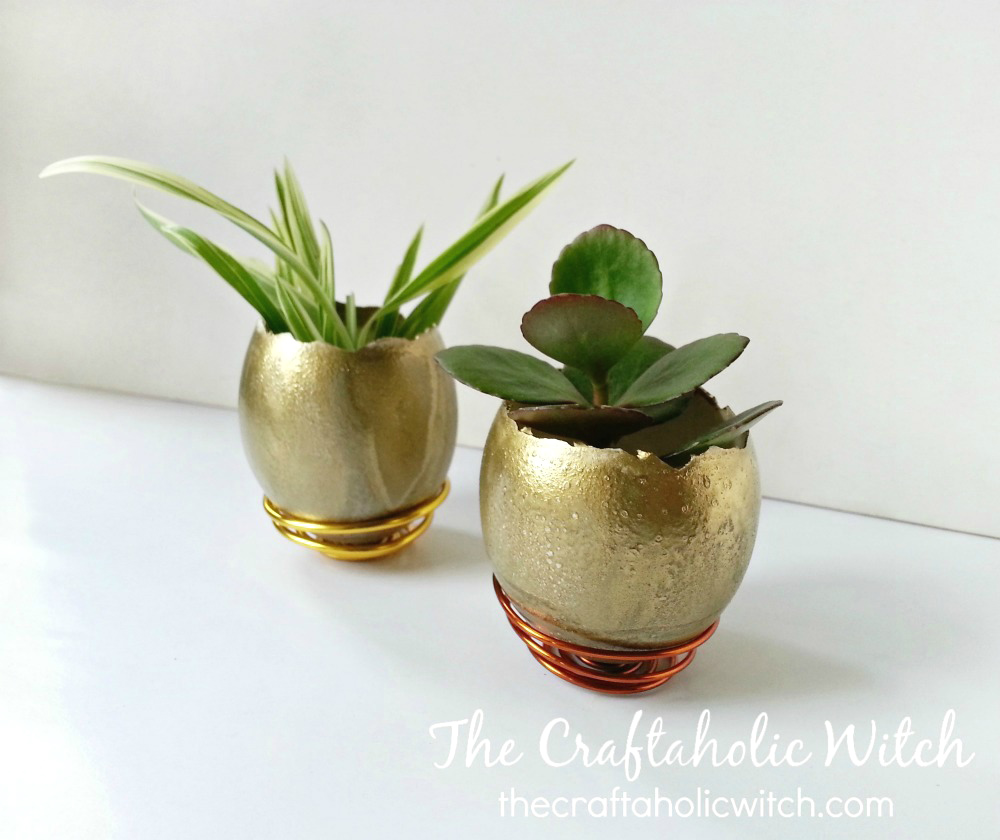
Group 5-7 planters in a cluster and they become an instant centerpiece. You can also keep them lined up on a windowsill for a charming year-round display, not just at Easter.
Share it in "I Made It" and let us cheer you on.
Post your finished make in "I Made It" so the community can celebrate it with you. Cheer on other makers too. Each month, the most loved craft wins 1 year of Craftaholic Premium ($59)
Tips for Golden Egg Shell Planters
- Spray paint outdoors or in a well-ventilated space. Set the shells on a sheet of cardboard so you can rotate them without picking them up.
- Tiny succulents and air plants are the best long-term fit; they need very little water and won’t outgrow the shell quickly. Herb seedlings work too but need transplanting within a few weeks.
- Mix gold, copper, and silver shells in one cluster for a more layered, elegant look.
Frequently Asked Questions
How do I drain an egg without cracking the whole shell?
Use a push pin to poke a small hole in the bottom of the egg before cracking the top. The air gap lets the white and yolk drain smoothly when you hold the egg over a bowl. Rinse the inside with cold water, drain upright for a few minutes, then leave it to dry completely before painting.
Can real plants grow in egg shell planters?
Yes, small plants grow well for a few weeks. The shell holds just enough soil for a succulent or herb seedling, and the calcium in the shell benefits the plant slightly. When the plant outgrows the shell, transplant the whole thing directly into a larger pot and the shell breaks down naturally in the soil.
What wire gauge is easiest for beginners?
16 gauge is the easiest to bend and coil by hand while still holding its shape once formed. 14 gauge gives a more rigid stand but takes noticeably more effort with the pliers. Either works fine; choose based on how sturdy you want the finished stand to feel.
How do I size the wire spiral to fit different eggs?
Let the egg guide you rather than measuring. Rest the egg gently on the flat center of the spiral as you work and check the fit before cutting the wire. A few extra rings are easy to leave in; too few rings means starting over. Quail eggs need a small tight spiral; large chicken or decorative eggs need a wider one.
Do the egg shell planters need drainage holes?
Not for short-term display. The small soil volume dries out quickly, so overwatering is rarely an issue. For longer-term planting, poke 2-3 small holes in the bottom of the shell with a push pin before painting. The shell is thin enough that a pin goes through without cracking it.
More Planters and Garden Decor Tutorials
- How to Make Recycled Indoor Planters: transform jars and bottles into charming twine-wrapped flower pots
- DIY Concrete Planters from Cement Mix: permanent, heavy-duty planters you pour yourself
- DIY Recycled Bulbasaur Planter: a fun character planter from recycled materials
- How to Make Gold Embossed Easter Eggs: another golden Easter egg project to pair with these planters
Trying these out? Come share a photo in the Craftaholic Community. I’d love to see what plants you chose and how your wire stands turned out.
0 Comments
Join the conversation
Log in to your Craftaholic Community account to comment, ask questions, and cheer on fellow makers.
Log in to comment