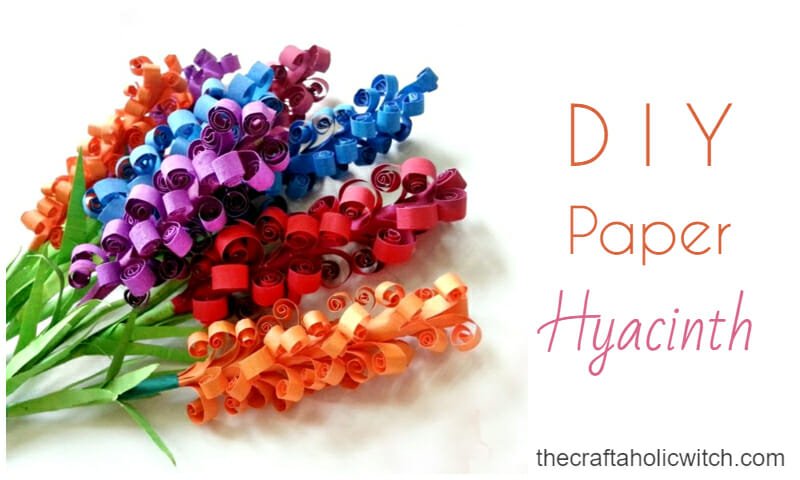
DIY Paper Hyacinth Flowers

I haven’t posted papercraft projects in a while, really needed some inspiration. Now that spring is here I’ve made a long list of colorful papercrafts. Starting with these beautiful paper hyacinth flowers. Had so much fun making them! Read the tutorial on how to make paper hyacinth flowers and make some by yourself.

How to Make Paper Hyacinth Flowers
Supplies:
- Craft paper
- Scissors
- Craft glue
Instructions:
Step 1
You can use colored or shaded craft papers for making these flowers. First, prepare a piece of craft paper into a rectangular shape. Mine was 2 X 8 inches. Make a thin (1 cm) fold along any one of the vertical edges.
Step 2
Time to cut the fringes! You can fold the paper into half to save your time. Cut the paper horizontally, but not all the way through. Leave the thin (1 cm) folded area intact.
Try to cut all the fringes equally, no pressure, I’m sure you can do it! Also, try to keep the fringes as thin as possible, the thinner the fringes the prettier the flower
Step 3
Done cutting fringes? Great! Time to roll the fringes into swirly patterns. Roll each fringe from its open and all the way to the other end to make a swirly pattern. Roll each strip one by one and make sure the swirls turn out fine.
This is the only step that takes time but it’s the most important step.
Take your time and make the swirls carefully, I’ll be worth it!
Step 4
Create the stem for the flower from green craft paper. Take the swirly paper and apply glue along the intact part of it. Wrap the glued area of the swirly-fringed paper around the stem, starting from the top of the stem and carefully rolling it towards the bottom of the stem. Keep rolling until the swirly paper ends.
You’ll be happy to see how pretty the flower turns out!
Step 5
Use green craft papers for making the leaves. Glue the leaves around the stem, below the flower. Done! Use bright and beautiful colored papers to make more.


