DIY Cone Ring Displays

Create Ring Cone from Clay
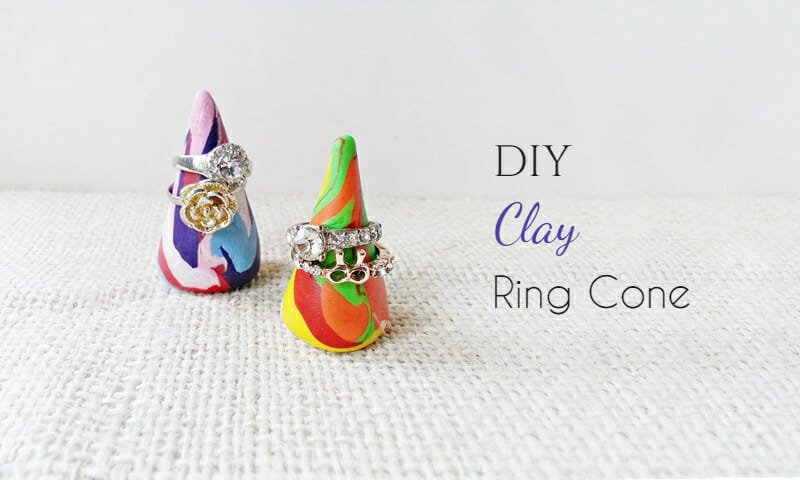
I bought some polymer clay few weeks ago but wasn’t sure what to do with them. I’ve never tried clay craft so I was worried about getting started. After tons of pinteresting and googling I finally decided to make ring cone display.
After making the first ring cone display I was so excited to up a tutorial! I’m so getting into clay crafts now 😀
Supplies:
- Polymer clay
- Oven – to bake
Instructions:
 Select your clay. To make this one I used 5 colors, white, red, pink, blue and purple. You can use as many color as you want, totally up to you. The amount of the clay also depends on your choice, but since we’re making ring displays so it’s obvious that we don’t need too much clay. Roll each clay into a thin rope pattern. The length of each rolled clay should be relatively same.
 Hold all rolled clay pieces together with their ends matched. Twist them nicely to mix the colors. Now roll the twisted clay pieces into a spiral. We’re doing this to mix the colors together. Keep rolling the mixture on a clean flat surface or against your palm to mix them nicely.
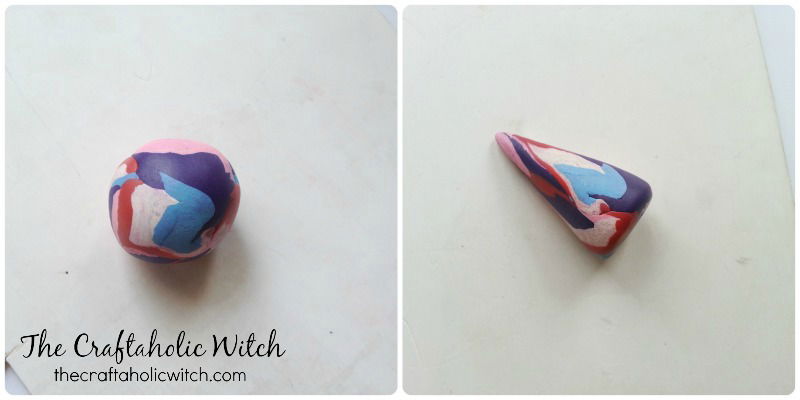
 Once mixed roll the clay into a ball shape. And then into a cone shape. Bake your clay according to the temperature and time noted on the packaging.
Baked and cooled? Time to display your rings! I’m totally loving these ring displays, can’t wait to make more.
Happy Crafting! 🙂


