How to Make a Small Gift Bag With Burlap (Eco Friendly)
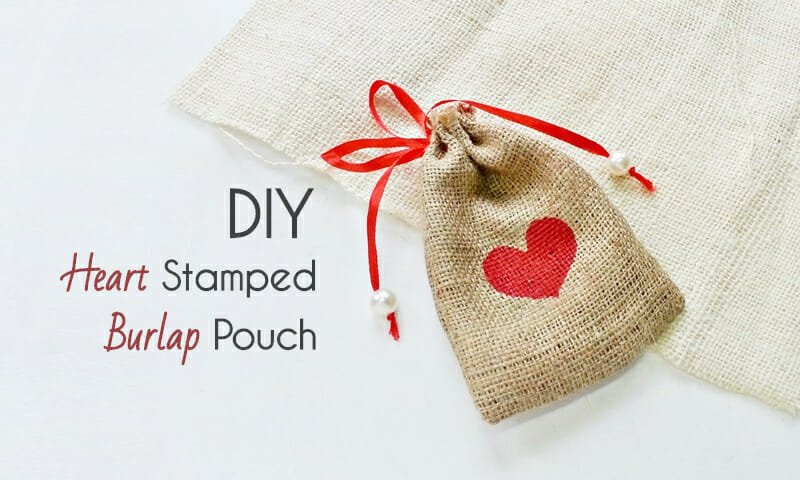
Handmade gifts have a charm that everyone likes. That’s why people give so much effort to make handmade gifts for their loved ones. Then why not hand-made gift bags? In this DIY gift bag tutorial, you will learn how to make a small gift bag with burlap that not only cute and out of the box but also eco-friendly.
DIY Small Gift Bag
I like gifts in pouches or bags rather than wrapping them with paper. Though you can’t put all kinds of gifts inside pouches I think, jewelry, accessories, little decor pieces, and small gifts suit best in pouches. I love making small burlap gift bags, they’re easy to make, you can customize them as you want (paint’em, stitch a pattern on the burlap, anything you want!).
Here’s a super easy, Valentine-themed burlap gift bag tutorial. Follow the instructions to make one.
How to Make a Small Gift Bag With Burlap
Supplies
- Burlap fabric
- Sticker paper
- Scissors
- Fabric paint
- Paintbrush
- Sewing machine
- Sewing thread
- Satin ribbon – 1 cm wide and length of your choice
Instructions
Step 1
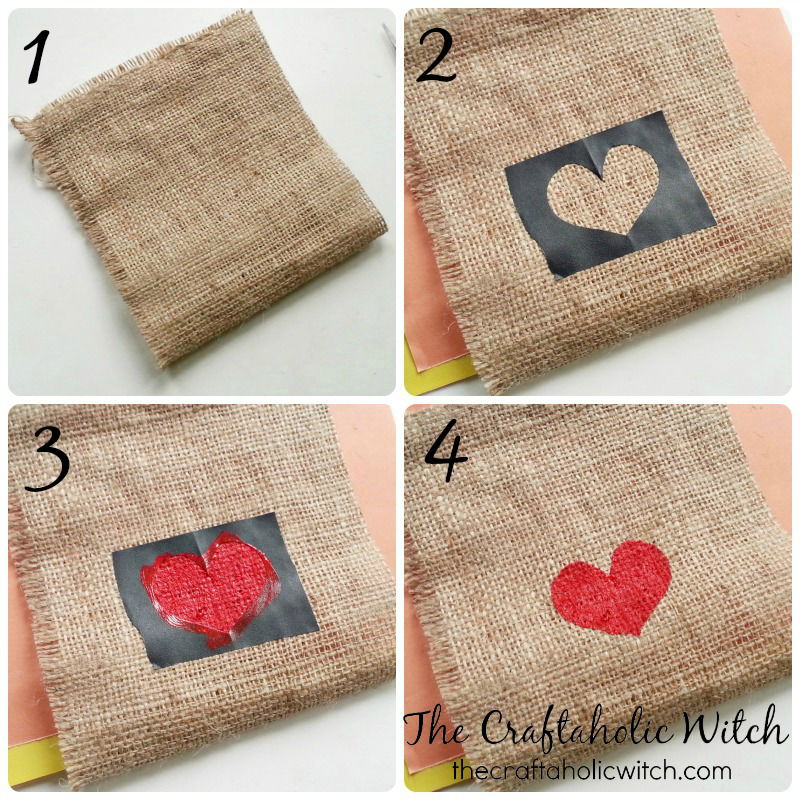
- Cut a piece of burlap fabric. You can cut 2 pieces and then stitch them around 3 sides or cut one long piece and fold it lengthwise then stitch 2 sides. I prepared a 5.5 X 13 inches long piece. Folded the 14 inches part into half. The pouch will be 5 X 6.5 after stitching.
- Cut out a heart shape pattern from a sticker. Keep at least 1 cm area intact on the sticker, around the shape. Place the sticker on the burlap (on its required place). I attached the sticker 3 inches below the shorter edge.
- Place a piece of scrap paper under the burlap fabric. Paint the shape. The sticker will allow you to paint inside the shape.
- Allow the paint to dry and then carefully take off the sticker. You can paint any shape with this technique.
Step 2
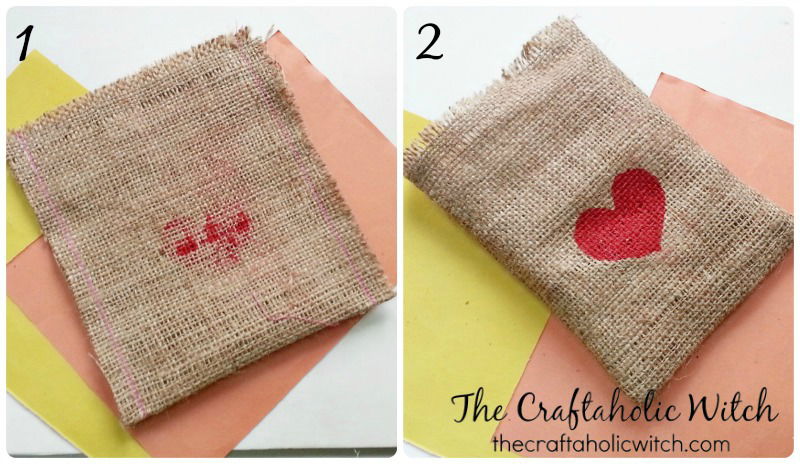
- Fold the burlap into half lengthwise by keeping the heart paint inside. Stitch along the 2 sides, make sure to keep the top side open.
- Turn the right side out through the open end of the stitched burlap.
Step 3
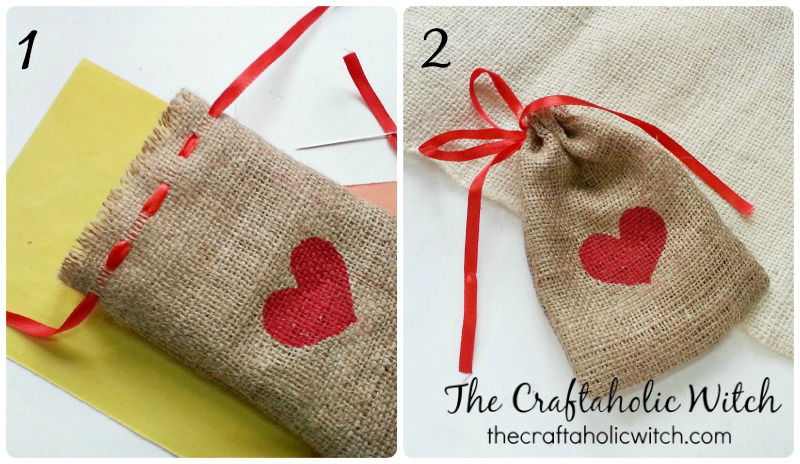
- Prepare a thin ribbon in a tapestry needle. Stitch the ribbon through the burlap’s loose threads (along the line from where we took off a thread). Simply do running stitches.
- Stitch all around until you’ve circled the pouch once with the ribbon stitch. Now you can simply pull the ribbons ends and tie a bot knot.
I also attached beads with the ribbons open ends. Tie 2-3 knots at the end to secure the beads. You can print any shape you want and make the perfect gift pouch for anyone in occasion.
Hope you like our tutorial on how to make a small gift bag using burlap. Don’t forget to share your feedback in the comments below. Share pictures of your version of the gift bag with us if you do give them a try. You can share your picture with hashtag #craftaholicwitch on Instagram or Facebook or just DM your picture to us on Instagram or Facebook page.
Happy Crafting!


