

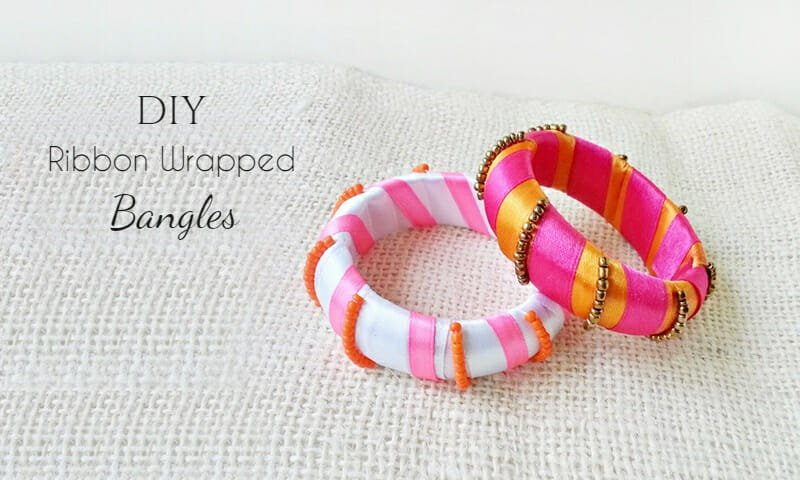
Plain wooden bangles turn into ribbon-wrapped bangle bracelets in about half an hour. That’s the whole trick to how to make bangle bracelets this way: wrap a plain wooden base in two-tone satin ribbon, stitch a few short rows of seed beads across the gaps, and the stack looks like it came from a boutique instead of your ribbon drawer.
You need one bangle, two ribbon widths, a small dish of seed beads, and a needle and thread. That’s it, so this is an easy first project even if you’ve never sewn a bead onto anything. I keep coming back to it alongside my other jewelry-making tutorials, especially when I’m working through the bracelet tutorials on the site.
The bangles stack well with ones you already own. A set of three or four makes a fast, handmade gift for under five dollars in supplies.
Project at a Glance
- Difficulty: Beginner
- Time: 25-35 minutes
- Cost: Under $5
- Ages: 12+ years
- Best for: Refreshing old bangles and making quick handmade gifts

What You’ll Need for Ribbon-Wrapped Bangle Bracelets
You only need one plain bangle base and a few small supplies, but each choice changes how neat the finished bracelet looks. Here is exactly what I use and why.
Materials
- Plain wooden bangles: Wooden bangles give the ribbon something to grip, so the wraps stay put more easily than they do on slick plastic. If you only have plastic or metal, use a little more glue at the starting point.
- 1-inch satin ribbon: This wide ribbon covers the base quickly and gives the bracelet its main color. Satin keeps the finish smooth, while stiff ribbon can wrinkle around the curve.
- Thin satin ribbon in a second color: The narrow ribbon adds contrast and creates the spaces where the seed beads stand out. Choose a color that is easy to see against the base wrap.
- Seed beads: Small beads sit flatter on the bangle and are easier to stitch in short rows. Large beads can make the bracelet feel bulky against your wrist.
- Sewing thread: Matching thread hides inside the ribbon wraps, so the stitching disappears once the piece is finished.
- Craft glue: A small dot locks the ribbon ends and the thread knots on the inside of the bangle so nothing works loose with wear.
Tools
- Fine sewing needle: Use one that slips through the seed beads comfortably. If the needle feels tight against the bead holes, switch to a finer one before you start stitching.
- Sharp scissors: Clean cuts keep the ribbon wrap neat instead of fuzzy, especially on the diagonal ends.
Before You Start
- Wrap the first inch slowly. Once the base ribbon is even, the rest of the bangle goes much faster.
- Thread one seed bead before you begin stitching. If the needle or thread is too thick, it is better to find that out before the ribbon work is finished.
- If you want a bracelet project with a softer fit next, save this adjustable beaded bracelet tutorial for later.
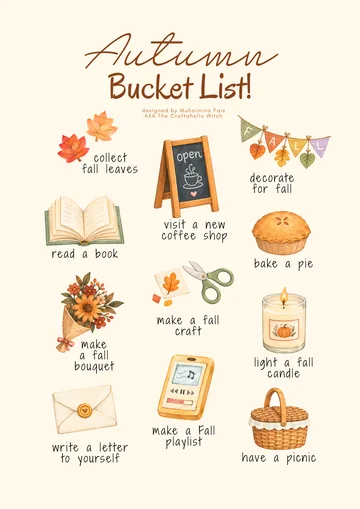


Free Autumn Bucket List + Printable Journal Pack
Everything you need for a cozy autumn, ready to print at home. Join the community for free and download it in one click.
- 13-page printable PDF
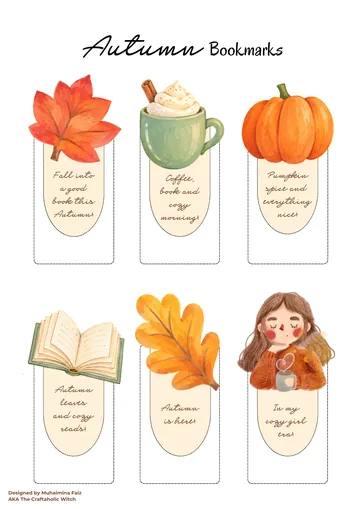
- 18 stickers and 6 bookmarks
- Journal pages and recipe cards
- Phone and computer wallpapers
How to Make Ribbon-Wrapped Bangle Bracelets
Wrap the Bangle with Wide and Narrow Satin Ribbon
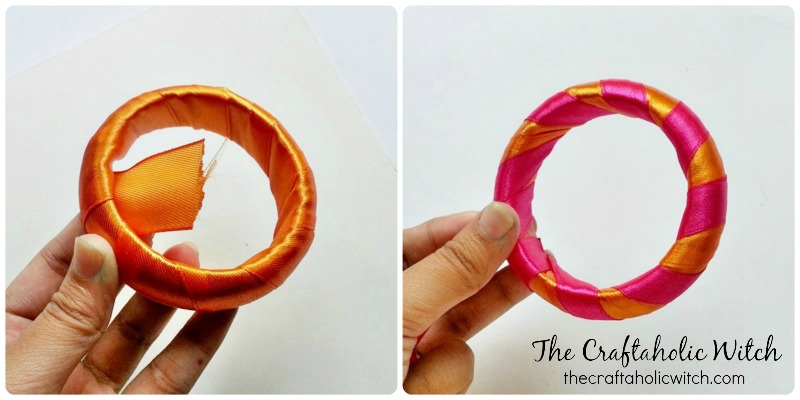
Glue the end of the wide ribbon to the inside of the bangle, then wrap until the base is fully covered. Add the thin ribbon on top with small, even gaps between each pass so the beadwork has a clear path to follow.
You should end with a smooth ribbon base and evenly spaced second wraps. If a gap looks wider than the rest, unwind back to it and correct the spacing now, since it is much harder to fix once the beads are stitched over it.
Stitch a Short Row of Seed Beads Across One Gap
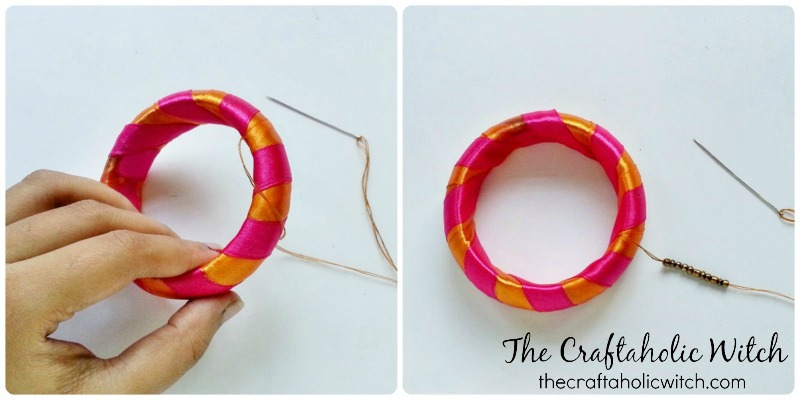
Bring the needle up from the inside of the bangle, knot the thread around the ribbon, and string enough seed beads to span the width of the bangle. Stop as soon as the beaded row reaches the opposite ribbon edge so it lays flat instead of bowing out.
The thread tends to loosen after the first couple of rows if you do not pull it snug, so check the tension every few stitches rather than waiting until the row is finished.
Carry the Thread Diagonally Across the Back of the Bangle
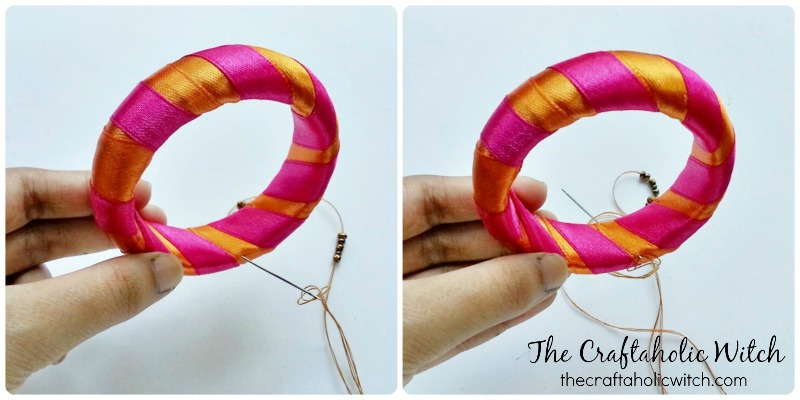
Take the needle through the ribbon at the opposite edge, then carry the thread diagonally across the back to the next open gap. This hidden return stitch keeps the front tidy and lines the next beaded row up neatly beside the first one.
If the back threads stay diagonal and snug, the front bead rows stay evenly spaced without you needing to measure anything.
Repeat the Beaded Rows and Secure the Thread Inside the Bangle
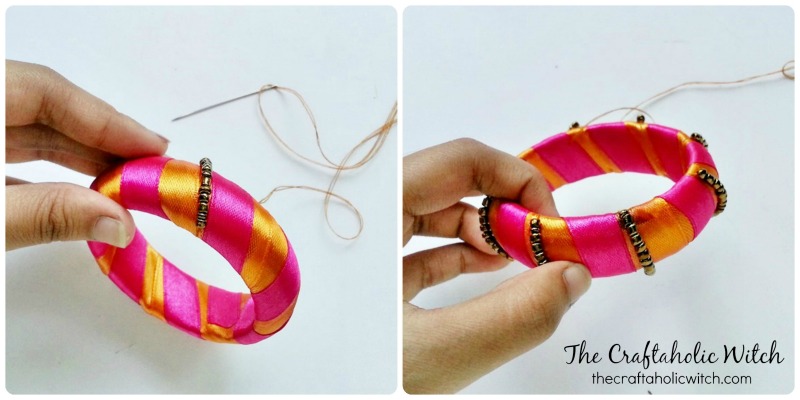
Keep stitching bead rows the same way until the design reaches the other end of the wrapped section. Tie two small knots on the inside, trim the thread, and add a tiny dot of glue to lock everything in place before you wear the bangle.
Tip: if you want the beadwork to look denser, keep the thin ribbon wraps a little closer together before you start stitching the first row.
Share it in "I Made It" and let us cheer you on.
Post your finished make in "I Made It" so the community can celebrate it with you. Cheer on other makers too. Each month, the most loved craft wins 1 year of Craftaholic Premium ($59)
Tips for Ribbon-Wrapped Bangle Bracelets
- Cut a few extra inches of both ribbons before you begin. It is much easier to trim away extra ribbon at the end than to hide a short one near the finish, and the slack helps you keep even tension as you wrap.
- Stick to the smallest seed beads you can thread comfortably. They follow the curve of the bangle better than chunky beads and keep the finished bracelet easy to stack.
- Want another quick jewelry make with the same skills? Try this flower bead bracelet tutorial next.
Frequently Asked Questions About Ribbon-Wrapped Bangle Bracelets
Can I use plastic or metal bangles instead of wooden ones?
Yes. Wooden bangles are easiest because the ribbon grips them well, but plastic and metal can work too. Add a little extra glue where the ribbon starts and ends so the wrap does not slide.
What kind of ribbon works best for this project?
Satin ribbon is the easiest option because it wraps smoothly around the curve and gives the bracelet a clean finish. Very stiff ribbon can crease, and very slippery ribbon may need a touch more glue at the ends.
How do I stop the ribbon from shifting while I stitch the beads?
Keep the wraps snug from the beginning and press each one close to the last before moving on. If a section still feels loose, add a tiny dot of glue on the inside of the bangle where it will not show.
Can I make ribbon-wrapped bangles without adding the beads?
Yes. The double ribbon wrap already looks pretty on its own, so you can stop there if you want a faster project. The seed beads just add a little more texture and shine.
How many bangles should I make to wear as a stack?
Three to five bangles wrapped in coordinating ribbon colors make a full-looking stack without feeling heavy on your wrist. Mixing a wide-ribbon bangle with a couple of thinner beaded ones keeps the stack from looking too matchy.
How do I keep the seed beads from coming loose over time?
A tiny dot of glue over each knot on the inside of the bangle is what keeps the beadwork secure through regular wear. Check the knots every few months and add a fresh dot if any thread feels loose.
More Bracelet Tutorials to Try Next
- DIY Vintage Button Bracelet, another fast bracelet idea with a different texture.
- How to Make a Mixed Beaded Bracelet with Faux Pearls, a softer, stretch bracelet made from leftover beads.
- DIY Recycled Jewelry Box, a handmade box to pair with the finished bangles if you are giving them as a gift.
Made your own version? Share it in the I Made It space inside Craftaholic Community. The most-loved post each month wins a one year free Premium membership.
0 Comments
Join the conversation
Log in to your Craftaholic Community account to comment, ask questions, and cheer on fellow makers.
Log in to comment