Free Bunny Sewing Pattern and DIY Felt Bunny Tutorial

Felt stuffed toys are beautiful and kids love to play with them. Learn how to make a cute felt stuffed bunny rabbit and make them with the help of our free bunny sewing pattern.
DIY Felt Stuffed Bunny for Kids
I love plush toys, especially when the tiny ones! Felt plush toys have become very popular these days and I’ve made tons but very few of them actually turned out nice. These bunny plushies are one of the good ones. I’m so happy with how they turned out.
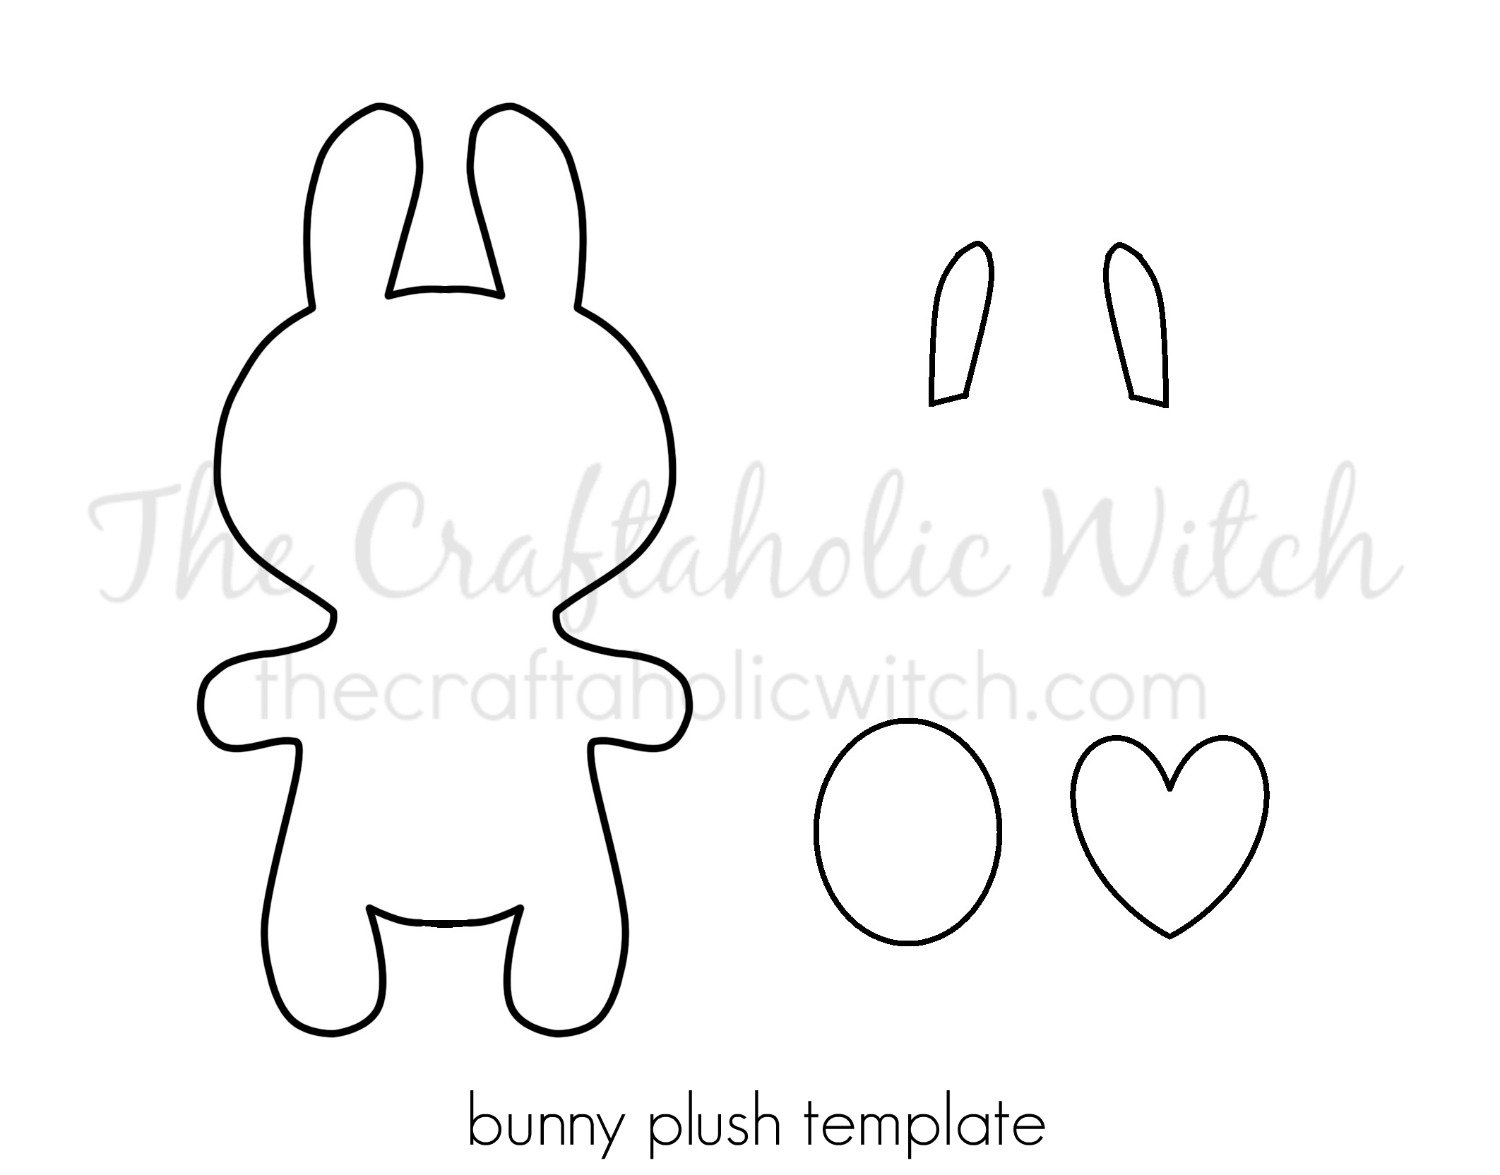
Go ahead and print out the template given below and try making one now!
How to Make a Felt Stuffed Bunny
Supplies
- Felt
- Scissors
- Bunny template
- Pencil or pen
- Needle and thread
- Small black beads
Template:

Simply print and then cut out the patterns. For the belly of the bunny, you can use the oval shape or the heart shape as you want.
Instructions:
Step 1
Prepare the bunny template and select felt fabrics. Place the main body pattern on the felt and carefully trace around the sides of it on the felt. You’ll need 2 of these. Use scissors to cut out the 2 felt pieces for the body.
Step 2
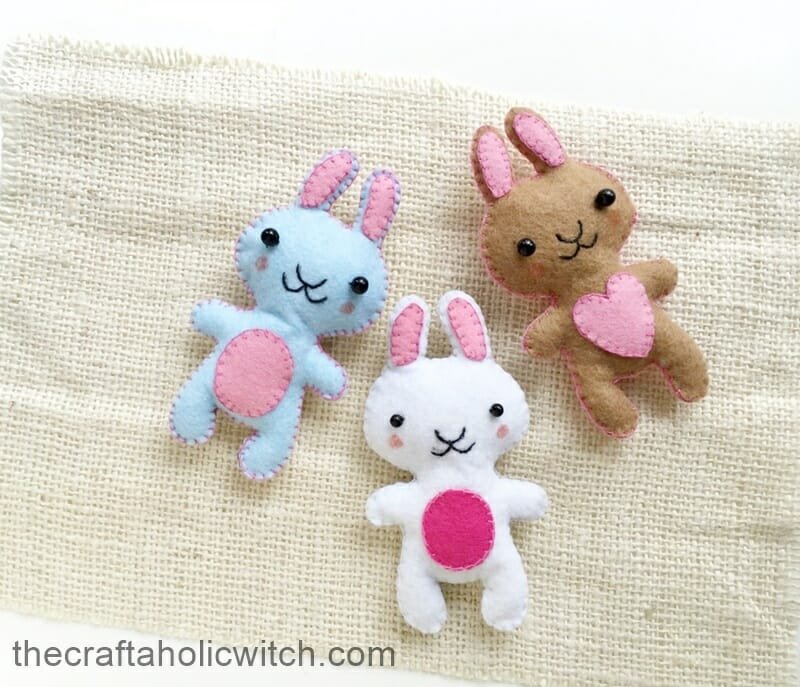
Cut out the belly part (oval or heart) and ear parts from pink colored felt. Use a matching thread to attach these pieces with the front body piece of the bunny. I did flat blanket stitches around the sides to attach them.
Step 3
Mark the 2 points for the eyes and use black beads for the eyes. Stitch or glue the eyes, but it’s better to stitch. Also use black thread to stitch the other features of the bunny, I did the face only. Place both body pieces together, with the patterned piece facing up. Stitch around the sides to join both pieces. Start to stitch either from the bottom part or the top part, I started from the right ear.
When you’re done stitching halfway through, start to fill it with wool or scrap felt. After filling half of it continue to stitch again. Fill each part after stitching around that part. Done stitching? Simply tie 2-3 knots with the remaining thread and cut off extra threads.
Done! Mix and match different colored felt fabric for variation.
Happy crafting!


