

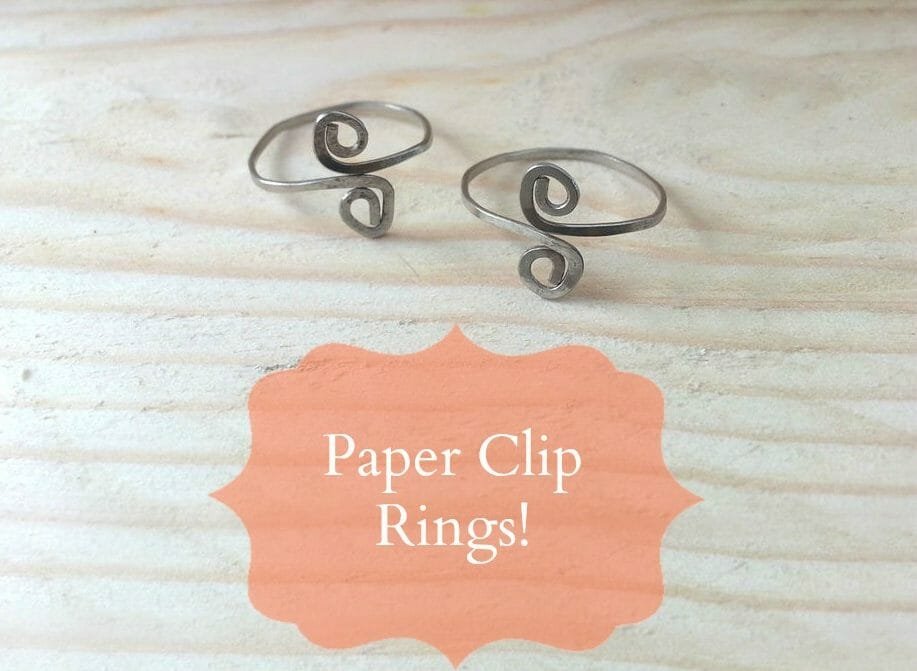
Paper clips are one of the best-kept beginner wire jewelry secrets. You already have them in a drawer, they’re exactly the right thickness to bend with pliers, and one clip straightened out gives you enough wire to form a neat swirl ring in about 10 to 15 minutes. If you’ve made my wire charms or the beaded wire ring, you’ll recognize the swirl-forming move right away, but here you skip buying any wire at all.
The finished ring has an open-ended design, so both swirls flex to fit different fingers and you can adjust the size any time you like. It’s a satisfying 10-minute project that makes a sweet handmade gift, a quick addition to a jewelry stash, or a first step into wire jewelry making.
Paper Clip Ring at a Glance
- Difficulty: Beginner
- Time: 10-15 minutes
- Cost: Under $1 (if you have the pliers)
- Ages: 12+
- Best for: Wire jewelry beginners, quick gifts, upcycled crafts

What You Need to Make a Paper Clip Ring
Materials
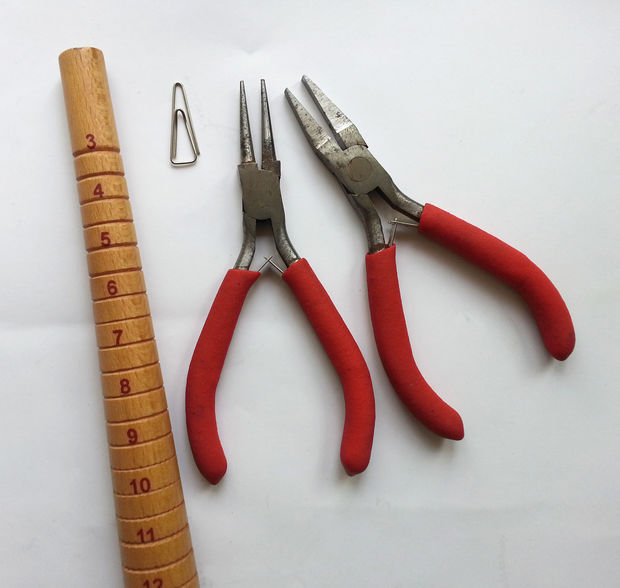
- 1 metal paper clip — plain, uncoated, silver or steel. Colored plastic-wrapped clips resist bending and make clean swirls difficult, so stick with the plain metal kind.
Tools
- Flat nose pliers — for straightening the clip and pressing the wire flat.
- Looping (round nose) pliers — for forming the small loops at each end that become the swirls.
- Ring mandrel — for shaping the ring to your finger size. A thick marker or wooden dowel works as a substitute.
- Hammer (optional) — a few light taps on a hard surface flattens and hardens the wire for a more polished finish.
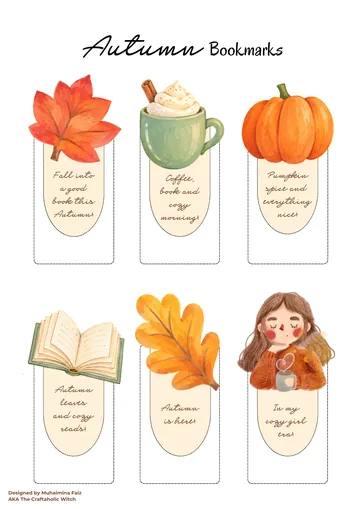
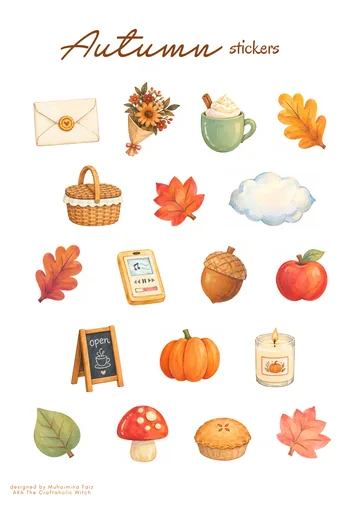
Free Autumn Bucket List + Printable Journal Pack
Everything you need for a cozy autumn, ready to print at home. Join the community for free and download it in one click.
- 13-page printable PDF
- 18 stickers and 6 bookmarks
- Journal pages and recipe cards
- Phone and computer wallpapers
How to Make a Paper Clip Ring
Step 1: Straighten the Paper Clip

Use your flat nose pliers to unfold every bend in the paper clip until you have one straight length of wire. Work each fold open slowly, then grip the pliers flat along each section and press to smooth out kinks. The straighter you get it here, the neater the swirls look in the next step.
Tip: Try rolling the clip along the edge of a table with your fingers before picking up the pliers; it pre-loosens the bends and makes the straightening faster.
Step 2: Form a Swirl at Each End
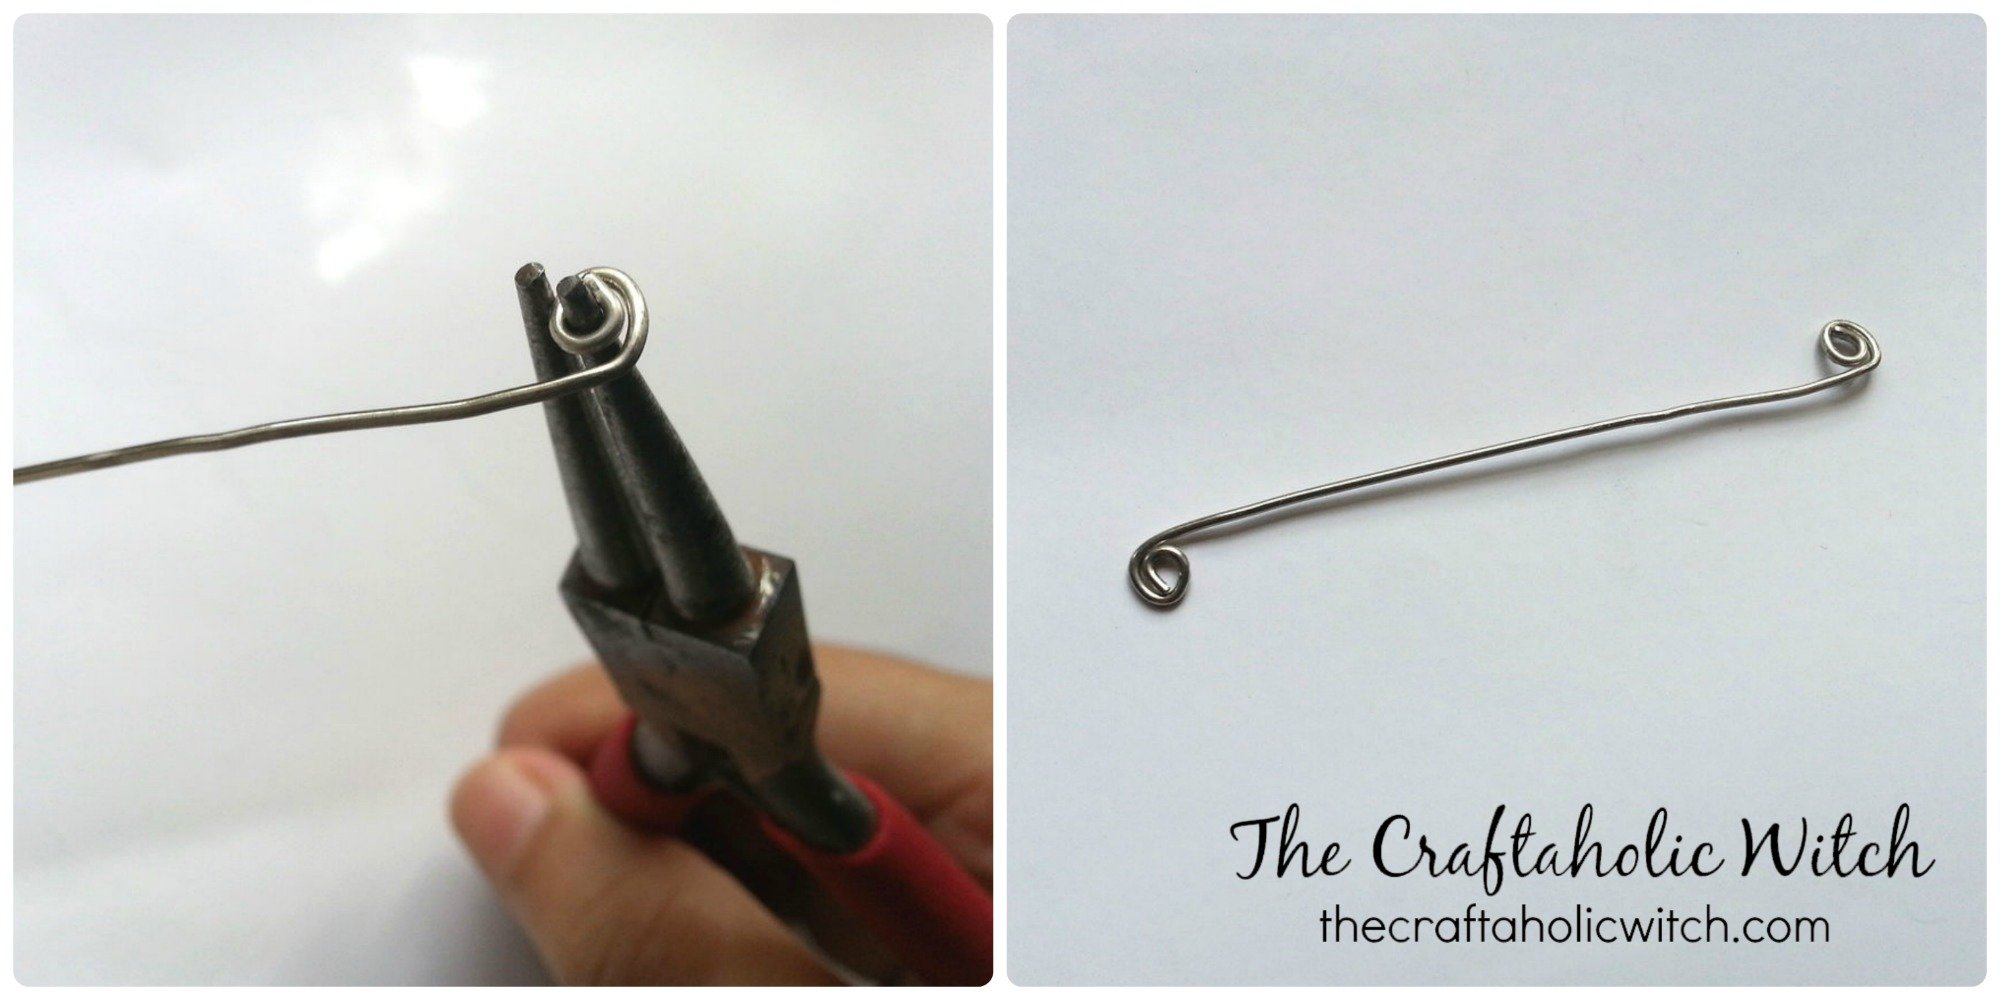
Grip one end of the wire with your looping pliers and roll it into a small loop. Wrap the remaining wire around that loop once to form a tight swirl. Move to the opposite end and repeat, this time spiraling in the opposite direction so the two swirls mirror each other. A longer clip lets you add an extra revolution to each swirl for a fuller look.
Lay the piece flat and check that both swirls look roughly the same size. If one is lopsided, ease it back with the flat nose pliers and re-tighten the loop from the inside out.
Step 3: Shape the Band Around the Mandrel
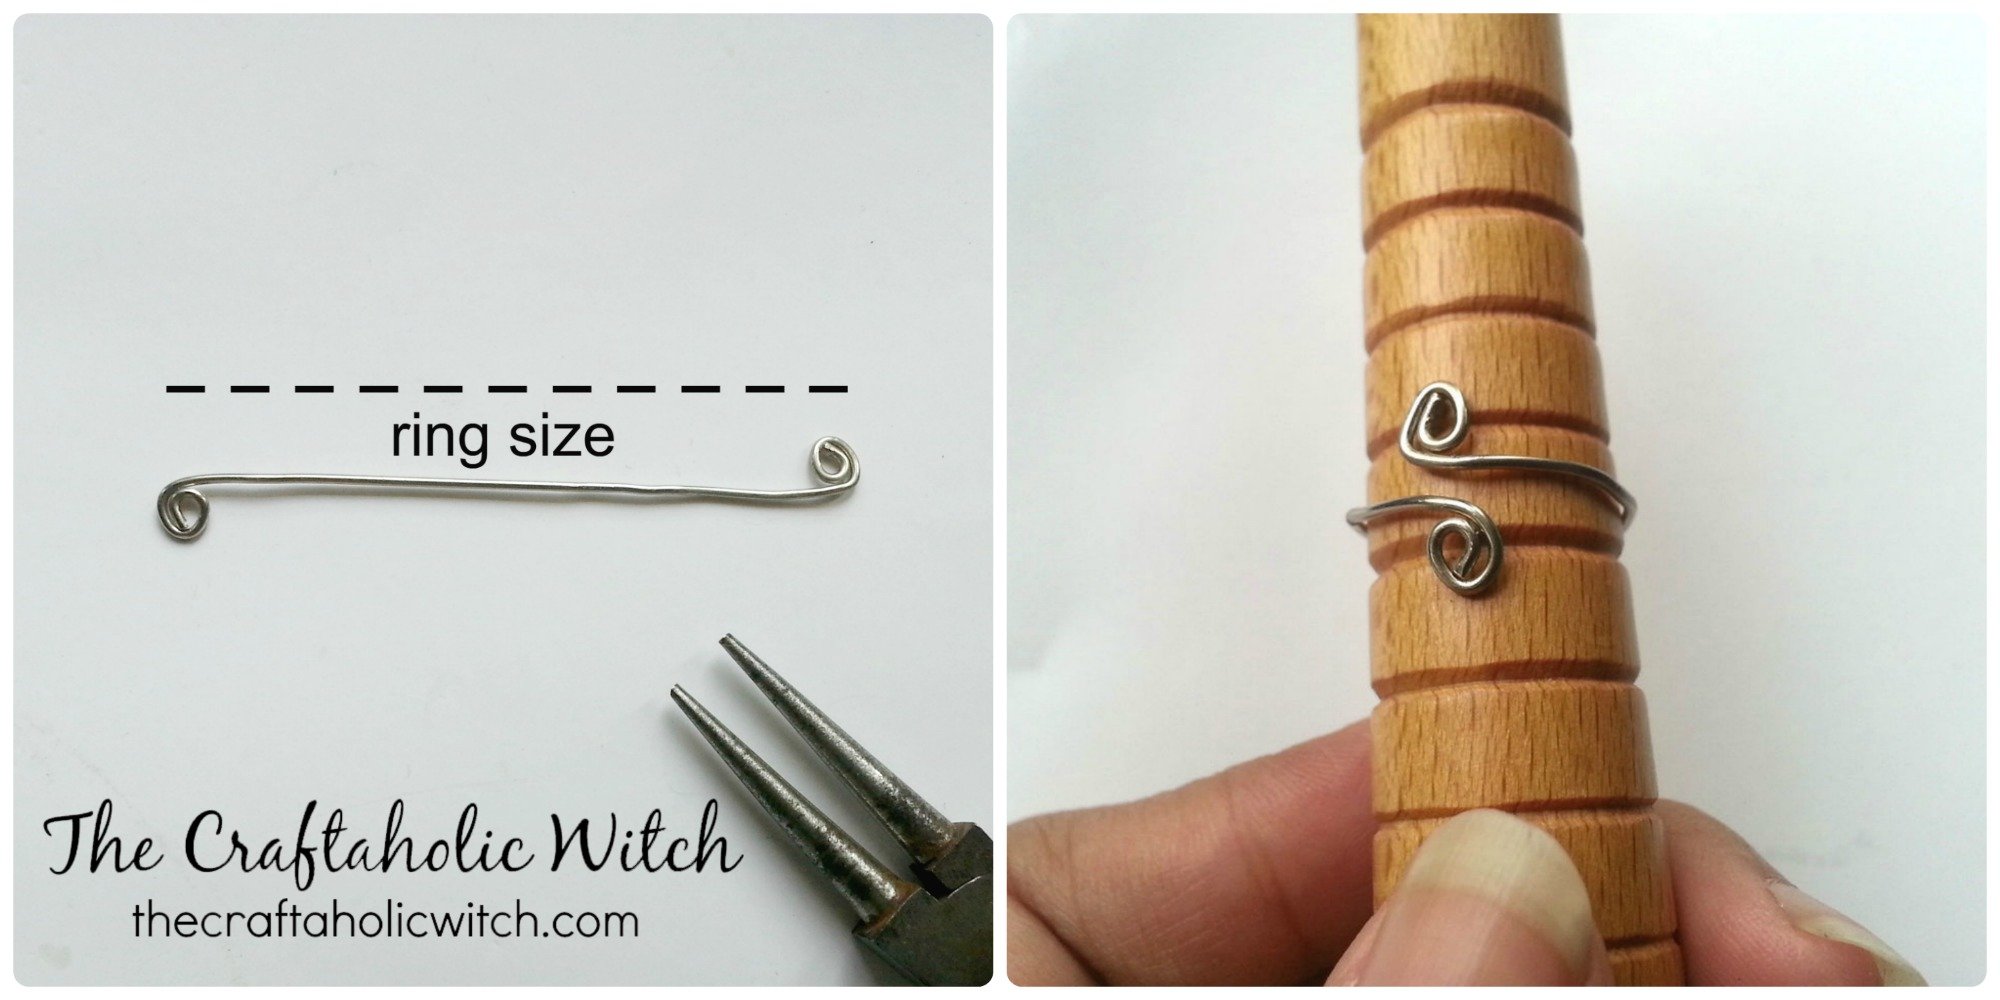
Press the centre of the wire against your ring mandrel at the mark that matches your finger size, then curve both sides of the band around it until they meet. Because both ends are open, you can squeeze the ring slightly tighter or ease it apart to dial in the fit.
For a more finished look, lay the shaped ring on a hard surface and tap it a few times with a hammer. The light pressure work-hardens the wire and flattens out any wobbles in the band.
Share it in "I Made It" and let us cheer you on.
Post your finished make in "I Made It" so the community can celebrate it with you. Cheer on other makers too. Each month, the most loved craft wins 1 year of Craftaholic Premium ($59)
Tips for Making Paper Clip Rings
- Use a jumbo paper clip for larger swirls; the extra wire length gives you more to work with and makes the ring feel chunkier.
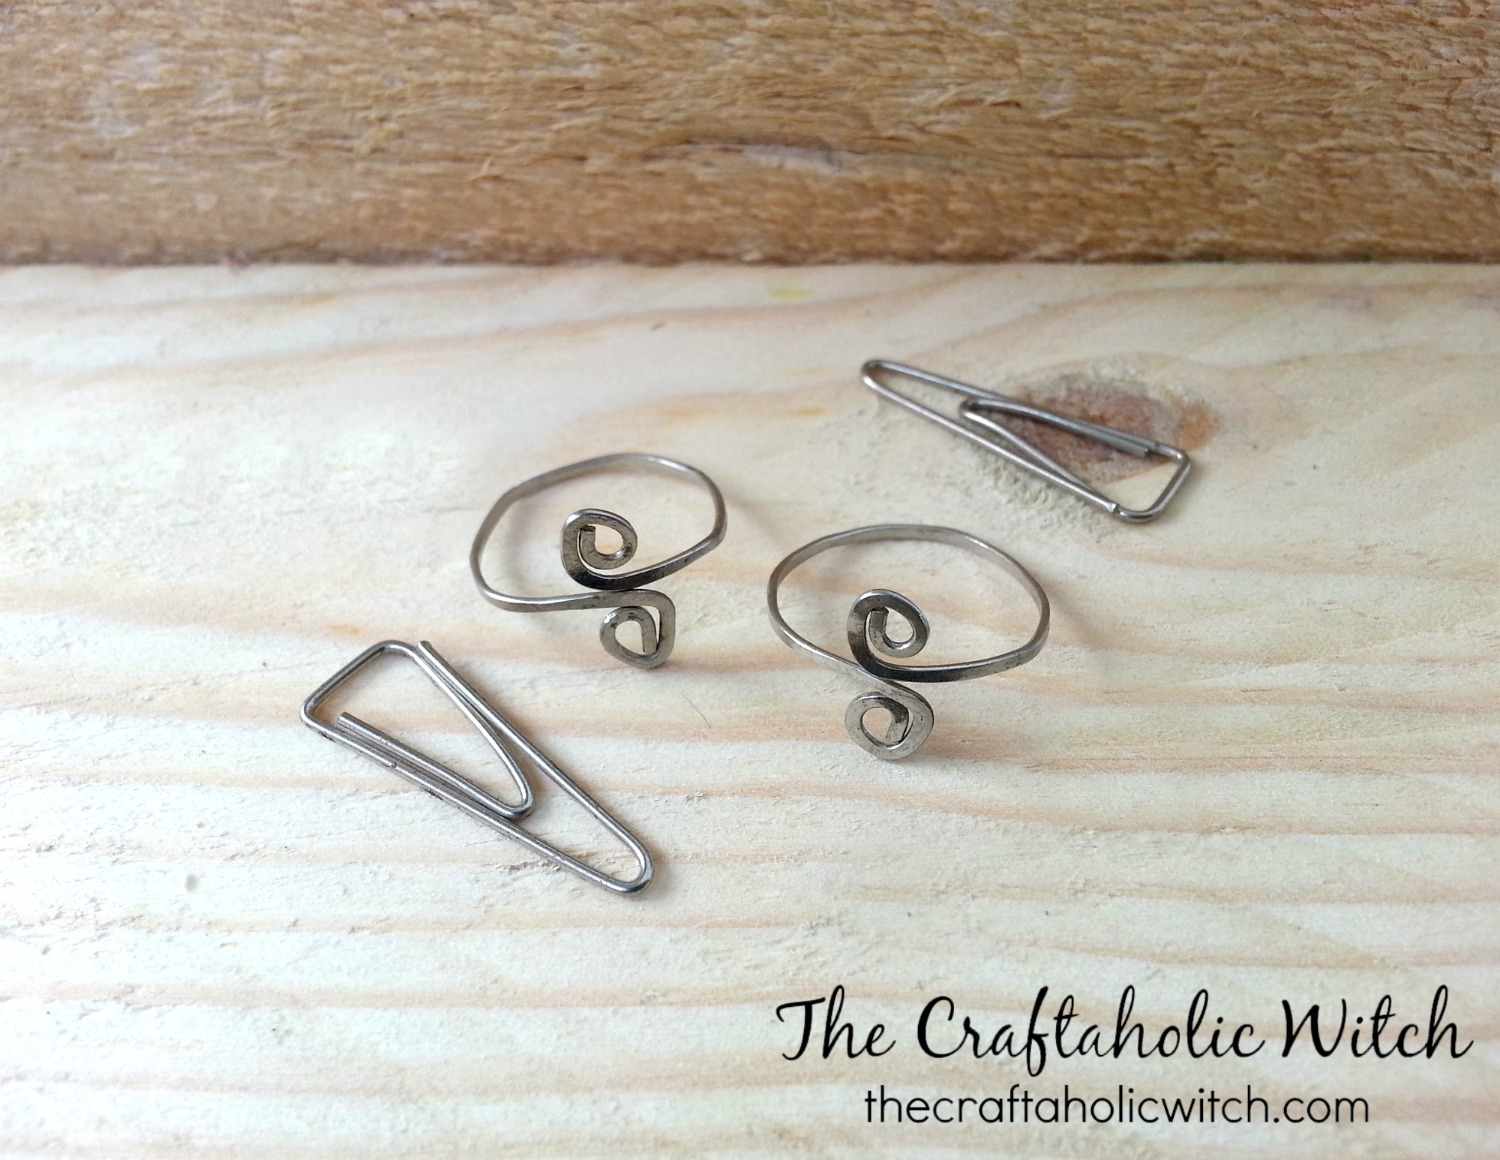
- To make a matched set, cut a length of plain craft wire to the same length as your straightened clip and follow the same steps in any colour you like.
- If the two swirls end up at different heights when you wear the ring, press them flat against a hard surface with your thumb before hammering.
Frequently Asked Questions
Can I use colored paper clips instead of plain metal ones?
Stick with plain metal paper clips. The colored ones have a plastic coating that stiffens the wire, resists bending cleanly, and tends to crack along the folds. Uncoated silver or steel clips reshape easily and look polished once the swirls are formed.
How do I find my ring size for this project?
Wrap a thin strip of paper snugly around the base of your finger and mark where it overlaps. Measure that length in millimetres and match it to a ring size chart to find the right mandrel mark. You can also wrap the wire directly around your finger after step 2 and adjust to fit, since the open ends make resizing easy.
What can I use instead of a ring mandrel?
A thick permanent marker, a wooden dowel, or any smooth cylinder close to your finger’s diameter all work. Start a tiny bit smaller than you need; it’s easier to ease the ring open slightly than to tighten it back down.
How long does a paper clip ring take to make?
Most people finish one in 10 to 15 minutes, even on a first try. Straightening the clip takes the longest, and that step gets faster with each ring you make.
Can I resize the ring after it’s shaped?
Yes, and this is one of the nicest things about this design. Ease both swirl ends apart gently to size up, or squeeze them in slightly to size down. Work gradually so you don’t kink the swirls.
More Wire Jewelry Tutorials
- How to Make Wire Charms: Swirly Style in 3 Steps
- DIY Beaded Wire Ring (Anyone Can Make It In 6 Easy Steps)
- How to Make a Caged Gemstone Ring
- How to Make Jump Rings for Jewelry
- How to Make Wire Wrapped Bead Earrings (Easy 4-Step DIY)
- How to Make a Heart Necklace with Wire for Beginners
Share your paper clip ring in the I Made It space inside Craftaholic Community. The most-loved post each month wins a one year free Premium membership.
2 Comments
Do you have any other designs? maybe make at least two or three designs.
i’m not saying that i don’t like it, i’m just saying you seem like a creative person
and i would like to see more designs from you.
Thank you for the suggestion! I instantly came up with this idea, would love to come up with more designs, I will definitely share a tutorial once I do ^_^
Join the conversation
Log in to your Craftaholic Community account to comment, ask questions, and cheer on fellow makers.
Log in to comment