How to Make Origami Bat (Easy Folding Instruction + Video)
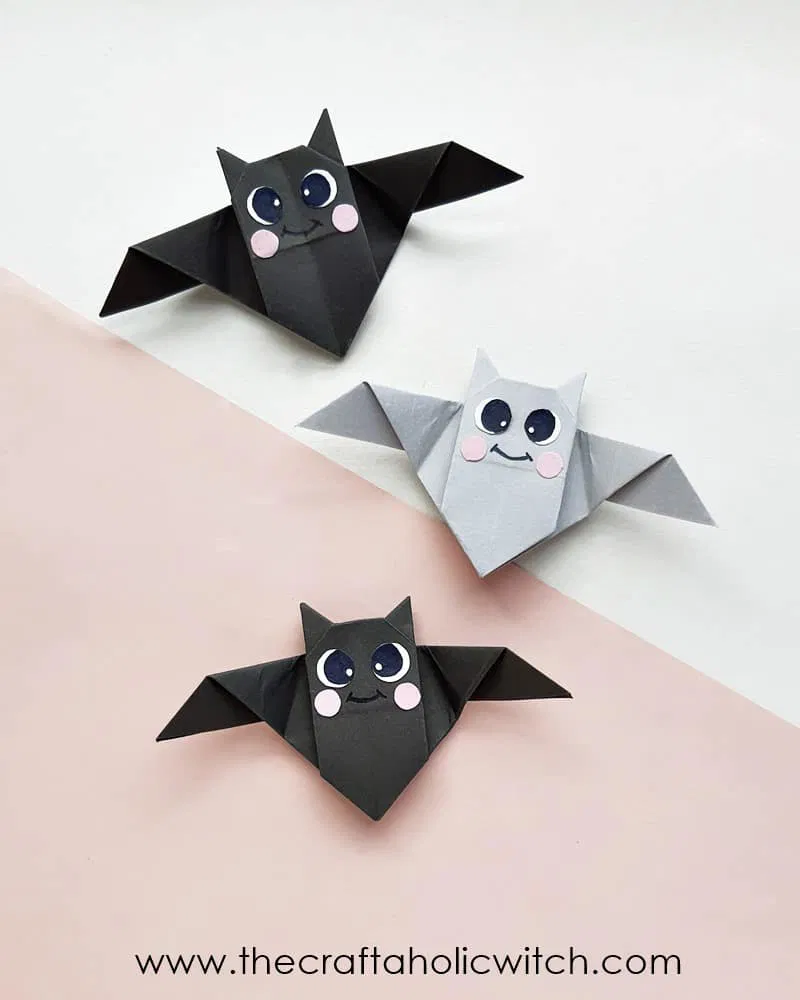
Easy to make paper bat decoration that can be hung from the ceiling or attached to the wall. Learn how to make cute and easy origami bat and use them as Halloween decorations
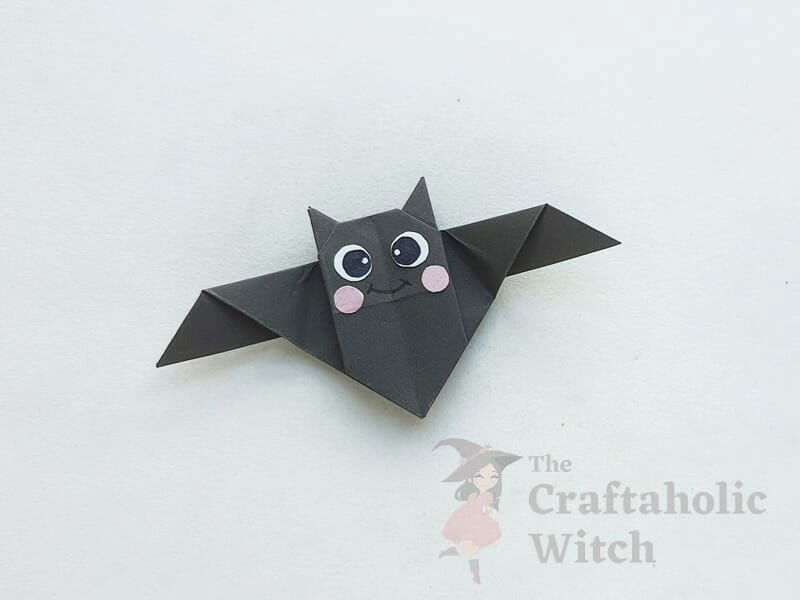
Halloween is around the corner, have you started planning for this year’s decoration and prop hunting? We’re here with a fun and cute origami bat tutorial. This can be a last-minute craft or a quick craft if you have little time in hand. These origami paper bats can be used as props, decoration pieces, to craft garland or to use as bookmarks.
You can find tons of origami bat tutorials on the internet and we went through a few tutorials and sorted out a relatively easy tutorial so that anyone can try it out. Added a little twist of our own so that the origami paper bats can be sued for a number of other crafts. The steps to make this origami paper bat includes all the basic origami folding techniques and nothing too difficult, so even if you’re a beginner at origami crafts, you can give this a try.
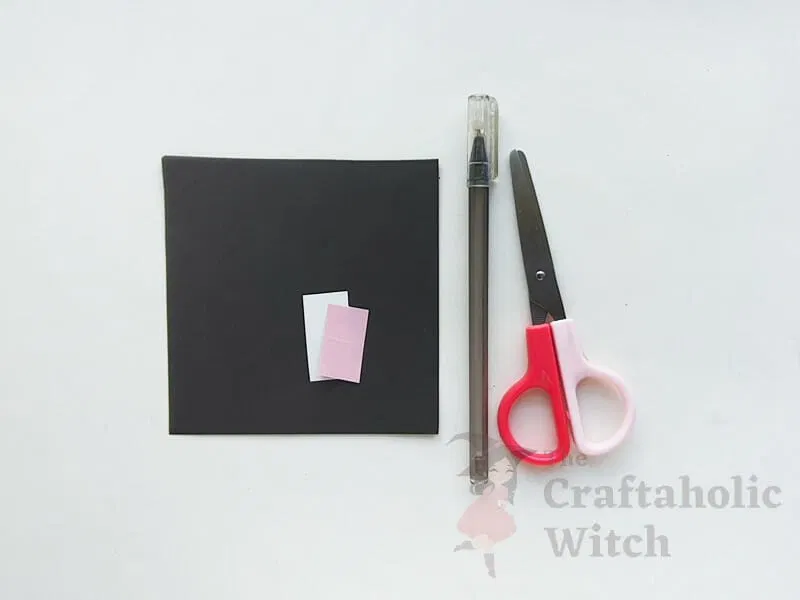
This craft will cost less than a dollar! All you need is a piece of craft paper, preferably black or gray since we’re crafting these for Halloween, but of course, you can choose any colored craft paper you want.
Things You Will Need:
Materials
- Colored craft papers (If you don’t have craft papers at home, you can consider these origami papers from Amazon (my affiliate link)).
Tools
- Pen
- Scissors
- Craft glue
How to Make Origami Bats
Step 1: The Base Folds
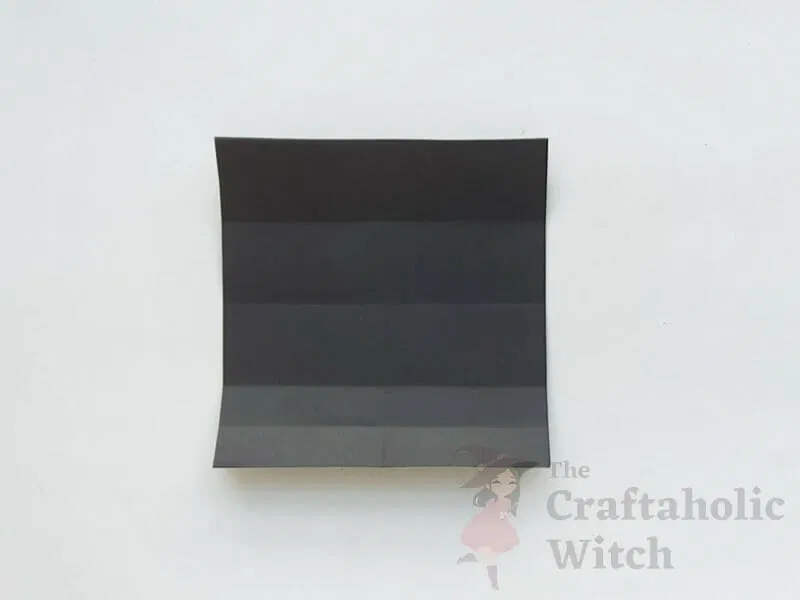
Select a colored craft paper for the bat craft, we’re using black paper. Prepare the paper into a fine square shape. Fold the paper in half from both sides and then unfold. Fold both sides inwards, aligning them with the middle crease created previously; unfold them again. Now, fold either side of the paper inwards and aligning it with the crease created previously (the side folds). These 5 creases are the 5 basic creases.
Step 2: Diagonal Folds
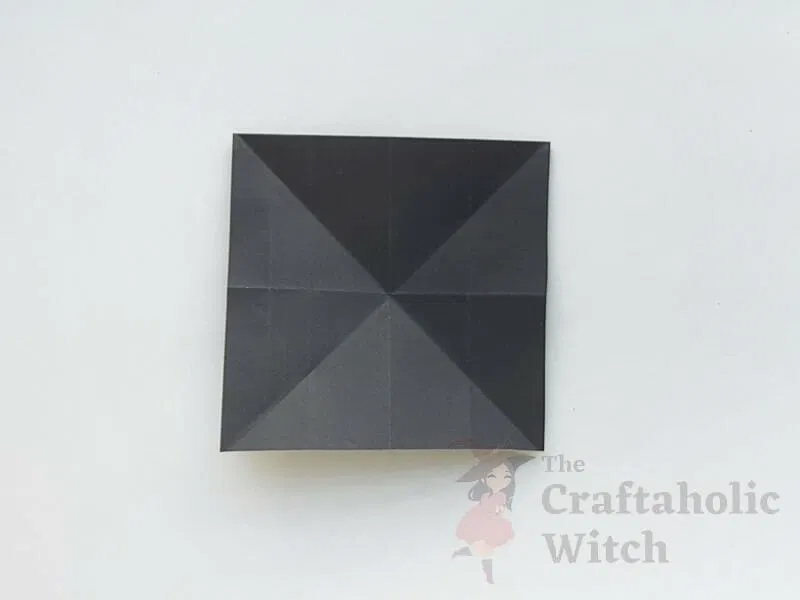
Now, flip the paper to the other side and fold the paper diagonally to create diagonal creases.
Step 3: Form a Star Pattern
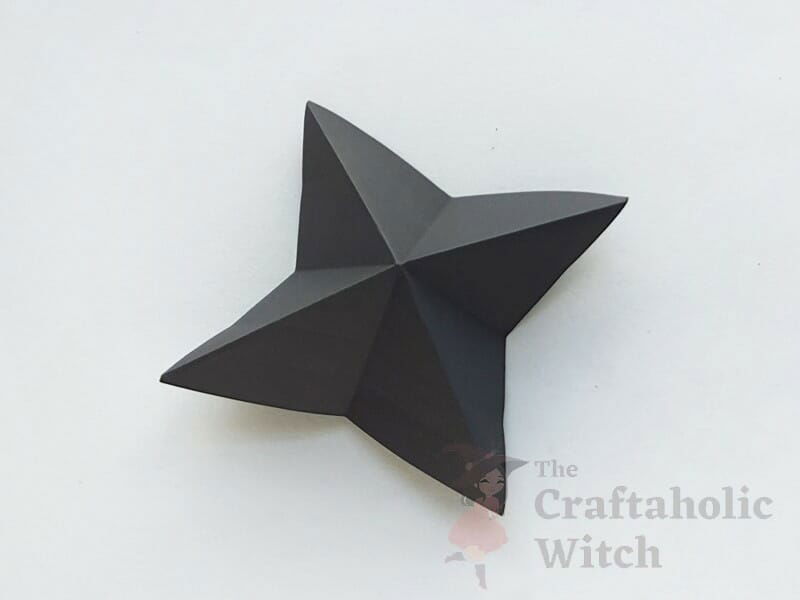
Flip the paper to the other side again. Fold the paper along the diagonal folds and the 2 criss-cross half folds. Drawing the diagonal creases upwards and the other half-fold creases downwards, try to form a star pattern.
Step 4: Flatten the Pattern
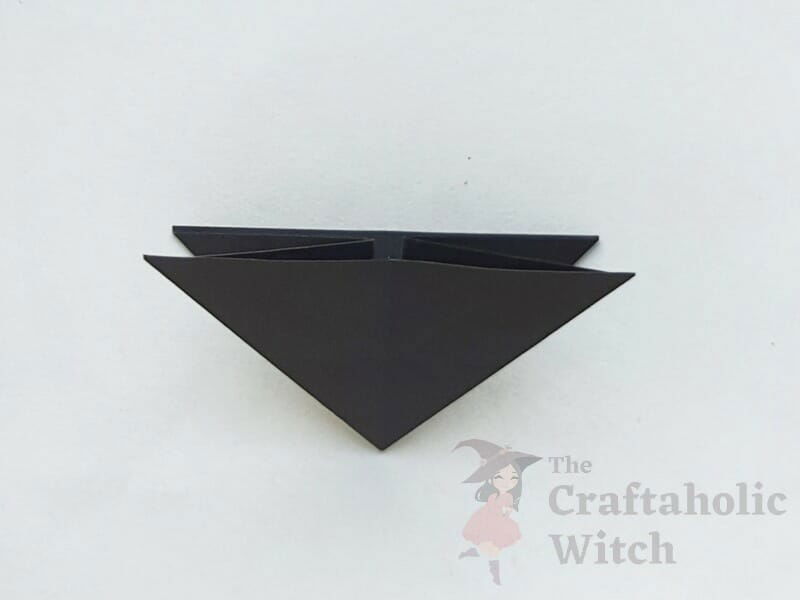
Join 2 corners (open ends) of the start pattern together and flatten the pattern.
Step 5: Open a Side
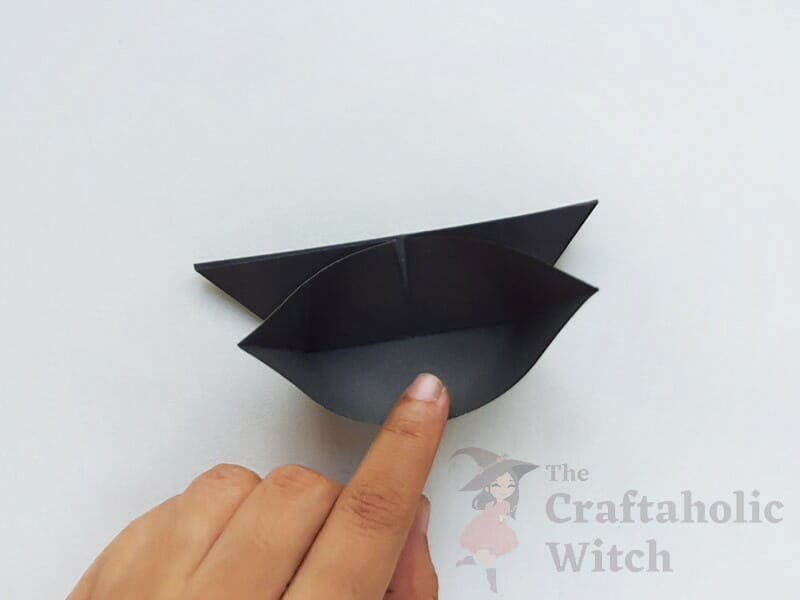
The current pattern will half 2 pocket-like open ends. Place the pattern on a flat surface and make sure that the side with no crease is on the top. Open the top pattern carefully.
Step 6: Flatten the Pattern
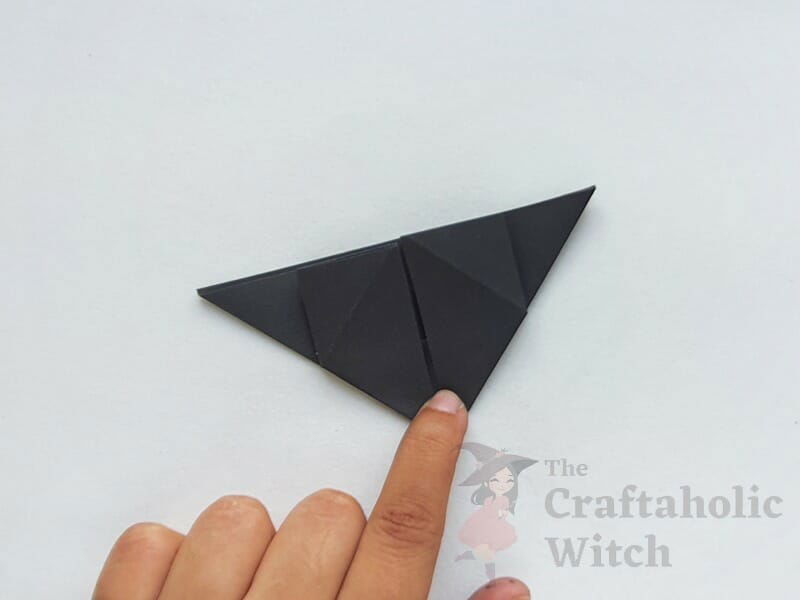
Join the open corners (both left and right) in the middle of the pattern and then flatten the front part with the rest of the pattern.
Step 7: Fold-up the Bottom End
Fold up the bottom end of the top part and join it with the top end.
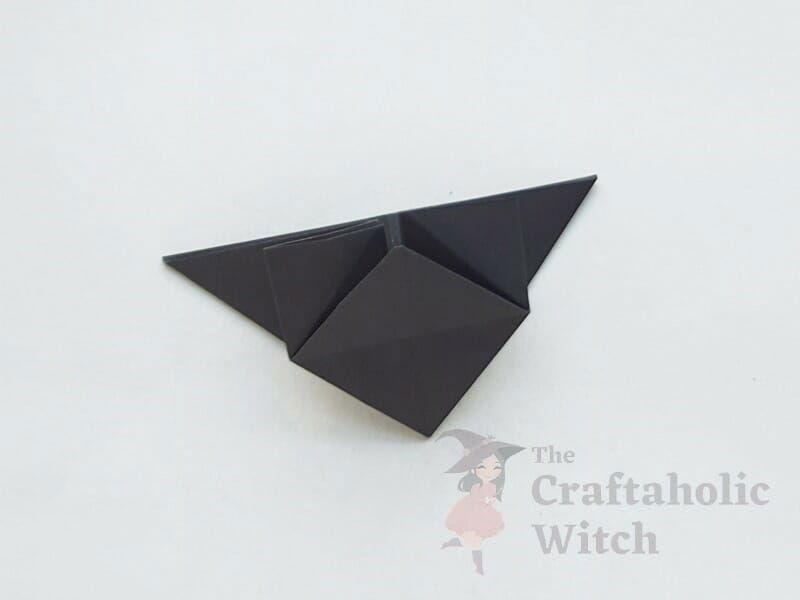
Step 8: Fold the Left Flap
Fold the left side (flap) to the right side and then fold it in half.
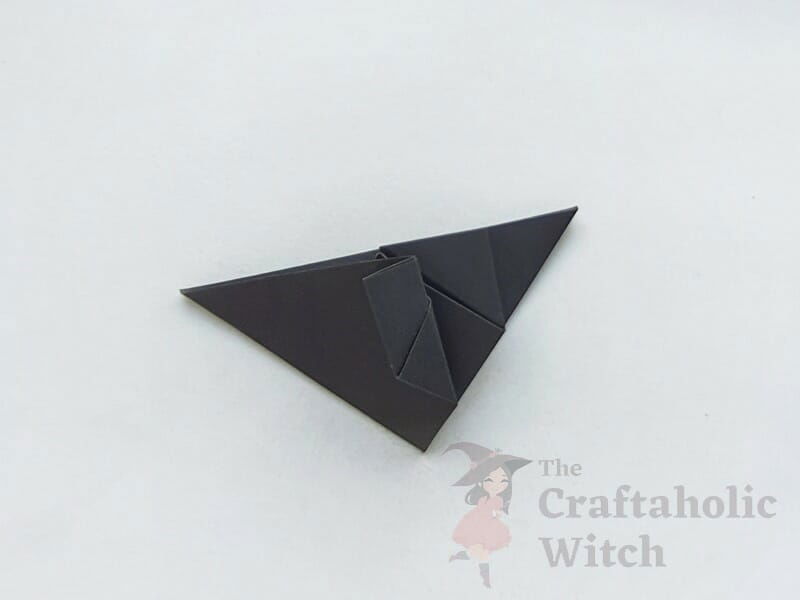
Step 9: Fold the Left Flap Back
Fold the left flap to the left side again.
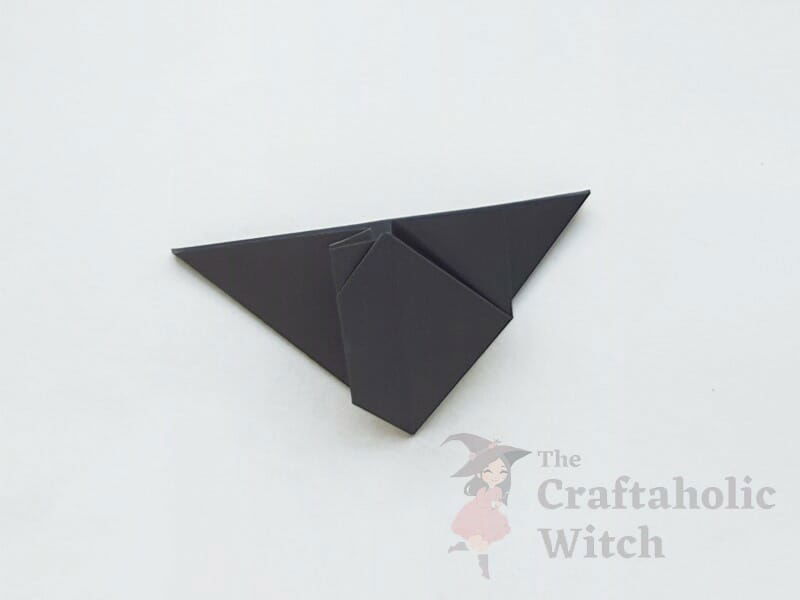
Step 10: Prepare the Right Flap
Similarly, fold the right flap of the current paper pattern.
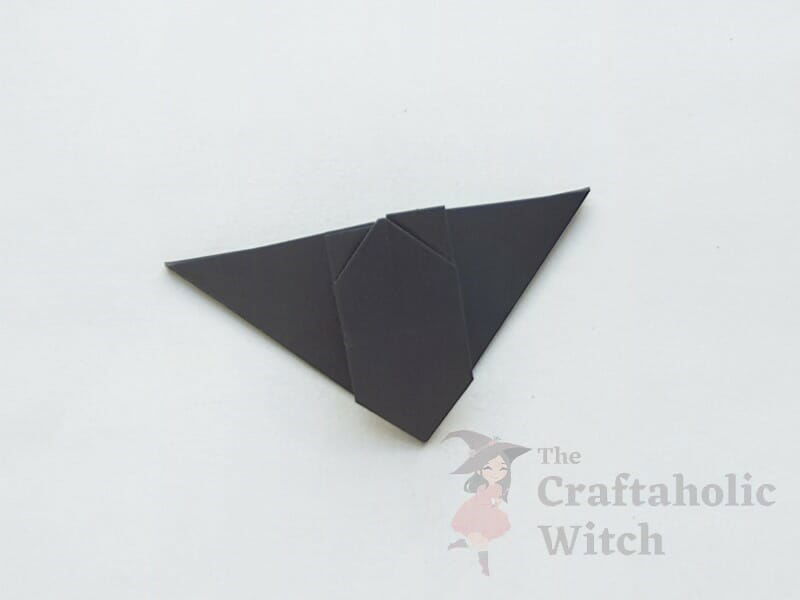
Step 11: Flip the Pattern
Flip the current paper pattern to the other side. This is the front side of the origami paper bat.
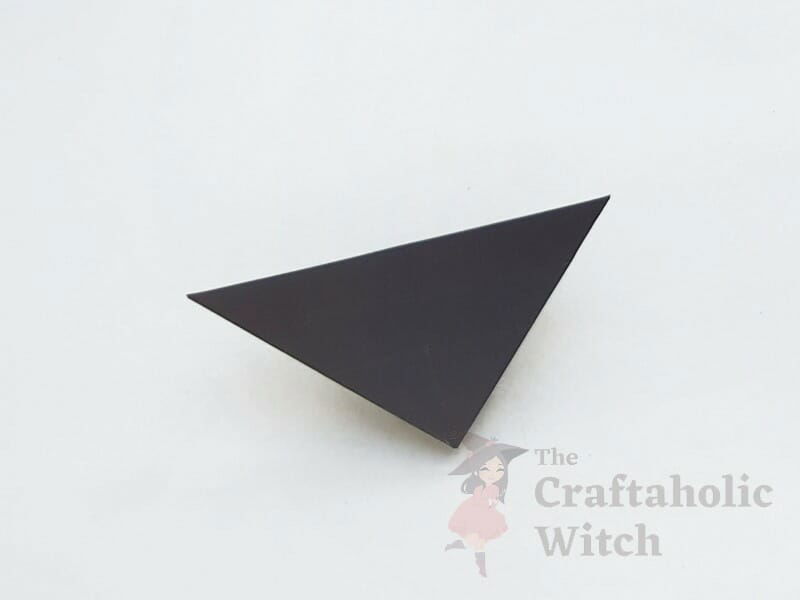
Step 12: Opening the Top Layers
This side of the pattern should have a crease along the middle, which we created in the first step of the tutorial. Fold the top open end and align it with the crease along the middle.
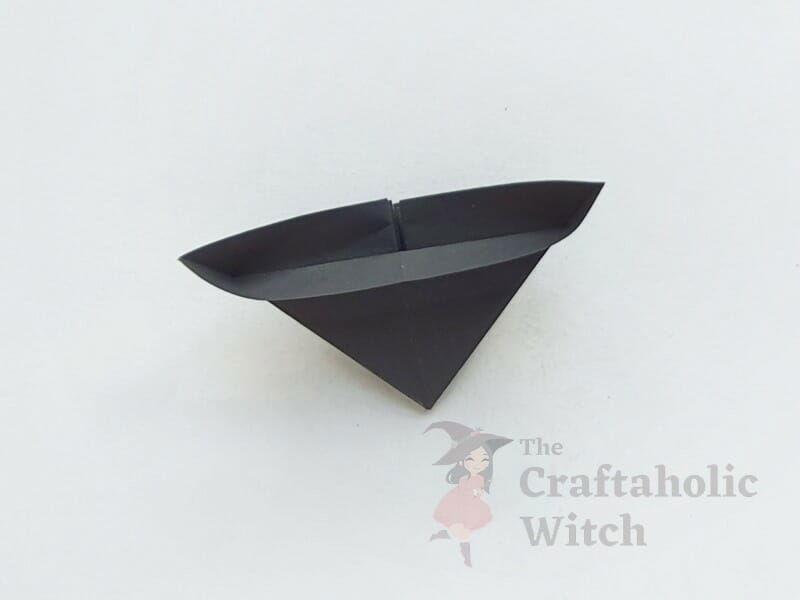
Step 13: Form the Left Ear
Let’s work on the left side first. Fold and flatten the 2 layers of paper from the top and this will automatically draw the pattern on the front side and form a triangular shape on the top side.
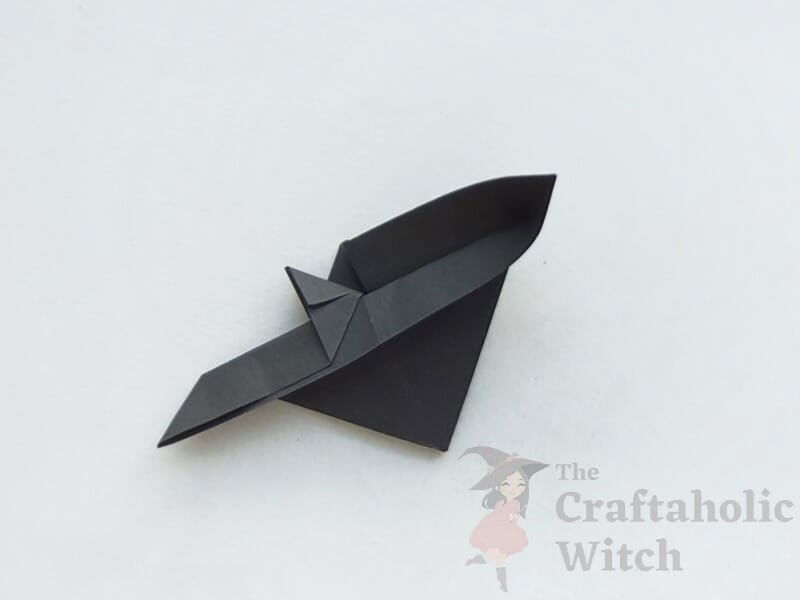
Step 14: Form the Right Ears
Similarly, fold the right side of the paper pattern. These are the ears of the origami paper bat.
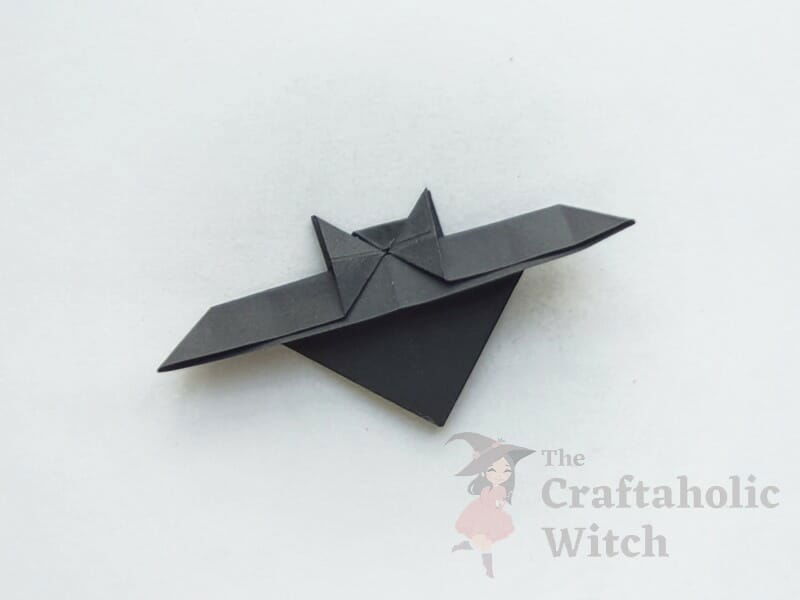
Step 15: Complete the Bat Craft
Since we’re using black paper for our origami paper bat, we had to use craft papers to create the eyes and other facial features. For lighter colored craft papers, you can simply use a sharpie or pen to draw the face.
Watch Video Tutorial: How to Make Origami Paper Bat
Having difficulty understanding the picture tutorial? No worries, you can also check out our video tutorial on how to make origami paper bat. Don’t forget to hit the subscribe button and turn on the notification bell to stay updated.
Tips for Beginners
- Use regular colored craft papers. Do not use thick paper or cardstock paper
- Prepare the square paper as neatly as possible. Use a ruler and a pencil to trace a perfect square shape.
- If this is your first attempt, you might need to try a few times before crafting the pattern perfectly, that is absolutely fine!
We hope you like this tutorial and enjoy the craft if you give it a try. Here are some of our other origami paper tutorials you may like:
Don’t forget to share your feedback in the comments below. Share pictures of your version of the origami paper with us if you do give them a try. You can share your picture with hashtag #craftaholicwitch on Instagram or Facebook or just DM your picture to us on Instagram or Facebook page.


