How to Make a Braided Leather Bracelet (with Video Tutorial)
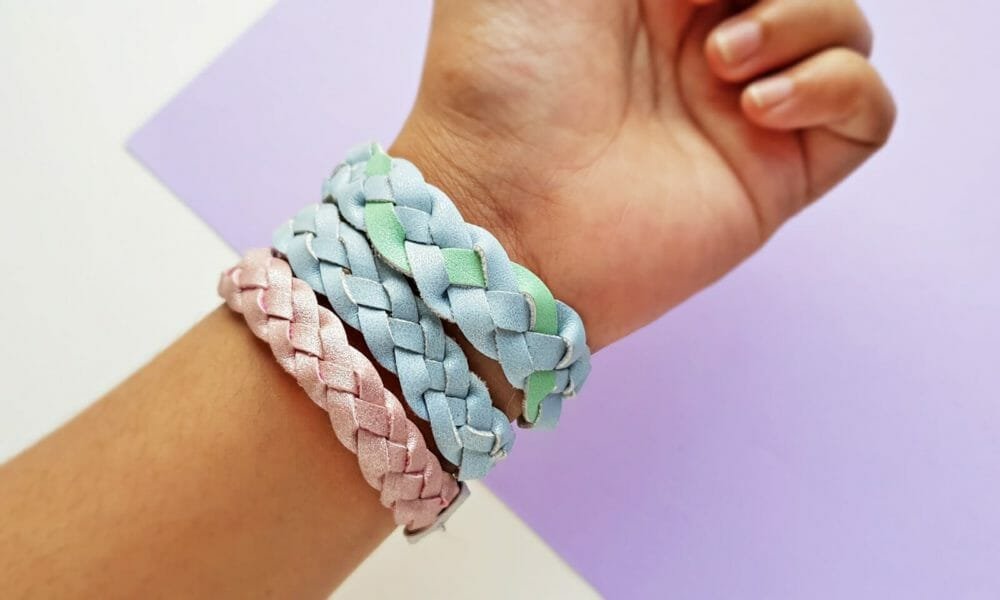
It’s hard to make leather jewelry at home, but trust me, it’s satisfying and worth your time. Plus they look gorgeous. Today we will show you how to make a braided leather bracelet at home using just a few materials. So read our step-by-step instructions or watch the video tutorial and make a beautiful piece of leather bracelet for yourself.
Hello, craft lovers! We haven’t shared a bracelet-making project in a while so here’s one. Learn how to make a braided leather bracelet with the help of our today’s tutorial. We’re sharing a 4 strand braiding pattern but you can use the technique to braid a pattern with any number of strands.
This braided leather bracelet project isn’t too easy nor too difficult. If you have all the required supplies and you’re already familiar with the braiding technique, you can craft one easily. The basic and important part to make the bracelet look beautiful is the braiding, so make sure you know how to braid with 4 strands or simply follow our tutorial.
You can find a bundle of 20 faux leather sheets at $11 or a little more but this project requires a few strips only. Besides the faux leather, you will need a few jump rings, a closure, and a little bit of felt. Or you can get the DIY leather jewelry-making kit as we did. We received this DIY Jewelry Making Kit from LaMode and we absolutely loved exploring the kit and creating pieces of jewelry with it.
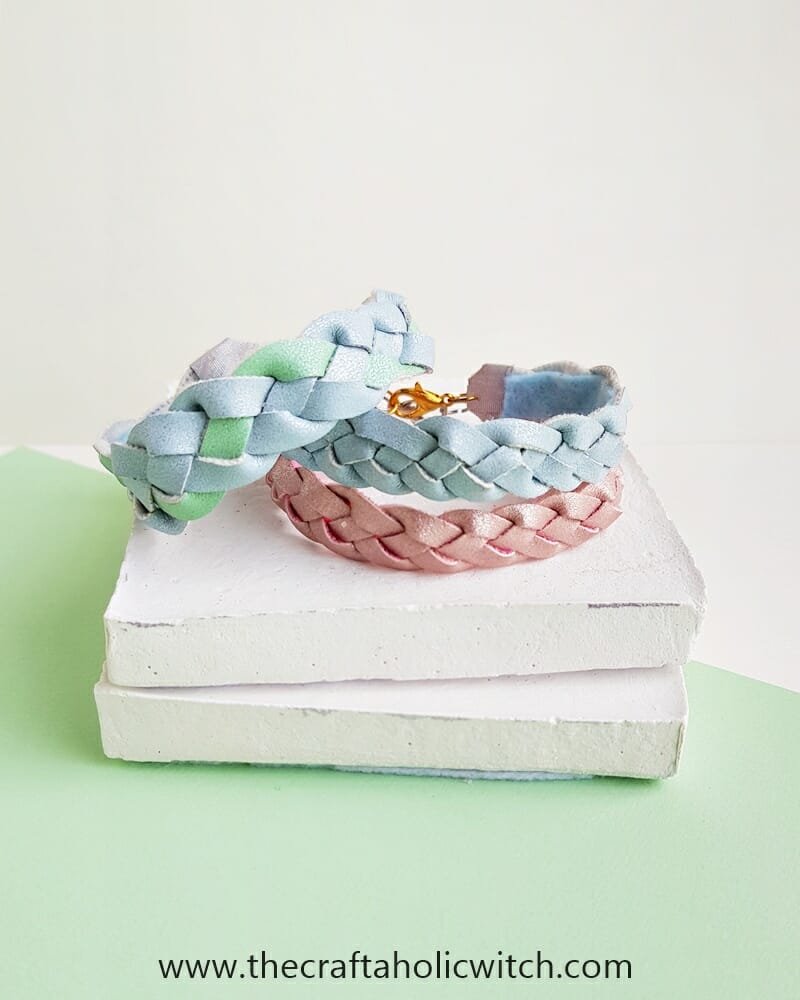
How to Make a Braided Leather Bracelet
Supplies
Materials
- Faux leather
- Jump rings
- Lobster claw clasp
Tools
- Pliers
- Scissors
- Hot glue gun
- Ruler
- Pencil
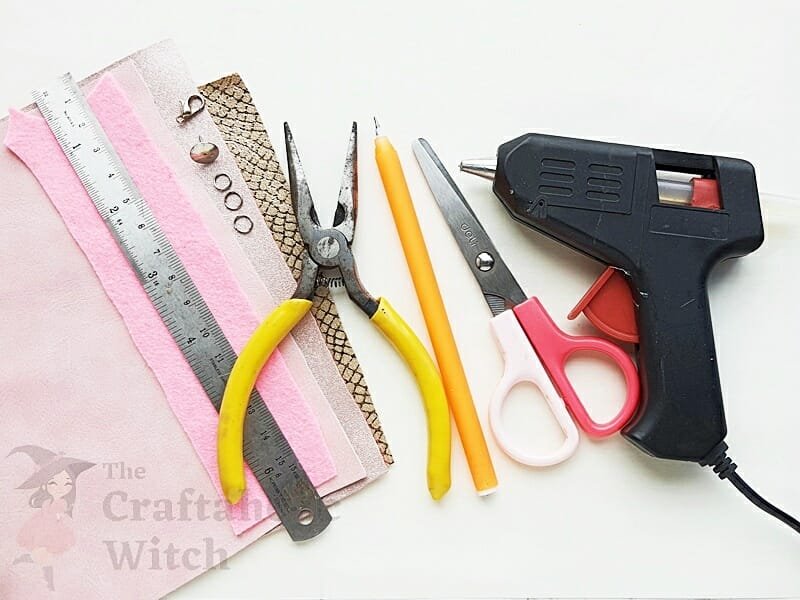
Step by Step Instructions on How to Make a Leather Bracelet
Step 1: Measuring and Tracing Patterns
Select the faux leather sheets/patterns that you’d like to use to make the braided leather bracelet. Take any one of the selected sheets and turn its wrong side up. Use a pencil and ruler to mark the strips on the backside of the selected leather sheets. We traced 0.5 cm wide strips and used all the lengths of the sheet. For the closure leather piece, we prepared two 1 cm x 6 cm strips. We can adjust the longer side of any strip later.
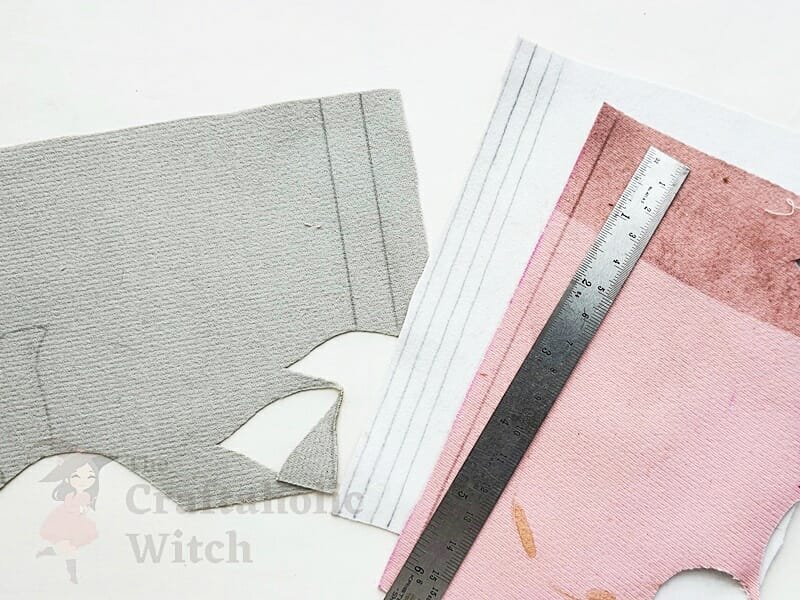
Step 2: Cutting the Patterns (Strips)
Once you’re done tracing the strips on the backside of the selected faux leather sheets, use a pair of sharp scissors to cut them out neatly. We have 2 pieces for the closure and 4 strips for the braiding.
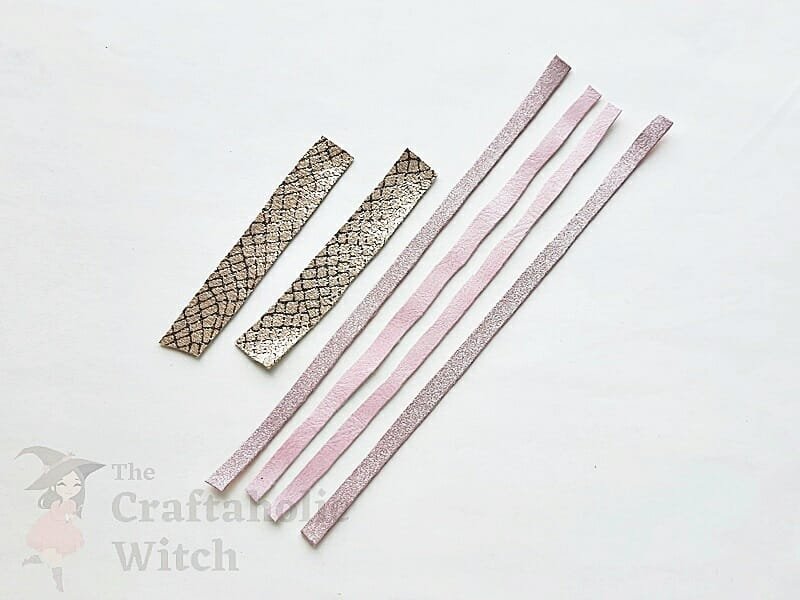
Step 3: Securing one End of the Strips
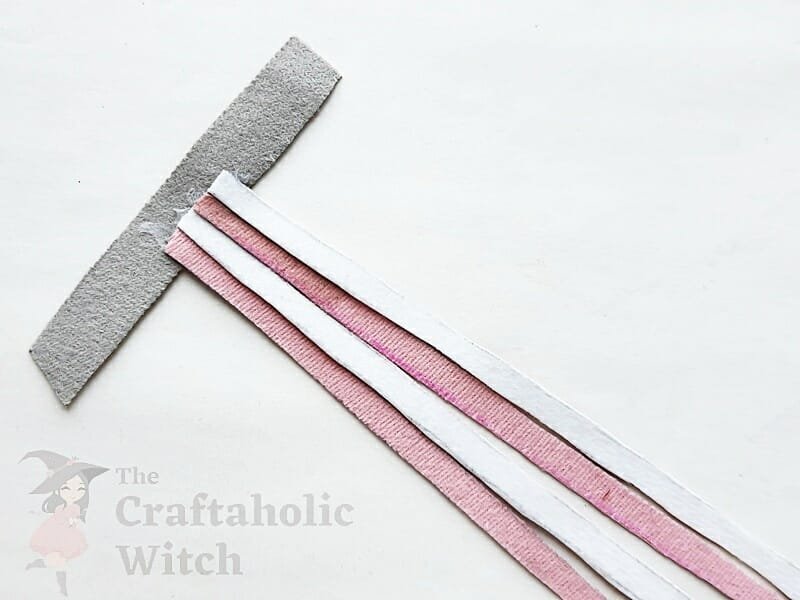
Take any one of the closure leather pieces and place it on a flat surface with its wrong side facing up. Use hot glue to attach the leather strips on the middle part of the closure leather piece, side by side and adjacent. See the picture of this step for a clear understanding. The leather strips should also be attached with their wrong sides up.
Step 4: Closing one End of the Bracelet
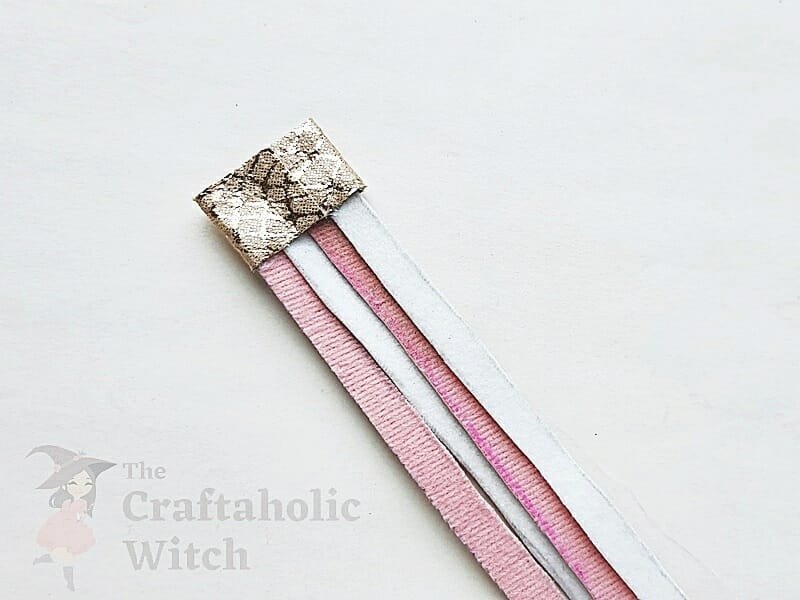
Now, fold up the sides of the closure leather piece and close the top (open end) of the attached leather strips.
Step 5: Attaching Jump Rings and Closure
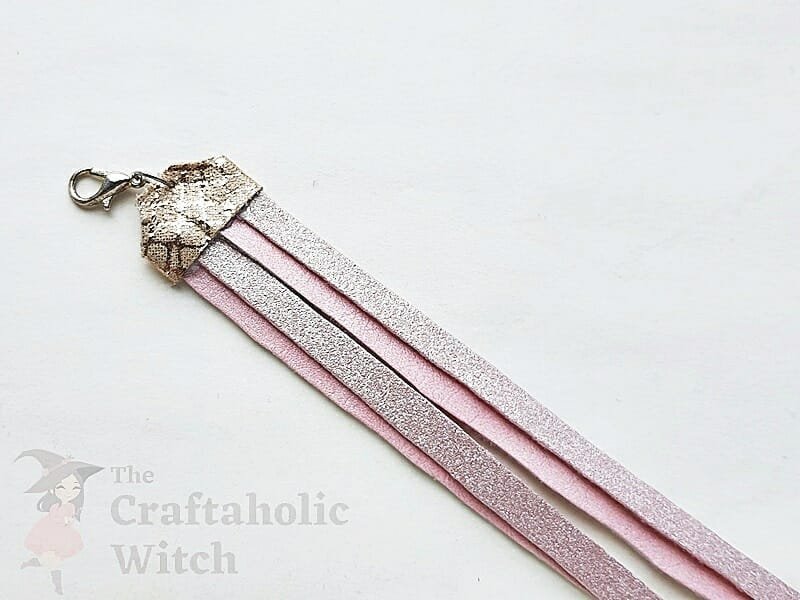
To give the leather closure a nice finishing, make slight diagonal cuts on both open corners. Use a pin to make a hole near the open end of the closure and then attach a jump ring through it. Attach a lobster claw closure through the attached jump ring to complete this side of the bracelet’s closure.
Step 6: First Round of Weaving (Braiding)
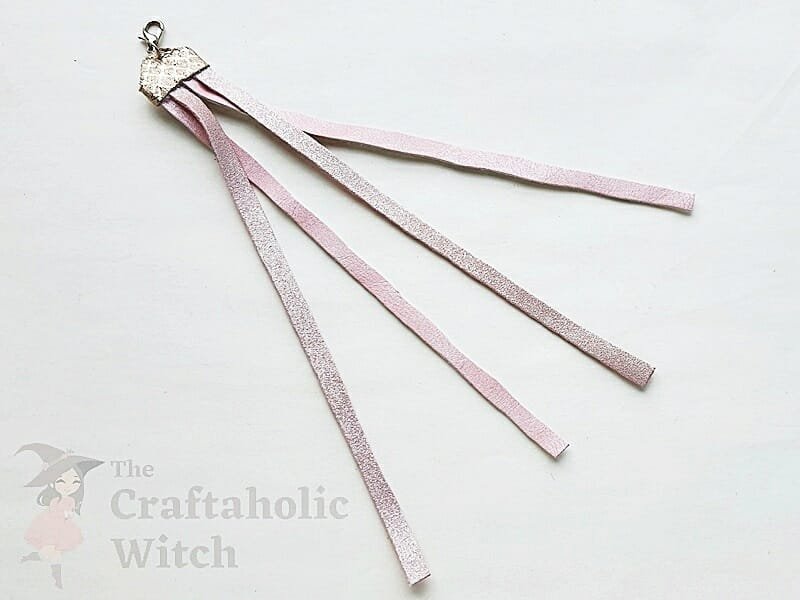
The 4 strands braiding basically has 2 steps. Divide the 4 strands into 2 groups, each having 2 strands. Bring the right strand over the left strand (of the right group) and then bring the right strand over the left strand (of the left group).
Step 7: Second Round of Weaving (Braiding)
Now, we’ll work with the 2 middle strings. Bring the left strand over the right strand. There, the first round of a complete braid is complete.
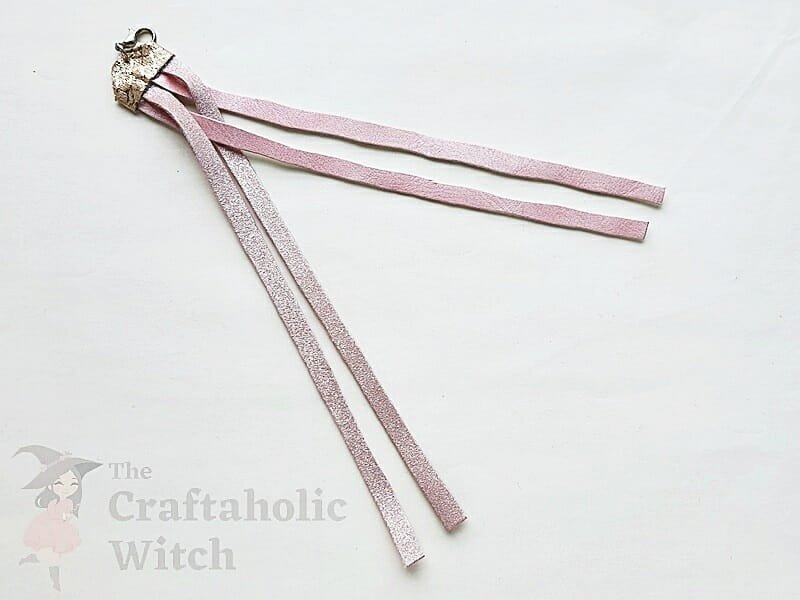
Step 8: Repeat Previous Technique (Round 1)
Simply repeat the 2 steps to braid. Bringing right strands over the left strands for both groups.
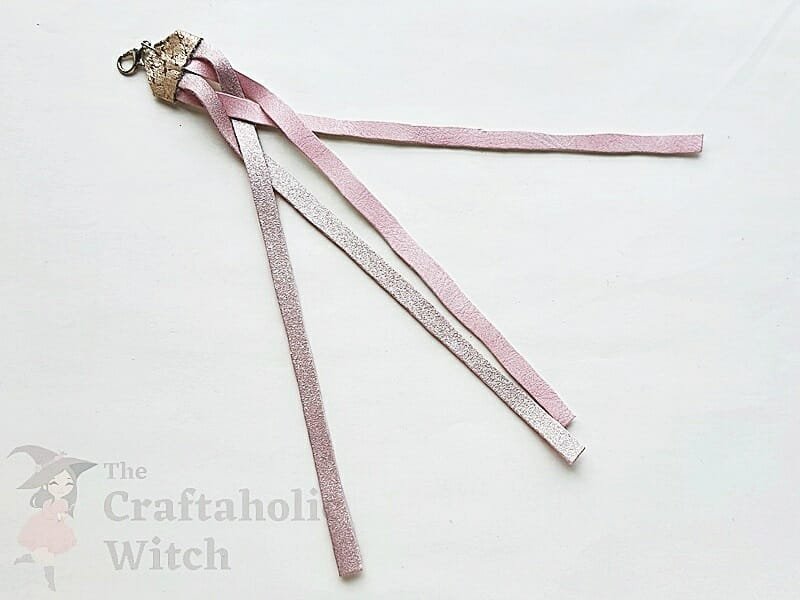
Step 9: Continue to Repeat Rounds 1 and 2 Serially
And then work with the 2 middle strands. Bring the left strand over the right strand.
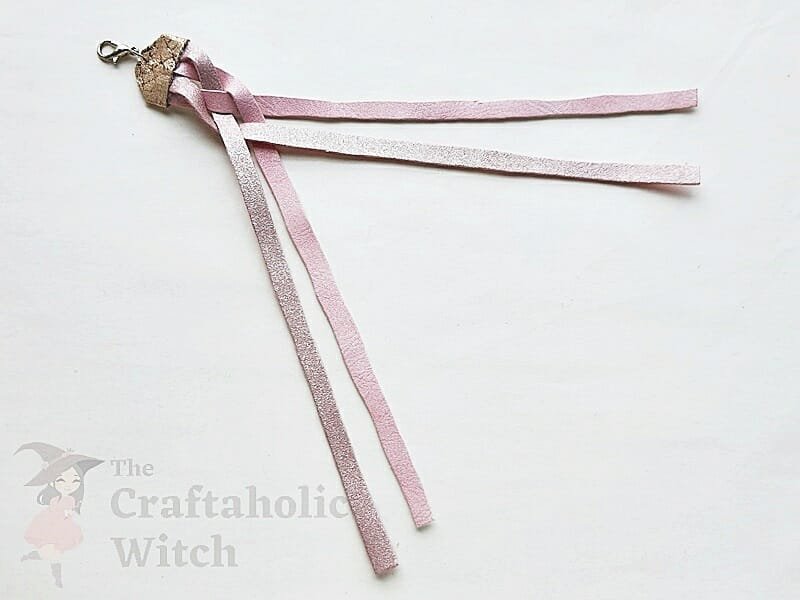
Step 10: Complete the Braiding
Continue the braiding until the strands come to an end.
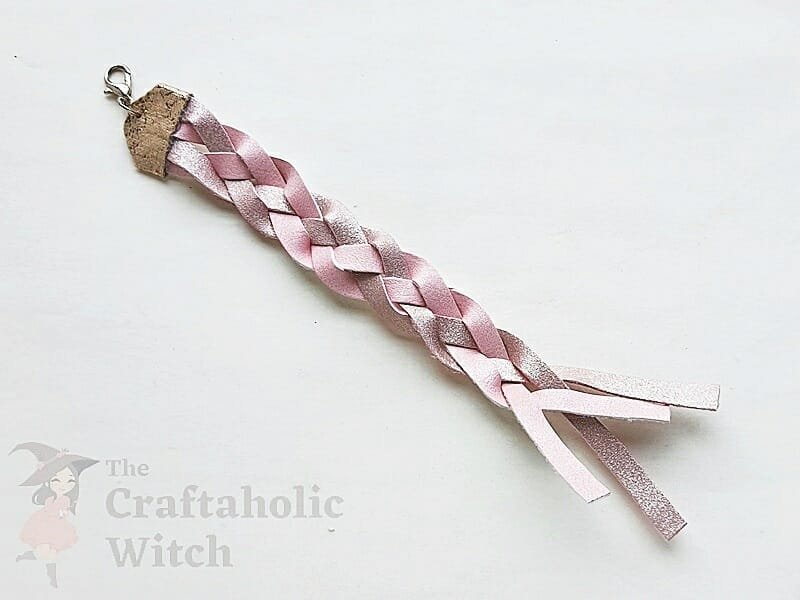
Step 11: Secure the Braid’s Open End
Secure the open ends of the strands with hot glue and cut off extra parts of the strands.
Step 12: Give the Open End a Nice Finishing
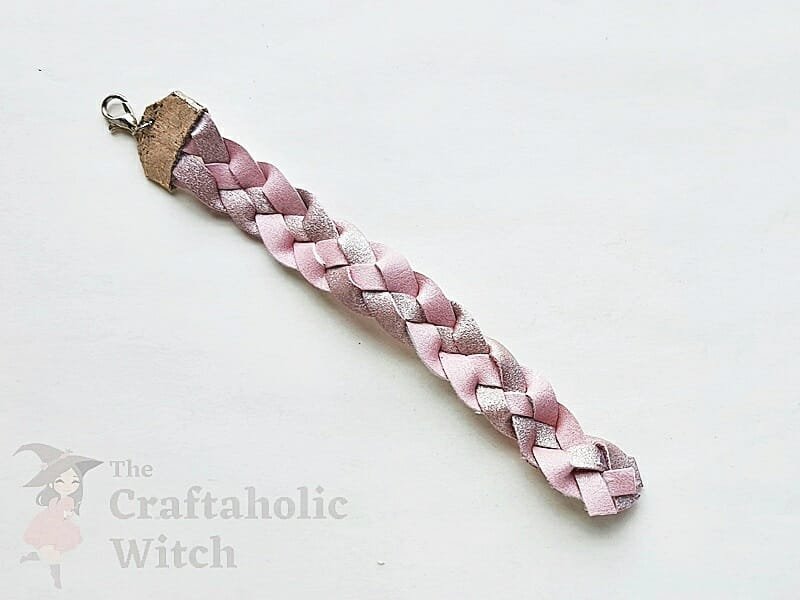
Attach the leather closure like we attached the first closure. Also, prepare a piece of the felt strip. The felt strip should be slightly smaller than the bracelet.
Step 13: Attach a Felt Base
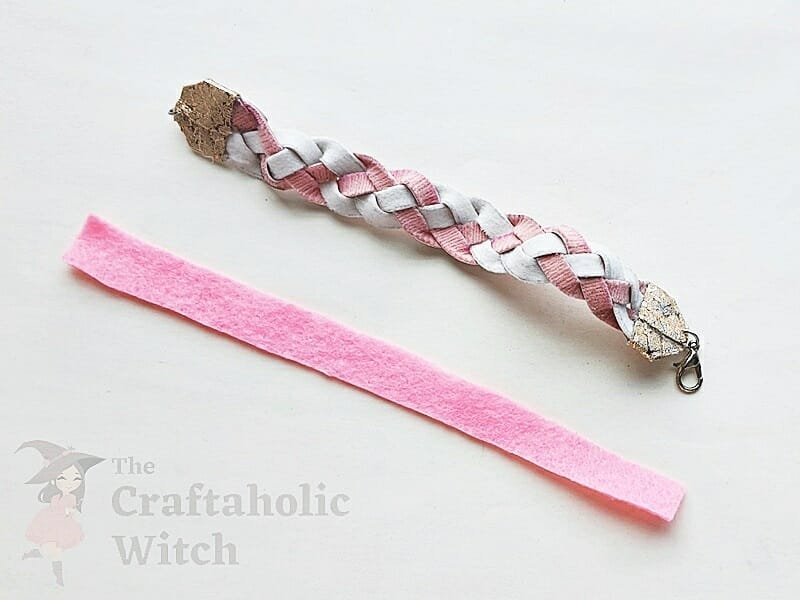
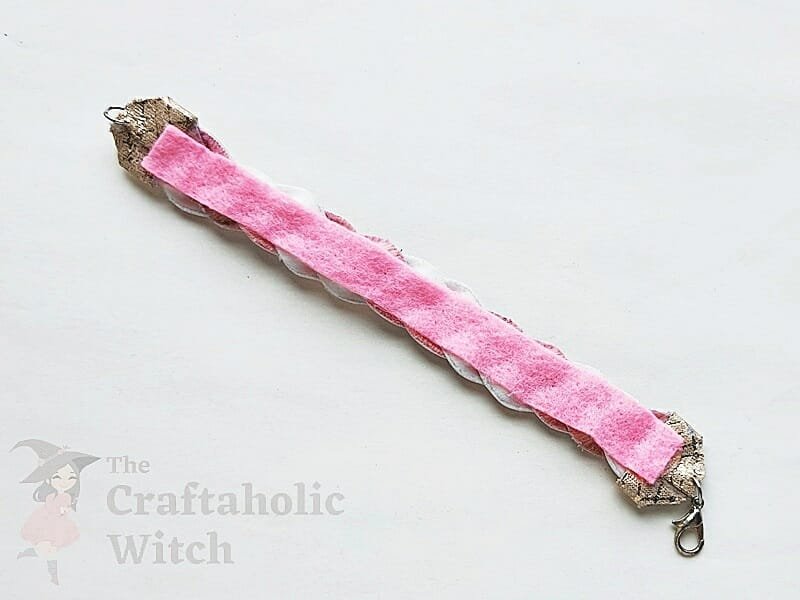
Attach the felt strip on the backside of the braided leather bracelets. Attach a jump ring or 2 through the hole and attach a small piece of jewelry chain if you’d like to have the option to adjust the bracelet size when wearing it.
Step 15: Compare the Difference With and Without Felt Base
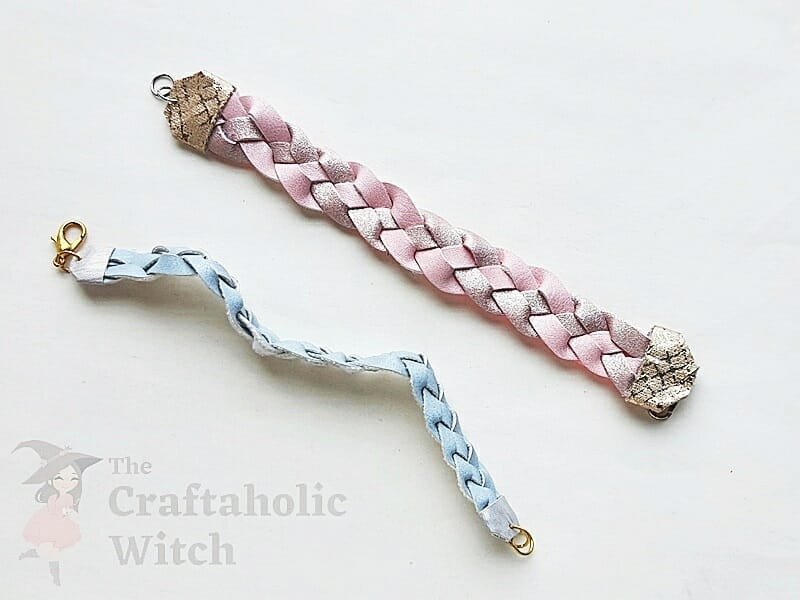
Attaching the felt base is important to keep the braiding pattern nice and straight. See the picture of this step to compare the difference.
Video Tutorial: How to Make a Braided Leather Bracelet
Beginners Tips on How to Make a Braided Leather Bracelet
We tried to sum up a few tips for you just in case you have difficulty crafting the braided leather bracelet.
- If you’re using 2 or 3 different colored or patterned leathers, make sure their thickness and flexibility are the same or similar.
- Use a pencil to trace the leather and trace the leather on the backside.
- Use a pair of sharp scissors to cut the traced strips.
- Make sure to close one end of the bracelet to start the braiding.
- Don’t forget to attach the felt base.
- Use hot glue for this braided leather bracelet project.
Here are some of our DIY Bracelet tutorials that you may also like
- How to Make Adjustable Cord Bracelet
- How to Make Rosary Beaded Bracelet
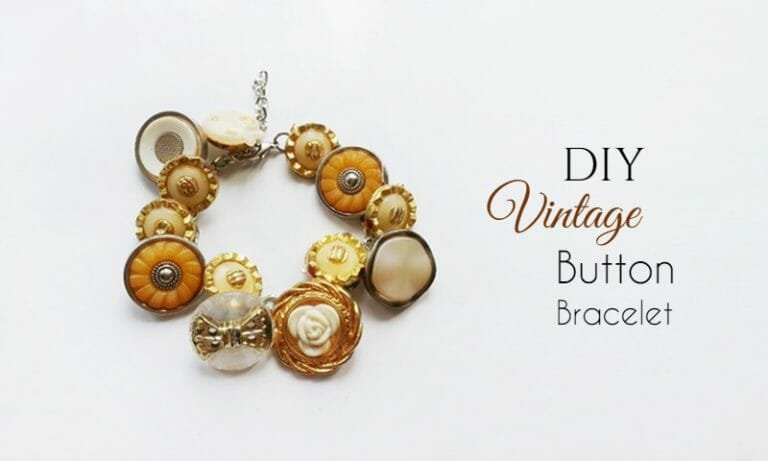
- How to Make Vintage Button Bracelet
- How to Make Mixed Beaded Bracelet
We really hope that you can easily learn how to make a braided leather bracelet with the help of our tutorial. You can mix and match different colored, patterned faux leathers or use more or fewer strands for braiding to create different designs. All you need is a little time, some practice, required supplies and you’re good to go.
Also, we would love to see you re-create this braided leather bracelet. If you do craft one, don’t forget to tag us or mention us on Facebook or Instagram (use #thecraftaholicwitch) and show us how you’re styling with the braided leather bracelet.
Have a wonderful Day!

Great instructions! Fran Mowery, Oakwood, OH. 45873
Glad You Liked it, Please share the photos with us 🙂