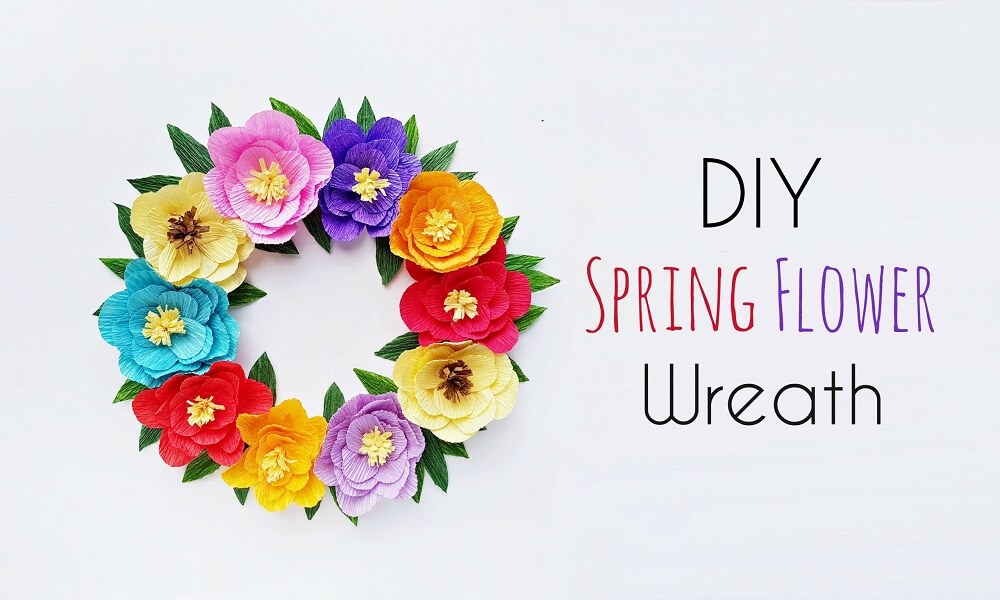
DIY Spring Flower Wreath

DIY Flower Wreath – A Step by Step Tutorial to Make a Pretty Spring Flower Wreath
Spring is here and how can we not craft a Spring flower wreath! I had a bunch of crepe papers in my craft-stash and wasn’t sure what to do with them; but then this idea hit me, Spring flower wreath, a perfect DIY project to start this season! This DIY Spring flower wreath turns out so beautiful, you’ll want to make more! I would definitely like to craft another one (or two!) of this crepe paper peony wreath using different shades of pink.
This Spring flower wreath can be used as party decor, home decor, a gift or simply for a craft-therapy session! Either way, it’s a win-win, so go ahead and make one yourself!
List of Supplies
- Colourful crepe papers
- Scissors
- Cardstock paper – to make the wreath base
- Hot glue gun
- Pencil
Make Spring Flower Wreath!
Prepare the Cutouts
You won’t need a template for this crepe paper peony, it’s super easy to trace by freehand! Select a colourful crepe paper for the flower and yellow for the centre of the flower. For this crepe paper peony, I’ve used 4 layers of petals; each layer comes with 4 different sizes of petals. You will need to cut out 6 big petals, 4 medium size petals, and 7 small size petals. Cut out a strip from yellow coloured crepe paper.
Cutting the Petal Slit
Grab any one of the petal cutouts and cut a 1 cm slit along the middle, from the bottom end of the petal (straight side).
Joining the Petal Slit
Apply glue on either side of the slit and overlap the 2 sides of the slit to join them. This will give the petal a 3d look.
Preparing the Flower Base
Similarly, prepare the rest of the petals. Cut out a small round shape from a cardstock or craft paper for the flower base. Apply glue around the outer border of the round base.
Attach the Outer Petals
One by one attach the big petals around the outer border of the flower base.
Add all the Petals
Attach the medium-sized petals inside the big petal layer. Then grab 4 small-sized petals and attach them inside the 2nd layer. And finally, attach the last 3 small petals around the centre. Take the small yellow strip and cut small and even fringes on either side of its length. Roll the intact part of the fringed strip.
Attach the Center
Glue the rolled fringed paper in the center of the peony flower base.
Craft more Peonies!
Similarly, craft more crepe paper peonies from different fun coloured crepe papers.
Crafting the Wreath
Grab the wreath base; I’m using a simple round base cut out from a cardstock paper. Attach the crepe paper peonies on the base. I’ve tried to keep the peonies adjacent to each other.
Add the Leaves
Cut out some leaf-shaped patterns from green coloured crepe papers. Attach the crepe paper leaves in between the peonies, on the wreath base.
Don’t forget to share a picture with us if you craft one! We’d love to see your version of this DIY flower wreath (You can share your picture with hashtag #craftaholicwitch or just DM your picture to us on Instagram.
If you’d love to try out another one or two DIY flower wreath projects you can check out our DIY Summer flower wreath.
Happy Crafting!


