

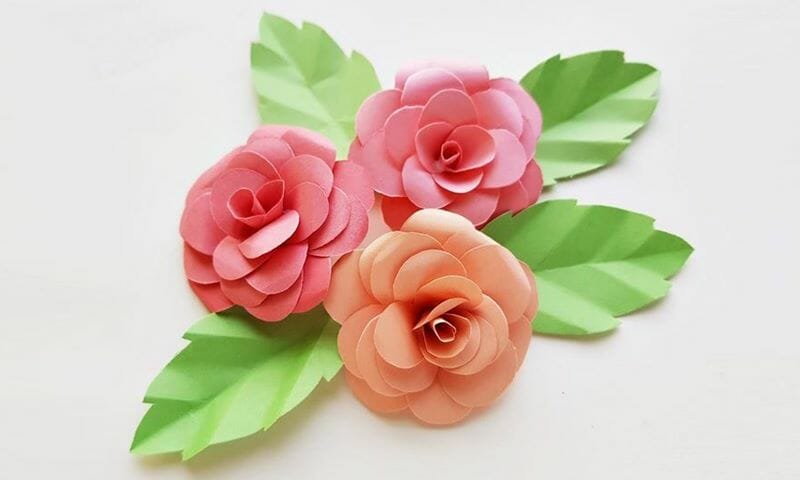
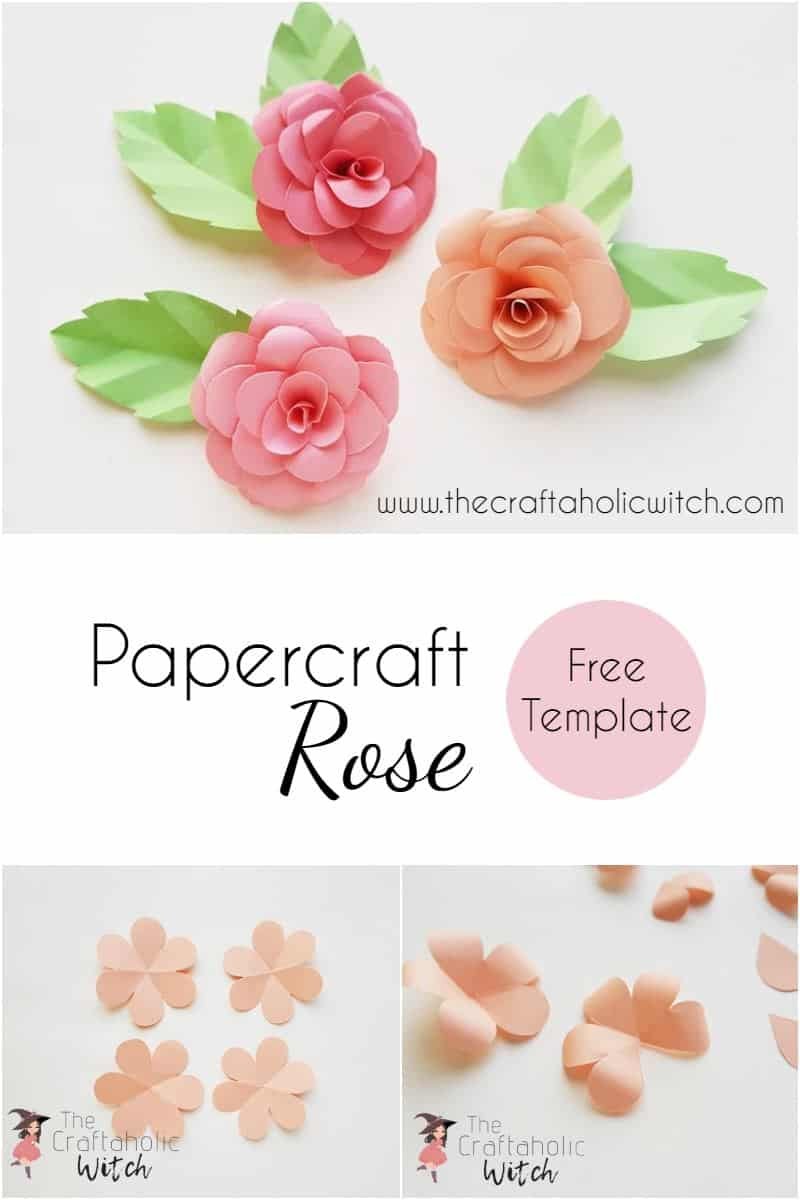
You can make a beautiful, realistic paper rose from a single sheet of cardstock, using nothing more than a printable petal pattern, a pencil, and craft glue. Nine curled and cupped petal layers stack together to build real dimension, so the finished flower reads as a full, lifelike bloom rather than a flat cutout.
I made mine in pastel pink cardstock because it curls cleanly with a crochet hook and holds that curl afterward, though any lightweight cardstock works. Curling and sizing nine petal layers correctly takes a little patience, so this one rewards going slow more than a typical beginner project. You can follow the free-hand method in the video below or trace our free petal template if you’d rather not eyeball the shapes.
Once you’ve got the folding and gluing rhythm down, these are a fast way to dress up a gift box, fill out a bouquet, or shrink down to an inch across for scrapbooking. They fit right in with the rest of our paper flower tutorials if you want to build a full arrangement.
Paper Rose at a Glance
- Difficulty: Intermediate
- Time: 30 to 45 minutes per rose
- Cost: Under $2 per rose
- Ages: 10+ with adult help for cutting and curling
- Best for: Gift toppers, bouquets, and scrapbooking
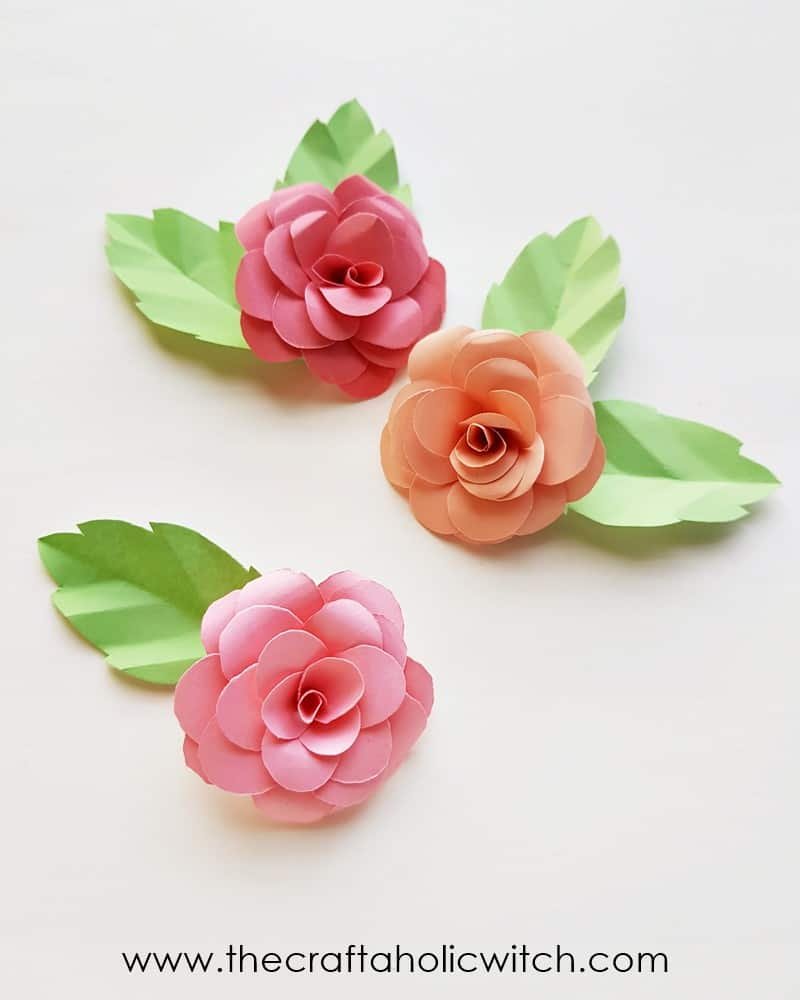
What You Need to Make a Beautiful Paper Rose
Materials
- Colored craft paper or cardstock, one sheet per rose. Cardstock holds its curl better than regular paper, which is why it works best here. Want a softer, more textured look instead? Try our crepe paper roses.
- Craft glue, for joining the petal layers and securing the coiled center.
Tools
- Pencil, for tracing the petal template.
- Scissors, for cutting out the petal layers.
- A crochet hook, pen, or other smooth round object, for curling the petal edges.

Free Printable Paper Rose Template
Download the free paper rose template from our community and print it out. Cut out the petal patterns as neatly as you can, since a clean cut here makes every later step easier.
Ask inside "Crafty Q&A" while you are making.
"Crafty Q&A" is free to join. Share your question, photo, or the exact step where you got stuck, and chat with other makers plus the Craftaholic Witch team. You can also join any discussion thread already happening inside the space.
Watch How to Make a Beautiful Paper Rose
Muhaimina folds and glues this paper rose free-hand from start to finish, no template needed, in a little over five minutes.
Step-by-Step Instructions
Step 1: Trace and Cut the Petal Patterns
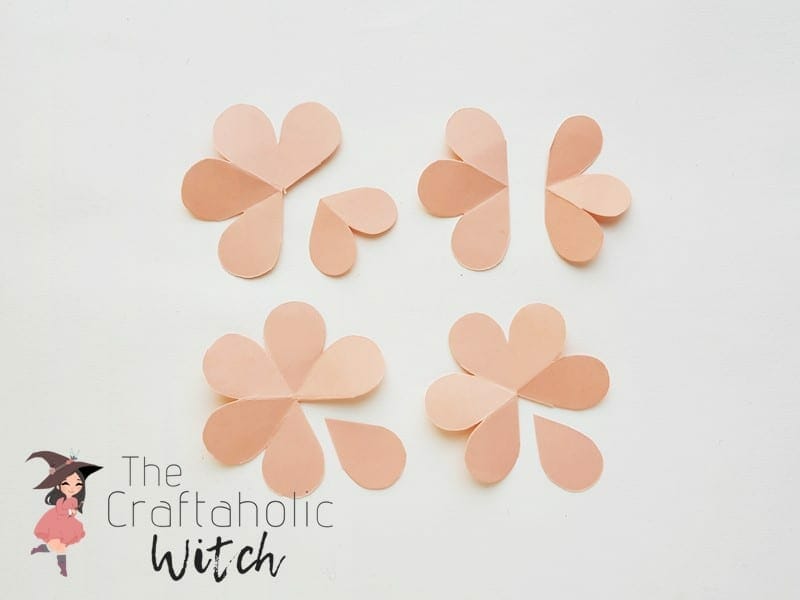
Lay your cardstock flat and trace each petal pattern from the template with a pencil, keeping the shapes close together so you don’t waste paper. Cut along your lines with scissors, cutting just inside the pencil mark rather than on top of it so the traced line doesn’t show on the finished edge.
Step 2: Curl the Open Edges of Each Petal

Run the open, rounded edge of each petal cutout along a smooth round object. A crochet hook works well, though a pen or a wooden chopstick does the same job. Press and drag rather than pinch; you’re aiming for a soft outward curve, not a sharp crease.
Step 3: Curl Every Layer Except the Single Petals

Repeat the curling from Step 2 on every remaining petal-layer cutout. Leave the single, individual petals flat. Those get coiled into a tight roll for the rose’s center a little later, so curving them now would only work against you.
Step 4: Glue One Open Edge of a Petal Layer
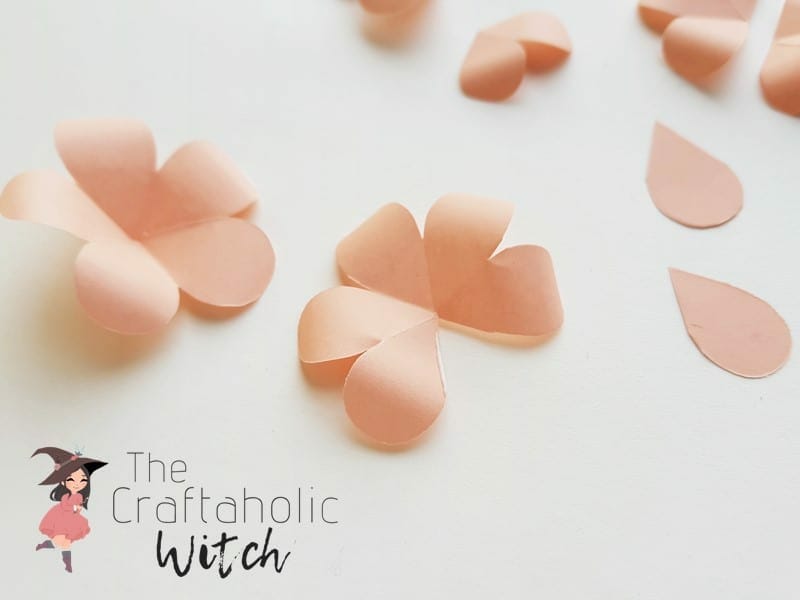
Pick up one of your five-petal layer cutouts and run a thin line of glue along one of its open straight edges.
Step 5: Overlap and Join the Edge, Then Coil the Single Petals

Bring the other open edge over to overlap the glued one and press firmly so the layer holds a shallow cone shape rather than lying flat. Work through every petal-layer cutout the same way. For the single petals, skip the gluing here and just roll each one into a tight coil; those get glued in place in Step 8.
Step 6: Glue the First Two Layers Together

Take your two largest petal layers and nest one inside the other, offsetting the petals so they don’t sit directly on top of each other. Add a small amount of glue where the two layers meet at the base and hold for a few seconds until it grabs.
Step 7: Add the Remaining Layers, Largest to Smallest
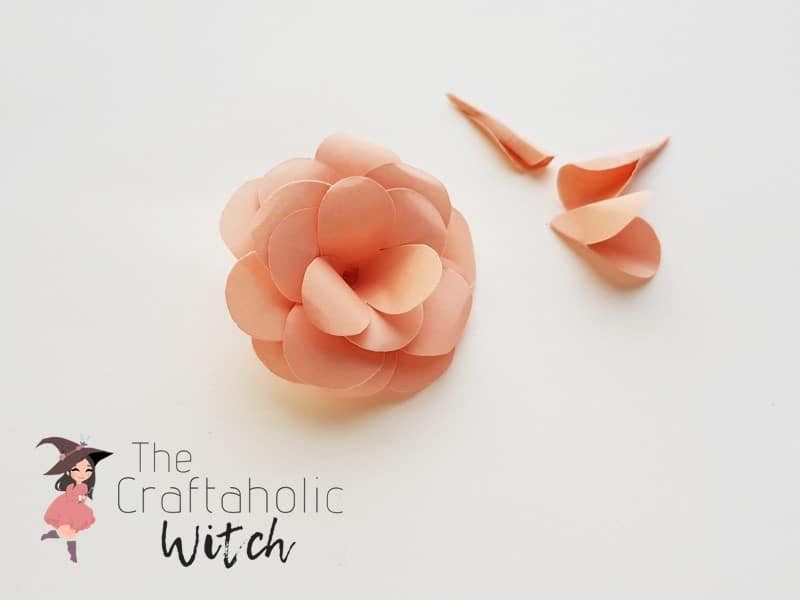
Keep gluing on the rest of your petal layers, working from the largest down to the smallest. Adding them out of sequence is the easiest way to end up with a lopsided rose, so double-check the size order before each layer goes on.
Step 8: Glue In the Coiled Center

Add a dab of glue to the base of one of the coiled single petals from Step 5 and press it into the very middle of the rose. This coiled piece becomes the bud at the heart of the flower, so nestle it in snugly rather than resting it on top.
Step 9: Add Leaves to Finish

Glue on paper leaves to finish. We used simple green cutouts for a realistic look, but you can leave the rose bare or dress it up however suits your project. If you want leaves with more shape, our origami leaves tutorial folds a leaf that pairs nicely with this rose.
Share it in "I Made It" and let us cheer you on.
Post your finished make in "I Made It" so the community can celebrate it with you. Cheer on other makers too. Each month, the most loved craft wins 1 year of Craftaholic Premium ($59)
Tips for a Beautiful Paper Rose
- Use lightweight cardstock rather than regular printer paper. It curls cleanly with a crochet hook and holds the shape once glued, while printer paper flattens back out.
- Trace and curl carefully; it takes a few petals to find your rhythm, and clean, even edges are what make the finished rose look intentional rather than lopsided.
- Double-check your layer order, largest to smallest, before gluing each one on. It’s the easiest step to get out of sequence.
- Scale the template down for miniature roses under an inch for scrapbooking, or size it up for a bigger statement bloom.
Ways to Use a Paper Rose
- Decorate a gift box: tuck one inside or glue a few to the lid.
- Use them as flat lay photography props for styled shots.
- Scale down to about an inch across for scrapbooking and cardmaking.
- Add them to party decor for birthdays, baby showers, and weddings.
- Swap in seasonal paper colors to refresh your shelf or desk decor throughout the year.
Frequently Asked Questions
How is this different from your crepe paper or tissue paper roses?
This rose is cut from stiff cardstock and curled into cupped, layered petals for a sturdy, realistic bloom that holds its shape indefinitely. Our crepe paper and tissue paper roses use softer paper for a more delicate, textured look that drapes rather than holds a firm curl. Pick cardstock when you want a rose that won’t wilt or lose its shape over time.
Can I make these paper roses without printing the template?
Yes. The video above shows the free-hand method, where you cut the petal layers by eye instead of tracing a printed pattern. It takes a little more practice to get the sizing consistent, but you don’t need a printer or the template at all.
What can I use instead of cardstock?
Lightweight cardstock holds a curl best and cuts cleanly, but heavier construction paper works in a pinch. Regular printer paper is too flimsy; it won’t hold its curl once you let go, so the petals flatten back out.
How long does it take to make one paper rose?
Budget 30 to 45 minutes for your first rose, most of which goes into tracing, cutting, and carefully curling nine petal layers. Once you’ve made a few and know how much curl each layer needs, the gluing and assembly goes faster and a single rose takes closer to 20 minutes.
Can I make these bigger or smaller?
Yes, just scale the template up or down before you print it. Shrunk to about an inch across, these work well for scrapbooking and card fronts; scaled up, they make a nice statement bloom for a wreath or arrangement.
More Paper Flower Tutorials
- Our tissue paper roses tutorial, if you’d rather work with soft tissue paper.
- These felt flower roses, for a fabric version that never wilts.
- This paper gardenia tutorial, if you’re ready for a more detailed flower.
Share your paper roses in the I Made It space inside Craftaholic Community. The most-loved post each month wins a one year free Premium membership.
0 Comments
Join the conversation
Log in to your Craftaholic Community account to comment, ask questions, and cheer on fellow makers.
Log in to comment