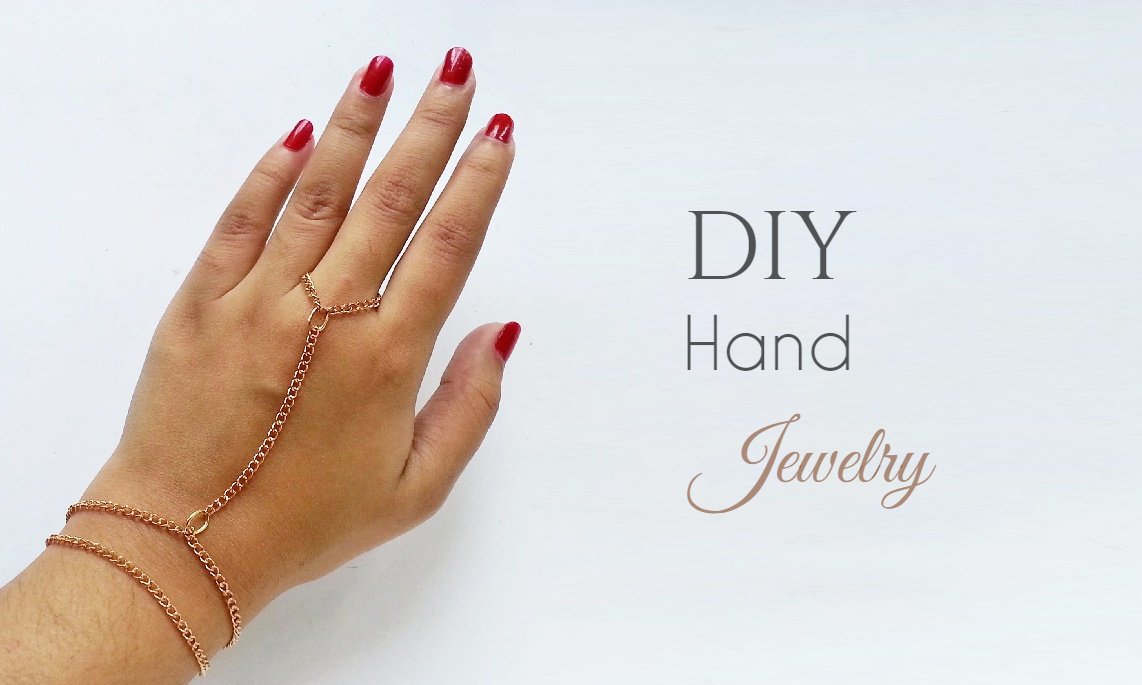
DIY Hand Jewelry

Create Simple Hand Jewelry
So, last month I bought tons of jewelry chains without any plan for using them. I kept thinking and obviously… chain hand jewelry was the first thing that came to my mind. I’m really happy with how it turned out, planning to make more! And of course, need more ideas for those jewelry chains.
Anyways, simple chain hand jewels turn out so nice and they look great on any hand. You need 4 supplies only and you’re good to go!
Supplies:
- Jewelry chain – small or medium size
- Craft pliers – cutting and flat nose pliers
- Jump rings
- Jewelry closure
Instructions:

Step 1
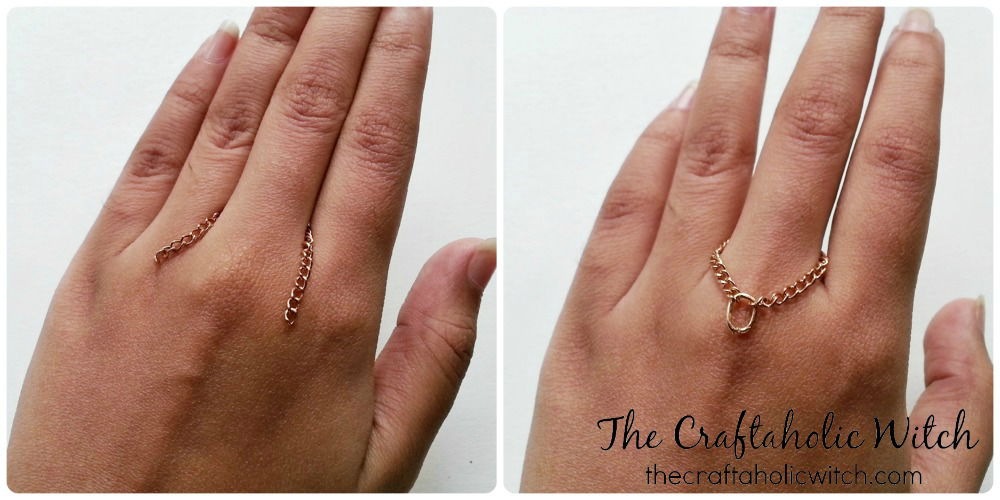
Measure your ring size in inches or cm and cut a small piece of chain by keeping 2 cm extra with the required size.Join the both ends of the chain with a jump ring.Check if the chain ring fits in your finger.

Step 2
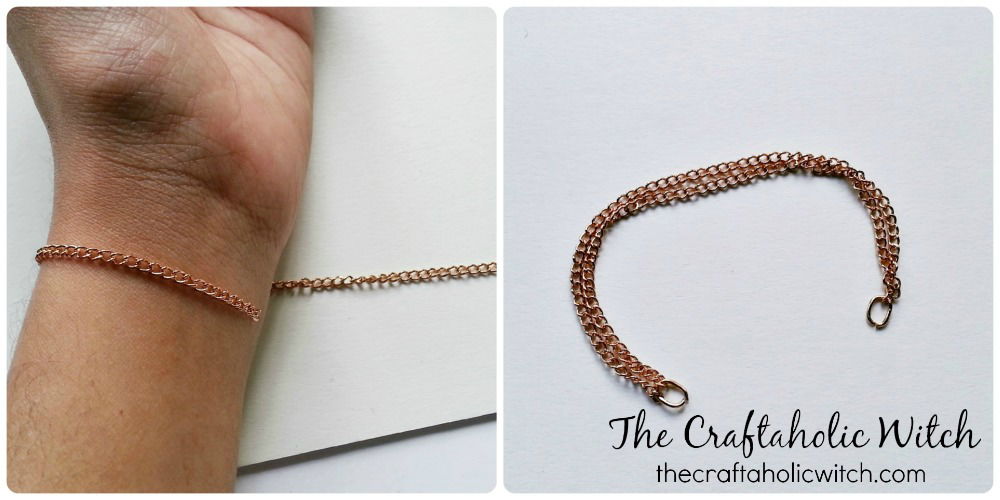
Take a longer piece of chain and wrap it around your wrist to measure your bracelet size. Cut out 2 pieces of chains for the bracelet part and join them together on both sides with jump rings.

Step 3
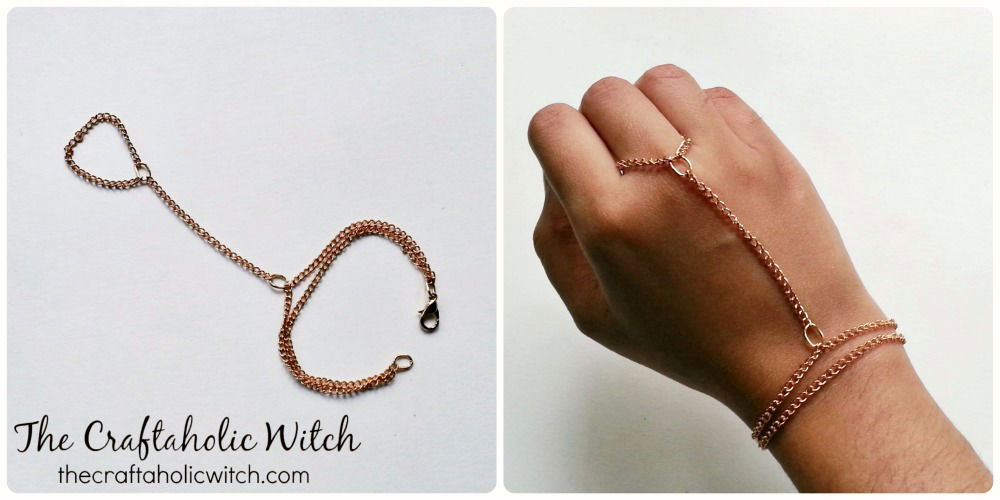
Measure the gap between the ring and the bracelet as you want. Place the ring in your finger and the bracelet around your wrist to measure the gap. Also attach a closure on any one side of the bracelet. Cut a piece of chain for the gap. You will need 1 jump ring to attach the piece.

Attach the chain’s one end with the ring through the ring’s jump ring. Attach the other end of the chain with the bracelet piece, right in the middle. You can attach it with both chains or 1 chain as you want. Put the ring inside your finger and wrap the bracelet part around your wrist. Simply lock the bracelet by attaching the closure. And done!
You can add more layers to the ring or bracelet. Hope you enjoy making and wearing one!


