Create Gold Embossed Eggs
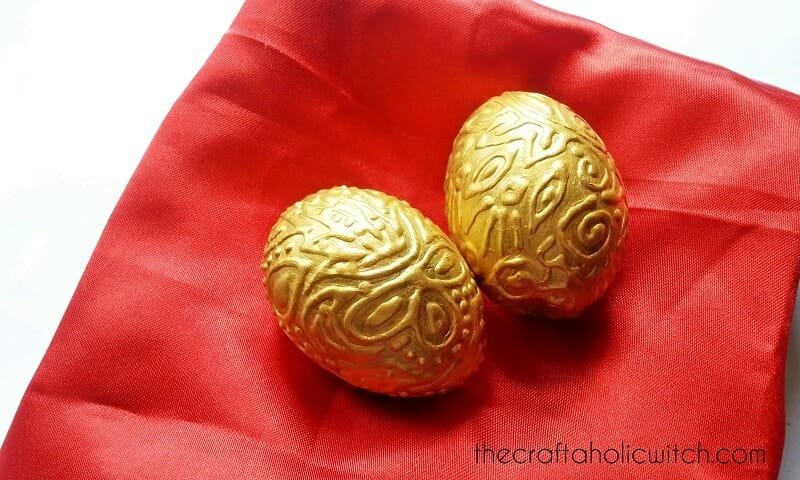
Tired of dying eggs? But still wish to do something unique for this Easter? Here’s a fun and easy way to create your own, customized gold embossed eggs!
These embossed eggs might look like they’re not-so-easy to make and tricky! But you’ll be surprised when I tell you that you don’t need anything other than the basic crafts supplies. Check out the list of supplies, follow the instructions and try making one now!
Supplies:
- Egg
- Craft paper
- Craft glue tube or cone
- Black acrylic paint
- Golden fabric paint
- Paint brush
Instructions:
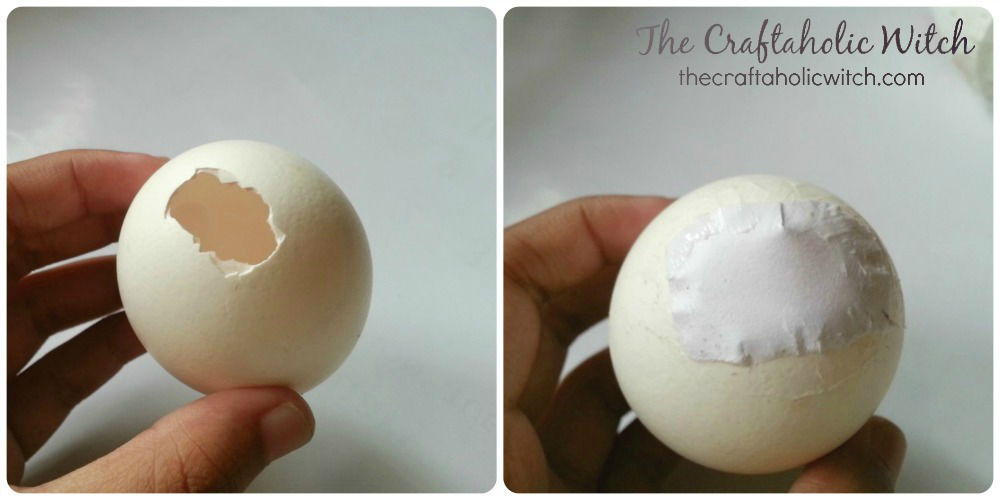
You can use any kind of eggs, real eggs or store bought plastic eggs, as you wish. But I’m guessing that it would be easier to work with real eggs. Anyways, In case you’re using real eggs, better to drain and wash the egg before doing the art. To do so, carefully poke a small hole on the egg to drain it. Make sure to clean and dry the inside of the egg. After the egg dries take a small piece of paper, apply craft glue around the hole on the egg and place the small paper on the hole to close it.
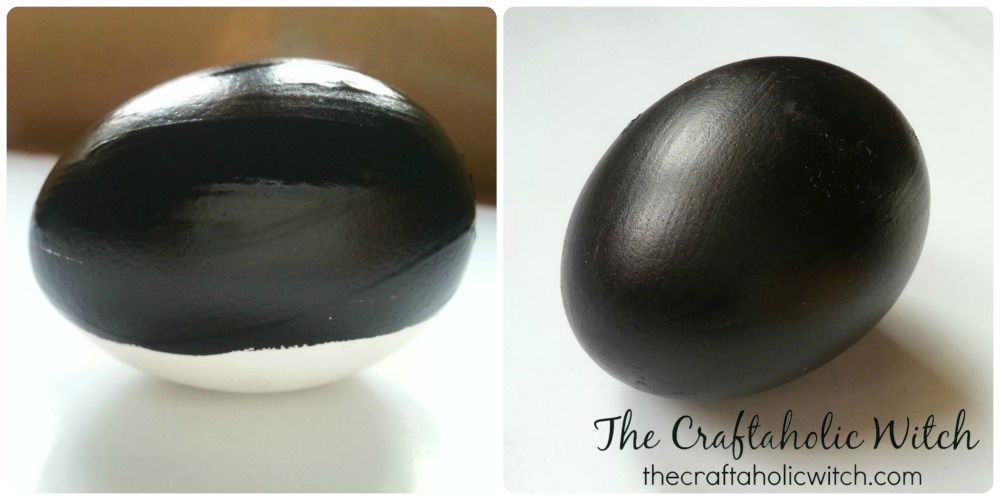
You will need to apply a coat of black paint on the egg. You can use acrylic paint or fabric paint to color the egg. One layer of black paint coat should work. You’ll have to color carefully as you won’t be able to color the whole egg at once. Color half or two-third of the egg at first and after it dries, color the other half of the egg. Once you color the whole egg allow the paint to dry entirely.
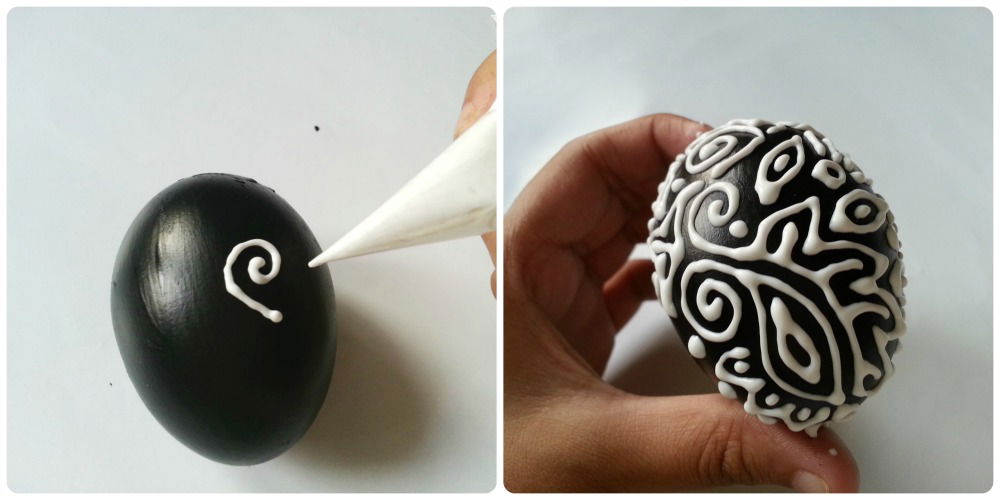
You can make a cone using polythene sheet or use craft glue tube for designing the egg. Before designing the egg you can draw some designs on a piece of paper. Make sure that you’re ready to start designing! Carefully and slowly press the bottom of the cone or tube and start designing the egg as you want. Too much details might smudge the whole design, so keep it simple. You won’t be able to design the whole egg at once. Design half of it at first, allow the glue to dry and then design the rest. Keep something near hand to keep the egg after coloring or designing as the egg would roll on plain surface. I used bottle cap.
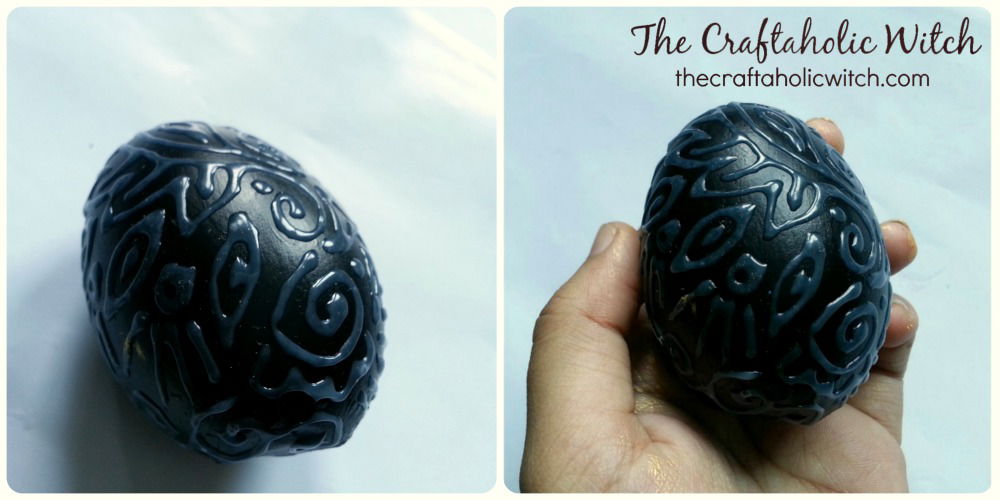
Once you’re done designing, allow the white glue to dry. This is how it would look like after the glue dries entirely.
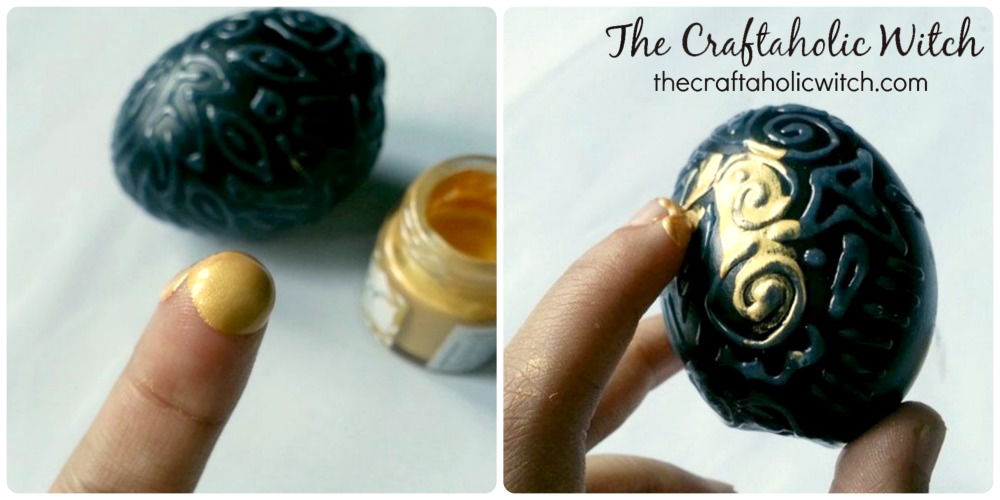
Now the final and fun step! Go for gold fabric paint instead of acrylic paint, as fabric paint is thicker and gives a rich gold vibe. You can apply the final gold coat using finger tip. You can also use brush but better to use finger tip, gives it a nice finished look. Drop a small amount of gold fabric paint on your finger tip and apply it over the designed egg. After the first coat dries apply another coat of gold fabric paint evenly on the designed egg. Be careful not to apply too much gold paint. Allow the paint to dry.
Don’t they look precious!
Enjoy!


