


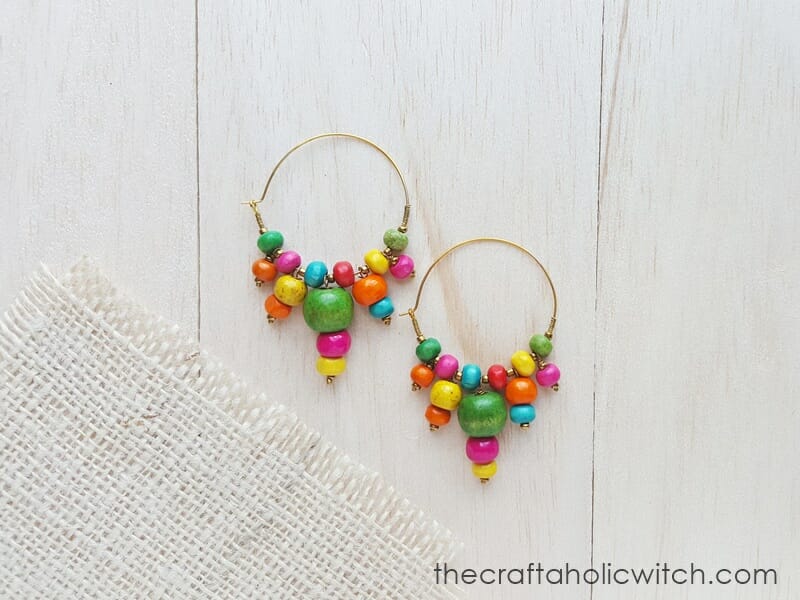
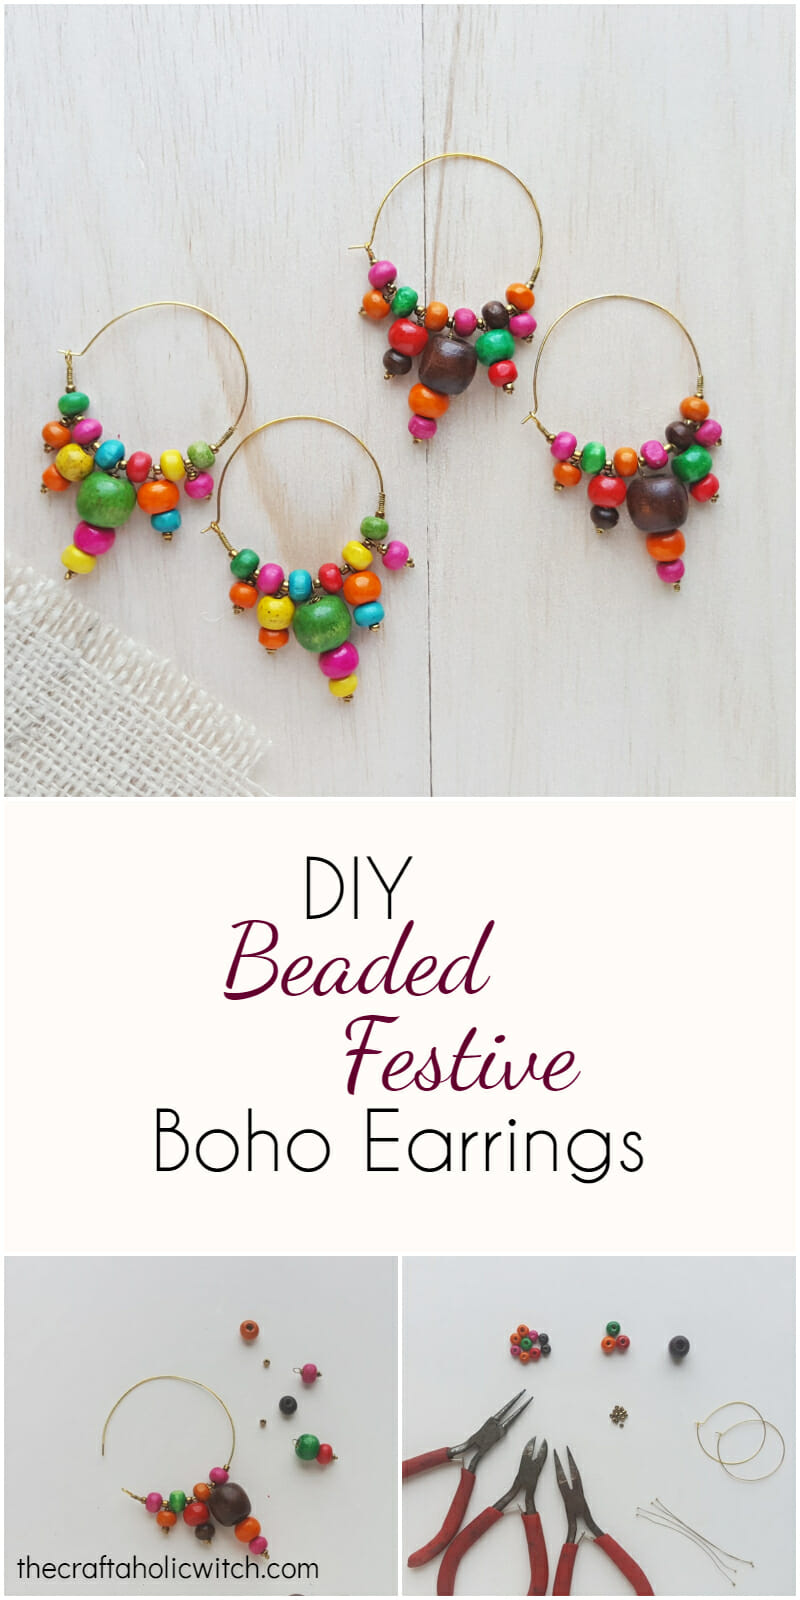
You can make a pair of DIY beaded earrings by wiring wooden and seed beads onto headpin wire, then stringing the finished dangles onto a blank hoop. The whole thing takes about an hour and no jewelry-making experience at all. Wooden beads are one of my favorite materials for jewelry because they’re light to wear and the color options are endless. If you’ve tried my wooden beaded charms or beaded bracelets, you likely have most of what you need already.
For this design I arranged the dangles in a graduated fan: one larger bead in the center, two medium ones on either side, and two smaller ones at the outer edges. It’s a classic boho hoop look, and switching up the bead colors is all it takes to make each pair feel completely different.
DIY Beaded Earrings at a Glance
- Difficulty: Beginner
- Time: About 1 hour per pair
- Cost: Under $8
- Ages: 12+ (pliers required)
- Best for: Boho jewelry, handmade gifts, using up leftover beads
Join Craft Challenge: Craft Your Calm
Make something that brings you a sense of peace, share a photo, and tell us your story. It's free to enter, open to everyone, and the entry with the most reactions takes home a $100 gift card. Takes five minutes to join.
Entries close August 30, 2026. No purchase necessary.
What You Need to Make DIY Beaded Earrings
Materials
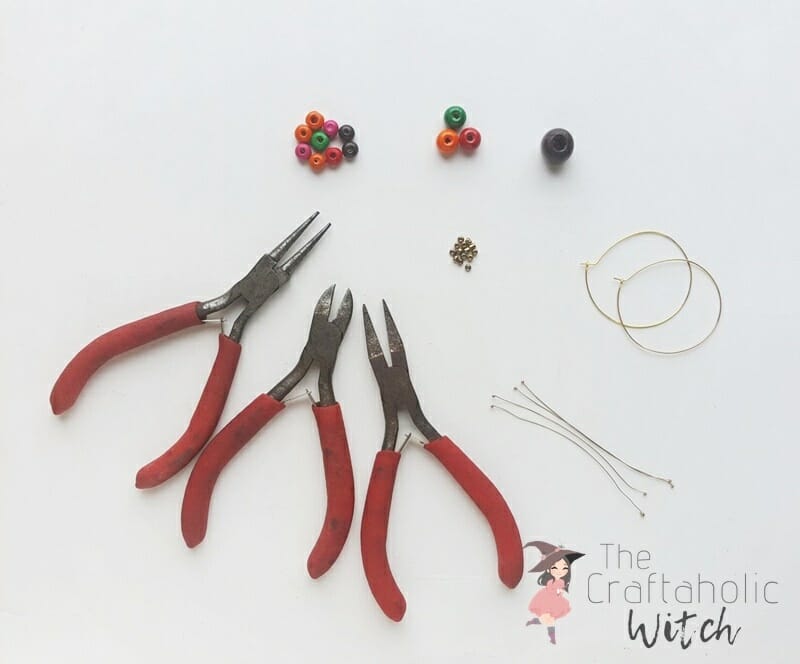
- Blank hoop earrings: the base for the design; open-end or slide-through hoops let you thread beads on easily
- Wooden beads (small and medium sizes): the main color beads for the dangles; 8mm, 6mm, and 4mm rounds give you a nice graduation
- Seed beads: small accent beads that fill the gaps between dangles and act as stoppers on the headpin
- Headpin wire: each dangle is built on one headpin; you’ll need about 10-12 per pair
Tools
- Round-nose (looping) pliers: to roll the wire into a clean circular loop at the top of each dangle
- Flat-nose pliers: to hold the loop steady while you coil, and to straighten the hoop’s open end
- Cutting pliers: to trim wire ends flush with no sharp tips left over
Ask inside "Crafty Q&A" while you are making.
"Crafty Q&A" is free to join. Share your question, photo, or the exact step where you got stuck, and chat with other makers plus the Craftaholic Witch team. You can also join any discussion thread already happening inside the space.
How to Make DIY Beaded Earrings
Step 1: Thread the Seed and Wooden Beads onto the Headpin
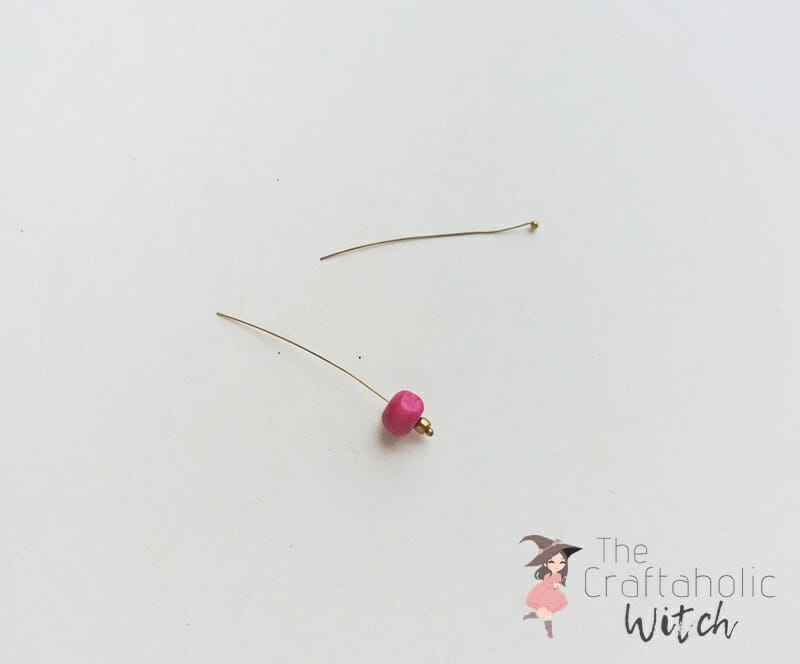
If your headpin wire has a pin on both ends, cut it in half so each piece has one closed end and one open end. Slide a seed bead onto the closed end first. It acts as a stopper for the wooden bead, which often has a hole wider than the headpin pin. Follow with a wooden bead, then push both tight against the pin so nothing shifts around.
Step 2: Loop the Wire Just Above the Wooden Bead
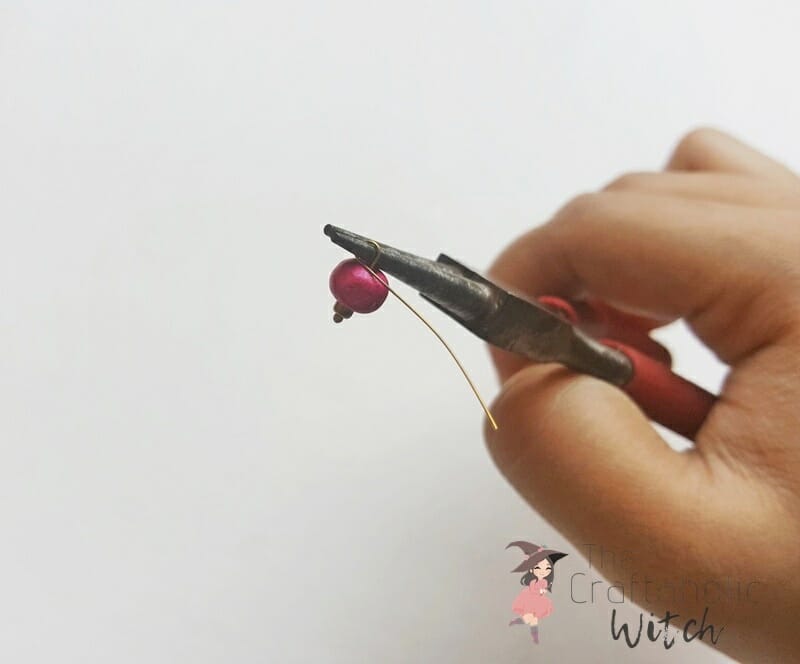
Hold the open end of the wire with your round-nose pliers, right where the wire meets the top of the wooden bead. Roll the wire toward you to form a small round loop. The loop should sit snug against the bead with almost no gap. A loose loop lets the dangle swing too freely and looks rough when worn.
Step 3: Coil the Wire Tail to Lock the Loop
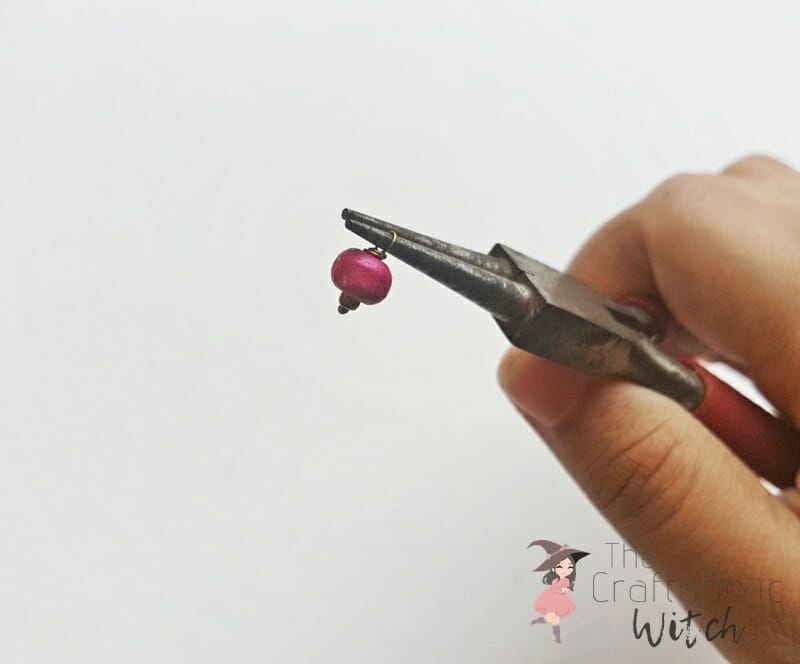
Hold the loop still with your flat-nose pliers and wrap the wire tail around the wire shank just below it. Work downward toward the bead, keeping each coil tight. Stop when the wire runs out, snip the end with cutting pliers, and press the tip flat so no sharp point sticks out.
Step 4: Make a Full Set of Graduated Dangles
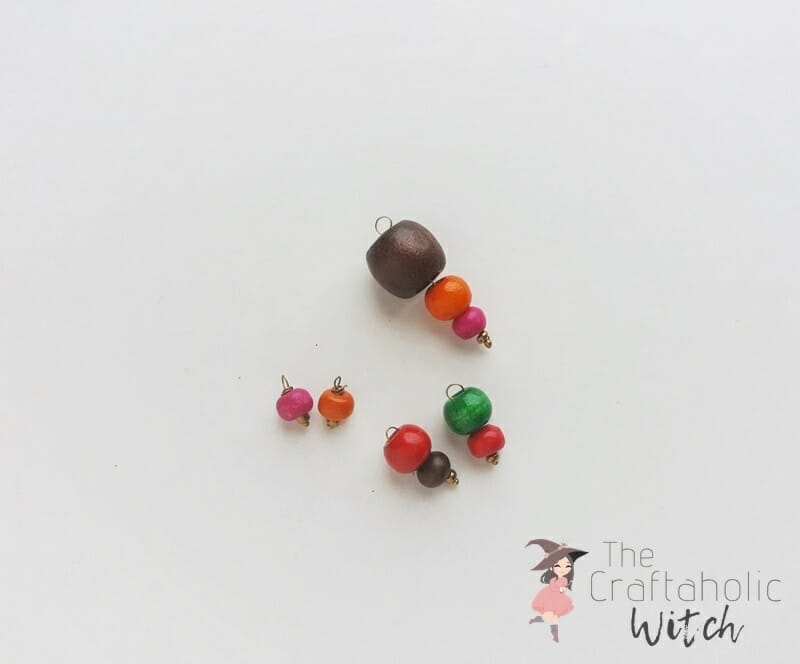
Using the same bead-loop-coil process, make all five dangles for one earring. One gets a medium wooden bead for the center, two get slightly smaller beads for the positions on each side, and two get the smallest beads for the outer edges. Lay them out in size order before you touch the hoop so you know exactly where each one goes when you start stringing.
Step 5: Open the Hoop and Anchor the Starting Wire
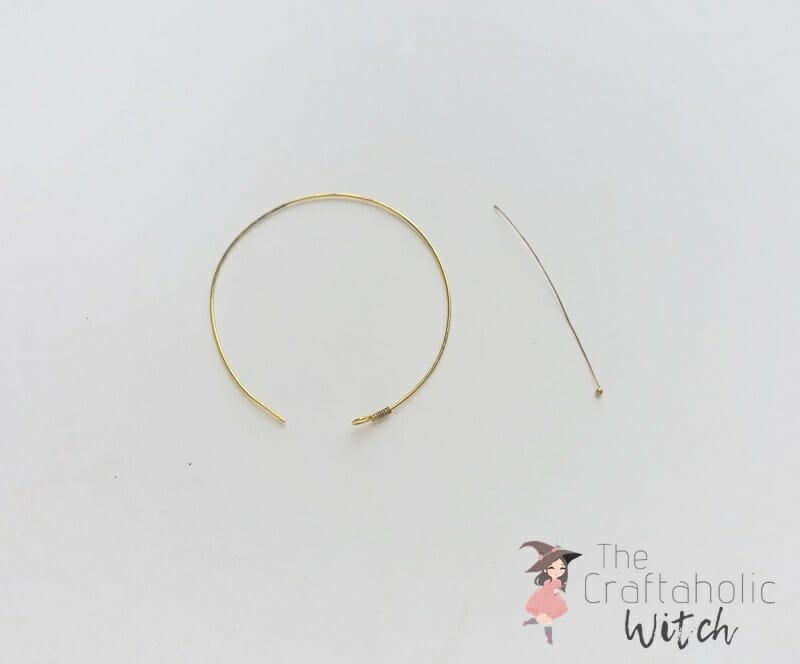
Take one hoop earring and use your flat-nose pliers to gently straighten the bent section at its open end so the hoop lays fully open. Cut about 3-4 cm of thin headpin wire and coil it tightly around the hoop band, starting 0.5 cm from the end, for five or six wraps. This coiled anchor keeps your beads from sliding off the end when you string them.
Step 6: String the Beads and Dangles onto the Hoop
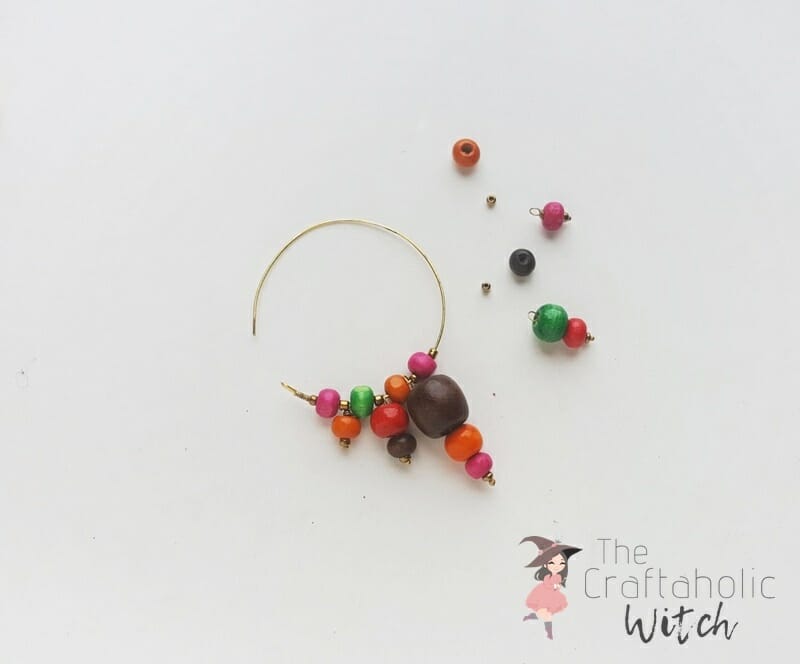
Thread a seed bead through the open end of the hoop first, then add your beaded dangles and plain seed beads, alternating as you build out the design. When all five dangles are on and you’re happy with the arrangement, add one more seed bead at the far end.
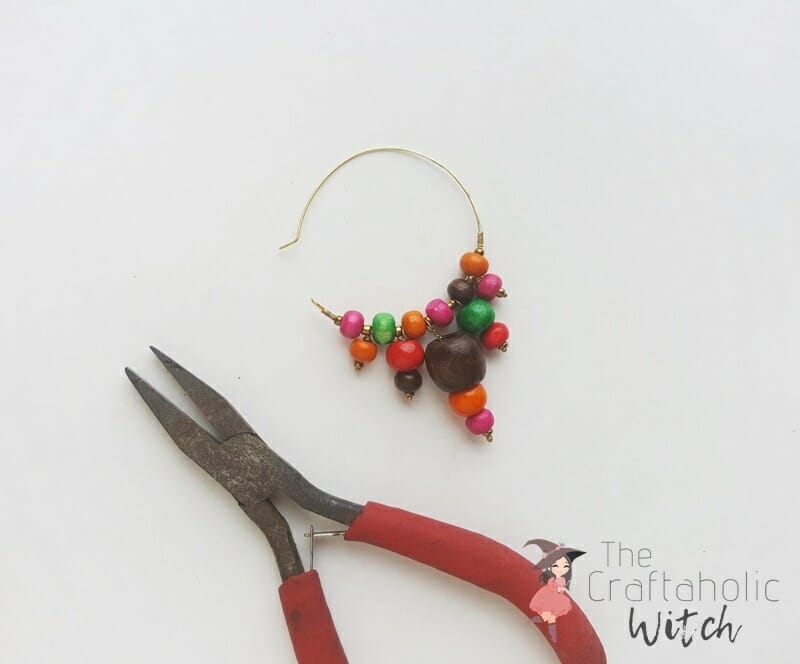
Cut a short piece of thin wire and coil it tightly around the hoop band right against the last bead to lock everything in place. Repeat all six steps for the second earring.

Share it in "I Made It" and let us cheer you on.
Post your finished make in "I Made It" so the community can celebrate it with you. Cheer on other makers too. Each month, the most loved craft wins 1 year of Craftaholic Premium ($59)
Tips for Beaded Hoop Earrings
- Mix bead colors between the two earrings for a mismatched look, or keep them tonal for something more minimal.
- Gemstone beads in the same sizes work just as well as wooden beads here, the steps are exactly the same.
- If the anchor wire coil keeps slipping on a thick hoop, add a small drop of clear nail polish over the coil and let it dry before stringing the beads.
Frequently Asked Questions
What size wooden beads work best for beaded hoop earrings?
8mm beads work well for the center dangle, with 6mm for the middle positions and 4-5mm for the outer ones. The size graduation is what gives you that layered fan shape. Anything larger than 10mm tends to make the earrings too heavy for comfortable all-day wear.
Can I make these beaded earrings without jewelry pliers?
You can thread the beads and form a rough loop with just your fingers, but round-nose pliers are what give the loop its clean round shape. Without them the loop tends to come out as more of a bent angle than a true circle, and that kind of loop can work itself open faster with regular wear.
How long does it take to make a pair of DIY beaded earrings?
About 45 to 60 minutes for your first pair. Once the bead-loop-coil rhythm feels natural, most people finish a pair in around 30 minutes. The dangles go quickly once you have your size order sorted.
Will the beads stay on the hoop with regular wear?
Yes, as long as both wire coils at the ends of the hoop are tight and all the dangle loops are fully closed. After you finish each dangle, give the loop a quick squeeze with flat-nose pliers to make sure there’s no gap where the wire end meets the loop base. That gap is the spot that tends to work loose over time if it isn’t fully closed from the start.
More Jewelry Tutorials
- How to Make Wire Wrapped Bead Earrings
- How to Make Hoop Earrings with Beads
- How to Make a Wooden Beaded Charm
- How to Make Beaded Bracelets with Adjustable Cord
- How to Make Beaded Bobby Pins
Share your finished beaded earrings in the I Made It space inside Craftaholic Community. The most-loved post each month wins a one year free Premium membership.
2 Comments
Thank you Muhaimina so much for these turorials , especially the colourful wooden bead earrings! I have been looking for colourful while tasteful diy jewellery ideas for months and finally found your website.
All the best to you.
Diane
Thank you so so much! I’m very happy to know you found this tutorial helpful ^_^ We’ll be posting more fun to craft jewellery tutorials, stay with us!
Join the conversation
Log in to your Craftaholic Community account to comment, ask questions, and cheer on fellow makers.
Log in to comment