How to Make a Bag Out of Wrapping Paper Like a Pro (+ Video)
Wrapping papers are one of the most used materials in gift packaging. Why not make a gift bag out of wrapping papers then? Learn how to make a bag out of wrapping papers at home that looks better than store-bought ones.
Do you keep wrapping papers for reusing purposes? Well, we do and one of our favorite wrapping paper projects is to make a bag out of it. We always try our best to encourage recycling, reusing, and re-purposing supplies. With the help of our today’s tutorial, you can learn how to make a gift bag out of wrapping paper.
Wrapping papers are one of the most common items available in all households. If wrapping paper you have isn’t enough to wrap a gift or has torn edges or has a hole somewhere; you can always make a bag out of it and use it to pack gifts for any occasion, be it a birthday, Valentine’s Day, Christmas, anniversary, etc.
If you have the 2 main supplies (wrapping paper and satin ribbon) at home, then the cost would be zero. However, wrapping paper and satin ribbon won’t cost much; a bundle of 6 yards of satin ribbon would cost less than $2, and 120 sq feet of wrapping paper would cost less than $10. You can craft up to 20 small gift bags with these supplies, which means 1 gift bag won’t even cost a dollar.
How to Make a Bag out of Wrapping Paper
Things You’ll Need
Materials
Tools
- Scissors
- Craft glue
- Ruler (optional)
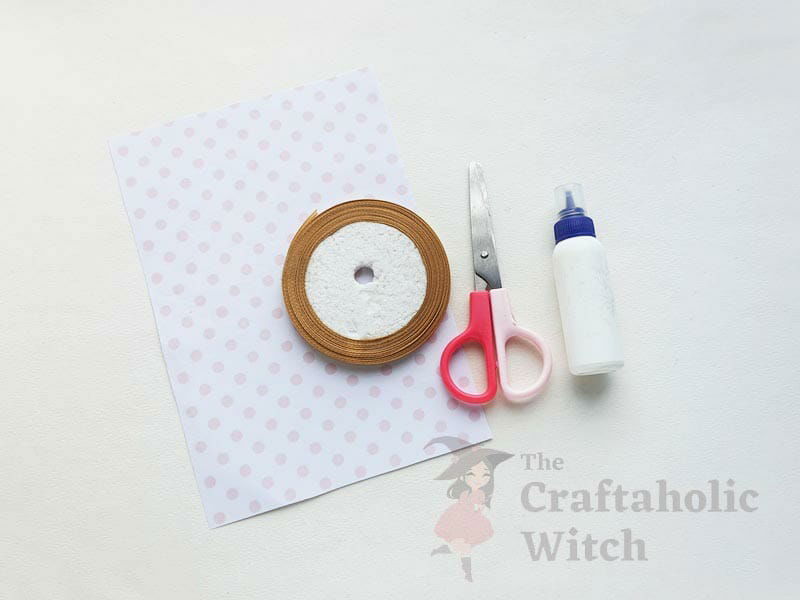
Instructions to Make Gift Bag from Wrapping Paper
Step 1: Prepare Paper and Initial Fold
Depending on the size of the bag you want to craft, you will need to keep a few inches extra on both sides of the paper. We’re using a 9 inches x 6 inches sheet of paper. Place the paper on a flat surface. Leave 1 cm extra along the longer side (9 inches) and then fold the remaining length into half.
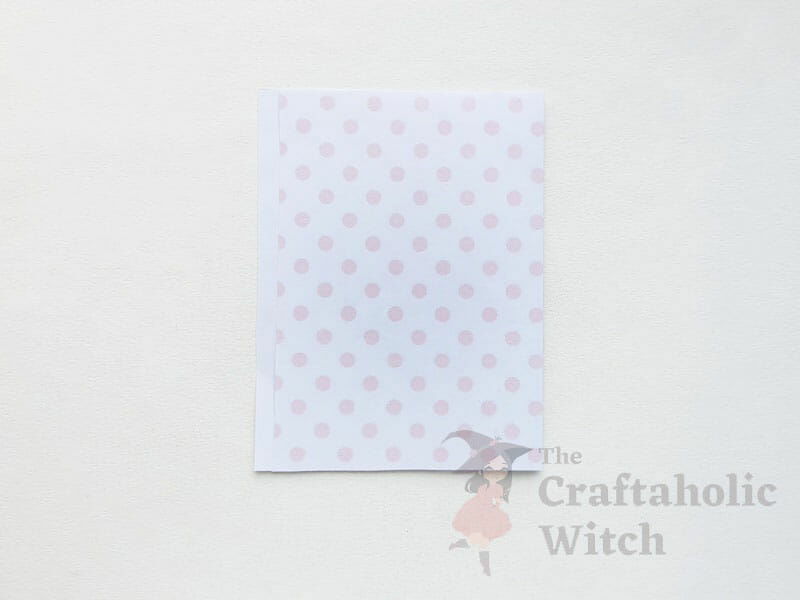
Step 2: Glue the Side
Apply glue along the 1 cm extra part and then fold it inwards to attach it with the other open side of the half folded paper. The side of our bag is now secured.
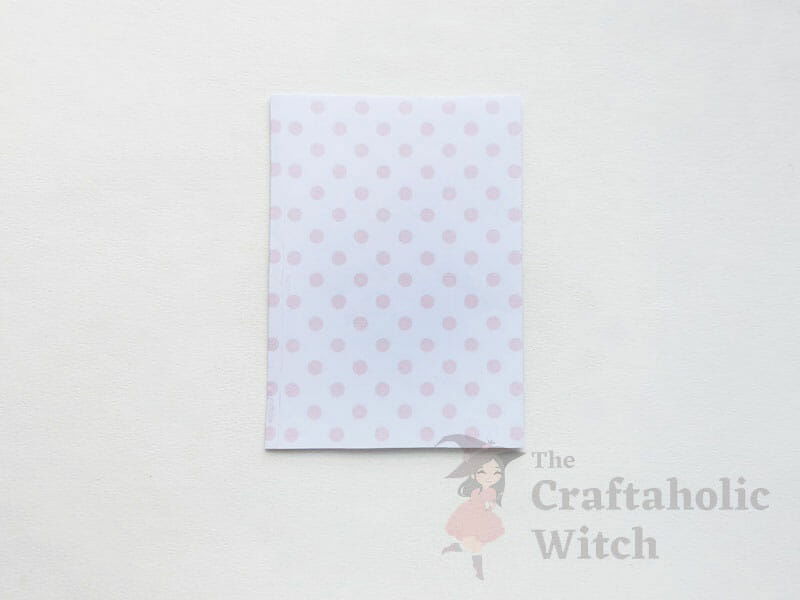
Step 3: Fold Bottom Side Up
Fold up 2 inches of the paper from any one of the open ends, this will be the bottom side of the wrapping paper bag.
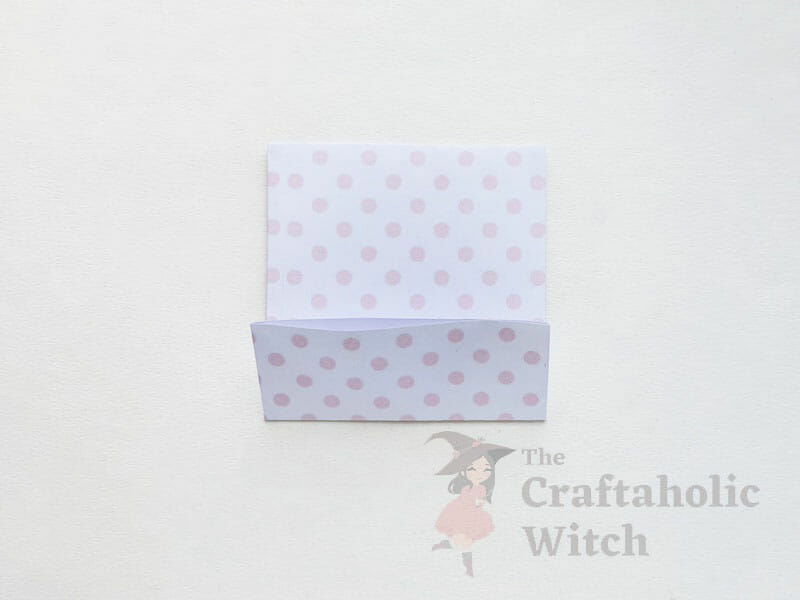
Step 4: Open Bottom Side and Form Corners
Open the 2 sides (corners) of the bottom part. This should form triangles on both sides (left and right) of the bottom part and 2 flaps (top and bottom).
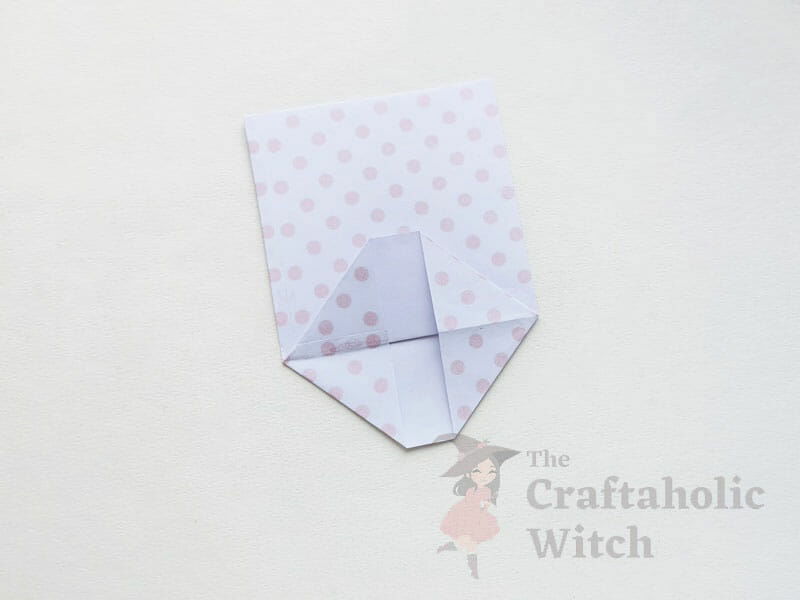
Step 5: Fold Top Flap Down
Fold the top flap in half, aligning its open end with the middle crease on the bottom side of the bag pattern.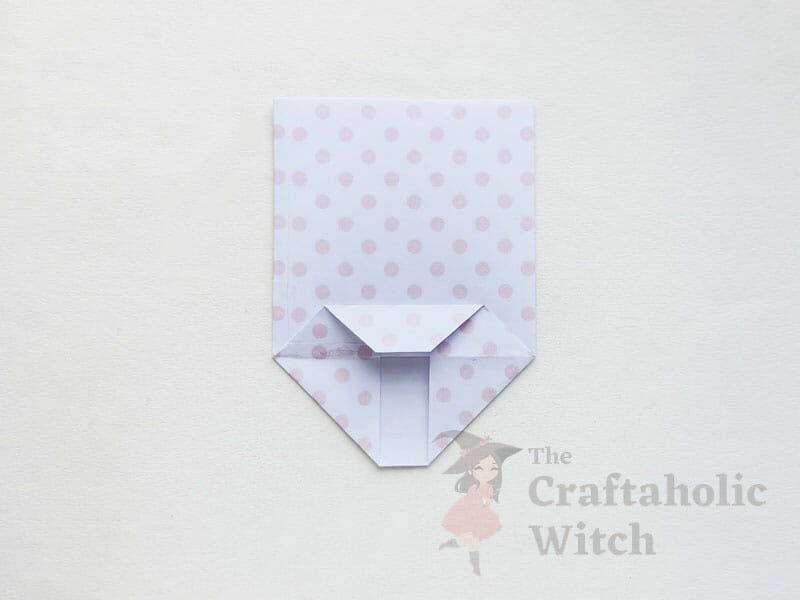
Step 6: Secure the Bottom Side
Similarly, fold the bottom flap in half and slightly overlap it with the top flap’s open end. Apply glue on flaps and sides to secure the bottom side of the wrapping paper bag.
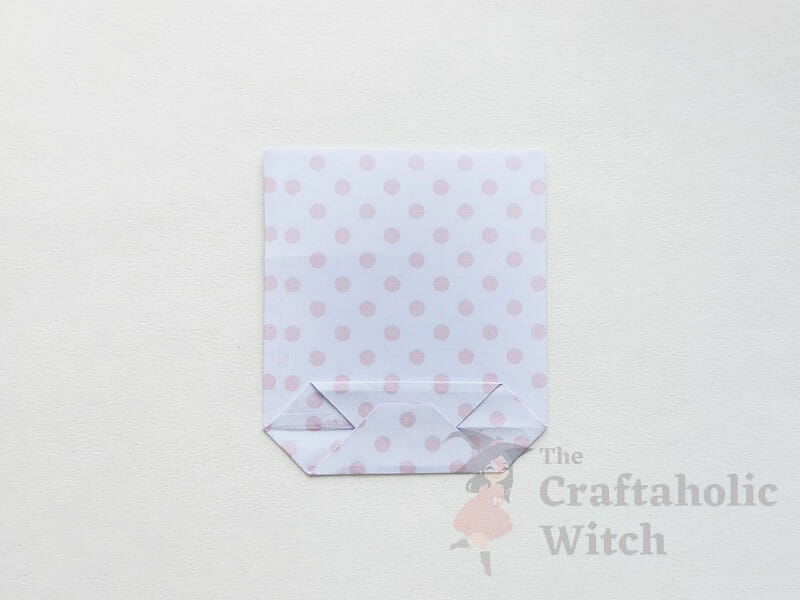
Step 7: Fold the Sides
Now, notice the 2 square shapes on both sides of the bottom part of the wrapping paper bag; consider the bottom and the top corners of the squares as the guideline and fold the 2 sides of the current paper along the lines. Make neat folds for neat creases.
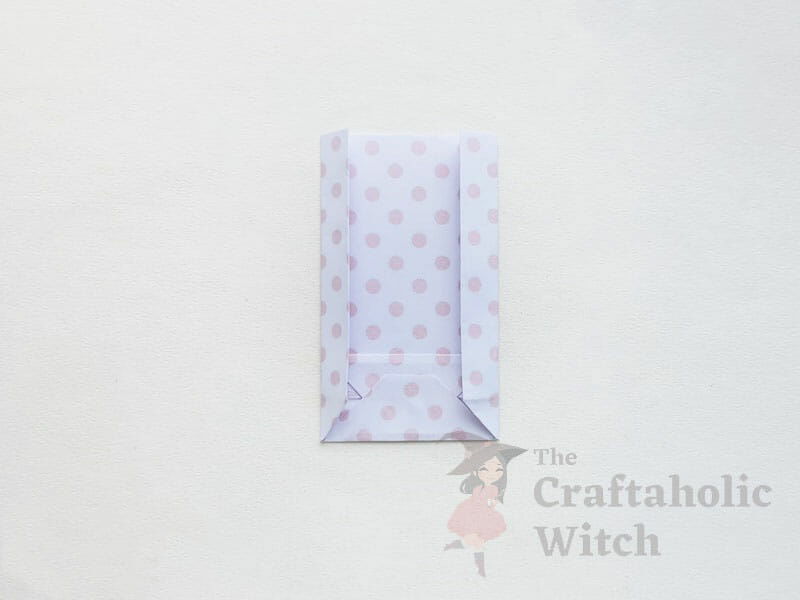
Step 8: Open the Side Folds
Unfold the last 2 folds. Blow the paper bag through its open end. This will unfold the side and bottom folds that we did in previous steps.
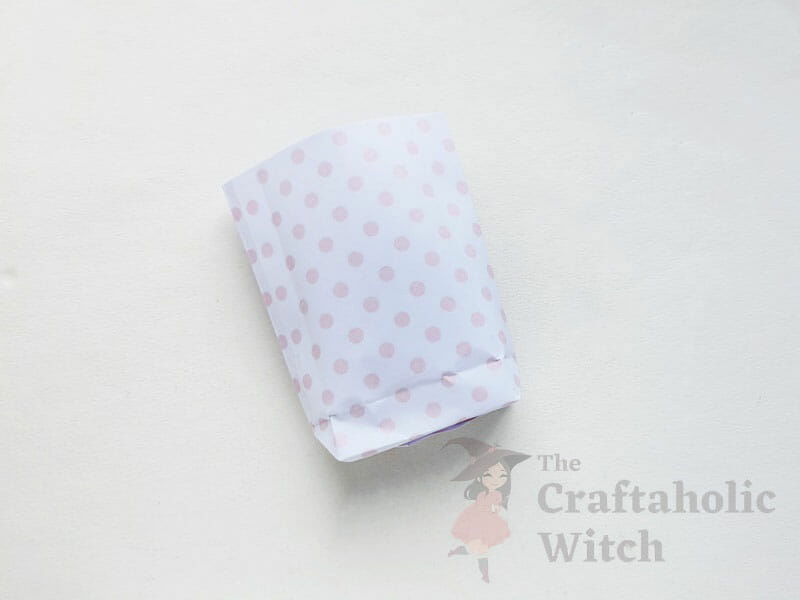
Step 9: Fold the Middle Crease Inside
Now, neatly fold the outer creases and fold the middle crease (of both sides) inwards. Do the same for the other side of the bag.
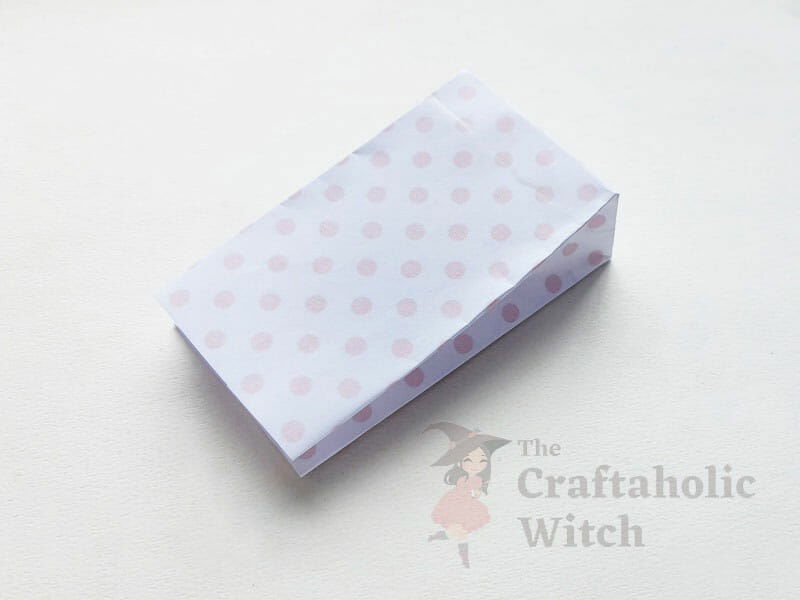
Step 10: Prepare the Handles
Cut out 4 small pieces of paper and 2 small pieces of satin ribbon (long enough to make the handles of the wrapping paper bag).
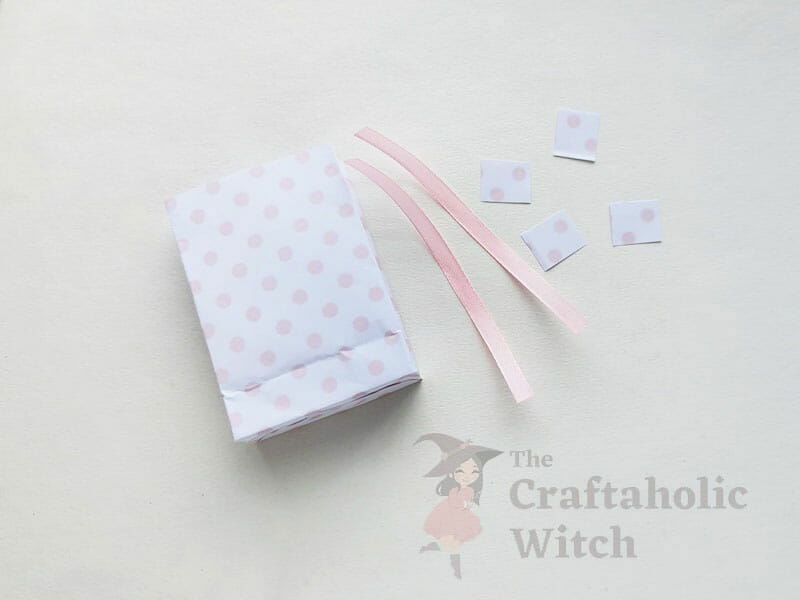
Step 11: Attach the Handles
Apply glue on both open ends of a satin ribbon and attach the glued ends of the ribbon with the bag’s open end, right in the middle and inside the bag. Attach the small square pieces on each open end of the attached ribbon.
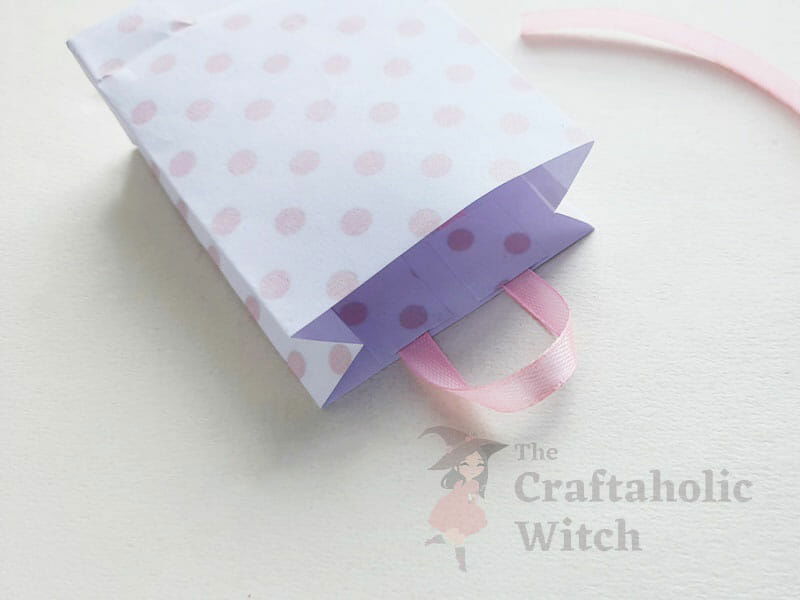
Step 12: Attach Both Handles
Similarly, attach the other satin ribbon handle. You can use different colored and printed wrapping papers and satin ribbons for variation.
Tips for Beginners: Things to Remember When Making Wrapping Paper Gift Bags
Here are some tips if you’re having difficulty crafting wrapping paper gift bags
- Each fold needs to be done neatly.
- The bottom folding part is most important, make sure to fold both sides evenly.
- For paper bag crafting, neat folding will form neat creases.
- You can adjust the length of the bag even after crafting, so don’t worry about that.
Here are some of our gift bag tutorials that you may also like
Papercraft and recycling projects are one of the best ways to practice gree activities and a good way to spend a weekend. Crafting sessions are more fun when the final product can be used, reused, and customized however we want to. We would love to see if you do re-create these wrapping paper bags and customize them with your own twist; please do tag us on Facebook or Instagram (use #thecraftaholicwitch).
Happy Crafting!
Thank You


