


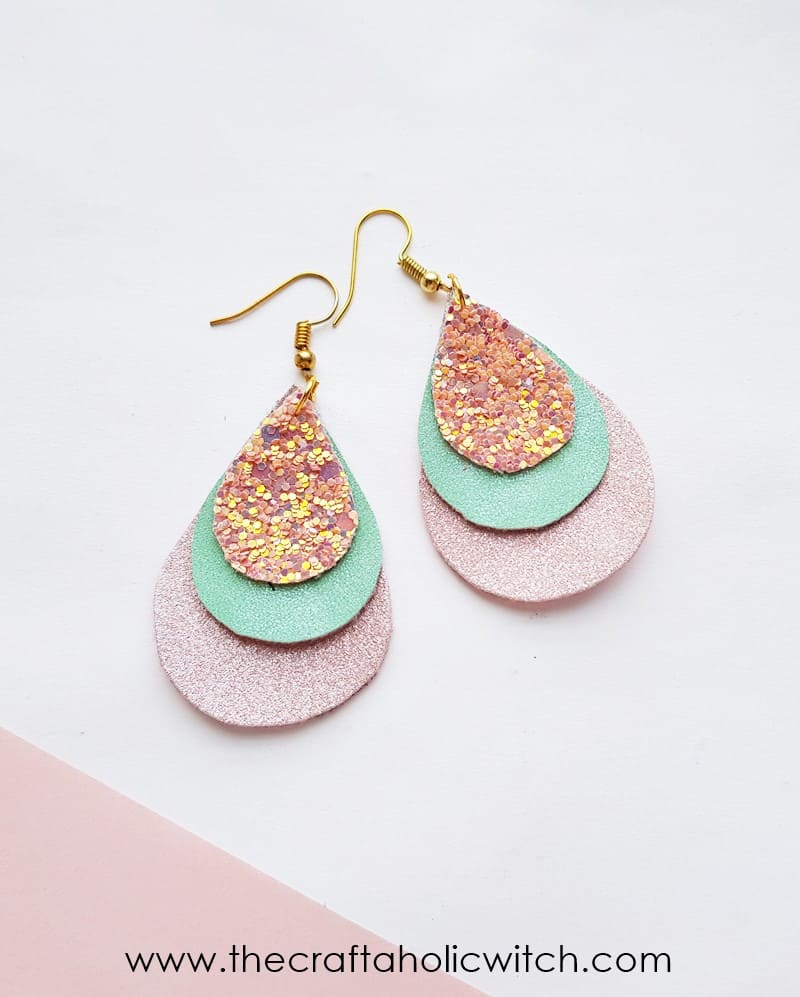
These layered leather teardrop earrings are one of my favorite pieces in the Handmade Earring Wardrobe series, a collection of earring tutorials you can work through at your own pace. The three-layer teardrop design looks polished enough to gift and comes together in 10 to 15 minutes, even on your first try.
The pastel color mix makes these earrings easy to style. I love them with a white wrap dress for a clean boho look, and they work just as well tucked under hair with a linen blouse and jeans on a casual day.
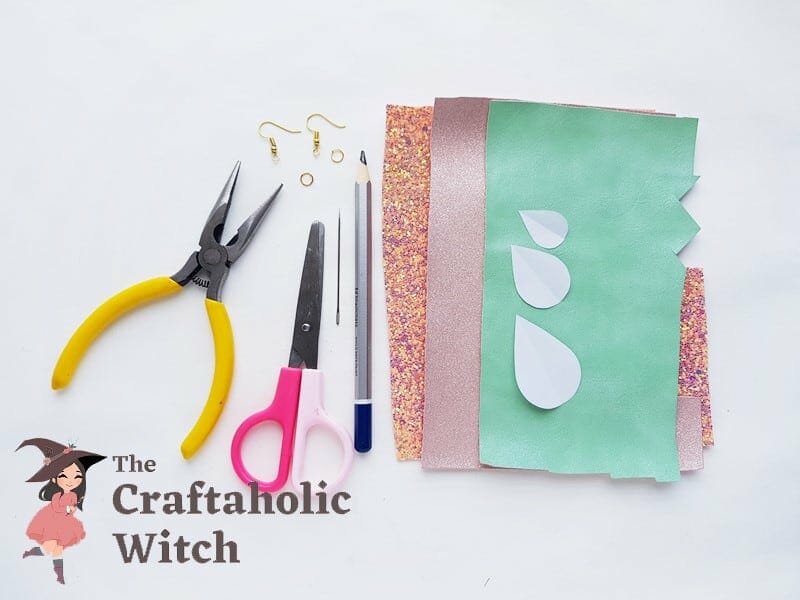
You’ll need three small swatches of faux leather, a set of earring hooks, and jump rings. That’s it. The teardrop template takes the measuring out of it entirely.
Leather Teardrop Earrings at a Glance
- Difficulty: Beginner
- Time: 10-15 minutes per pair
- Cost: Under $5
- Ages: 12+
- Best for: Handmade jewelry gifts, boho accessories, quick weekend crafts
Join Craft Challenge: Craft Your Calm
Make something that brings you a sense of peace, share a photo, and tell us your story. It's free to enter, open to everyone, and the entry with the most reactions takes home a $100 gift card. Takes five minutes to join.
Entries close August 30, 2026. No purchase necessary.
What You Need to Make Leather Earrings
Materials
- Faux leather sheets in 3 colors; one small swatch per color is plenty for multiple pairs. Thinner material cuts cleanly and keeps the earring lightweight on the hook.
- Earring hooks (fish hooks), 1 pair; the wire that passes through your ear. If you prefer to make your own, follow the earring hooks tutorial.
- Jump rings, 1 per earring, medium to large (6-8mm inner diameter). The ring needs to pass through the leather hole and close cleanly around all three layers plus the hook loop.
Tools
- Pencil or fabric marker, for tracing on the backside of the leather; a soft pencil works fine
- Sharp scissors; faux leather cuts cleanly with a sharp blade, but dull scissors drag and leave ragged edges on the curves
- Flat nose pliers, for opening and closing the jump ring without bending it out of round
- Thick needle or leather awl, for poking the attachment hole through each teardrop layer
Heads up: some of the supply links above are affiliate links. If you buy through them, Craftaholic Witch may earn a small commission at no extra cost to you. I only link supplies I would actually use myself.
The tools in this tutorial were provided by LA MODE BD. All opinions and designs are my own.
The ready-to-print teardrop template is available in the Craftaholic Witch shop, or get every template free with a Premium membership. Print and cut out the pattern in whichever size you prefer.
Ask inside "Crafty Q&A" while you are making.
"Crafty Q&A" is free to join. Share your question, photo, or the exact step where you got stuck, and chat with other makers plus the Craftaholic Witch team. You can also join any discussion thread already happening inside the space.
How to Make Leather Earrings
Step 1: Trace the Template Onto the Back of Each Leather Piece
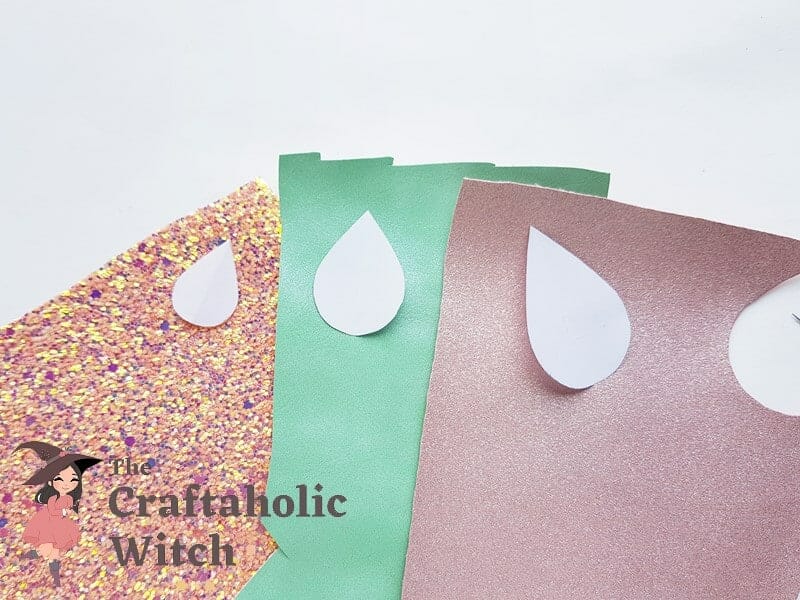
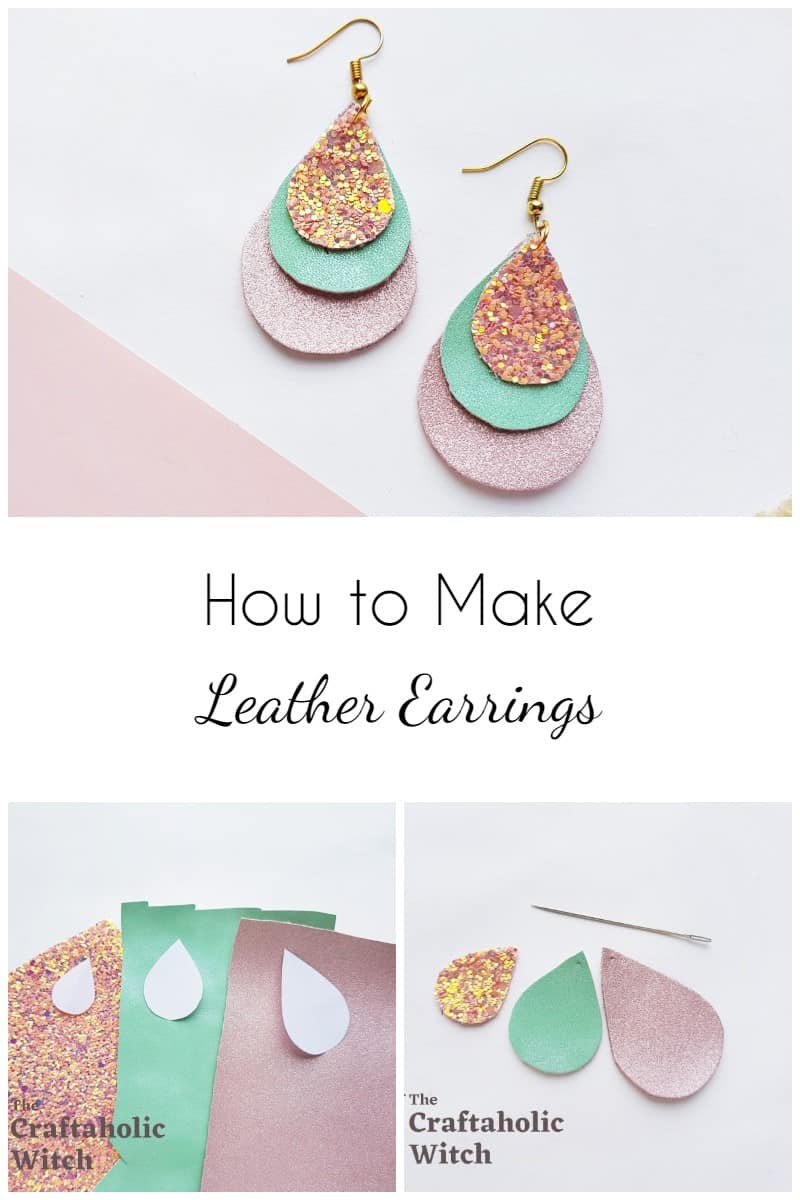
Decide which color goes on each layer before you pick up the pencil. I used mint for the largest teardrop, light pink for the medium, and pink glitter for the smallest, so the colors get progressively warmer and more sparkly toward the front. Once you’ve chosen your order, flip each faux leather piece face-down and trace the matching template shape onto the smooth back surface.
Tracing on the back keeps any pencil marks completely hidden in the finished earring. The smooth side takes a soft pencil or fabric marker cleanly with no smearing.
Step 2: Cut Out Each Teardrop Shape
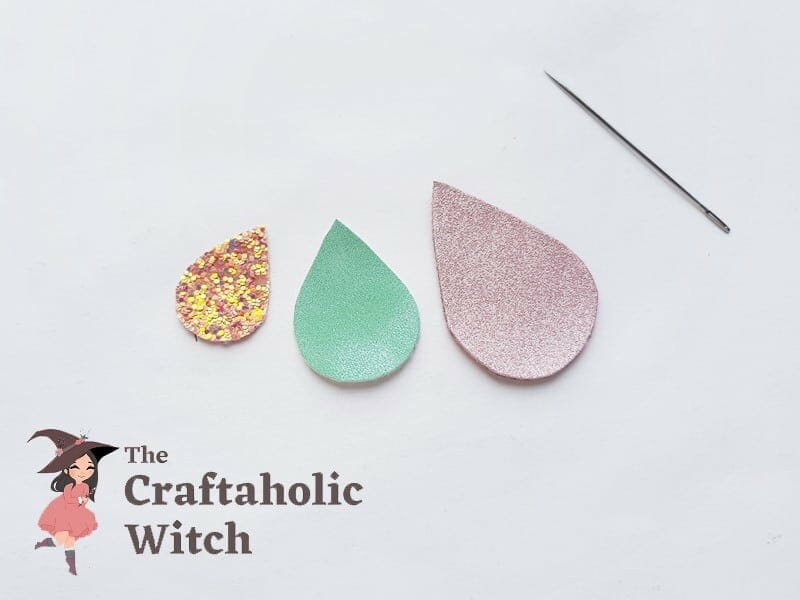
Cut along your traced lines with a sharp pair of scissors. Faux leather cuts cleanly when the blade is sharp, but the curved bottom of the teardrop is where dull scissors leave a ragged edge, so slow down through that section.
You should have six pieces when you’re done: three layers for each earring.
Step 3: Poke a Hole Near the Tip of Each Teardrop
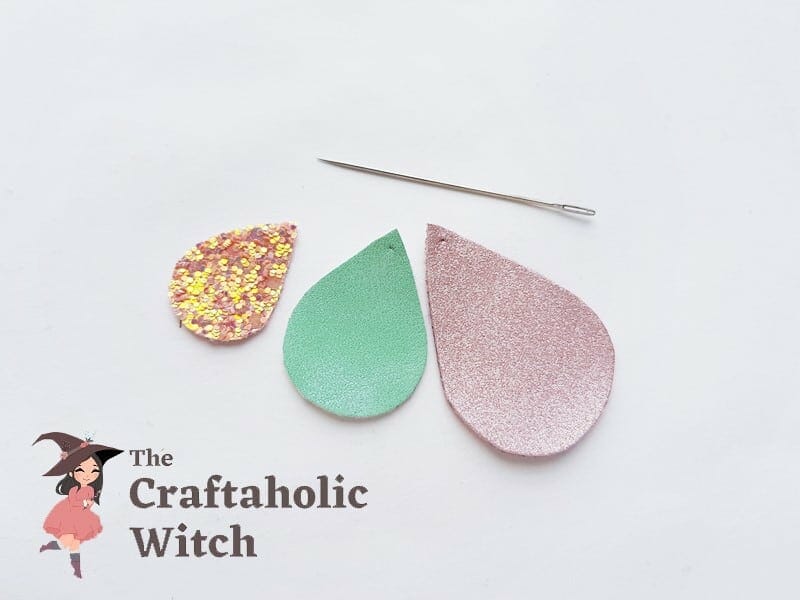
Using a thick needle, press straight down through the faux leather close to the pointed tip of each cutout. Aim for about 3 to 4 mm from the edge, close enough that the jump ring hangs naturally but far enough that the hole won’t tear out with wear.
Work through all six pieces now so you’re not stopping mid-assembly later.
Step 4: Thread a Jump Ring Through the Largest Teardrop
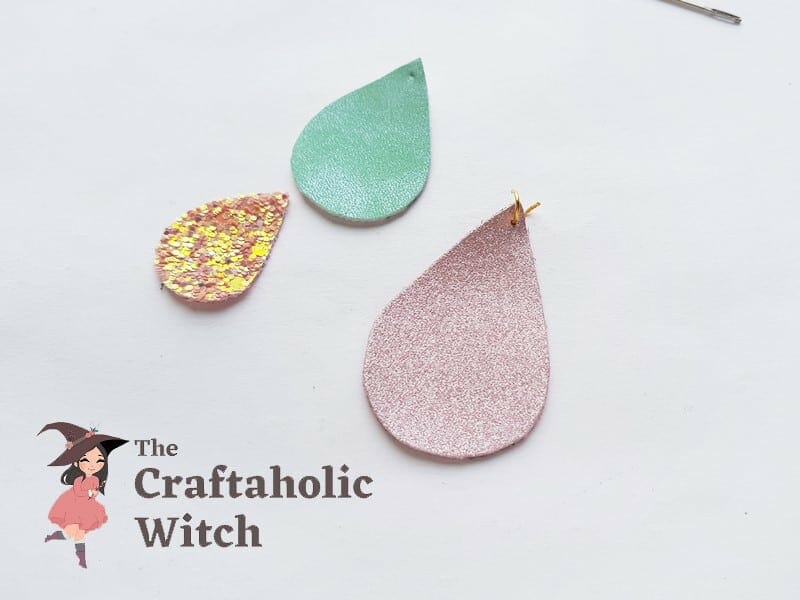
Open a jump ring by twisting one end toward you with flat nose pliers. Never pull the ends apart; that warps the ring out of round and makes it hard to close flush. Slide the open ring through the hole in the largest leather teardrop. This base layer is the anchor the rest of the stack hangs from.
Step 5: Layer All Three Teardrops Onto the Jump Ring
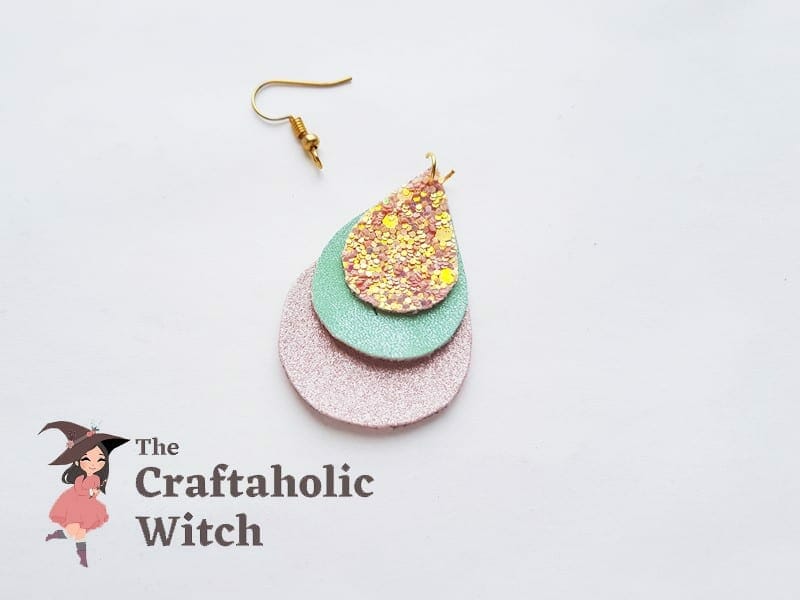
With the large teardrop already on the ring, slide the medium teardrop through the same opening so it sits in front. Then add the smallest teardrop in front of that. Center them on one another so the graduated sizes create a clean cascading look.
Hold the assembly up before closing anything to check that all three layers hang level.
Step 6: Attach the Earring Hook and Close the Jump Ring
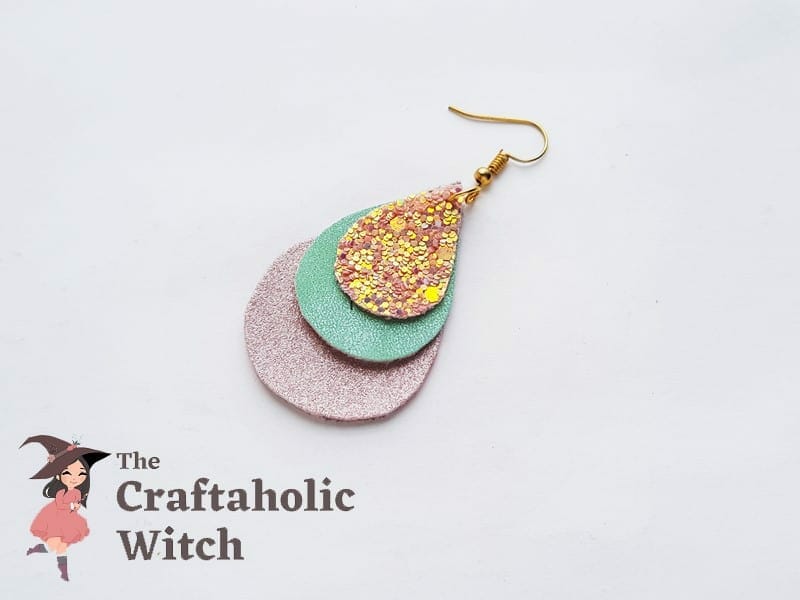
Slide the loop of a fish hook earring wire onto the open jump ring alongside the leather stack. Close the ring by reversing the same twist motion, pressing the ends together until the gap is completely flush. Any gap left open will let the layers work loose with wear.
Step 7: Repeat for the Second Earring
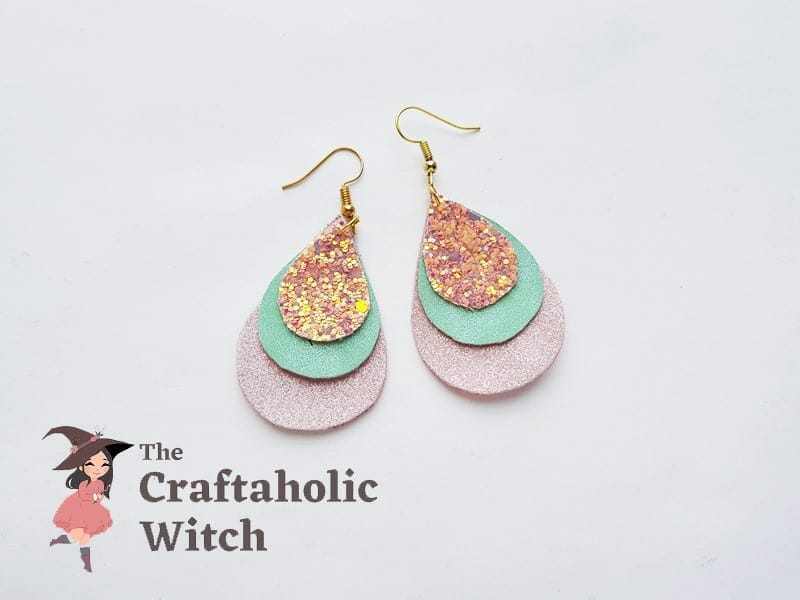
Build the second earring in exactly the same color order so both hang identically. This goes faster now that you know the feel of the assembly. Close the jump ring on the second earring and you have a finished pair.
Share it in "I Made It" and let us cheer you on.
Post your finished make in "I Made It" so the community can celebrate it with you. Cheer on other makers too. Each month, the most loved craft wins 1 year of Craftaholic Premium ($59)
Tips for Making Leather Earrings
- Always trace on the backside of the faux leather; the surface is smoother, takes pencil marks cleanly, and any lines stay completely hidden in the finished earring.
- Open and close jump rings with a twisting motion rather than pulling the ends apart. Pulling bends the ring out of round so it won’t close flush. A gap in the ring is how layers come loose with wear.
- For neat cuts on the curved teardrop bottom, an X-Acto knife gives more control than scissors on tight curves.
Video: How to Make Leather Earrings
Frequently Asked Questions
Can I use real leather instead of faux leather for these earrings?
Yes, genuine leather works just as well and gives the earrings a firmer, more structured feel. Look for thin, supple leather around 1mm thick so the pieces cut cleanly and stay lightweight on the hook. Anything thicker can make the earring heavy enough to stretch the ear hole with daily wear.
What size jump ring do I need for leather earrings?
A medium to large jump ring with an inner diameter of 6 to 8mm works best here. It needs to pass through the hole in the leather and still close cleanly around all three teardrop layers plus the earring hook loop. A ring that is too small makes the assembly fiddly and can look pinched once everything is on.
How do I keep the leather layers from spinning on the jump ring?
Some movement is normal right after assembly. To minimize it, close the jump ring as tightly as possible with no visible gap. The layers tend to settle with wear. If you want them fixed in place, a tiny dot of clear-drying craft glue on the back of each layer before threading the ring will hold the stack permanently.
Can I wear leather earrings in the rain?
Faux leather handles light splashes without damage, but prolonged water exposure can cause the layers to delaminate over time. Real leather is even more sensitive. Take them off before swimming, showering, or a heavy downpour and they’ll stay in good shape much longer.
More Earring Tutorials
- How to Make Earrings: 2 Beginner Tutorials
- How to Make Wire Wrapped Bead Earrings
- How to Make Hoop Earrings with Beads
- DIY Beaded Earrings
- How to Make Clay Earrings
- How to Make Tassel Earrings
Share your leather earrings in the I Made It space inside Craftaholic Community. The most-loved post each month wins a one year free Premium membership.
2 Comments
This is a wonderful article on leather earrings, You’ve Given so much info in it. I believe that is one of the so much important info for me.
Glad you liked it 🙂
Join the conversation
Log in to your Craftaholic Community account to comment, ask questions, and cheer on fellow makers.
Log in to comment