How to Make Easy 3d Paper Snowflakes (+ Video Tutorial)
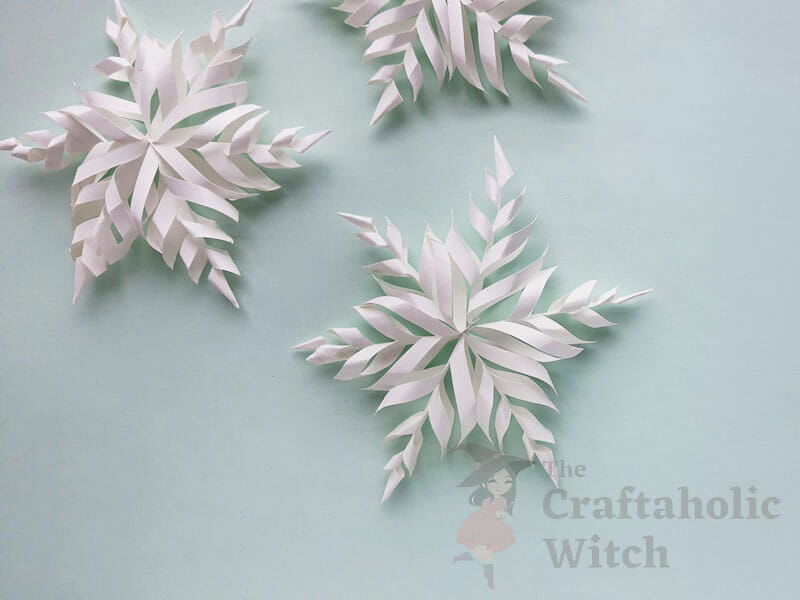
Easy to make 3d snowflakes that can be hung from the ceiling or used as Christmas tree ornaments. Learn how to make 3D paper snowflakes and use them as Christmas decorations.
Who else has started preparing for Christmas? I’m sure most of you have, so we wanted to share a fun and easy papercraft Christmas decor tutorial this week. These 3d paper snowflakes are quite popular and very easy to make. The final design of the 3d paper snowflake looks a bit complicated but you’ll be surprised to see how easy and basic the making process is.
Every year, we try to decorate our home for Christmas as uniquely and beautifully as possible. But there are a few things that are basic yet always loved. Yes, we’re talking about papercraft snowflake ornaments and Christmas decorations; it’s probably because papers are easily available and don’t cost much. And, a Christmas decors craft session is undoubtedly fun. You can spend a weekend with family or friends and craft all sorts of Christmas decoration pieces and make most of the pre-festive season.
The cost of this papercraft project is less than $1. If you have ordinary white paper, a pair of scissors, and craft glue, then it won’t even cost anything. You can use different colored craft papers to make colorful 3d paper snowflakes and give your home a more festive and colorful look. You can get 200 sheets of 6 inches square origami craft papers for $6.50 and craft up to 33 3d paper snowflakes with them. . So, if you’re planning to make a bunch of 3d paper snowflakes to decorate your house, 33 colorful snowflakes will cost $6.50, which is very reasonable.
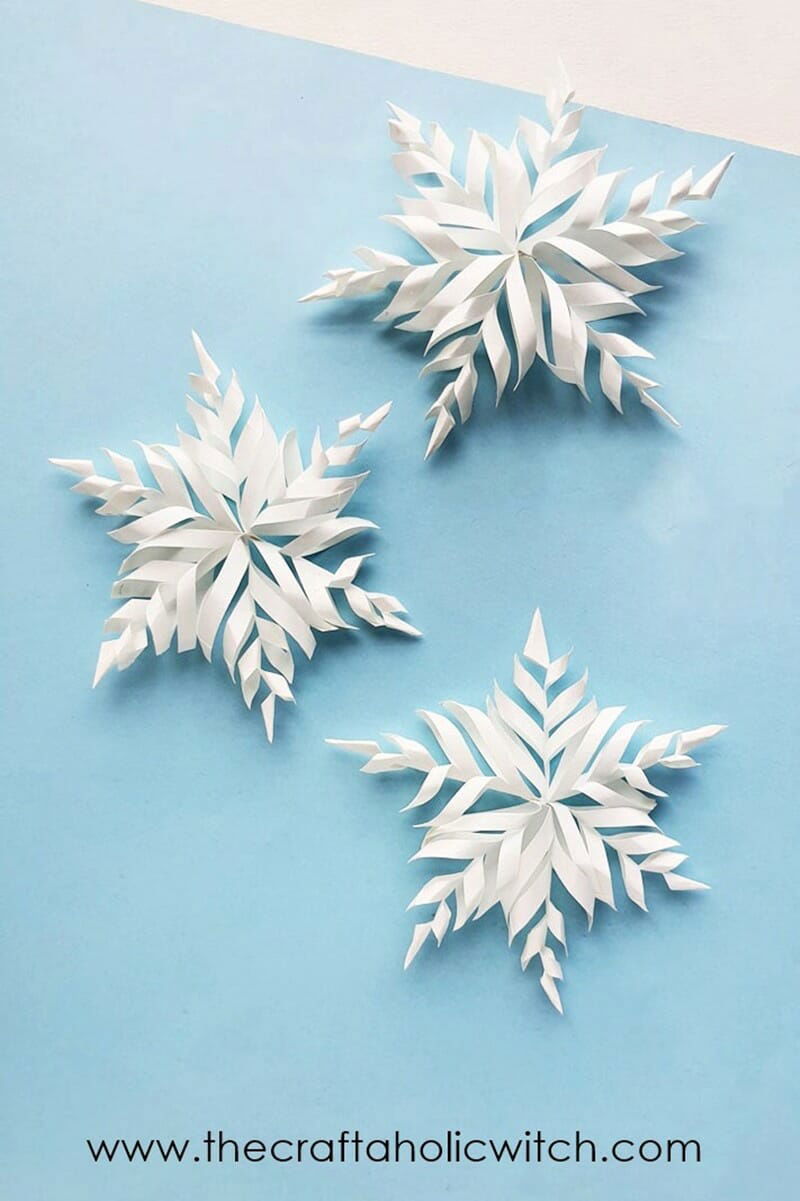
Things You’ll Need to Make 3d Snowflakes
Materials
- Craft paper
- Craft glue
Tools
How to Make 3d papercraft Snowflake
Step 1: Preparing the Square Paper
You will need to prepare 6 pieces of square sheets. You can use the store-bought square paper set for this craft or you can use a ruler and pencil to trace and cut out square sheets from the papers available at your home. To craft 1 snowflake we need 6 square sheets. Take any one of the square sheets at first.
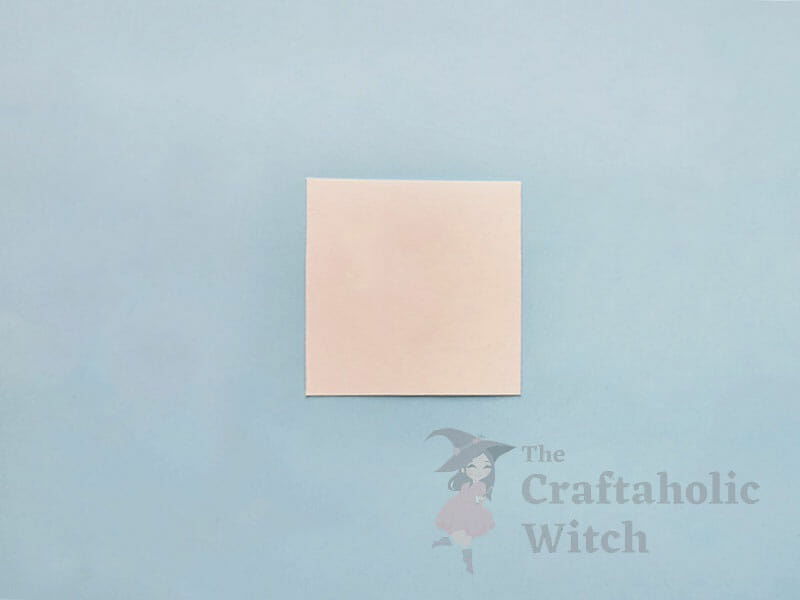
Step 2: Base Fold
Fold the square sheet in half, diagonally. Use sharp scissors to cut 6 slits along any one of the open sides. Be careful not to cut the whole slit into a strip. Keep a cm of the folded paper’s closed-end intact.
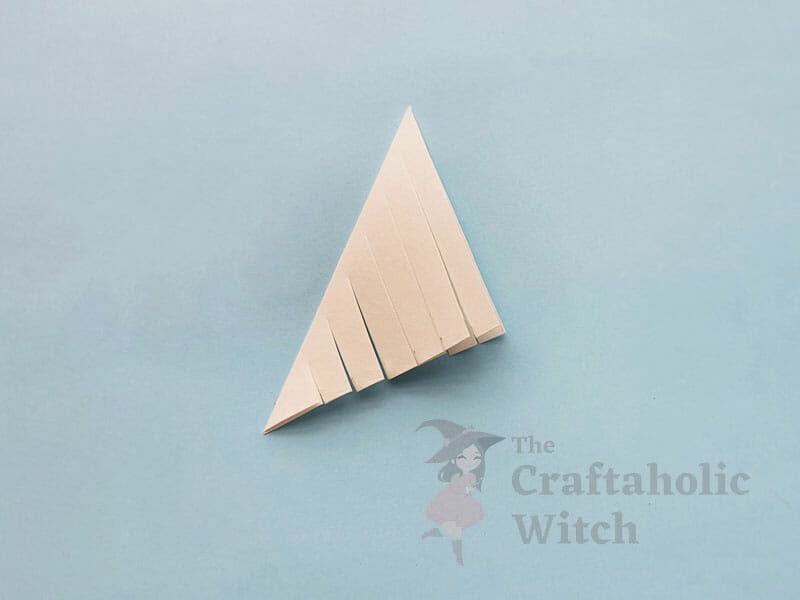
Step 3: Forming the Tip
Unfold the paper after cutting the 6 slits. We will need to start our craft from the shortest slit. Use the tip of your finger to fold the shortest slit part inside and try to keep the outer edge pointy.
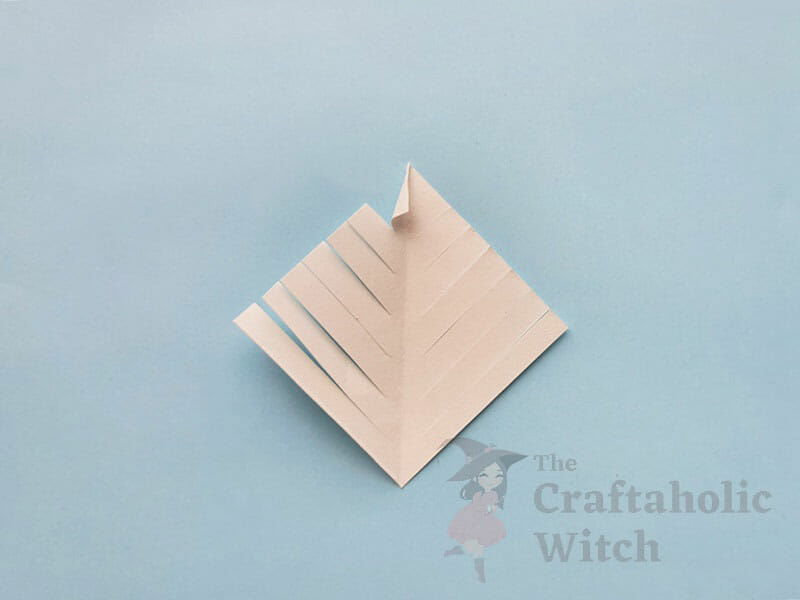
Step 4: Securing the Tip
Fold the other side of the shortest slit and bring it inside by slightly overlapping the previous side. Apply glue on the overlapped parts and join both sides together to form the tip of the pattern (a point of the 3d paper snowflake).
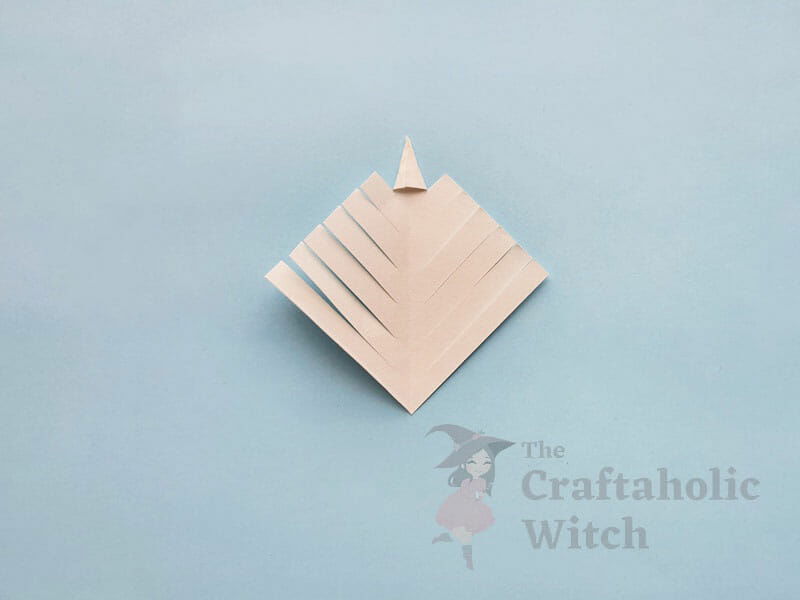
Step 5: Flip the Pattern
Now, flip the current paper pattern to the other side.
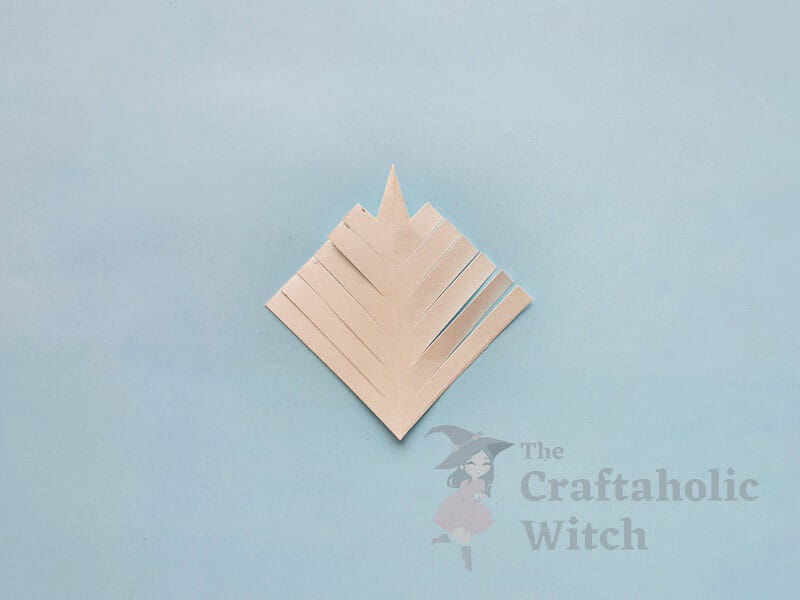
Step 6: Forming the 2nd Point
Now, we will work with the next shortest slit. Bring the open ends of the 2nd shortest slits inwards and join them together by forming an upward-facing corner with their open ends. Apply glue on the overlapped parts of both sides of the slit and press them together to secure the joint.
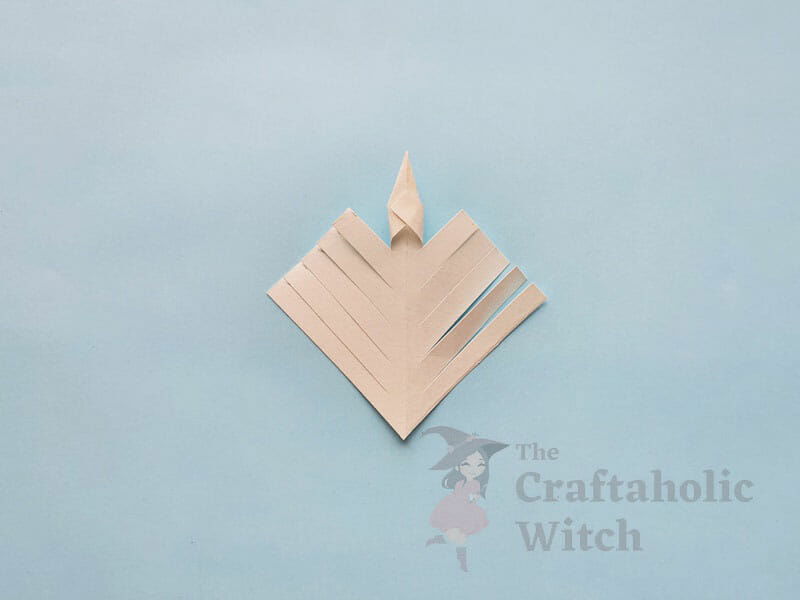
Step 7: Continuing the Process
Flip the pattern again to form the next one. Simply repeat the 2 previous steps, after joining the 2 sides of a slit, flip the current pattern and work on the next one.
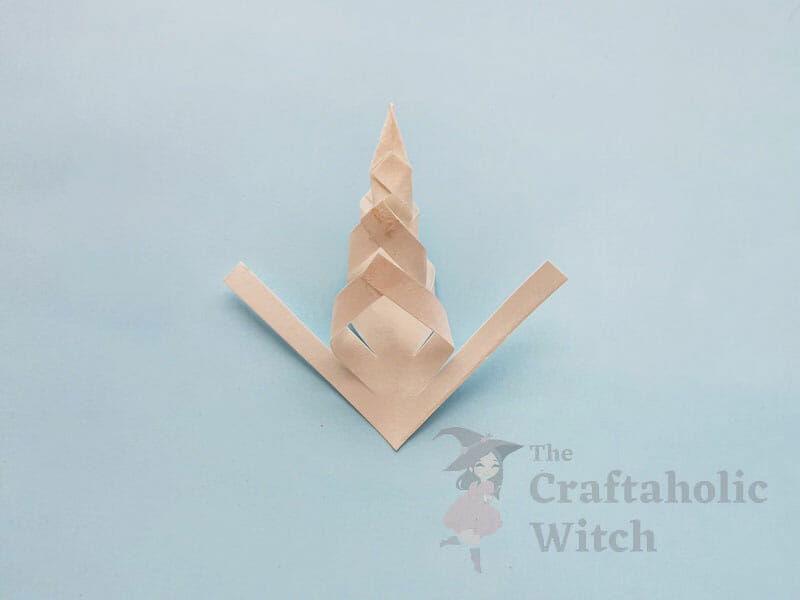
Step 8: Completing the Pattern
One by one join all parts of the slits and then finally, the pattern would look like this from a side-view.
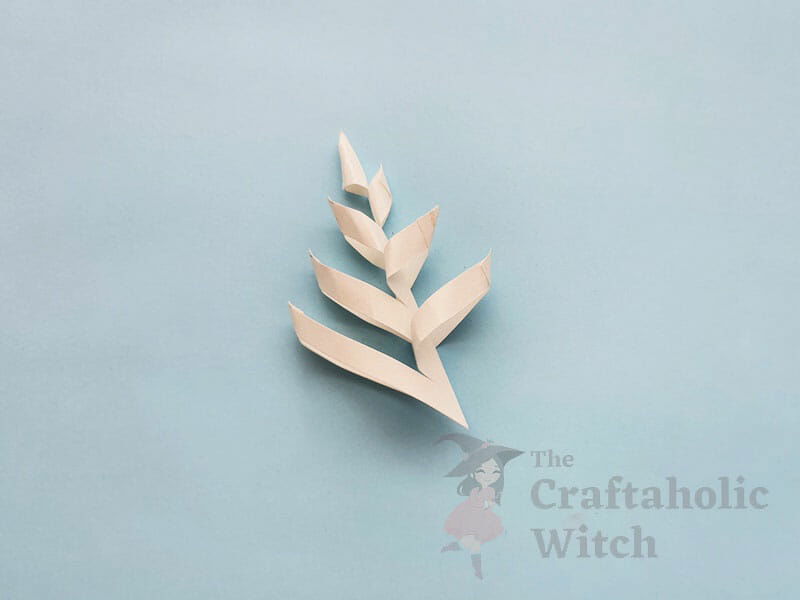
Step 9: Craft All 6 Patterns
Similarly, prepare the rest of the patterns. We need a total of 6 of these paper patterns to make the 3d paper snowflake.
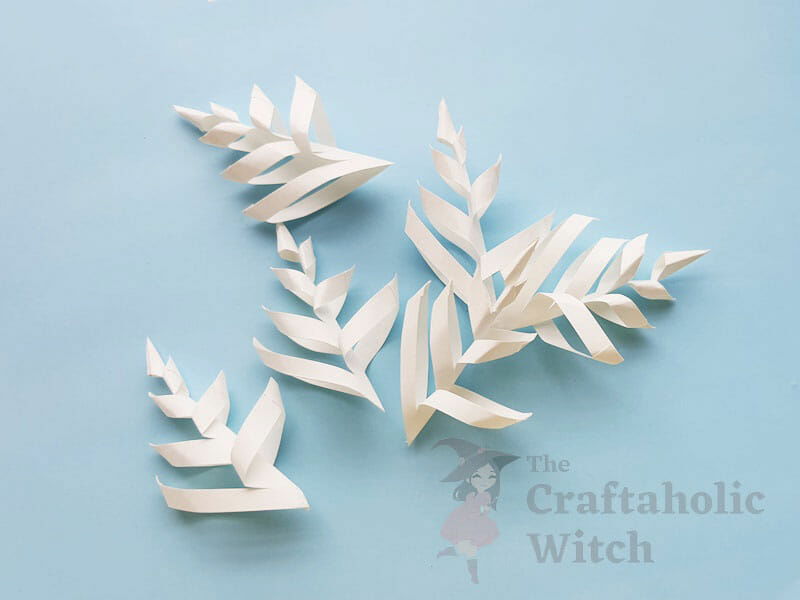
Step 10: Join the Patterns
Take any two of the paper patterns and join them together by attaching their edges to the wider side. Apply a drop of glue on either of their edges, simply place the other one over the glue, and press gently to join them.
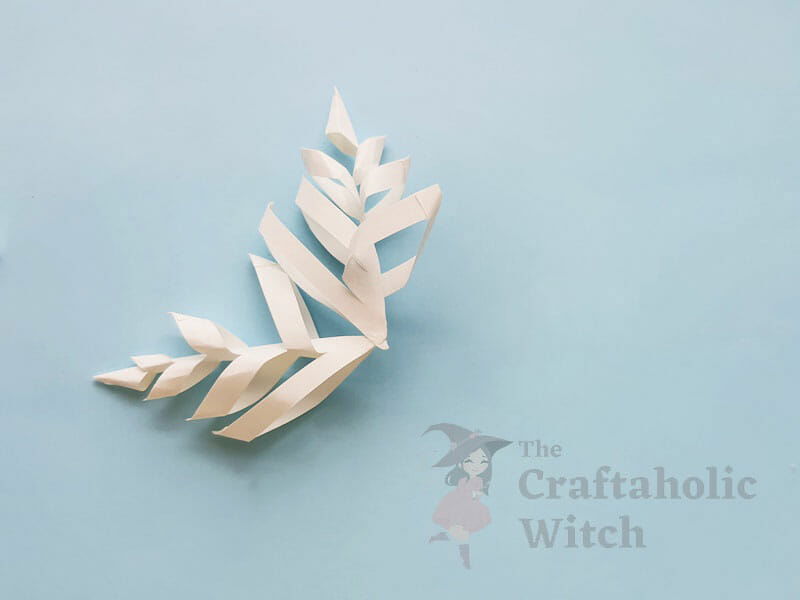
Step 11: Join all 6 Patterns 1-by-1
Join the rest of the paper pattern similarly. The joint part of the patterns will form the center of the 3d paper snowflake.
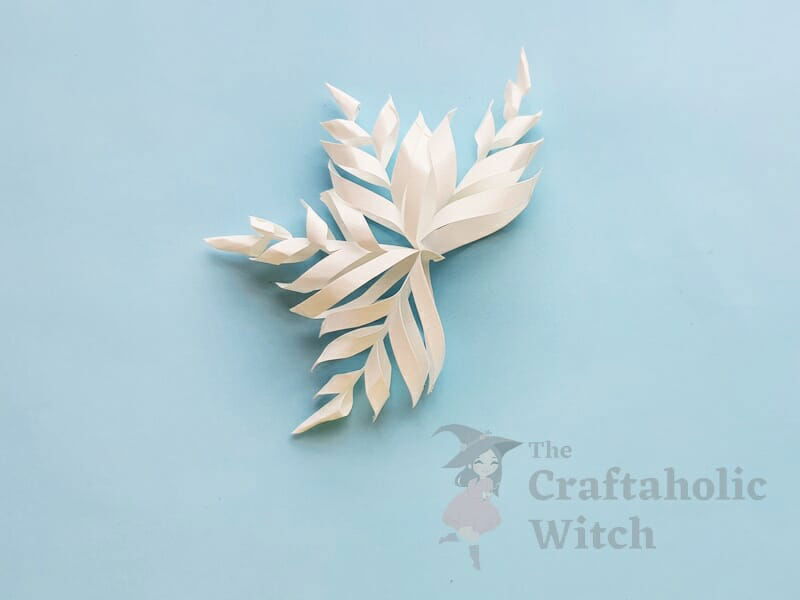
Step 12: Allow the Glue to Dry to Secure the Pattern
And done! It was fun and therapeutic, right? We absolutely loved crafting these 3d paper snowflakes.
Watch Video Tutorial: How to Make 3d Paper Snowflake
Having difficulty understanding the picture tutorial? No worries, you can also check out our video tutorial on how to make 3d paper snowflakes. Don’t forget to hit the subscribe button and turn on the notification bell to stay updated.
3d Paper Snowflake Crafting: Tips for Beginners
Here are some tips if you’re having difficulty crafting 3d paper snowflakes.
- Make sure to use square paper to craft the 3d snowflake pattern.
- Each square paper is for each point and it’s better to craft 5 points or 6 points snowflakes, they look nice.
- The diagonal half-fold must be done very neatly.
- Be careful while cutting the base slits, make sure not to cut too much. Keep at least 1 cm intact along the closed end.
- When joining the slits, do not press them against the surface or flatten them, this will ruin the 3d look of the final craft.
- If attaching the separate patterns seems tricky (we also faced difficulty while joining them), you can wait for a pattern’s glue to dry completely before attaching the next one.
Here are some of our Winter craft projects that you may also like, do spare a few minutes to check them out.
Paper crafts will never get old and these 3d paper snowflakes are definitely a great investment of time, effort, and any amount of $ you’re spending on them. You can use them for a number of other crats. You can make a garland, mobile decor, use them to decorate gift boxes, and whatnot. We really hope you enjoyed reading and watching our 3d paper snowflake tutorial and enjoy crafting some yourself. If you do re-create these 3d paper snowflakes using different colored papers and use them for another craft, please do share a picture with us or tag us on Facebook or Instagram (use #thecraftaholicwitch).
Happy Crafting!


This looks so nice . Lovely winter craft. ❄️
These snowflakes look very effective. A bit fiddly to assemble but with a steady hand and some patience a lovely 3D snowflake can be produced. Worth the effort. Thanks.
Yes, the craft seems a bit tricky at first but once you get started, it gets better every time you craft one. Hope you enjoy crafting these. Thank you so much!