

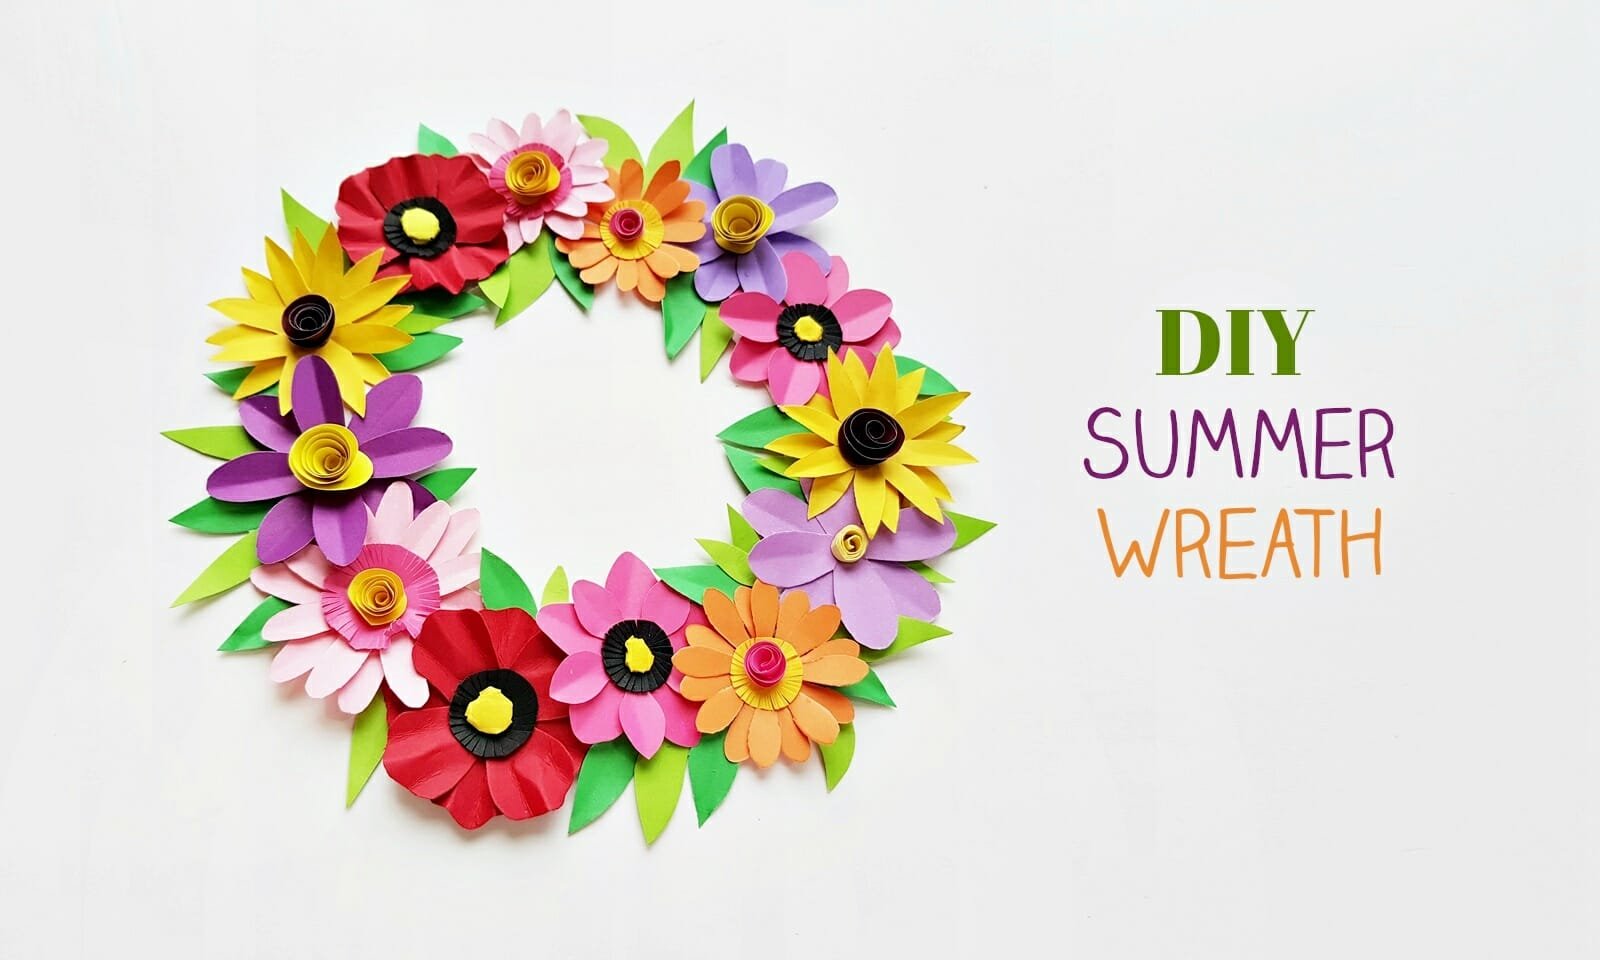
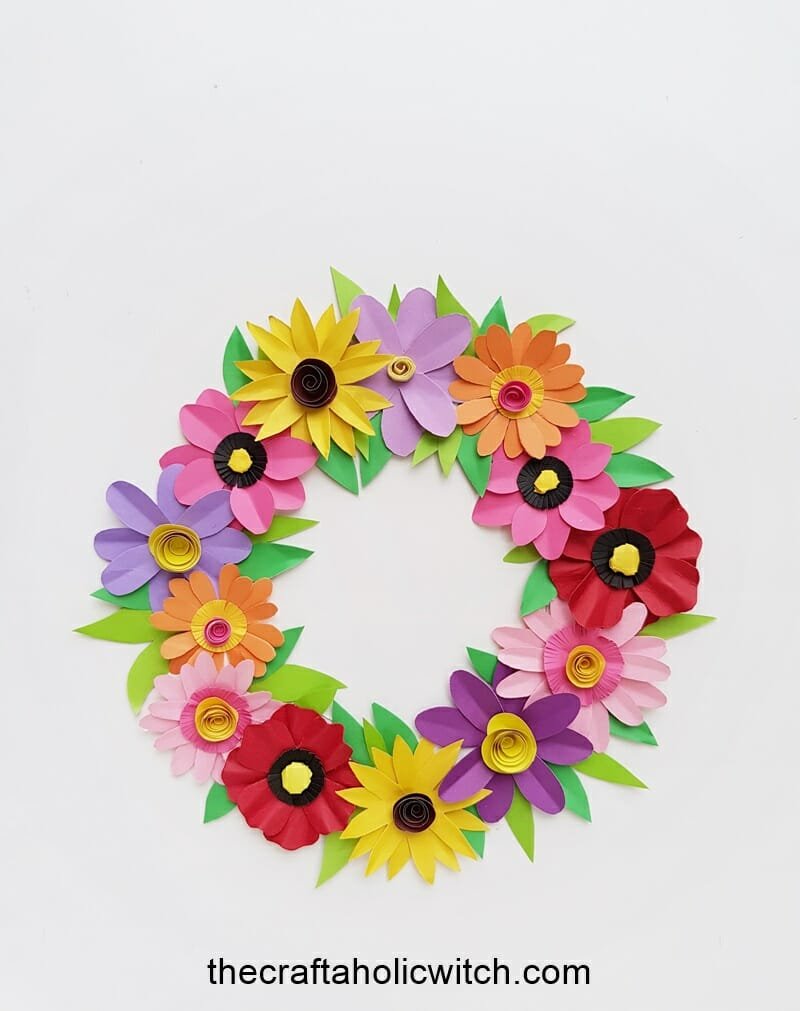
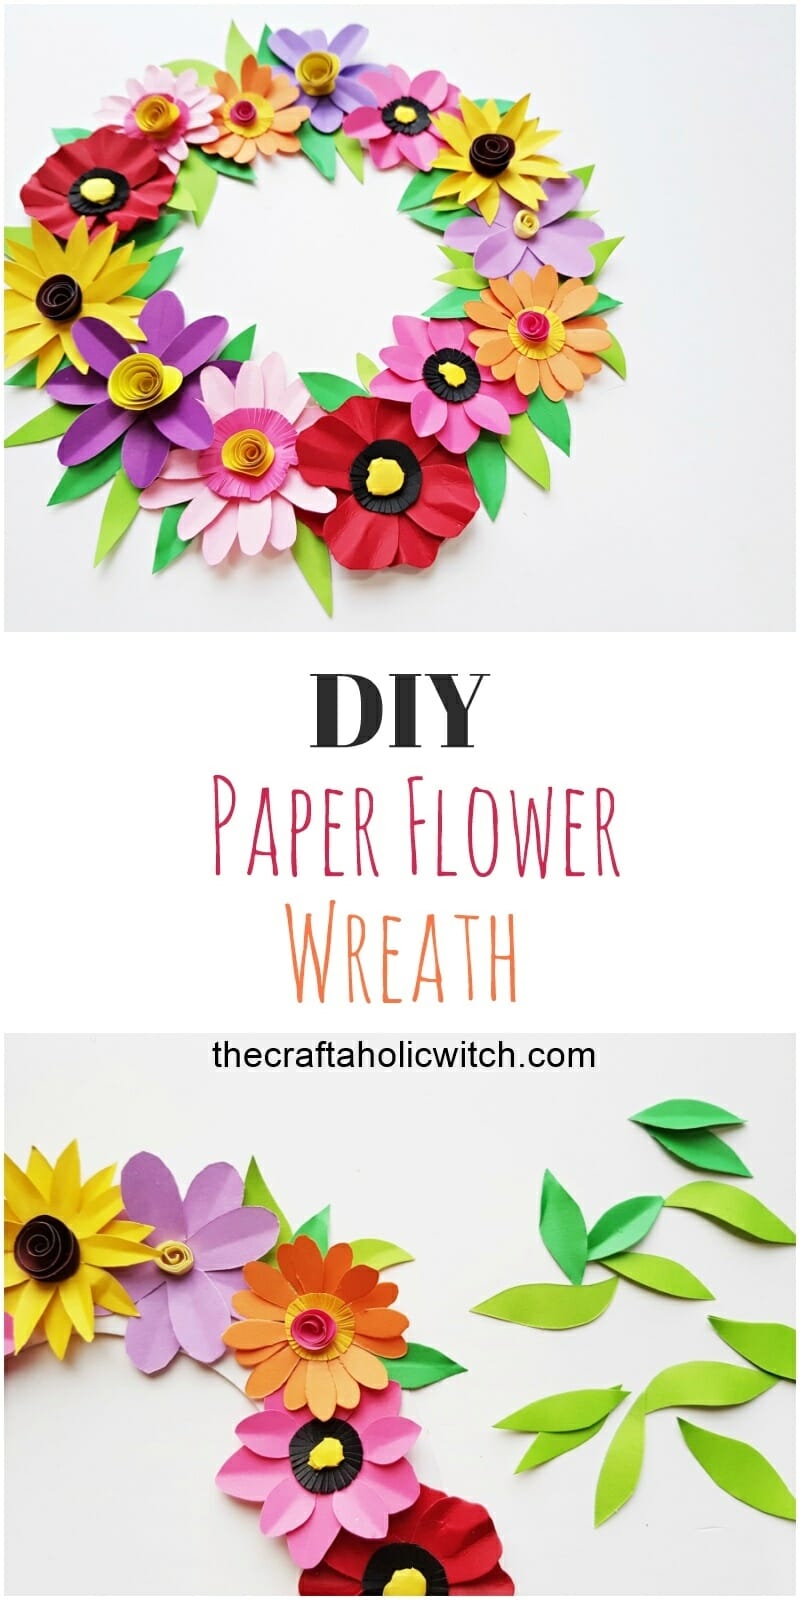
You can turn six paper flowers, a cosmos, a daisy, a poppy, a peony, a sunflower, and a Mexican sunflower, into one paper flower wreath using nothing but craft paper, scissors, and glue. Every flower uses the same handful of moves, trace, fringe, curl, and layer, so the technique carries over from one flower to the next.
Give yourself two to three hours if you’re making all six flowers from scratch, or less if you print the templates and cut everything in batches first. It’s a good project if you’ve made a paper flower before. If this is your first one, just expect it to take a bit longer while you get the hang of it.
Once it’s finished, you’ll have a wreath for your front door, a nursery wall, or a photo backdrop that never wilts. And if you catch the paper flower bug, my paper daffodils are a quick twenty-minute beginner project, while the paper gardenia flower is a good next step once you’re comfortable curling and layering petals.
Paper Flower Wreath at a Glance
- Difficulty: Intermediate (six flower styles to learn)
- Time: 2 to 3 hours
- Cost: Under $10 in craft paper and glue
- Ages: 10+, or younger with an adult cutting the smaller pieces
- Best for: Spring and summer home decor, gifts, photo backdrops
Join Craft Challenge: Craft Your Calm
Make something that brings you a sense of peace, share a photo, and tell us your story. It's free to enter, open to everyone, and the entry with the most reactions takes home a $100 gift card. Takes five minutes to join.
Entries close August 30, 2026. No purchase necessary.
What You Need to Make a Paper Flower Wreath
Materials
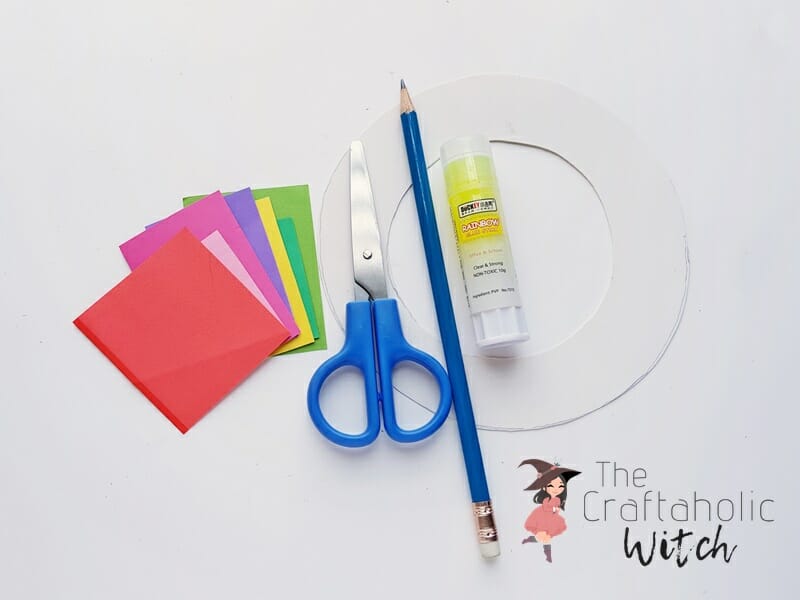
- Colored craft paper, cardstock weight holds a crease better than copy paper. You’ll want reds, pinks, purples, oranges, yellows and greens for six flowers plus leaves.
- Wreath base, or a circle cut from thick cardstock if you’re not using a store-bought foam or wire form.
- Craft glue. A glue stick alone won’t hold layered paper petals in place.
Tools
- Scissors, fine-tipped ones make cleaner petal fringes.
- Pencil, for tracing the templates onto your craft paper.
All six templates, cosmos, daisy, sunflower, poppy, peony and Mexican sunflower, are in one download in the Craftaholic Community free template space. Print them out, then cut the pattern pieces to trace onto your chosen craft papers.
Ask inside "Crafty Q&A" while you are making.
"Crafty Q&A" is free to join. Share your question, photo, or the exact step where you got stuck, and chat with other makers plus the Craftaholic Witch team. You can also join any discussion thread already happening inside the space.
How to Make a Paper Flower Wreath
This tutorial has two parts. First you’ll make the six paper flowers, then you’ll build the wreath itself.
Making the Paper Flowers
Mexican Sunflower
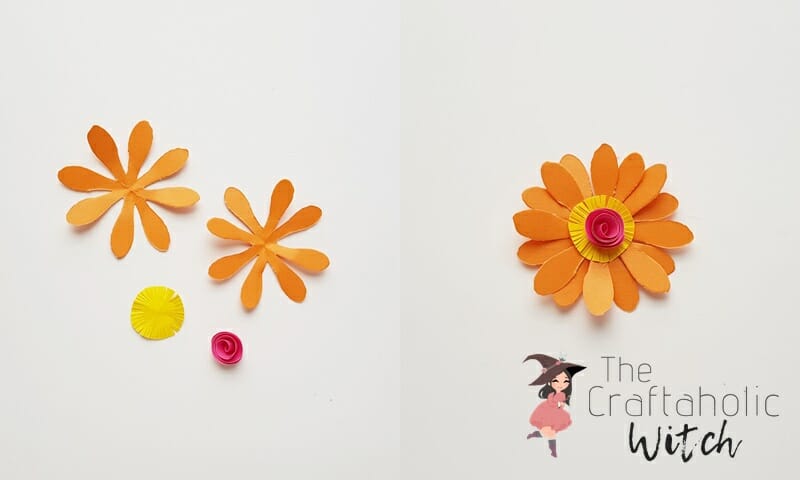
- Trace and cut the Mexican sunflower petal shape and a spiral from your craft paper.
- Roll the spiral from the outside in to make a tight coiled center. Hold the last half inch a moment so it doesn’t spring open.
- Cut fringes around a small circle for the base of the center, then layer two petal shapes criss-cross so the points show between each other.
- Glue the fringed circle to the middle of the petals, then glue the rolled spiral on top.
Peony
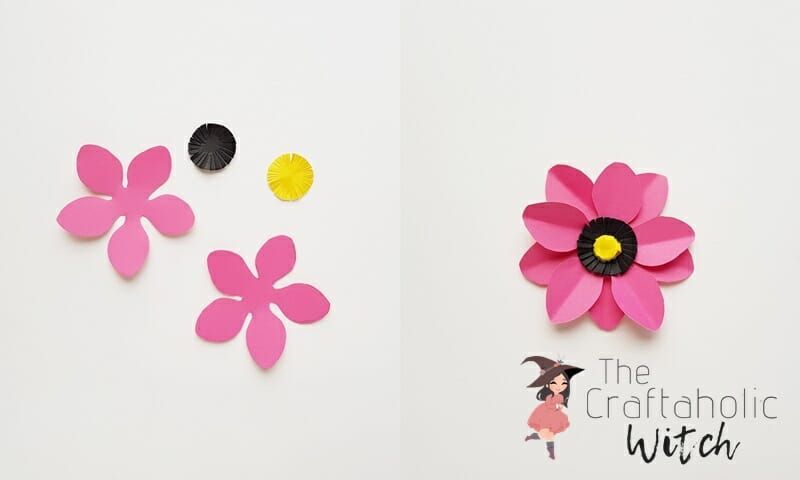
- Trace the peony petal shape onto pink paper and two round centers onto yellow and black paper. Cut small, even fringes around both circles.
- Crumple the yellow circle’s fringes toward the middle until it balls up into a small round shape. This is what gives a peony its full center.
- Score a light crease down each petal so they cup slightly, then layer the petal shapes criss-cross.
- Glue the black fringed circle to the center of the flower, then glue the crumpled yellow ball on top of that.
Cosmos
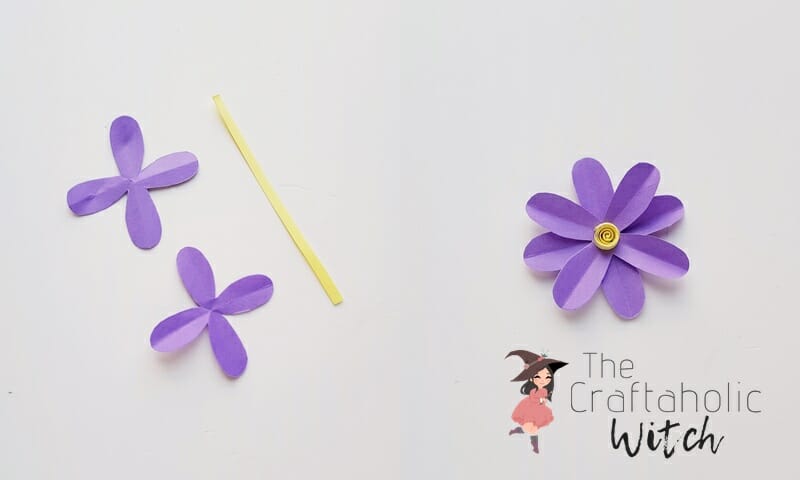
- Cut the cosmos petal shape from your chosen color and a long strip from yellow paper.
- Coil the yellow strip loosely. It should look like a small nest rather than a tight spiral.
- Crease each cosmos petal from its tip toward the center so the petals angle slightly upward, then glue two petal layers together criss-cross.
- Set the loose yellow coil in the middle and glue it down.
Daisy
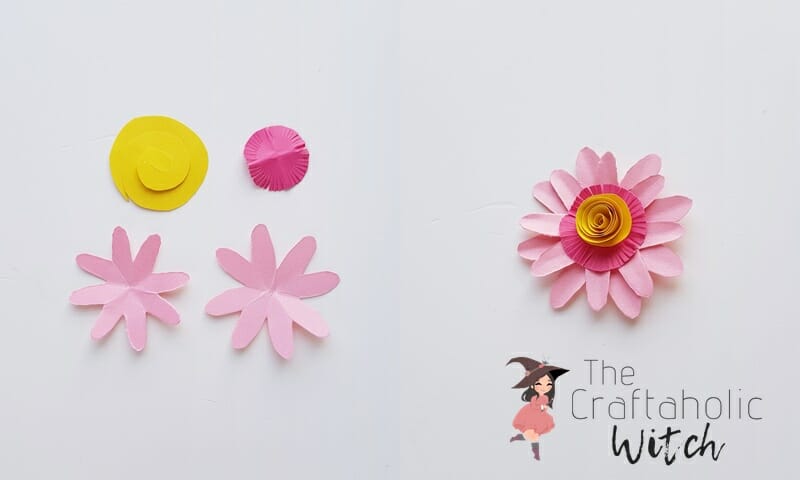
- Cut a small and a large daisy petal shape and a spiral for the center.
- Crease each petal from the center out to its tip.
- Roll the spiral into a tight coil for the center, then cut fringes around a small circle to sit underneath it.
- Glue the small petal layer on top of the large one, offsetting the points, then glue the fringed circle and the rolled center on top.
Poppy
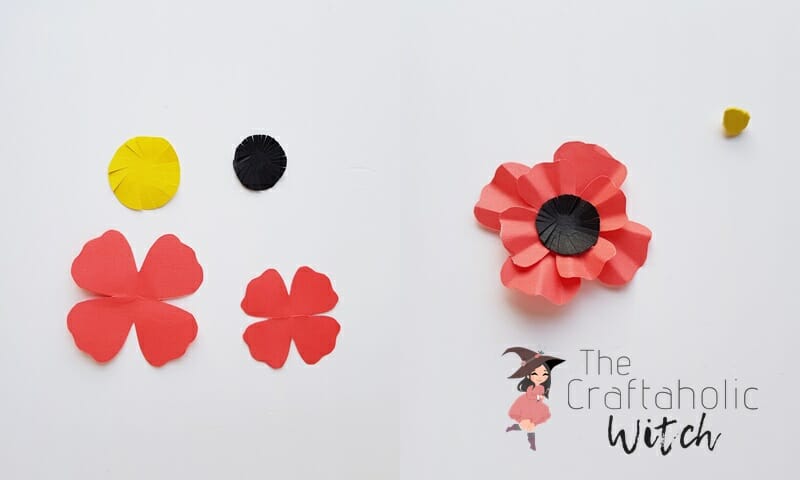
- Cut two poppy petal layers and two round centers, one bigger than the other.
- Fold each petal into loose accordion pleats so they hold some texture.
- Cut fringes around both circles, then crumple the larger one toward the middle into a small ball.
- Layer the petal shapes criss-cross, glue the smaller fringed circle to the center, and glue the crumpled ball on top of that.
Sunflower
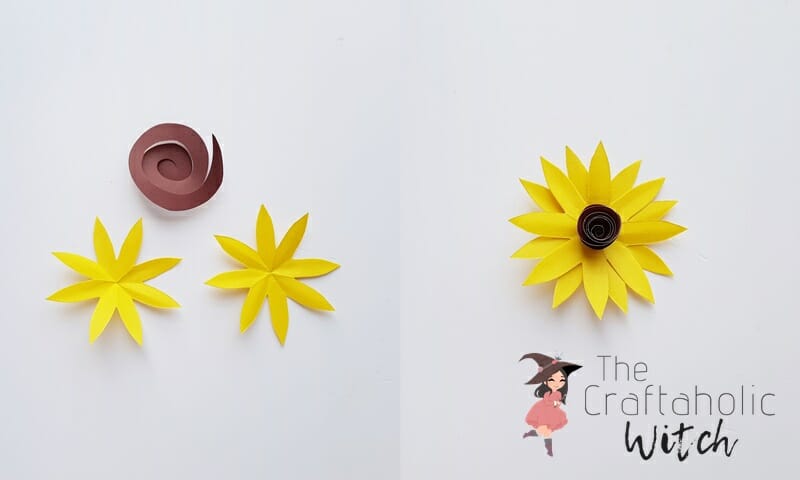
- Cut the sunflower petal shape from yellow paper and a spiral from brown paper.
- Roll the brown spiral into a tight coil for the center.
- Layer two petal shapes criss-cross so you get a full, rounded flower, then glue the rolled brown center into the middle.
Assembling the Wreath
Step 1: Cut the Leaves and Lay Out Your Flowers
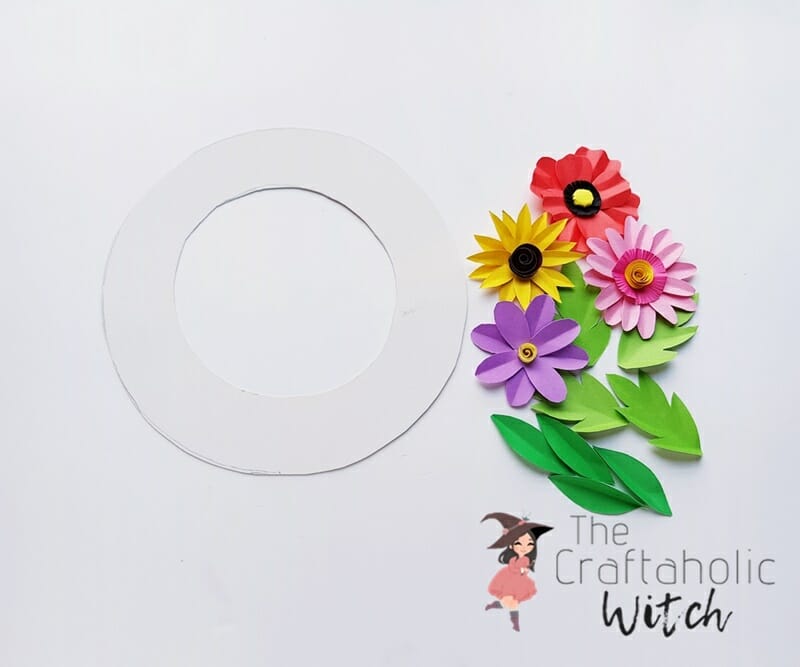
Trace and cut paper leaves from green craft paper, or follow my easy origami leaves tutorial if you’d rather fold than cut. Set your wreath base on a flat surface, then lay all six paper flowers and the leaves around it so you can see how many you have before you start gluing anything down.
Step 2: Glue the Flowers to the Base
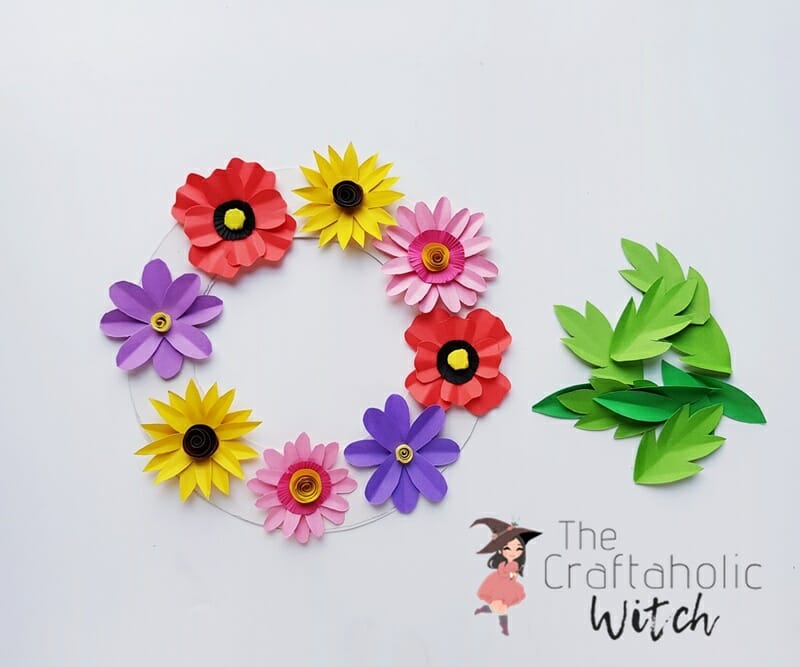
Run glue along the back of each flower and press it onto the base, working around the ring rather than in one spot. Overlap the flowers as you go so the base disappears under the petals, and mix the colors and flower types as you place them so no two similar flowers sit right next to each other.
Step 3: Fill the Gaps with Leaves
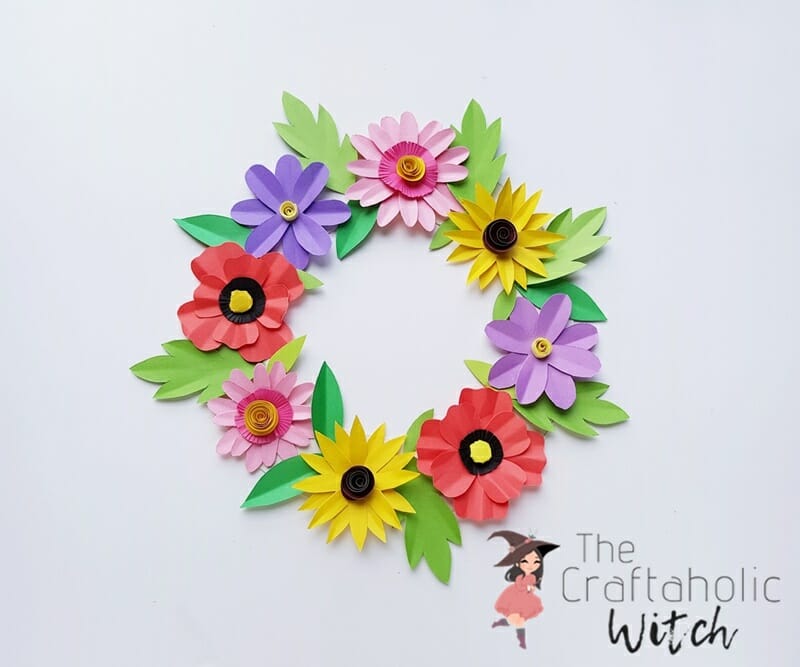
Tuck paper leaves into any bare spots between the flowers until the base is fully covered. Add a few extra leaves around the outer edge for a fuller silhouette, then glue a loop of ribbon or a bent paper clip to the back so you can hang it. Once the glue is dry, hang your paper flower wreath on a door, a blank wall or a mantel.
Share it in "I Made It" and let us cheer you on.
Post your finished make in "I Made It" so the community can celebrate it with you. Cheer on other makers too. Each month, the most loved craft wins 1 year of Craftaholic Premium ($59)
Tips for Your Paper Flower Wreath
- Swap the color palette for the season: deep reds and oranges for fall, white and green for winter, pastels for spring.
- Make a few extra flowers and skip the wreath base entirely. A handful glued onto a plain card makes a quick paper flower bouquet gift.
- Store the finished wreath flat in a box between uses so the petals don’t get crushed.
- If the wreath looks too flat, mount every other flower on a small folded paper tab so it gets some depth instead of lying flush against the base.
Frequently Asked Questions
How long does a paper flower wreath take to make?
Budget two to three hours if you’re cutting and assembling all six flowers from scratch. Printing the templates and cutting several layers of paper at once speeds this up, and once you’ve made one of each flower the rest go faster since the technique repeats.
What can I use instead of a wreath base?
A circle cut from thick cardstock, or even a paper plate with the center cut out, works fine under a full layer of flowers, since the paper flowers end up covering it completely. A wire or foam wreath form just gives you a sturdier shape to glue onto if you want the wreath to last longer.
Can I make this without the printable templates?
Yes. Freehand a simple petal shape and a circle onto folded paper and cut through several layers at once, you don’t need the exact template shapes for the flowers to read as flowers once they’re layered and glued. The templates just save you from drawing six different petal shapes by eye.
Will a paper flower wreath hold up outdoors?
Not for long. Craft paper isn’t weatherproof, so humidity and direct sun will curl the petals and fade the color within days. Keep this wreath indoors or under a covered porch, and treat it as a decor piece rather than a permanent outdoor fixture.
How do I store a paper flower wreath between seasons?
Lay it flat in a box a little larger than the wreath itself, rather than hanging it in a closet where other items can crush the petals. A shallow gift box or a flat storage bin under a bed both work well.
More Paper Flower Tutorials
- How to Make Paper Daisy Flowers
- Easy Crepe Paper Sunflower for Beginners
- 7 Wonderful Paper Dahlia Wreaths
- How to Make Beautiful Paper Lilac Flowers
- Paper Hyacinth Craft
- Tissue Paper Hyacinth Craft
Share your paper flower wreath in the I Made It space inside Craftaholic Community. The most-loved post each month wins a one year free Premium membership.
0 Comments
Join the conversation
Log in to your Craftaholic Community account to comment, ask questions, and cheer on fellow makers.
Log in to comment