Create Last Minute Fall Wreath
Fall is a season of inspiration! A season to do something new,bald and beautiful!
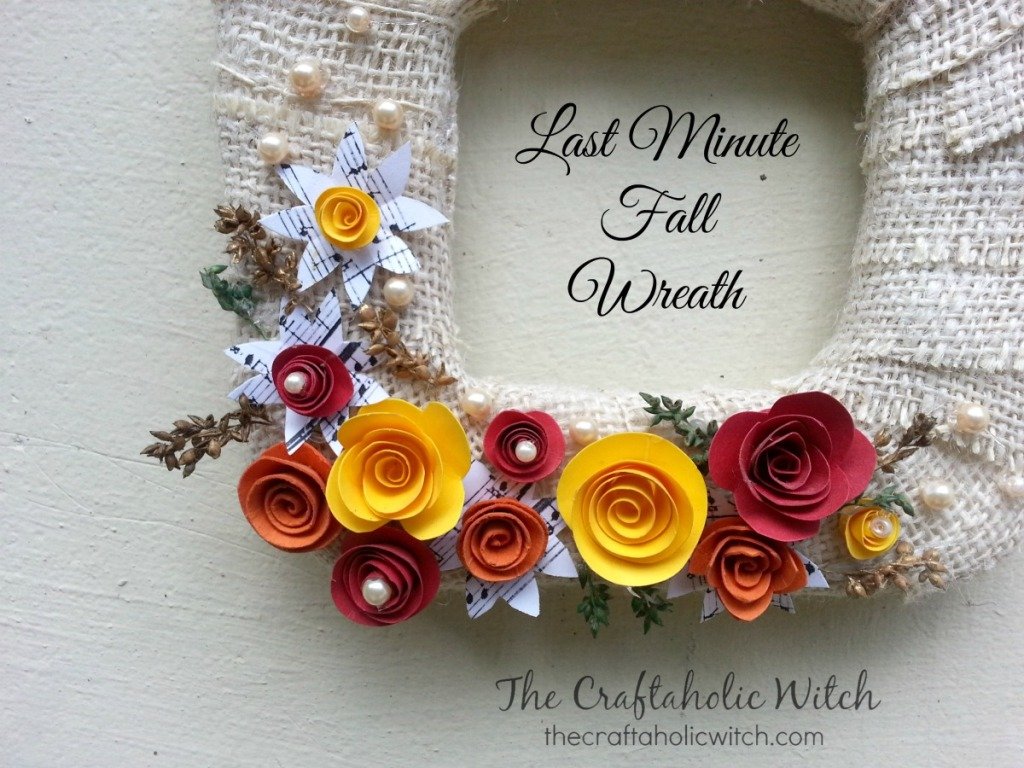
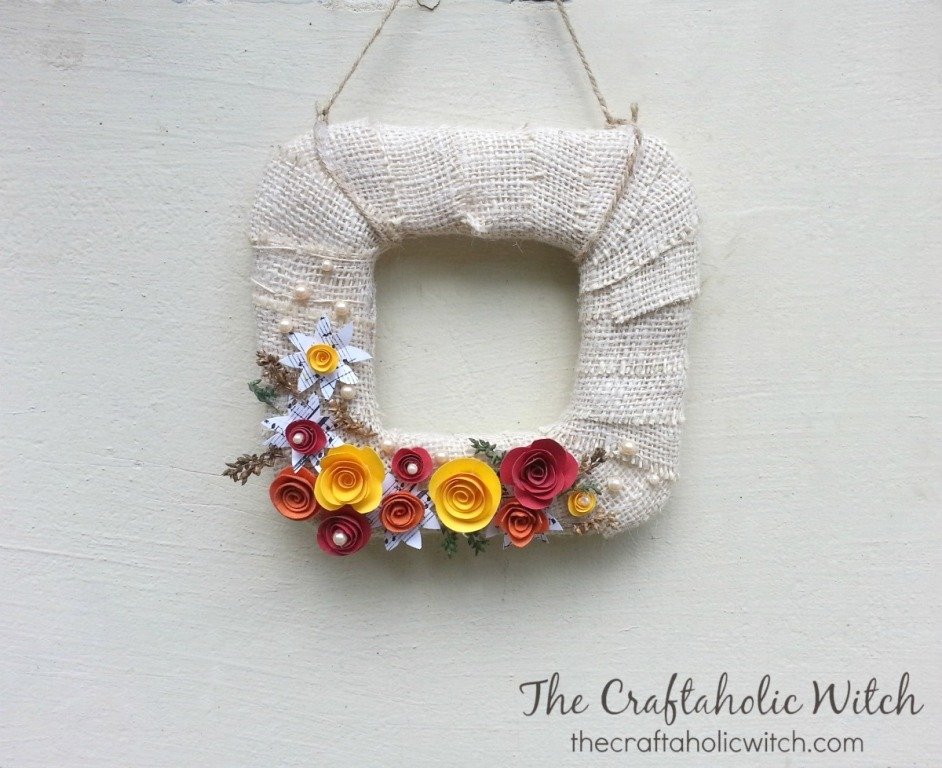
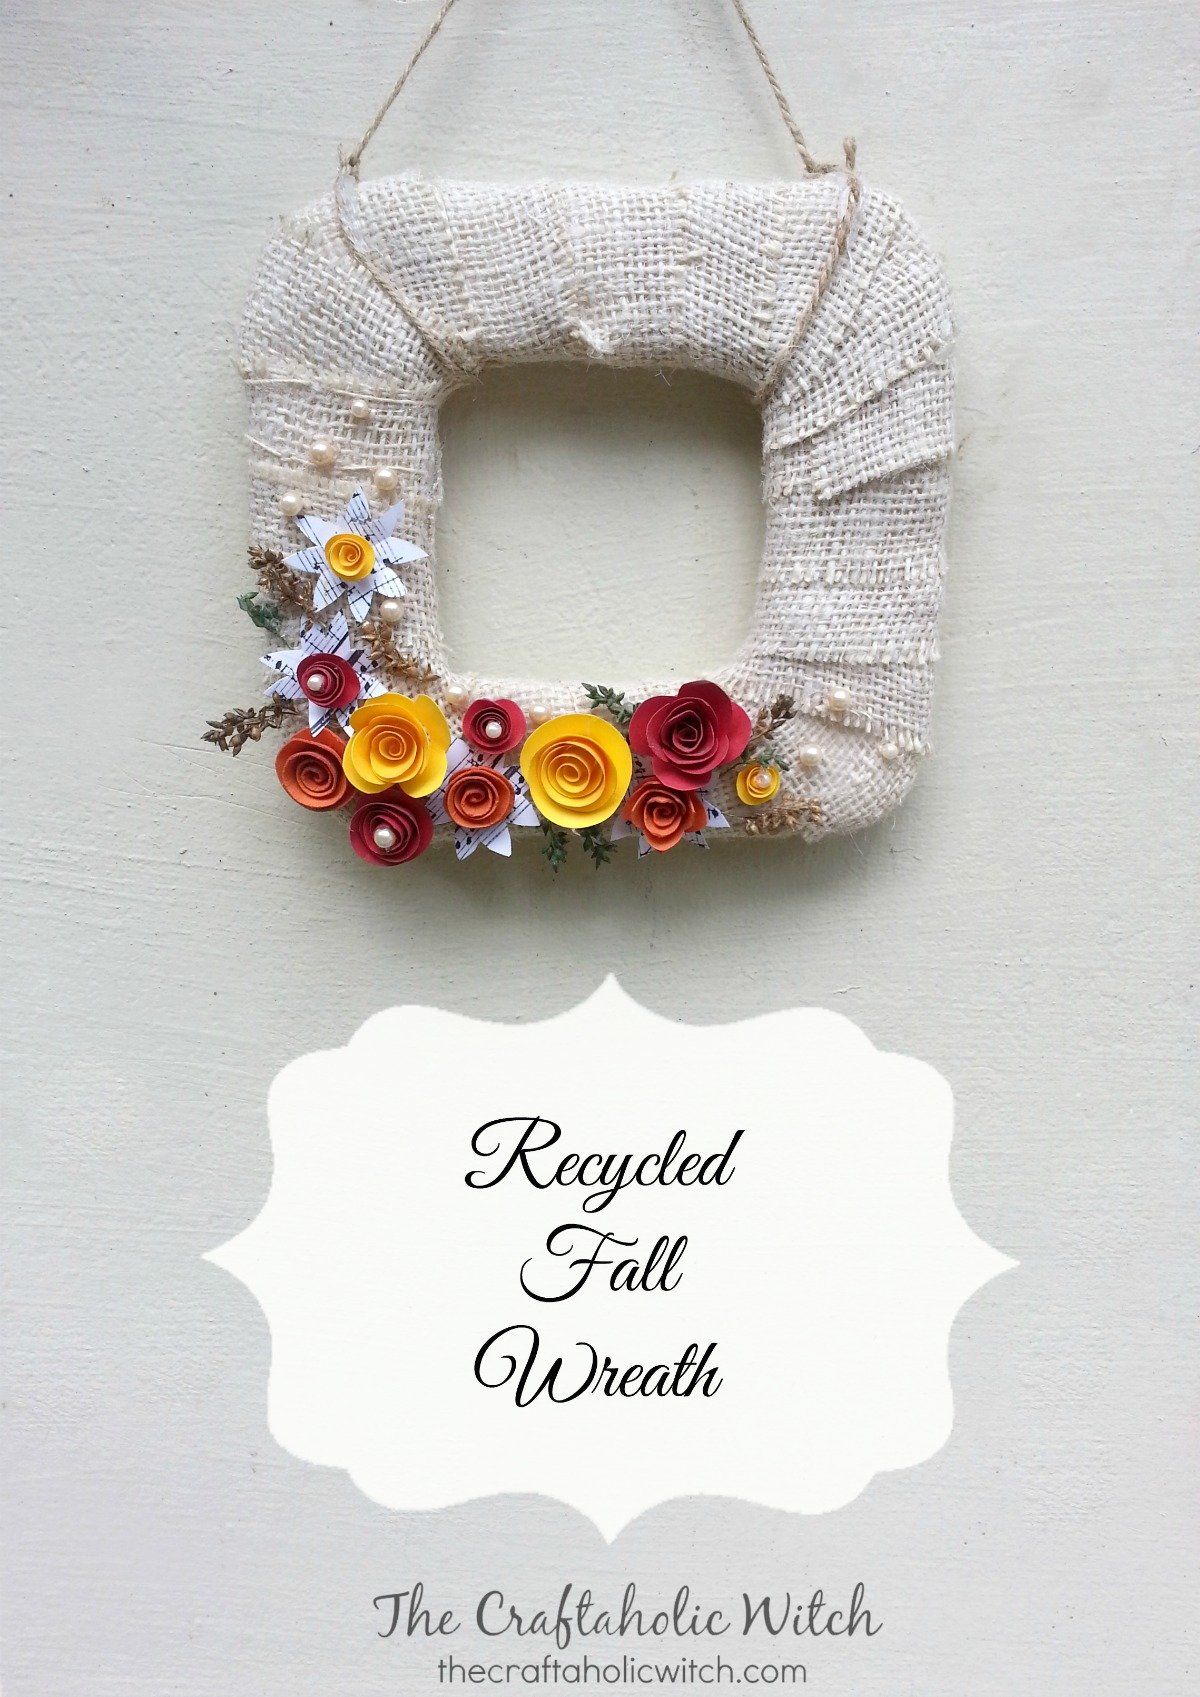
It is a great opportunity for the artists and craters to create something unique and fresh….. Okay, enough talking :p lets do something fall and fun! Do you see that wreath? I made it from left over supplies. Left over styrofoam, cardboard, cardstock, twine… You probably have all these supplies already… so don’t just sit there, grab everything you need and make one!
Supplies:
- Cardboard
- Styrofoam
- Colored cardstock paper
- Printed craft paper
- Craft Glue
- Scissor and x-Acto Knife
- Dry leaves, beads etc.
Instructions:
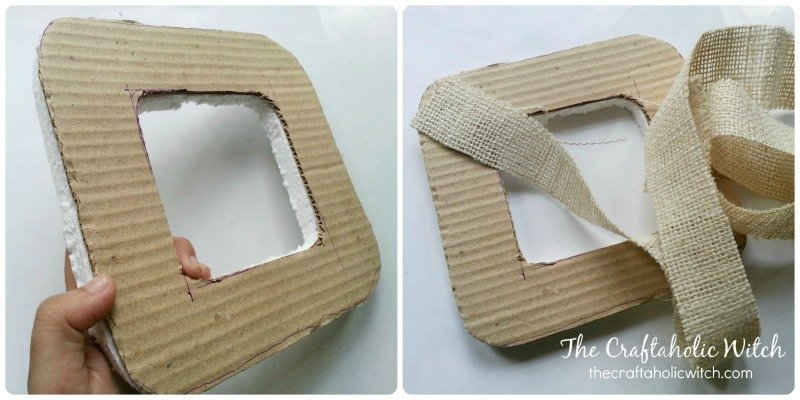
Make the base for the wreath out of cardboard and styrofoam. We’re using styrofoam to make the base thick and cardboard to make the base firm. I kept the base square with round borders.
Cut a long strip of burlap fabric, long enough to wrap the entire base. You can also wrap the base using rustic twine, but it will take more time. Using burlap strips was easier!
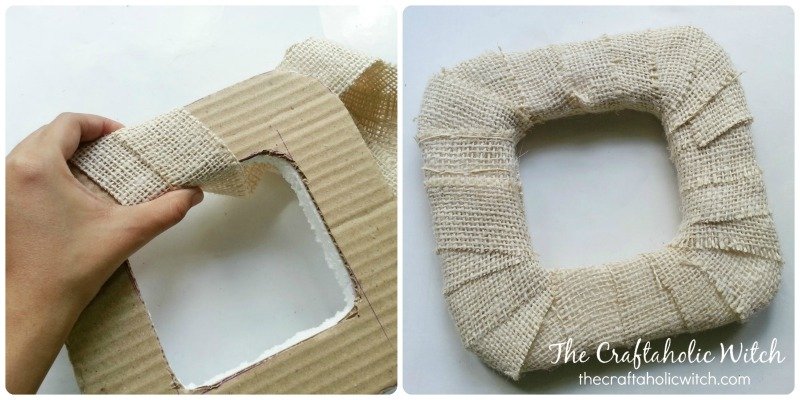
Start wrapping the burlap string from any one bar of the square base ring. You can apply glue if you want to but I didn’t. Keep wrapping the burlap strip neatly around all sides.
At the end apply glue to keep the strip secure. Cut off extra burlap threads if needed.
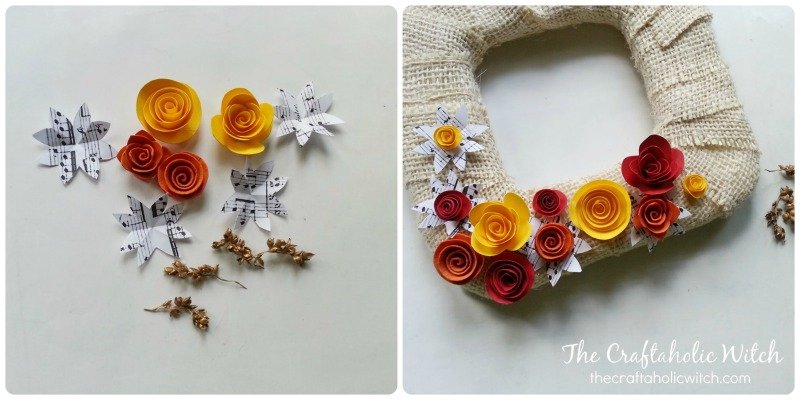
Prepare items for decoration. I used colored cardstock paper and printed craft papers to make different kinds of flowers. Also collected dry leaves and then painted them golden, faux pearl beads.
Start to glue the items on the wreath. Try to keep a sound combination of the items, do not fill the entire wreath with items. Add the dry leaves and sticks between the flowers.
Attach a hanging mechanism to complete the wreath.
Quick and fun fall wreath ready in no time!
Happy Crafting!

