

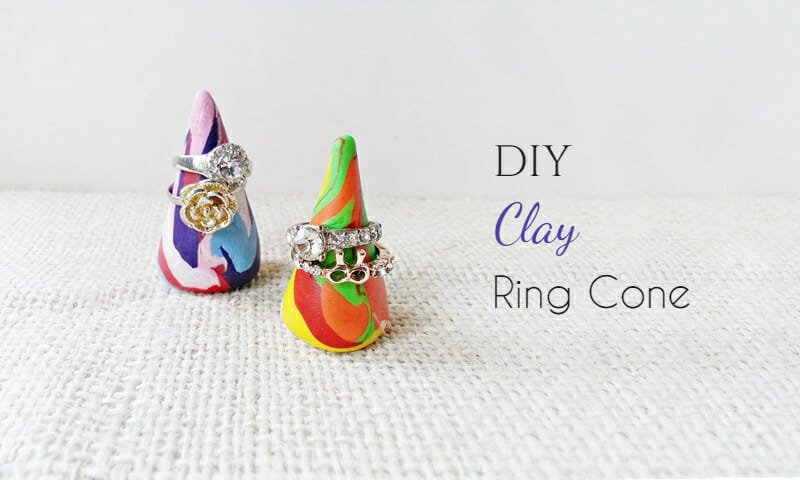
You can turn a handful of polymer clay colors into a pretty ring holder cone in about 30 minutes of hands-on time, plus whatever bake time your clay’s packaging calls for.
I bought polymer clay on a whim a few weeks before I made these and had no idea what to do with it. This ring cone was my very first clay project, and it turned out to be the easiest way into the craft: no wheel, no glaze, just rolling, twisting, and a trip through the oven.
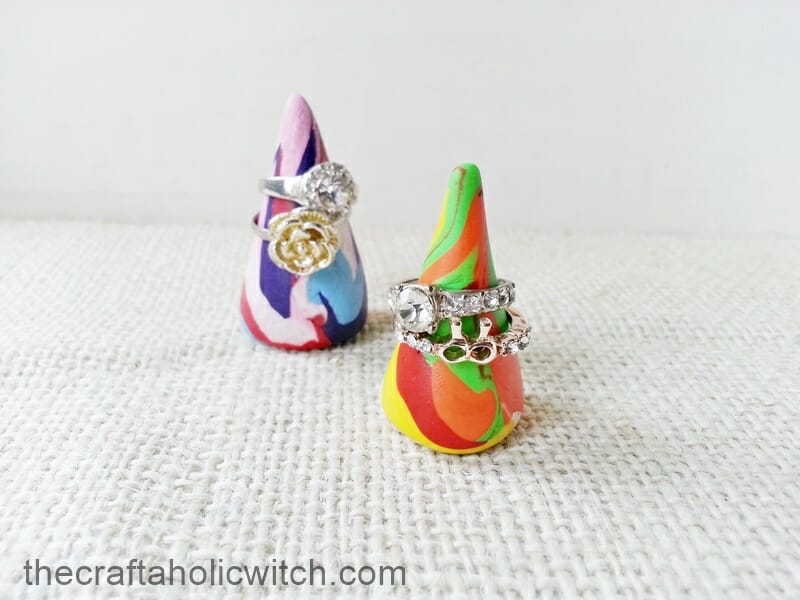
This is a simple jewelry organizer project, one of several easy ideas in that collection, and a friendly place to start if you are new to jewelry making altogether. Once baked and cooled, each cone becomes a little stand that keeps your rings visible instead of buried in a drawer.
Clay Ring Holder Cone at a Glance
- Difficulty: Beginner
- Time: About 30 minutes hands-on, plus baking time per your clay’s packaging
- Cost: Under $10
- Ages: All ages, with adult help for the oven
- Best for: A first polymer clay project, ring organization, and handmade gifts
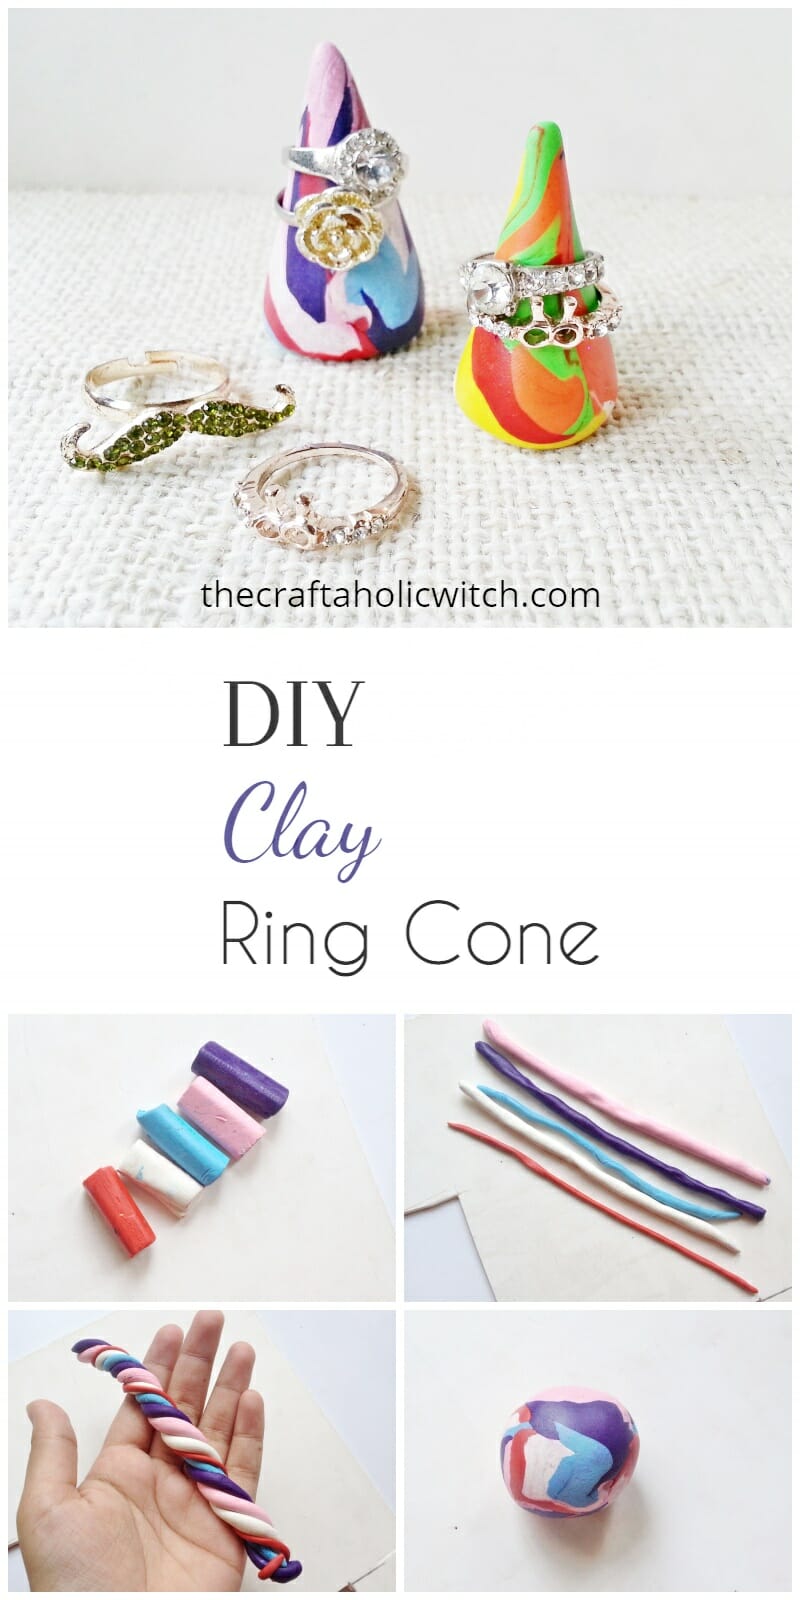
Join Craft Challenge: Craft Your Calm
Make something that brings you a sense of peace, share a photo, and tell us your story. It's free to enter, open to everyone, and the entry with the most reactions takes home a $100 gift card. Takes five minutes to join.
Entries close August 30, 2026. No purchase necessary.
What You Need to Make a Clay Ring Holder Cone
Materials
- Polymer clay in 4 to 5 colors. White, red, pink, blue, and purple marble together nicely, but any combination you like will work, and one cone only takes a small amount of each.
Tools
- Oven, to cure the clay according to its packaging instructions. Use an oven kept for crafting when you can, since curing clay should not share space with food.
- Parchment paper or a baking sheet, to keep the clay off your oven tray while it bakes.
- A clean flat surface, to roll and marble the clay.
Ask inside "Crafty Q&A" while you are making.
"Crafty Q&A" is free to join. Share your question, photo, or the exact step where you got stuck, and chat with other makers plus the Craftaholic Witch team. You can also join any discussion thread already happening inside the space.
How to Make a Clay Ring Holder Cone
Step 1: Choose Your Colors and Roll Them Into Ropes
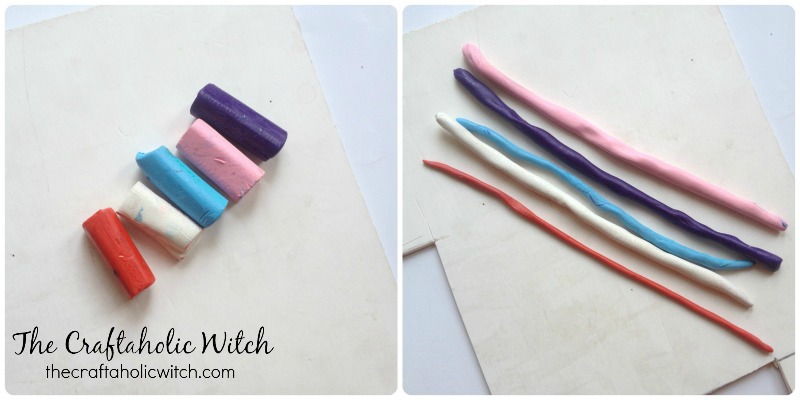
Pick 4 or 5 colors of clay. I used white, red, pink, blue, and purple, but any combination you like will work, and you do not need much of each color since one ring cone only takes a small amount.
Roll each color into a thin rope by hand, working it against a clean flat surface until it is roughly the same length as the others. Even ropes marble more evenly in the next step, so take an extra minute here if one color is coming out thicker than the rest.
Step 2: Twist and Roll the Ropes Into a Marbled Spiral
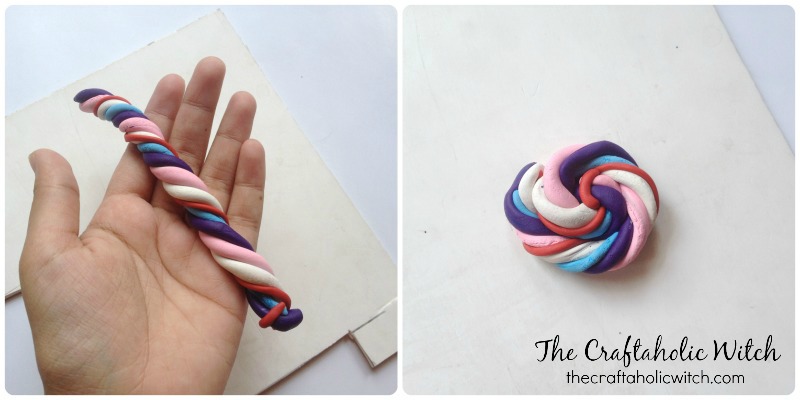
Line up the ends of all your ropes and hold them together, then twist the whole bundle a few times to start mixing the colors. Roll the twisted piece into a spiral against your work surface.
Keep rolling the spiral between your palms or against the table until the colors blend the way you want. Fewer rolls leave bold, distinct swirls, and more rolls blend everything into a softer marble. There is no wrong answer here, just stop as soon as you like what you see.
Step 3: Shape the Cone and Bake
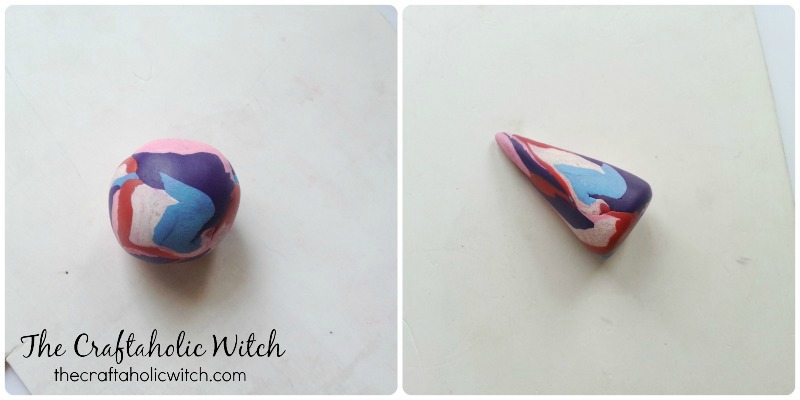
Roll the marbled clay into a ball first, then taper one end between your palms to shape it into a cone. A rounder, flatter base keeps it from tipping over once your rings are on it, so press the bottom flat against the table before it goes in the oven.
Bake according to the time and temperature listed on your specific clay’s packaging, since cure times vary by brand. Let it cool completely on the tray before you touch it. It goes from soft and workable to hard and glossy in this one step, so resist peeking too early.
Share it in "I Made It" and let us cheer you on.
Post your finished make in "I Made It" so the community can celebrate it with you. Cheer on other makers too. Each month, the most loved craft wins 1 year of Craftaholic Premium ($59)
Tips for Your Clay Ring Holder Cone
- Try just 2 colors instead of 5 for a bold, two-tone look instead of a full marble swirl.
- Make a few cones in different sizes so you can group short and tall ones together on a dresser tray.
- If a finished cone tips over, sand the base flat with fine sandpaper once it is fully cooled.
Frequently Asked Questions
Can I use air-dry clay instead of polymer clay?
Yes, air-dry clay works for this project and skips the oven entirely. It will not be as durable or glossy as baked polymer clay, and it can develop tiny cracks as it dries, so handle it gently while it cures and keep the walls of your cone on the thicker side.
Is it safe to bake polymer clay in my kitchen oven?
It is safe in a home oven at the temperature your clay’s packaging recommends, but polymer clay should not go in an oven you also use for food unless you clean it thoroughly afterward, since curing clay can release a light odor. Many crafters keep a secondhand toaster oven just for clay projects like this one.
How long does a clay ring holder cone take to make?
Shaping one cone takes about 30 minutes from picking colors to setting it on the tray. Baking adds 15 to 30 minutes depending on your clay brand, plus full cooling time before you handle it.
How do I stop my colors from turning into mud when I mix them?
Stick to 2 or 3 twists before you start rolling into a spiral, and stop as soon as you see swirls you like rather than rolling until the colors fully blend. Overworking the clay is what turns a bright marble into a muddy gray-brown.
More Jewelry Making Tutorials
- 3 Complete DIY Earring Holder Tutorials
- Easy DIY Clay Jewelry Dish
- How to Make Clay Earrings at Home
Share your ring holder cone in the I Made It space inside Craftaholic Community. The most-loved post each month wins a one year free Premium membership.
0 Comments
Join the conversation
Log in to your Craftaholic Community account to comment, ask questions, and cheer on fellow makers.
Log in to comment