

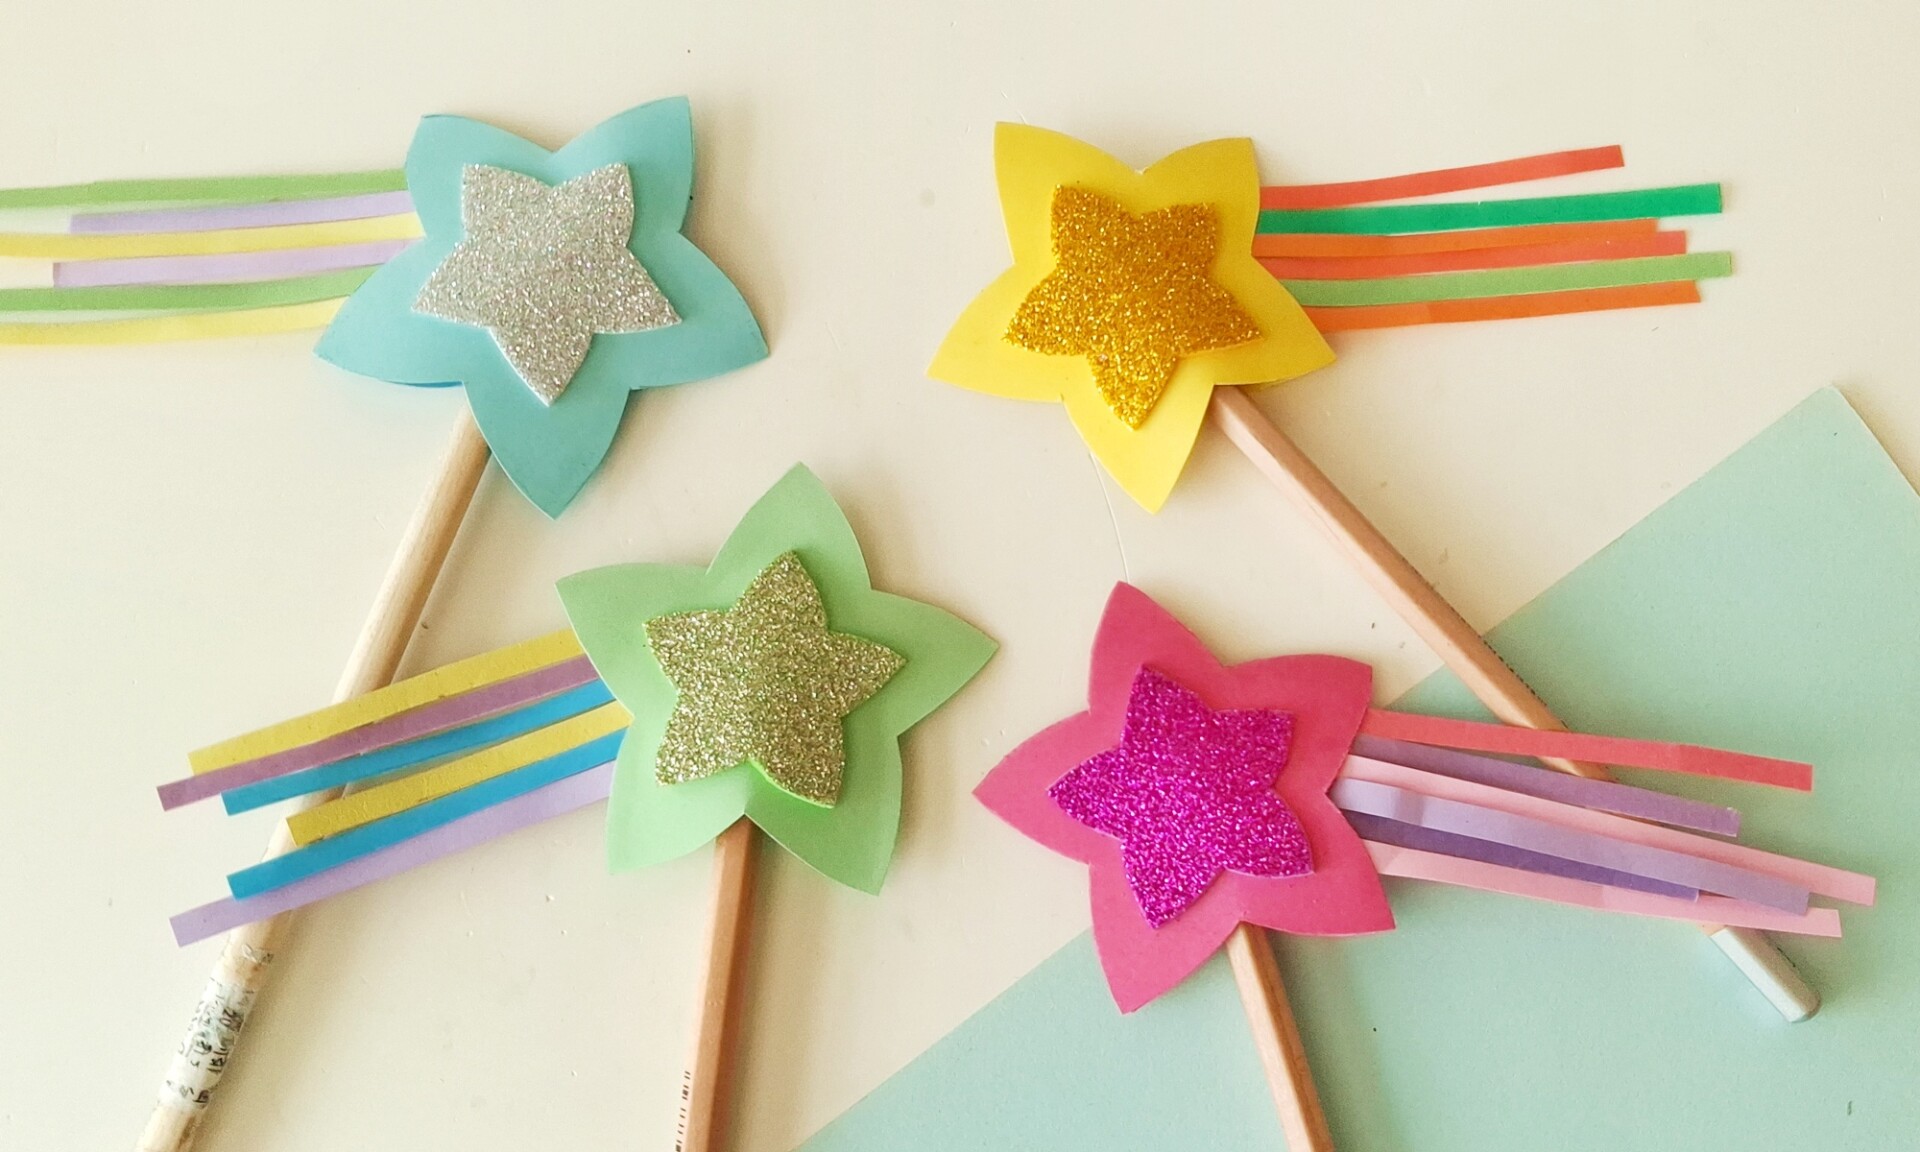
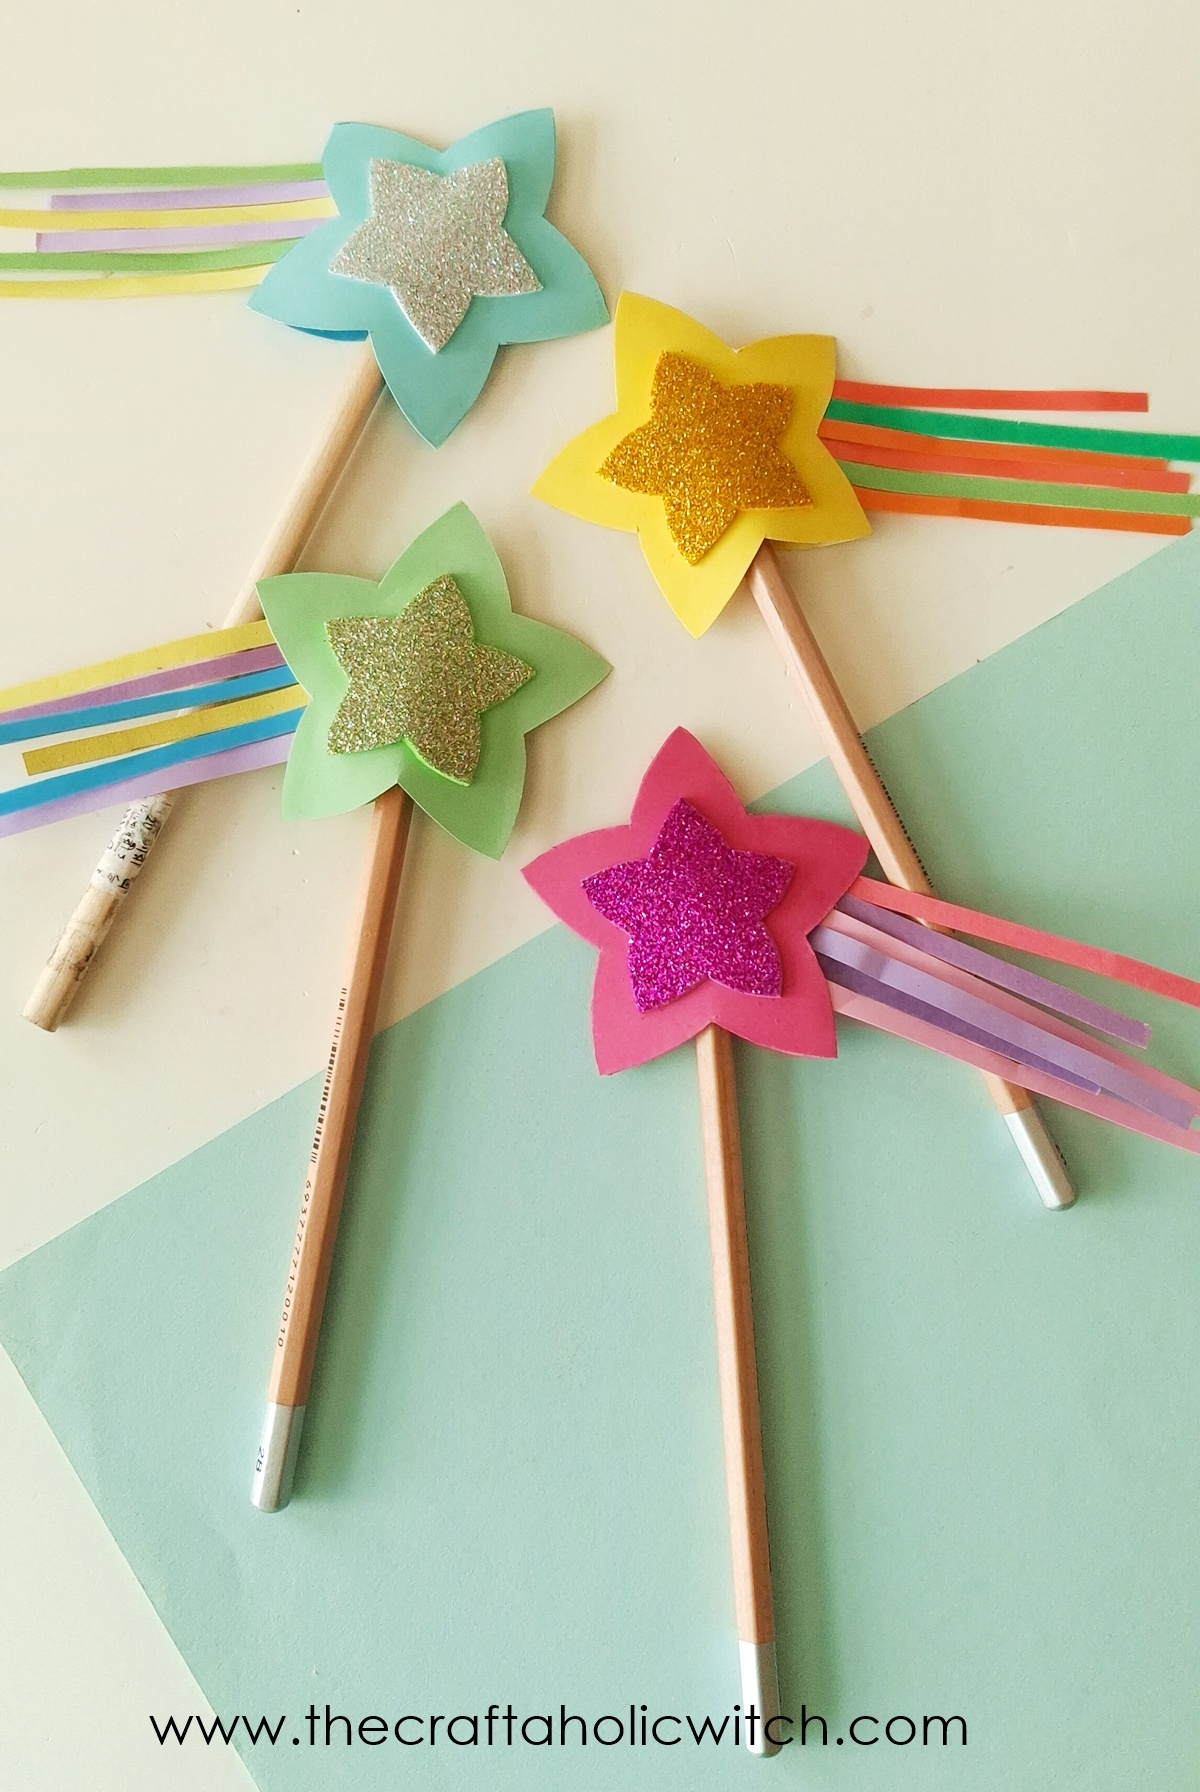
Kids love making things they actually get to keep and use. A star pencil topper ticks every box: quick enough to finish in one sitting, easy enough for a six-year-old, and exciting enough that it might actually stay on the pencil past the first week of school.
You’ll end up with a sturdy two-layer paper star with a built-in pocket for the pencil, using cardstock, a few paper strips, and a glue stick. The whole thing takes 20 to 30 minutes and costs under $3.
If your kids want to keep going, the DIY Kawaii Pencil Toppers use the same pocket structure with character faces, and our pencil topper collection has more styles to browse.
Star Pencil Topper at a Glance
- Difficulty: Beginner
- Time: 20-30 minutes per topper
- Cost: Under $3
- Ages: 6+ independently; 4-5 with adult help for cutting
- Best for: Back to school, classroom rewards, party favors
Join Craft Challenge: Craft Your Calm
Make something that brings you a sense of peace, share a photo, and tell us your story. It's free to enter, open to everyone, and the entry with the most reactions takes home a $100 gift card. Takes five minutes to join.
Entries close August 30, 2026. No purchase necessary.
What You Need to Make a Star Pencil Topper
Materials
- Thick colored craft paper or cardstock (65-80 lb). This forms the star body. Lighter paper droops once the pencil is in; cardstock keeps its shape.
- Medium-weight colored craft paper. For the streamer strips. Regular construction paper works well. Go medium: too thick and the strips hang stiffly, too thin and they curl.
- Glitter paper, decorative stickers, or sequins (optional). For the small center star accent. Skip it if you want a simpler version.
Tools
- Scissors. Sharp scissors make the star points much cleaner. Pre-cut the stars for kids under 6.
- Craft glue or glue stick. Glue sticks are less messy and dry faster. Craft glue bonds stronger if you want a more durable topper.
- Pencil. For tracing the template pieces onto your paper.
Free Template
Download the free star pencil topper template from Craftaholic Community.
Ask inside "Crafty Q&A" while you are making.
"Crafty Q&A" is free to join. Share your question, photo, or the exact step where you got stuck, and chat with other makers plus the Craftaholic Witch team. You can also join any discussion thread already happening inside the space.
How to Make a Star Pencil Topper
Step 1: Trace and Cut Out All the Pattern Pieces
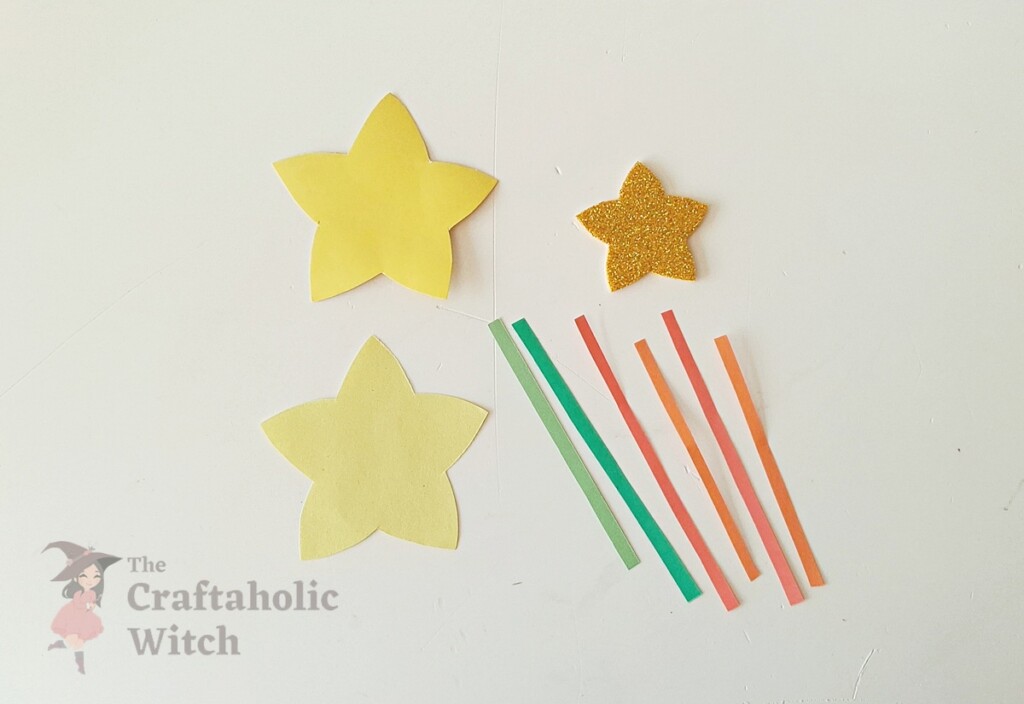
Trace two large stars onto cardstock and one small star onto your glitter paper, then trace 5 to 6 strips onto regular craft paper. Cut all the pieces before you start assembling so everything is ready to go.
Star points are the fiddly part. Slow down at each tip and cut toward the point rather than away from it. For kids under 6, pre-cutting the stars takes the frustration out and lets them focus on assembly.
Step 2: Attach the Center Decorative Star
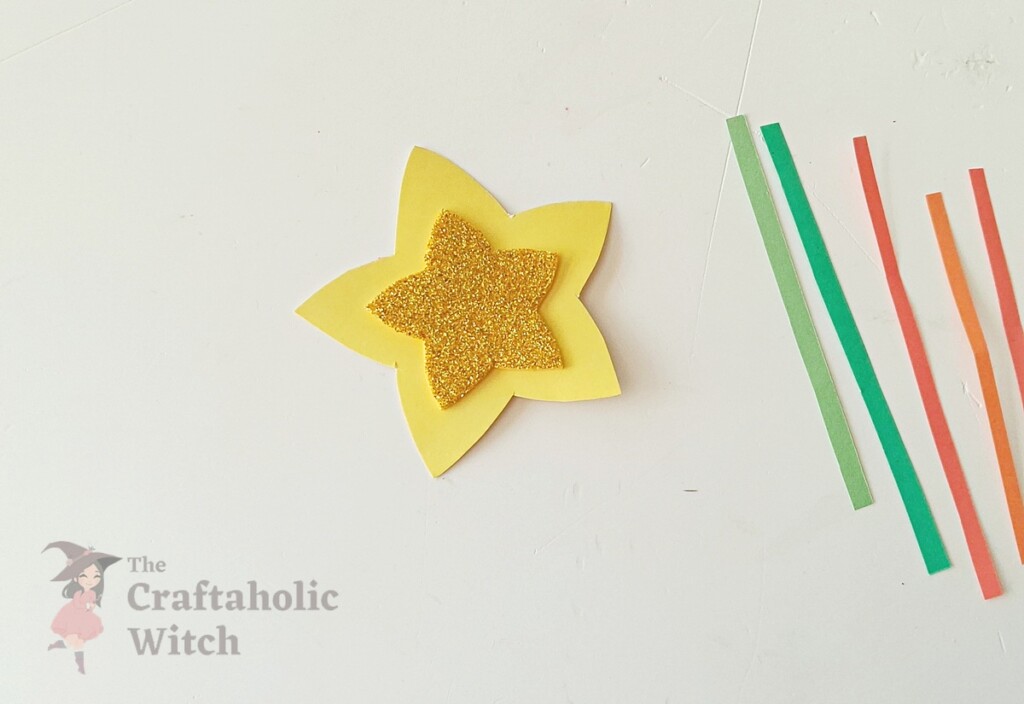
Apply a thin layer of glue to the back of your small glitter star and center it on one of the large cardstock stars. Press it flat and hold for about 30 seconds.
A thick puddle of glue seeps through and wrinkles the cardstock. One even pass with a glue stick is plenty.
Step 3: Flip and Apply Glue to Two Star Points
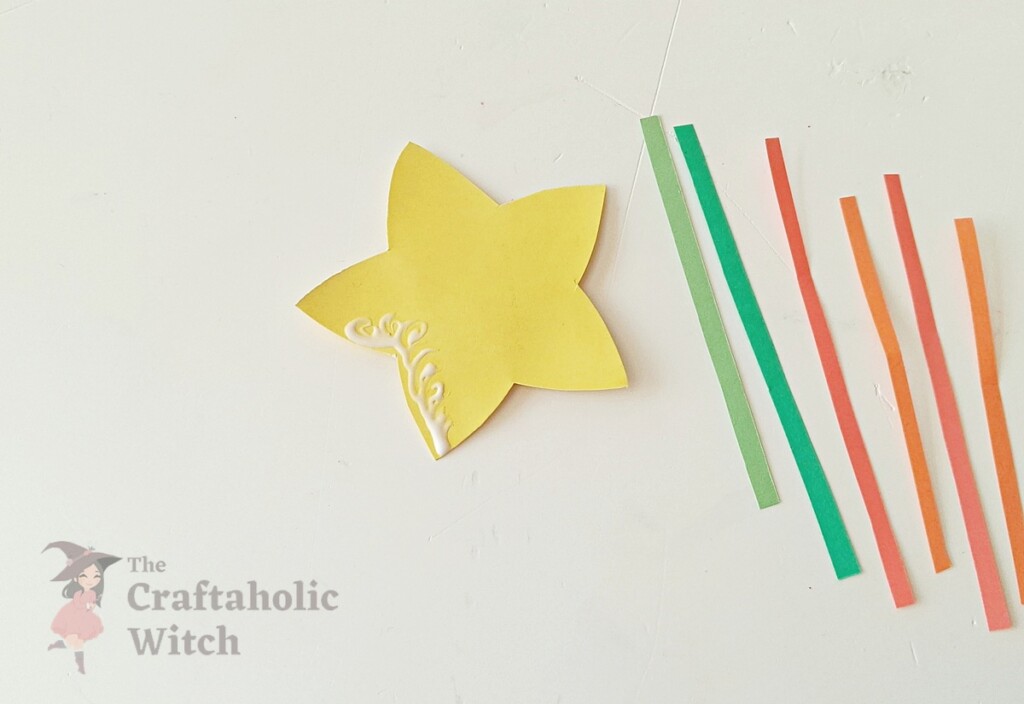
Flip the decorated star face-down. Choose two points that are not next to each other and run glue along both edges of each. The gap between those two glued points is where the pencil will slide through.
The one mistake to avoid: gluing both edges of the same point. That closes the pocket on one side and leaves nowhere for the pencil to enter.
Step 4: Position the Paper Strips Diagonally

Lay your strips diagonally across the two glued star points, overlapping about 1 cm onto the star edge. Set one strip on each point first to lock in the angle, then work outward from there.
Keep them close but not overlapping. Think of fringe on a scarf: each strip needs a little breathing room, or the finished wand looks thick and clumped.
Step 5: Add the Remaining Strips
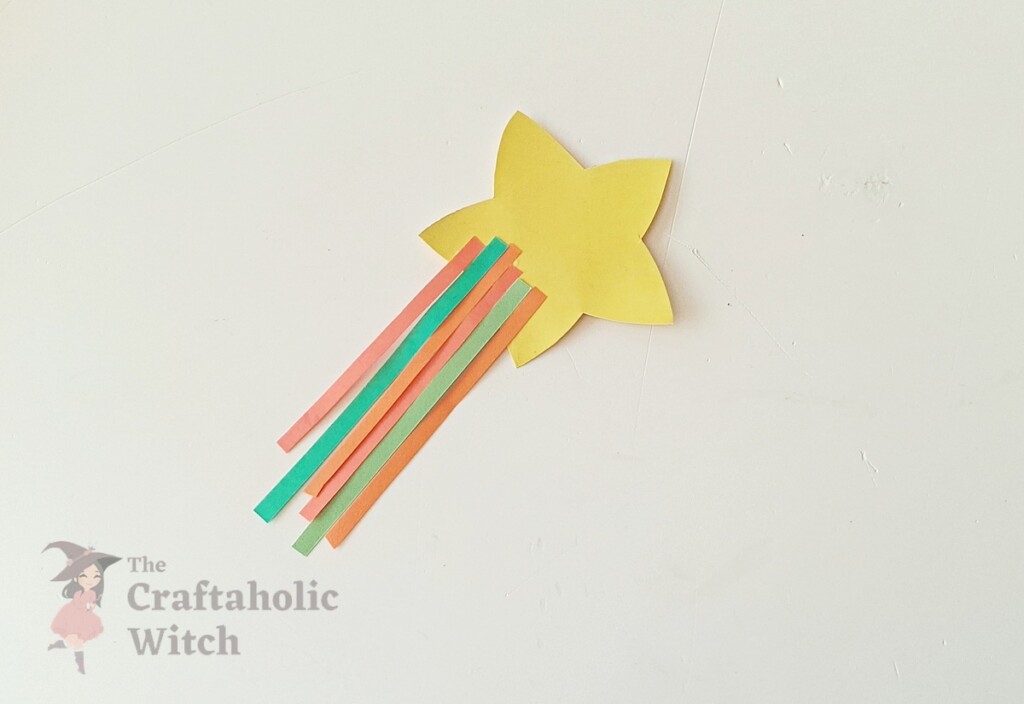
Keep adding strips in the same diagonal direction until you have 5 to 6 total. All the strips should fan out from the same angle so they flutter together rather than going in different directions.
Step 6: Apply Glue to All Remaining Star Edges
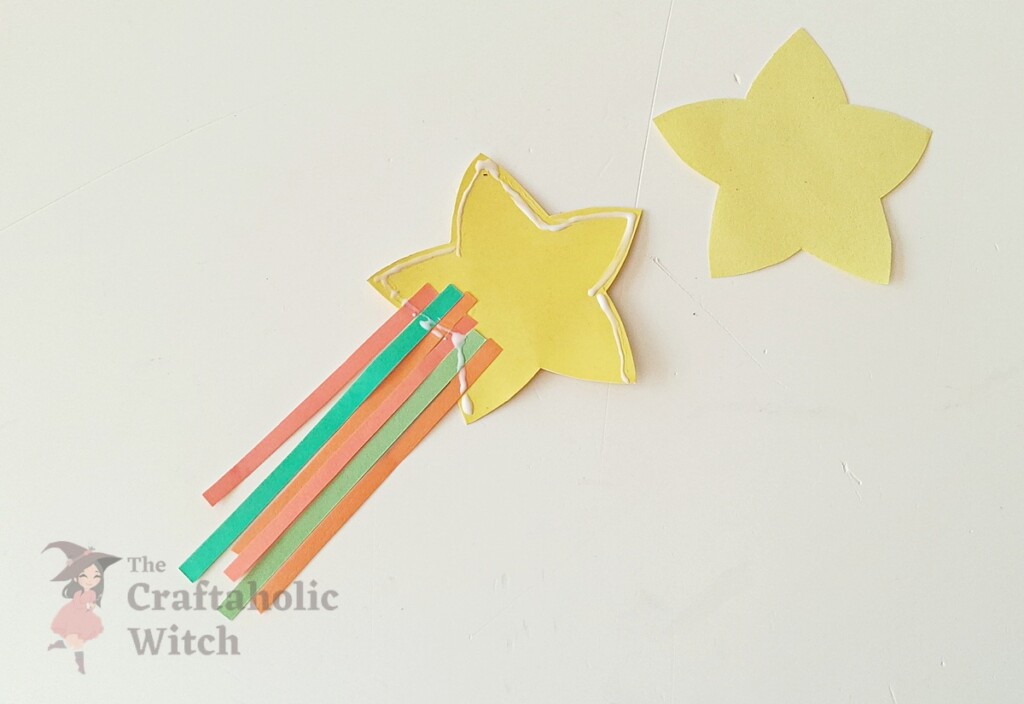
Run a thin line of glue around all the remaining star edges, skipping the two sides closest to your strips. Those two sides form the pencil channel and need to stay open. One clean pass around the perimeter is enough.
Step 7: Seal the Two Star Layers Together
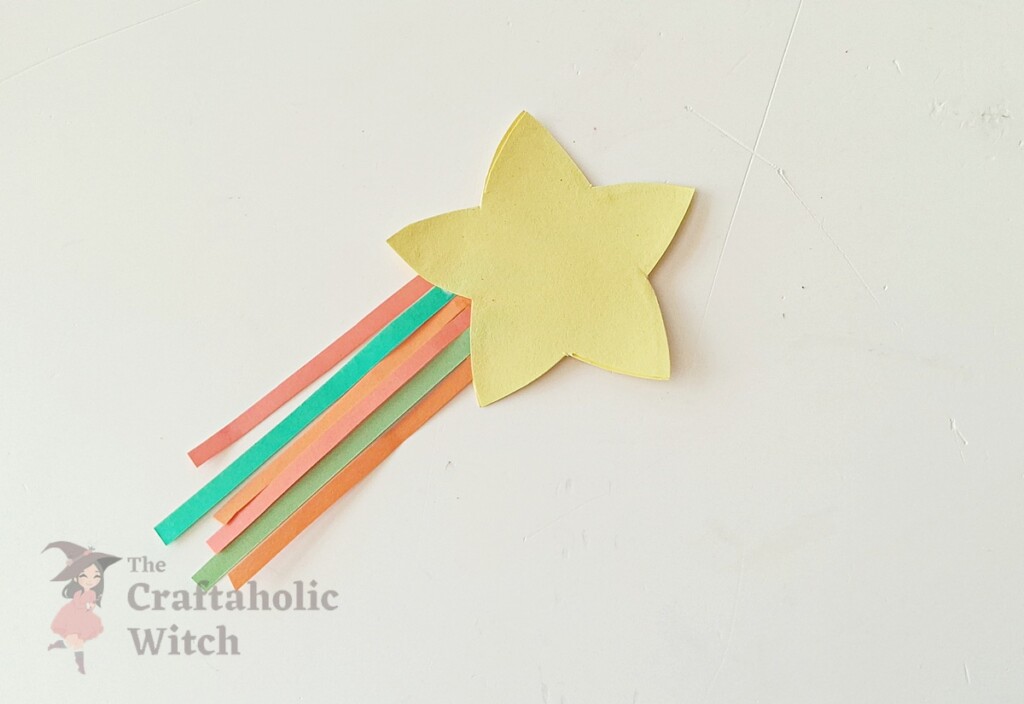
Set the second large star on top, edges aligned. Line up one point first, then press firmly around the perimeter. You should feel the layers bond as you go.
The easiest way to get clean alignment: match the bottom point first, then work your way around from there rather than dropping the whole star at once.
Step 8: Let It Dry and Insert the Pencil
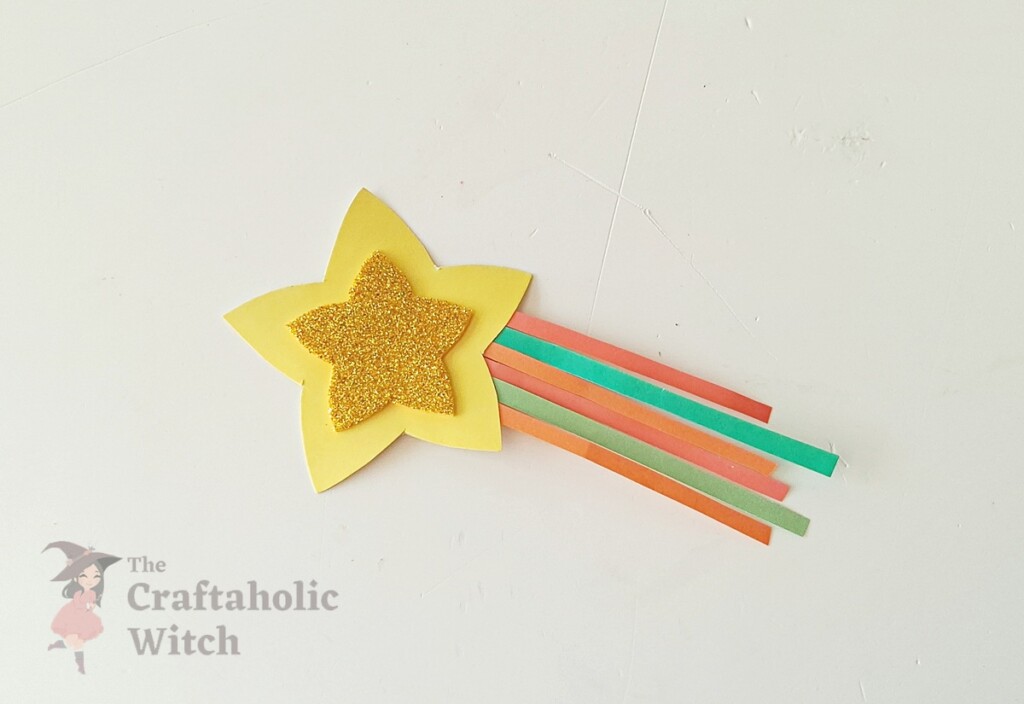
Set the topper aside for 10 to 15 minutes if you used craft glue, or 5 minutes for a glue stick. Once fully dry, slide the pencil through the open channel.
If it feels snug, wiggle the pencil gently as you push it through. Forcing it straight in can split the seam.
Share it in "I Made It" and let us cheer you on.
Post your finished make in "I Made It" so the community can celebrate it with you. Cheer on other makers too. Each month, the most loved craft wins 1 year of Craftaholic Premium ($59)
Tips for Star Pencil Toppers
- Use 65-80 lb cardstock for the star body. Lighter paper droops once the pencil is in and the topper loses its shape within a few days.
- Space strips close but not overlapping so they hang freely. Overlapped strips clump together and the wand effect is lost.
- Set a timer when the glue goes on. Waiting for it to dry fully is the step kids most want to skip, and rushing it tears the seams.
Watch the Full Video Tutorial
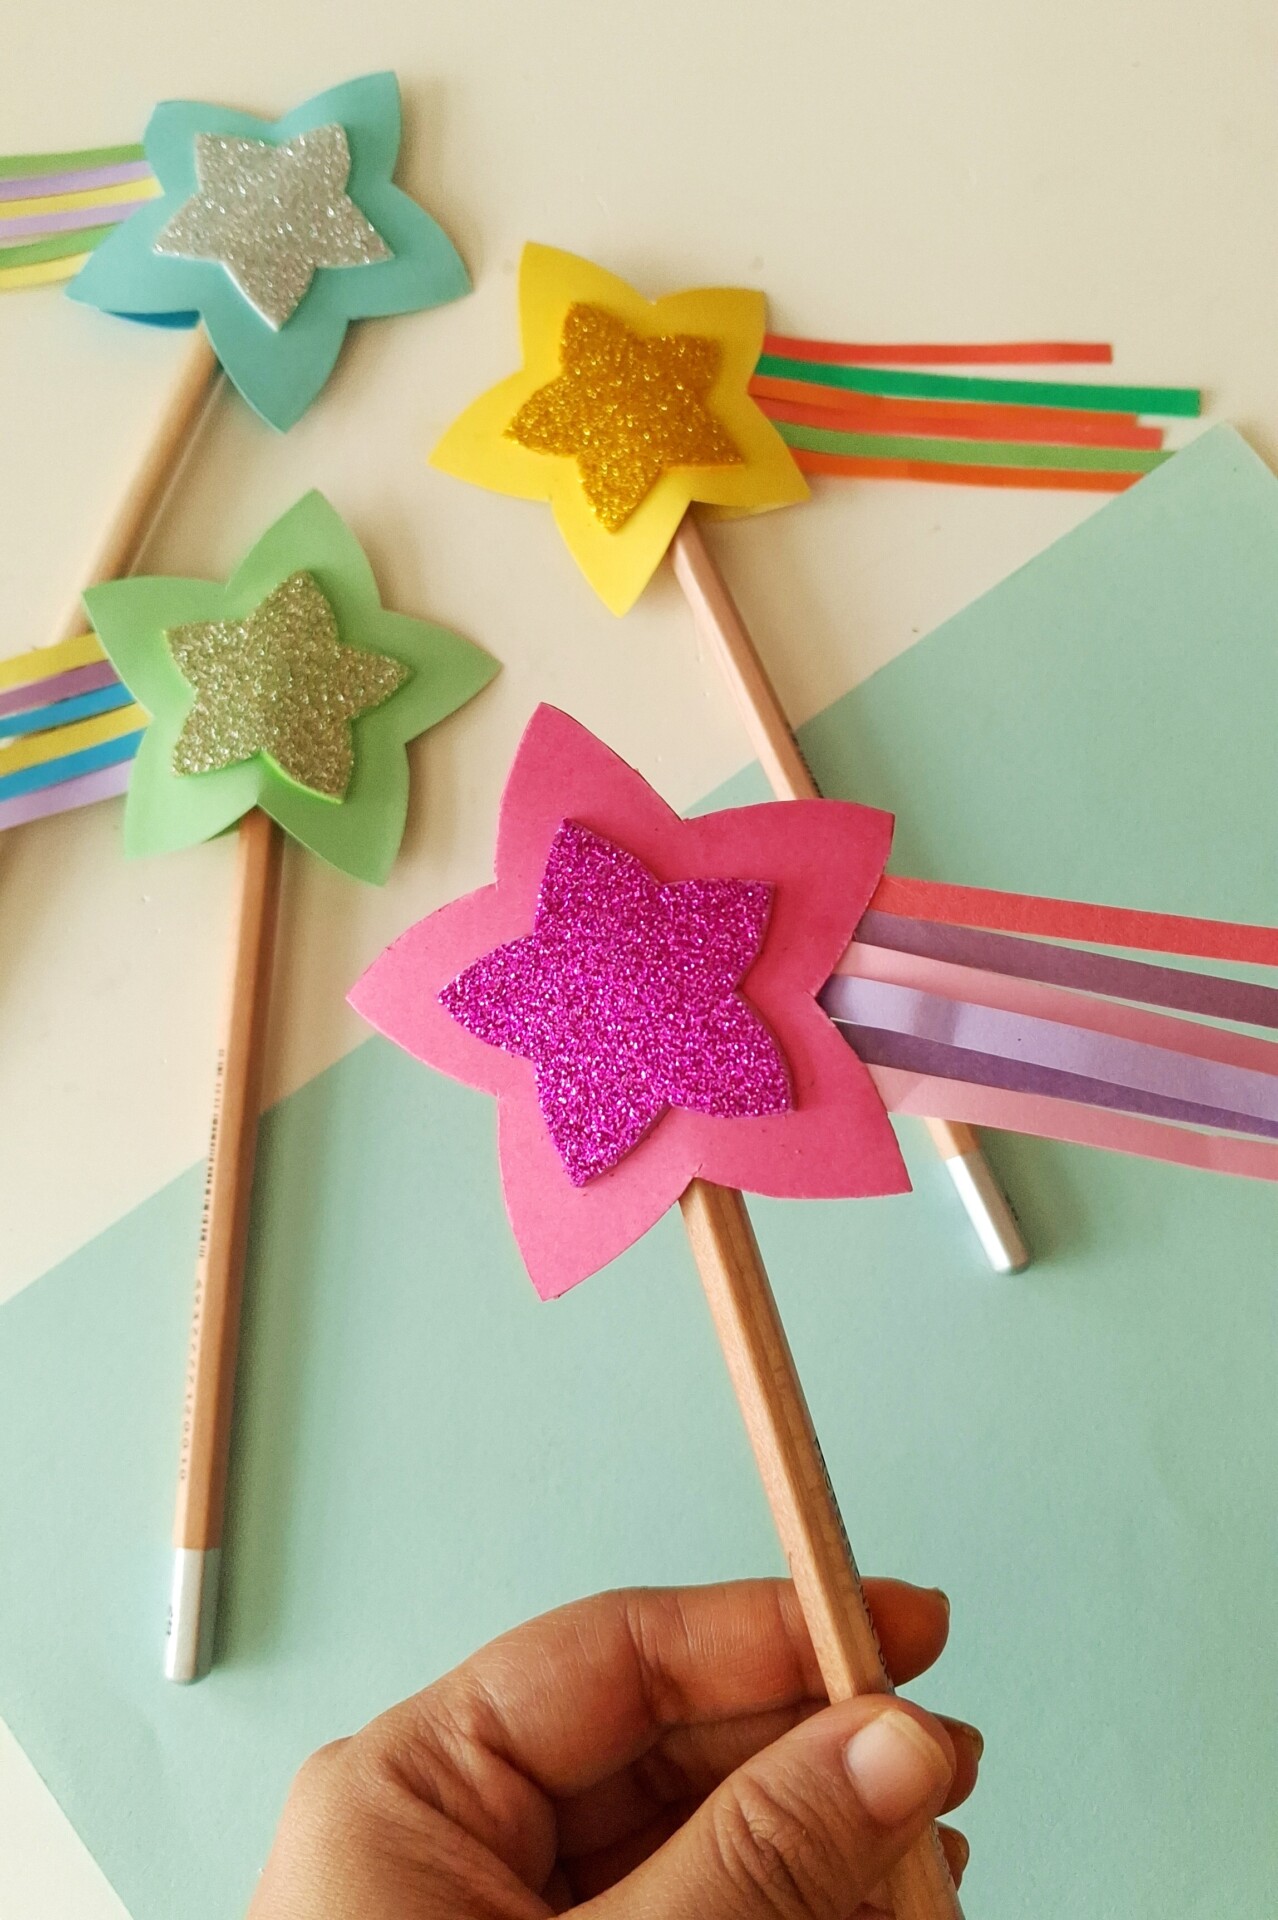
Frequently Asked Questions
Can I use regular printer paper for the stars?
Not recommended. Printer paper is too thin and floppy. Use 65-80 lb cardstock for stars that actually hold their shape. You can use printer paper for the strips though.
How many strips should I use?
5-6 strips creates a nice full wand effect. You can use fewer (3-4) for simpler toppers or more (7-8) for maximum drama. Just keep them evenly spaced.
What if the pencil doesn’t fit?
Make sure the glue is dry first. Then gently wiggle the pencil as you slide it through. If it’s still too tight, you might have glued the opening too narrow.
Can younger kids do this independently?
Kids 6+ can handle it with guidance. For ages 4-5, pre-cut the stars and let them assemble and decorate.
How do I make these for a whole classroom?
Pre-cut stars to save time. Use glue sticks instead of liquid glue. Set up stations so kids move through in groups.
More Paper Craft Tutorials
Share your star pencil topper in the I Made It space inside Craftaholic Community. The most-loved post each month wins a one year free Premium membership.
0 Comments
Join the conversation
Log in to your Craftaholic Community account to comment, ask questions, and cheer on fellow makers.
Log in to comment