
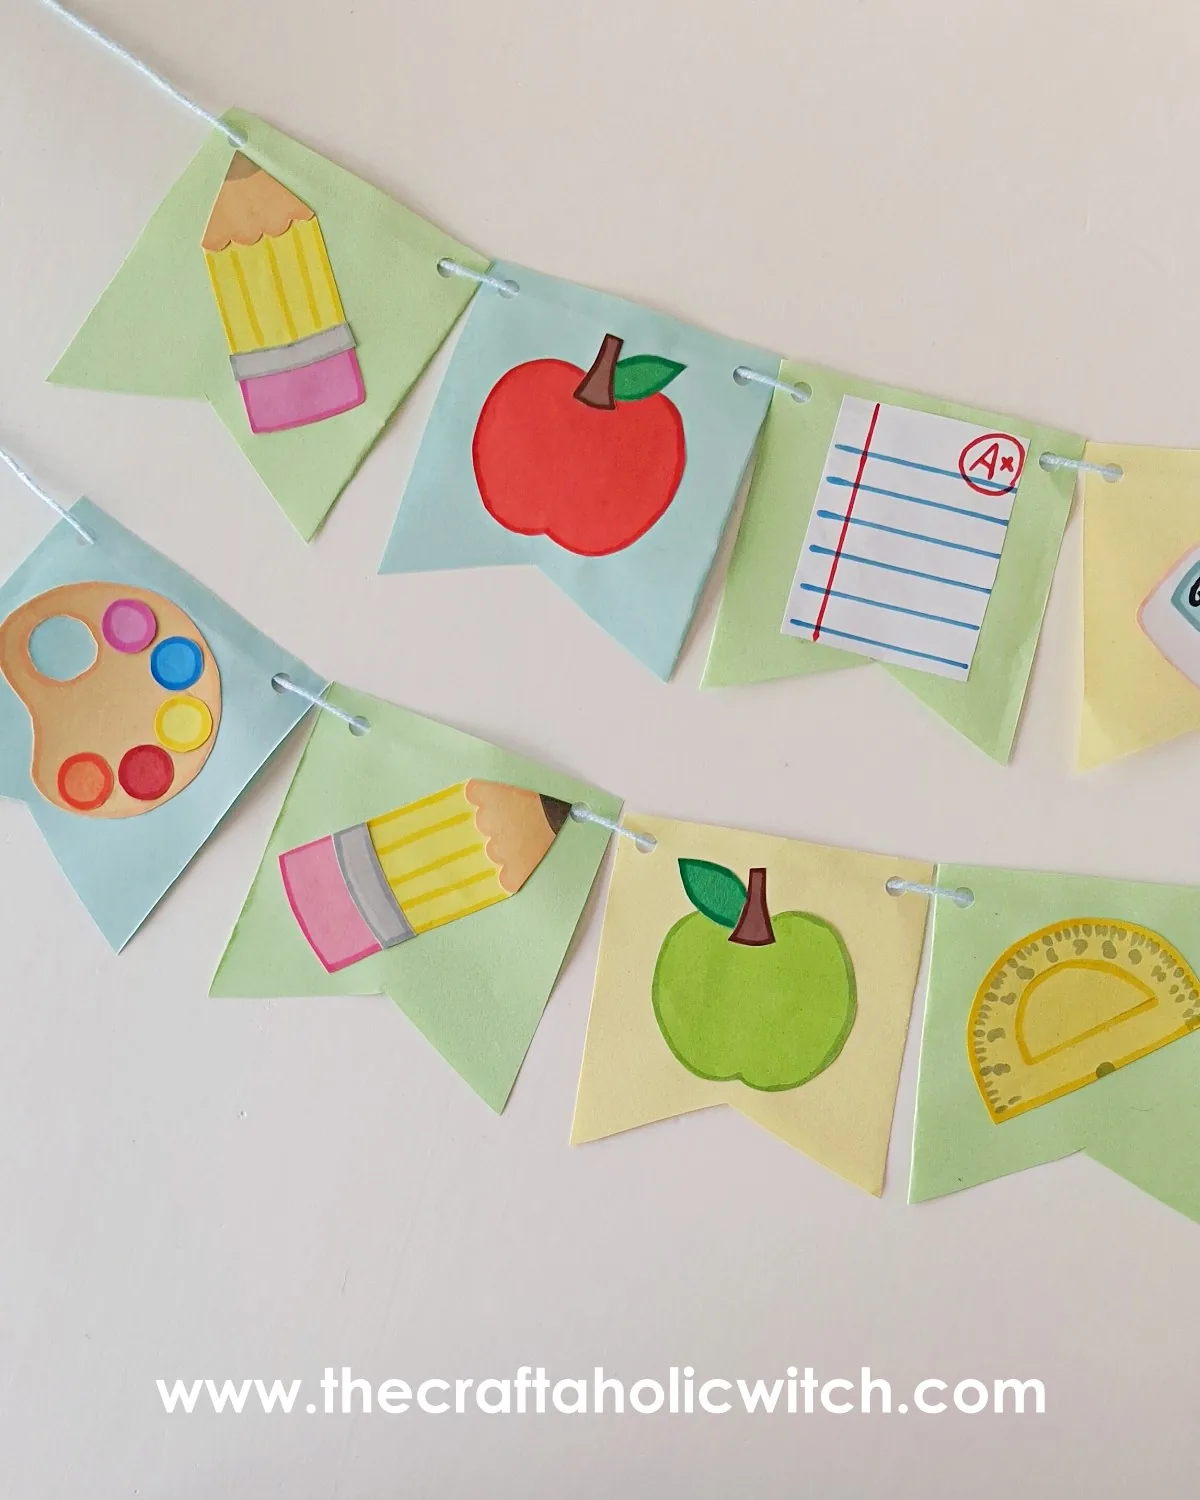
You can turn six sheets of colored craft paper into a cheerful back to school paper garland, strung with an apple, a pencil, a notebook, a sun, a paint palette, and a glue tube, in about 45 minutes to an hour.
This garland kicks off A Craft for Everyone Heading Back to School, our nine-project collection built around the three people a new school year is really about: the teacher setting up the room, the student walking in, and the parent sending them off. It’s No. 1 in Act 1, the teacher-facing trio, with the felt star pencil toppers up next.
All it takes is the pattern shapes, craft paper in a handful of colors, glue, and a paper punch. It’s a good one to do with kids at the table: tracing and cutting the six pieces is easy enough for little hands, while an adult handles the paper punch and the final stringing. String it along a classroom shelf or bulletin board to welcome the class on day one, or browse the rest of the back to school collection for more.
Back to School Paper Garland at a Glance
- Difficulty: Beginner
- Time: 45 to 60 minutes
- Cost: Under $5
- Ages: 5 and up, with adult help for the paper punch and stringing
- Best for: Classroom decor, welcoming students on day one, first-day-of-school displays
Join Craft Challenge: Craft Your Calm
Make something that brings you a sense of peace, share a photo, and tell us your story. It's free to enter, open to everyone, and the entry with the most reactions takes home a $100 gift card. Takes five minutes to join.
Entries close August 30, 2026. No purchase necessary.
What You Need to Make a Back to School Paper Garland
Materials
- Colored craft paper in several colors, so the sun, apple, pencil, and notebook each stand out from their bunting flag
- Craft glue, to hold every layered cutout together
- Yarn or string, to thread the finished bunting flags into one garland
Tools
- Printed pattern templates for the apple, sun, notebook, palette, pencil, and glue tube shapes, or trace your own freehand versions if you don’t have the templates yet
- A pencil, for tracing the patterns onto craft paper
- A pair of scissors, for cutting out every traced piece
- Fine-tip markers, for the notebook lines, the ruler numbers, and the finishing outlines
- A paper punch, for the two holes at the top of each bunting flag
Ask inside "Crafty Q&A" while you are making.
"Crafty Q&A" is free to join. Share your question, photo, or the exact step where you got stuck, and chat with other makers plus the Craftaholic Witch team. You can also join any discussion thread already happening inside the space.
How to Make a Back to School Paper Garland
Step 1: Preparing the Patterns
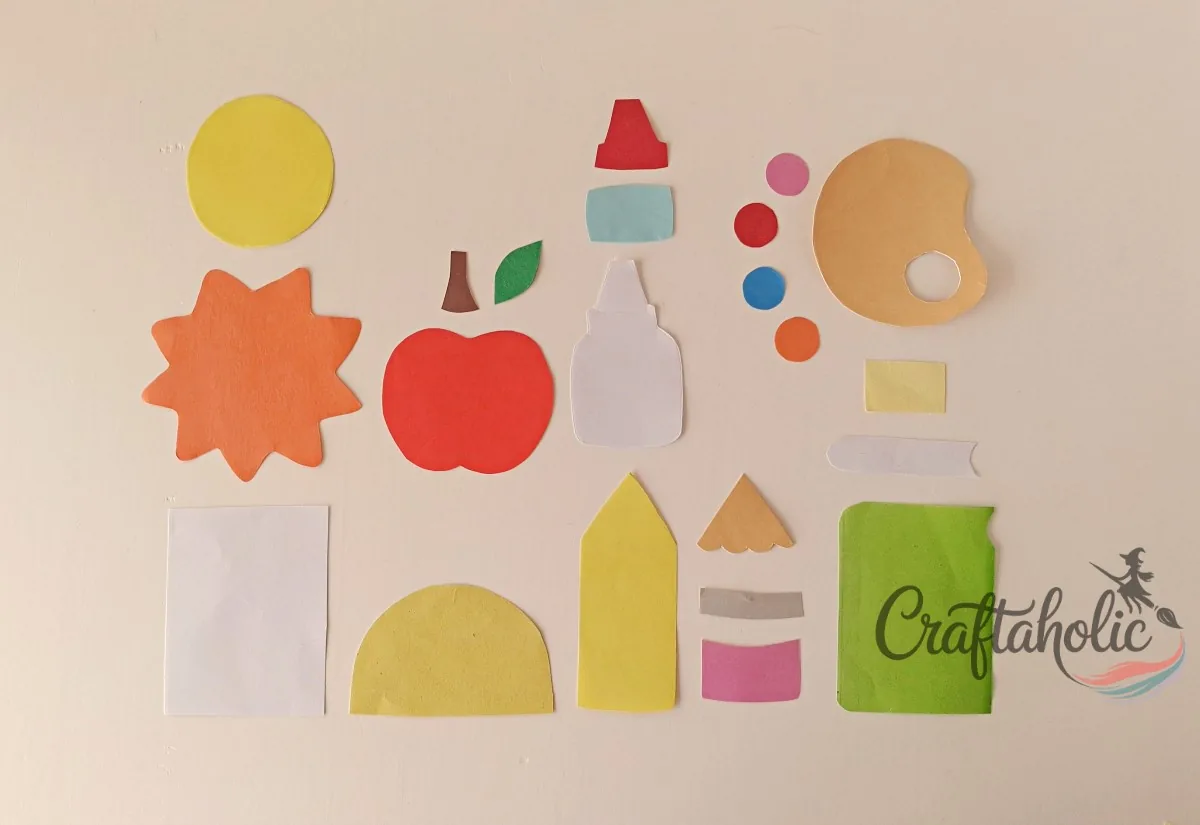
Print the template patterns and cut them out. You’ll need six shapes total: an apple, a sun, a notebook, a paint palette, a pencil, and a glue tube. Trace each one onto a different colored piece of craft paper before cutting.
Step 2: Craft the Paper Sun
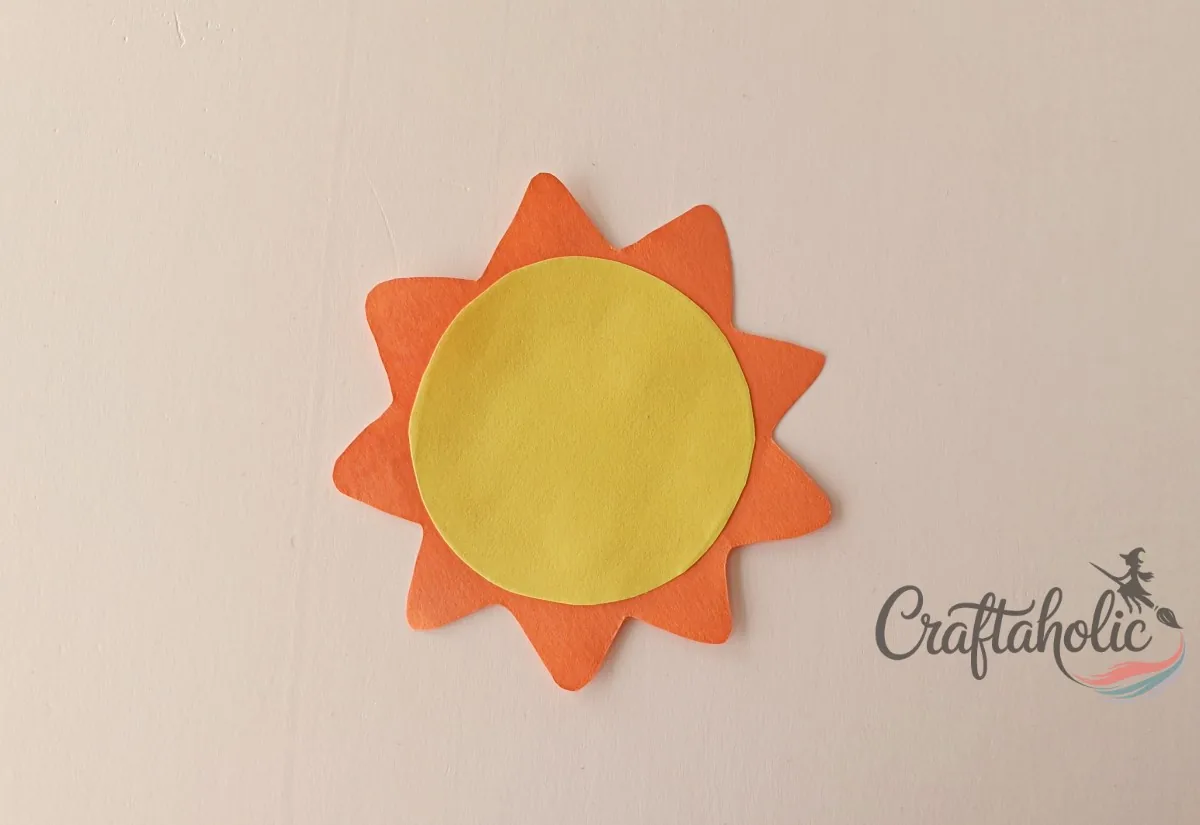
Glue the smaller circle right in the center of the zigzag-edged shape. That solid circle becomes the sun’s face, with the zigzag points forming the rays around it.
Step 3: Prepare the Half Circle Ruler and Page
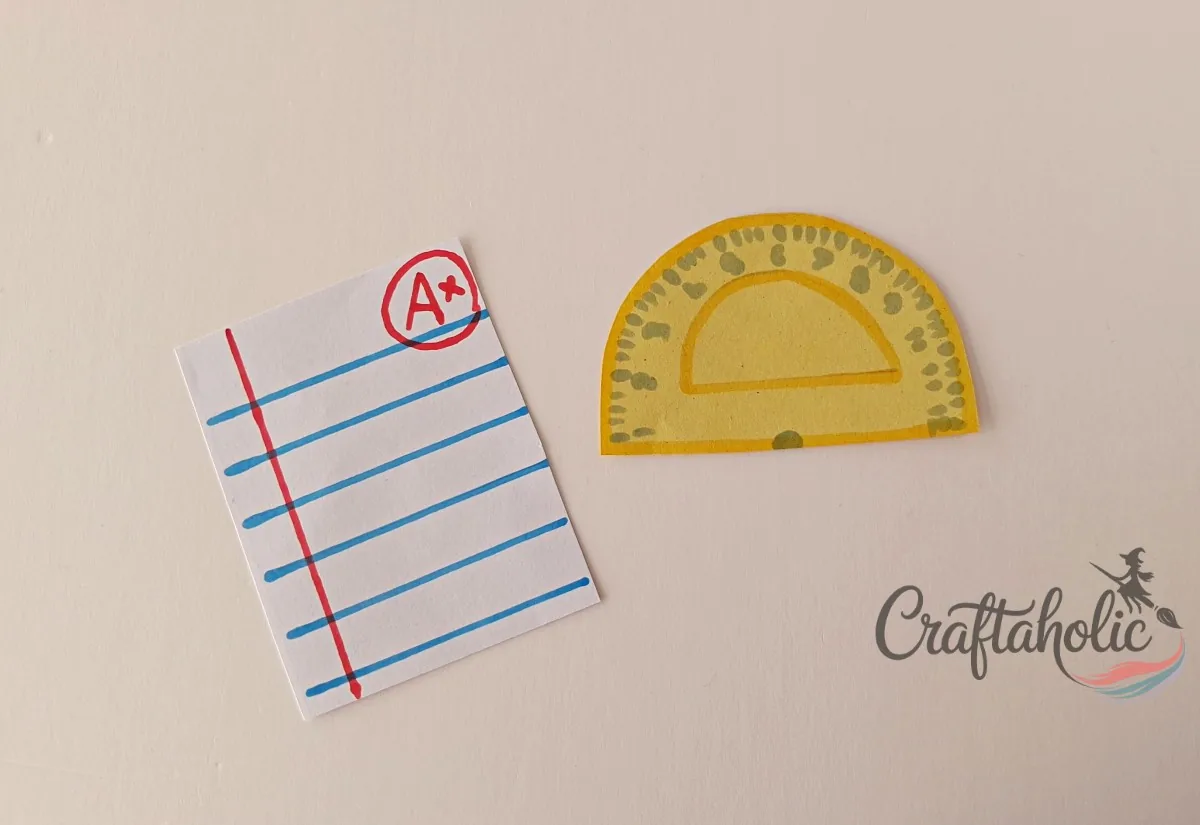
Grab a marker and draw a few horizontal lines across the white rectangle cutout to turn it into a notebook page. Then mark tick lines and numbers along the half-circle ruler cutout so it reads clearly as a ruler once it’s assembled.
Step 4: Craft the Paper Apple
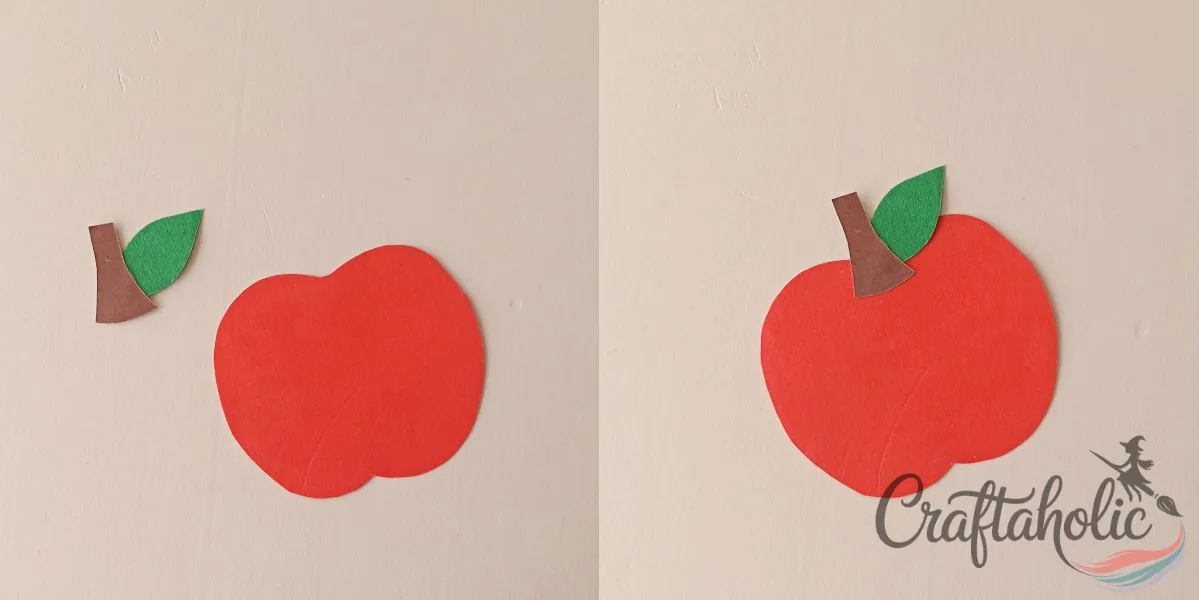
Glue the small leaf onto the stem, then glue that stem-and-leaf piece to the top middle of the apple base. Center it so the stem sits straight up instead of leaning to one side.
Step 5: Craft the Paper Glue Tube
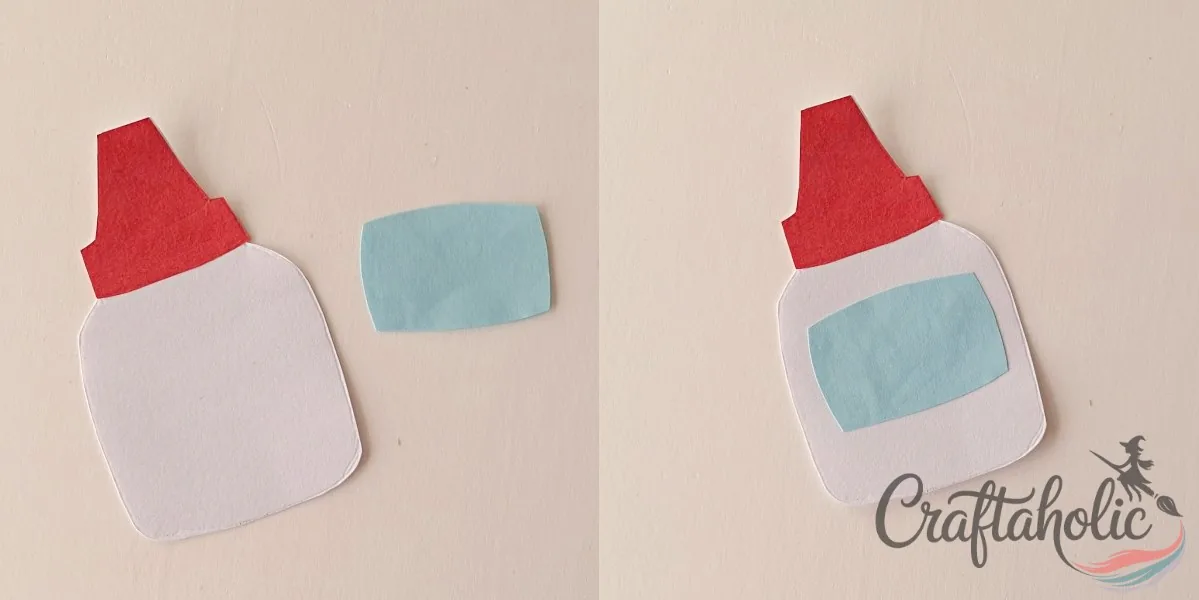
Glue the cap cutout onto the top of the tube shape, then glue the label cutout onto the body of the tube, right below the cap.
Step 6: Craft the Paper Pencil
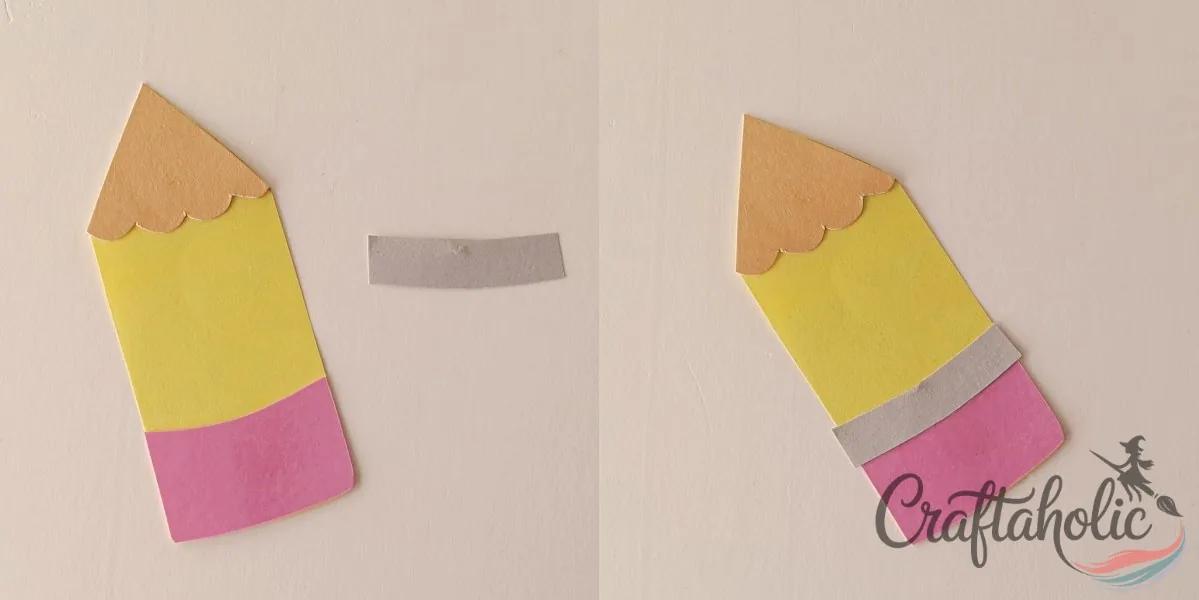
Glue the pointed lead tip to the top of the pencil base and the eraser piece to the bottom. Wrap the thin band around the base of the eraser and glue it down, that’s the metal ferrule line real pencils have.
Step 7: Craft the Paper Notebook
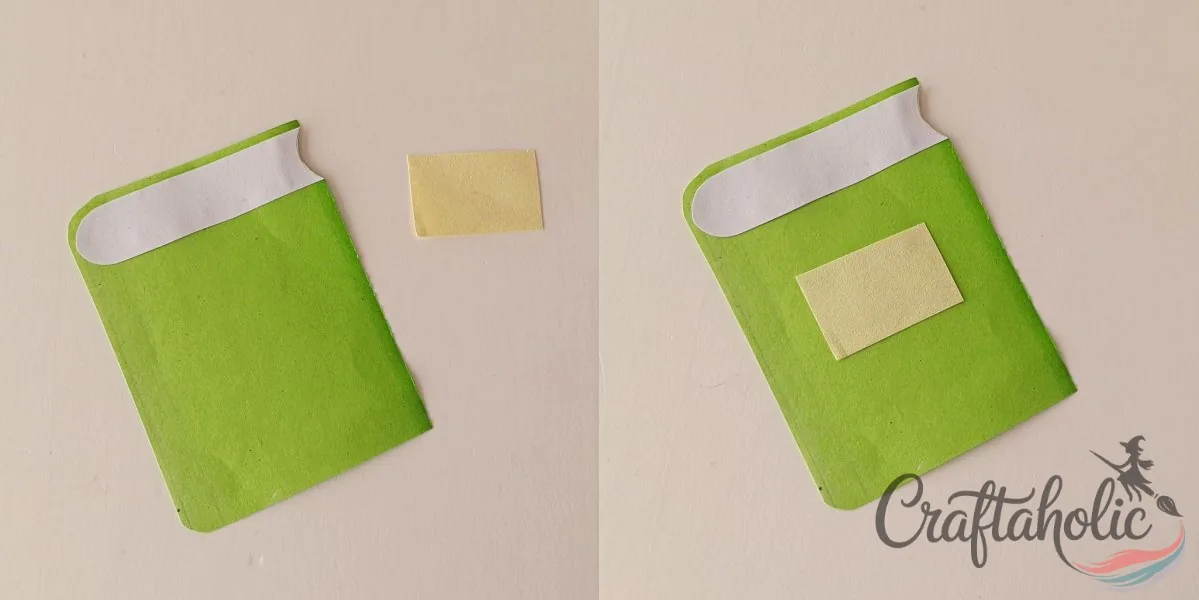
Glue the lined page piece along the top edge of the notebook base, letting it peek out like a real notebook page would. Glue the label cutout onto the front cover below it.
Step 8: Craft the Paper Paint Palette
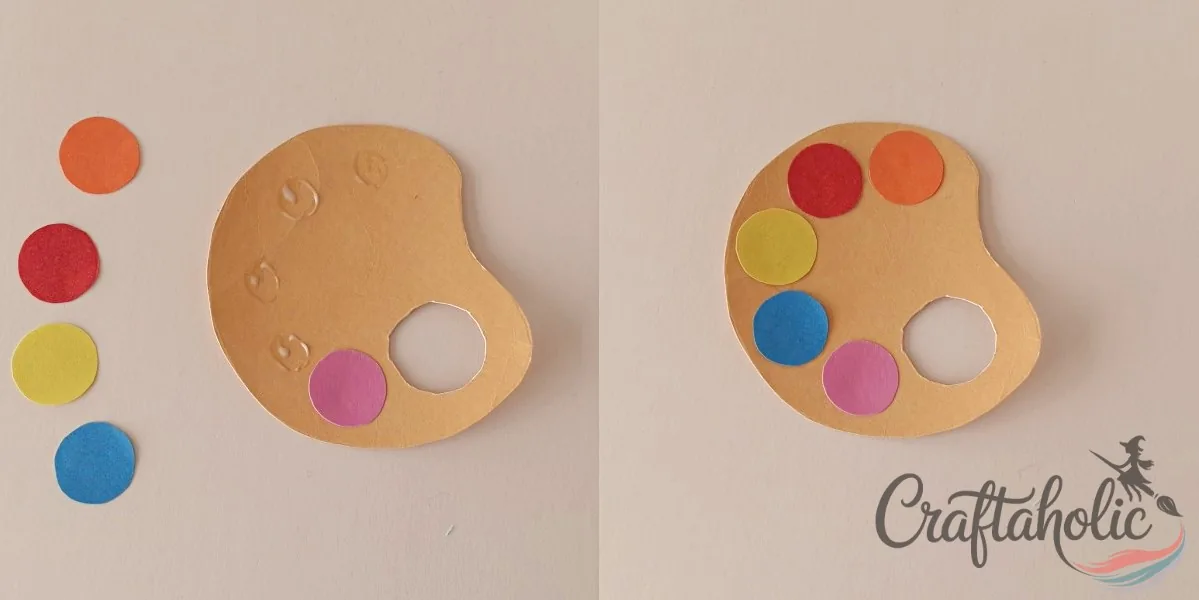
Glue the round cutout onto the palette base first, then dot four or five different colored paper circles around it, like blobs of paint on a real palette.
Step 9: Outline the Finished Pieces
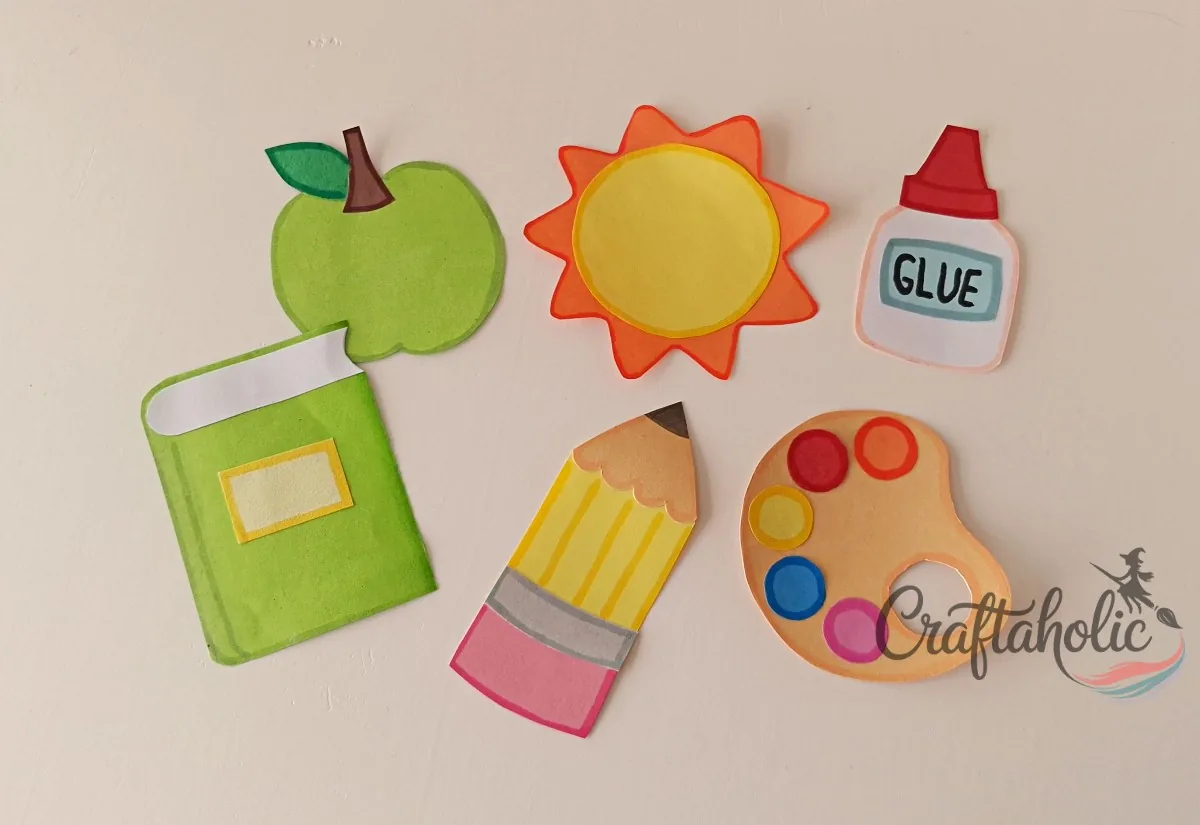
Lay all six finished pieces side by side, the apple, sun, glue tube, pencil, notebook, and palette, and go around each edge with a marker. This outline is what makes every shape read clearly once it’s strung up high on a garland; from across a classroom, thin paper edges alone tend to disappear.
Step 10: Prepare Paper Buntings
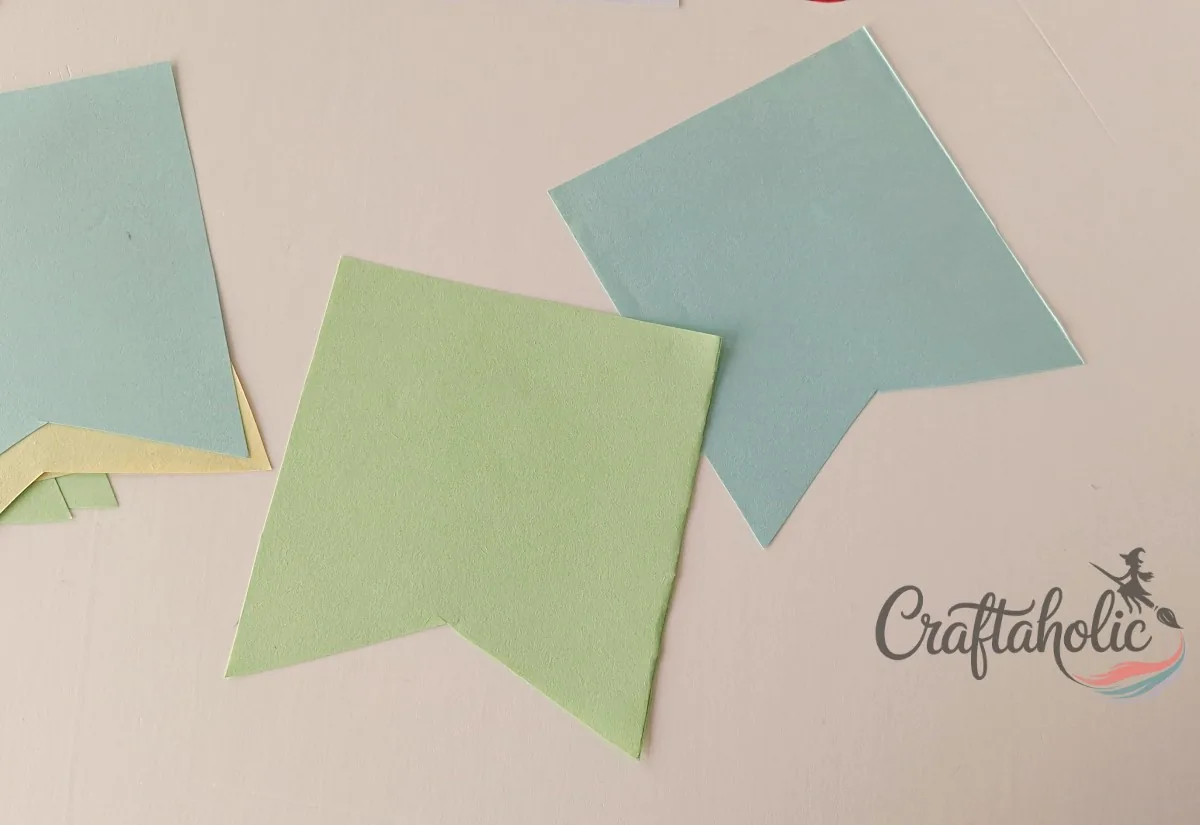
Cut out swallow-tailed bunting flags, the triangle shape with a notch cut into the bottom edge, using two or three different colors of paper. You’ll need one bunting flag behind each of the six school-supply pieces.
Step 11: Glue Paper-craft Items to the Bunting
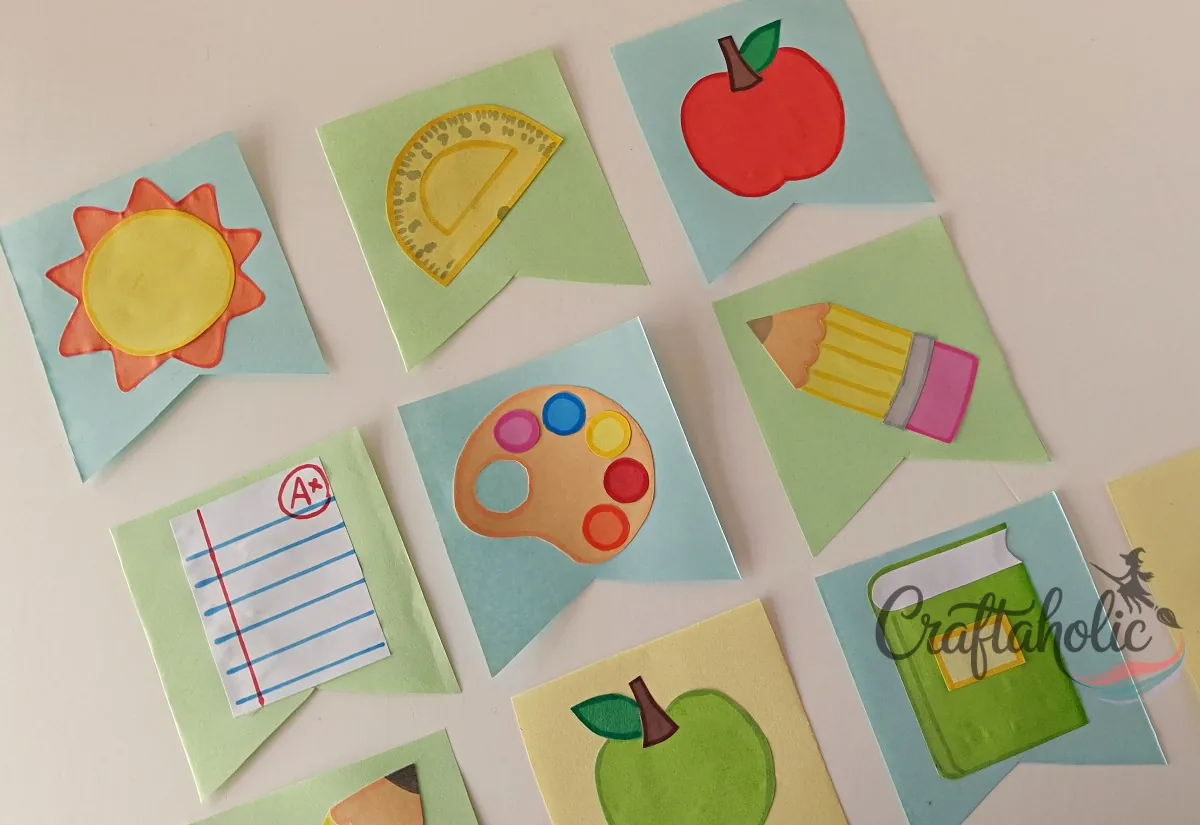
Center each school-supply piece on its own bunting flag and glue it down. Keep a small margin of the colored bunting showing around the edges so both layers stay visible.
Step 12: Punch Holes on the Paper Bunting
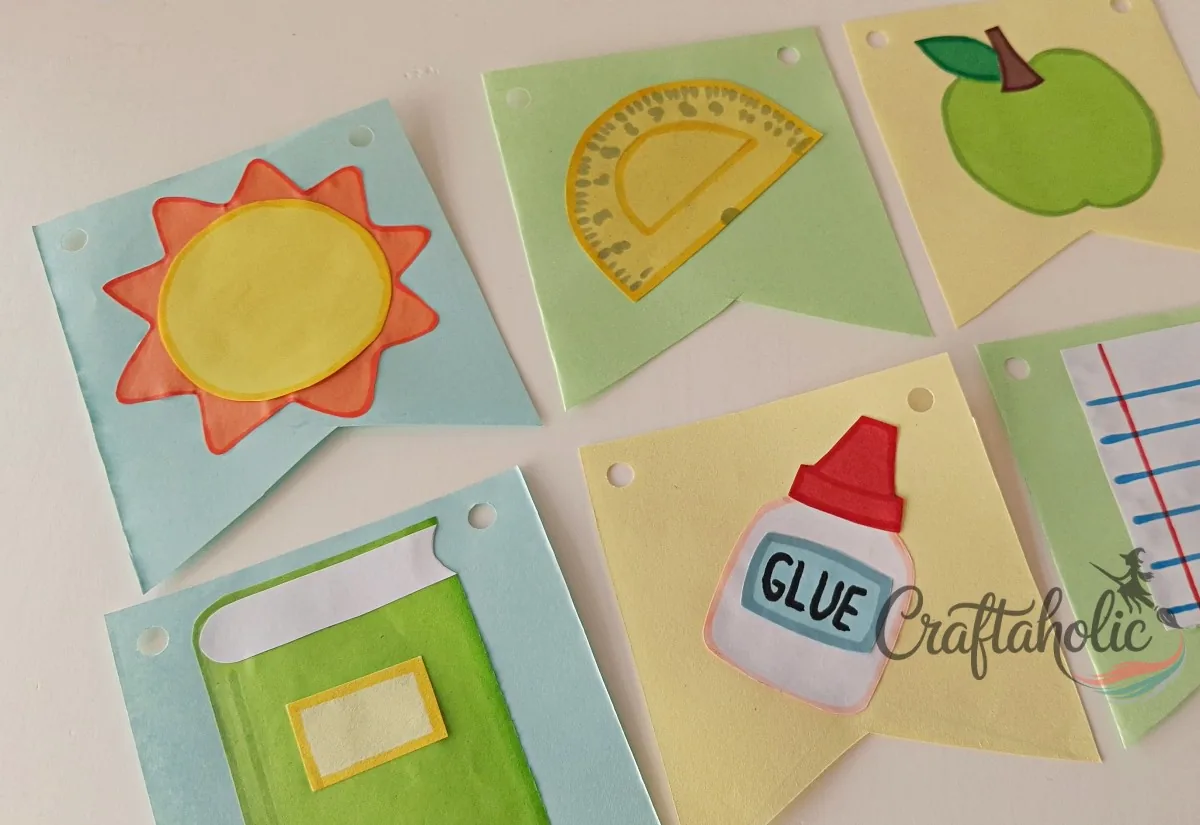
Punch a hole near the top corner on both sides of each bunting flag. These holes are where the string threads through in the next step, so keep them close to the top edge and evenly spaced from flag to flag.
Step 13: Attach String to the Buntings
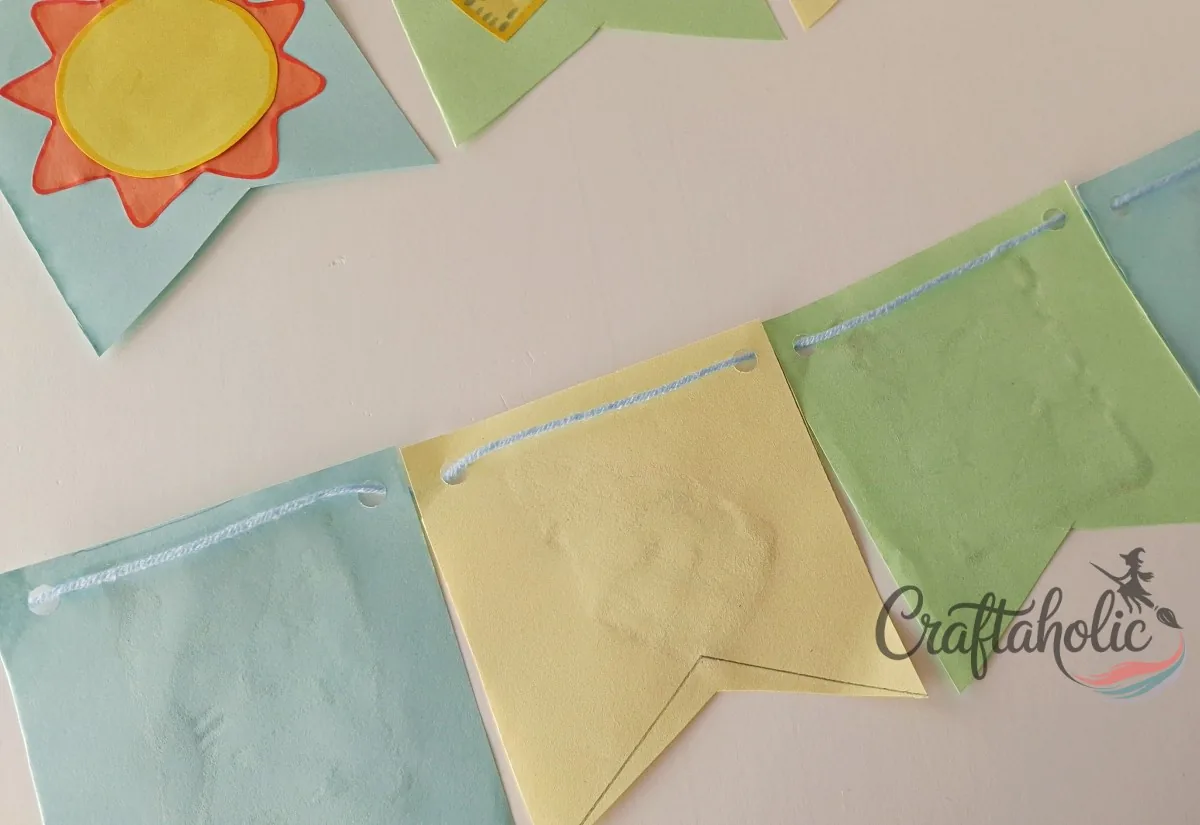
Flip the buntings face down and thread yarn or string through the holes, going over the front and under the back of each flag as you move down the line. Leave a few extra inches of bare string on both ends so you have something to tie or tape up when you hang the garland.
Step 14: Secure the Garland String
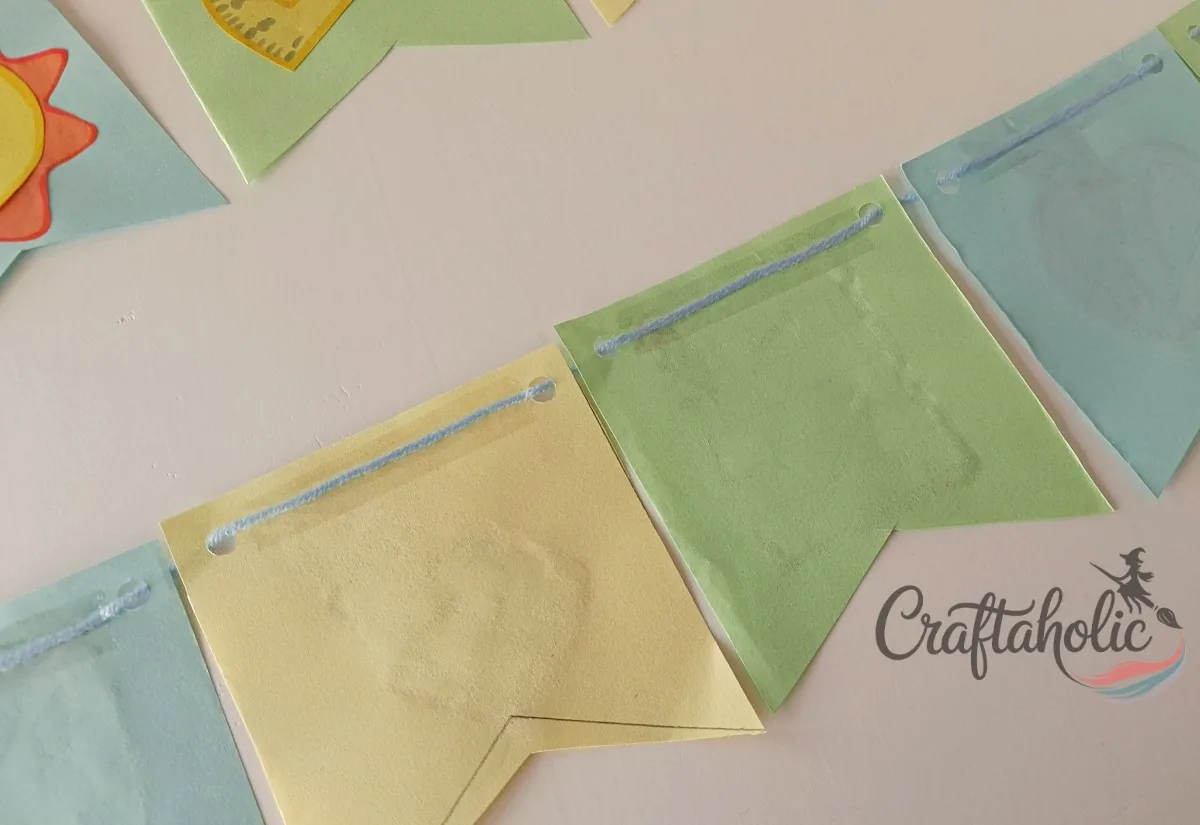
Dab a bit of glue or a strip of tape over each spot where the string crosses a bunting hole. This keeps the flags from sliding around or bunching together once the garland is hanging.
Step 15: Turn the Garland to the Front
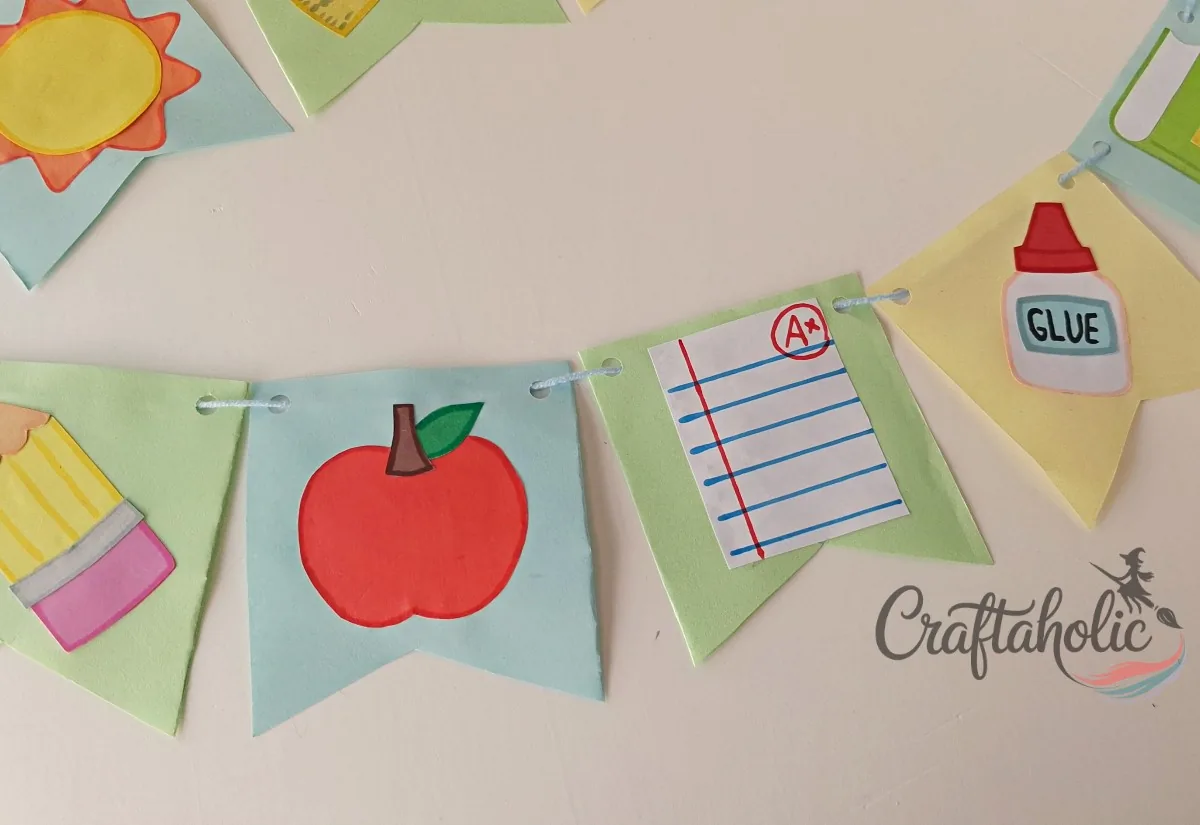
Carefully flip the whole garland over so the buntings face front. Give it a gentle shake to settle the flags into place, then it’s ready to string up along a shelf, window, or bulletin board.
Share it in "I Made It" and let us cheer you on.
Post your finished make in "I Made It" so the community can celebrate it with you. Cheer on other makers too. Each month, the most loved craft wins 1 year of Craftaholic Premium ($59)
Tips for the Back to School Paper Garland
- No printer handy? Free-hand each shape instead. Simple silhouettes work fine, since the marker outline in step 9 ties the whole set together visually.
- Punch the holes before you glue the school-supply pieces onto the buntings if your punch has trouble reaching through the extra paper layers.
- Swap in different shapes, a heart, a star, or initials, to reuse the same bunting-and-string technique for a birthday or holiday garland later.
- Store the finished garland flat in a folder between school years so the paper pieces don’t crease.
Frequently Asked Questions
How long does this paper garland take to make?
Budget about 45 minutes to an hour for the full six-piece set. Tracing and cutting the shapes takes the longest; gluing and stringing go quickly once all six pieces are cut.
Can I make this without printing a template?
Yes. Free-hand simple versions of the apple, sun, pencil, notebook, palette, and glue tube shapes on colored paper. They don’t need to be perfect, since the marker outline in step 9 pulls every piece together visually.
How many bunting flags do I need?
One flag for each of the six school-supply pieces, so six total for the set shown here. Cut extra plain buntings if you want a longer garland with more spacing between the decorated pieces.
What can I use instead of a paper punch?
A sharp pencil or the tip of a scissor blade can poke a small hole through the paper in a pinch, though a paper punch gives a cleaner, more even hole that the string slides through easily.
How do I hang the finished garland?
Tape or tack the bare string at each end to a shelf edge, window frame, or bulletin board. Leave a little slack in the middle so the buntings hang with a gentle curve instead of pulling flat.
More Paper Crafts Tutorials
Browse more of our paper garlands and gift wraps, or the full paper crafts collection:
Share your back to school paper garland in the I Made It space inside Craftaholic Community. The most-loved post each month wins a one year free Premium membership.
0 Comments
Join the conversation
Log in to your Craftaholic Community account to comment, ask questions, and cheer on fellow makers.
Log in to comment