Beginner
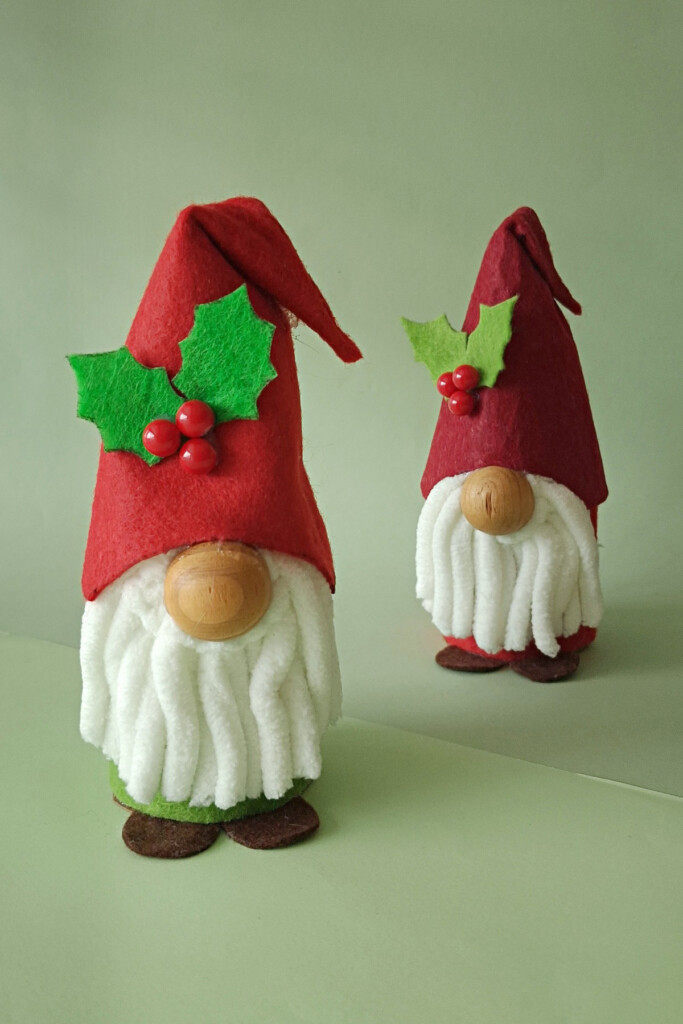
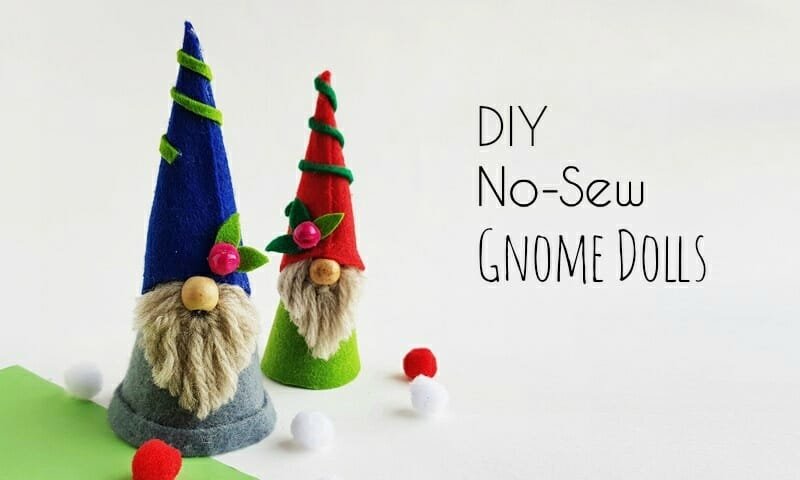
How to Make a Gnome for Beginners (Free Template)
Get the pattern
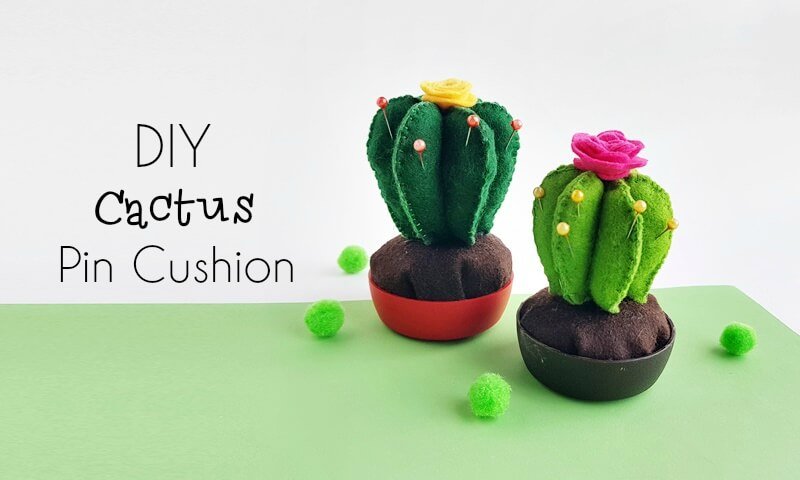
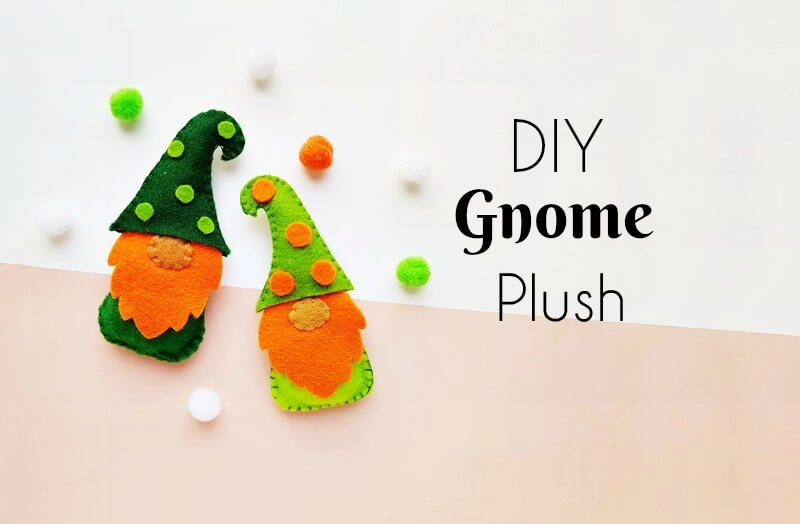
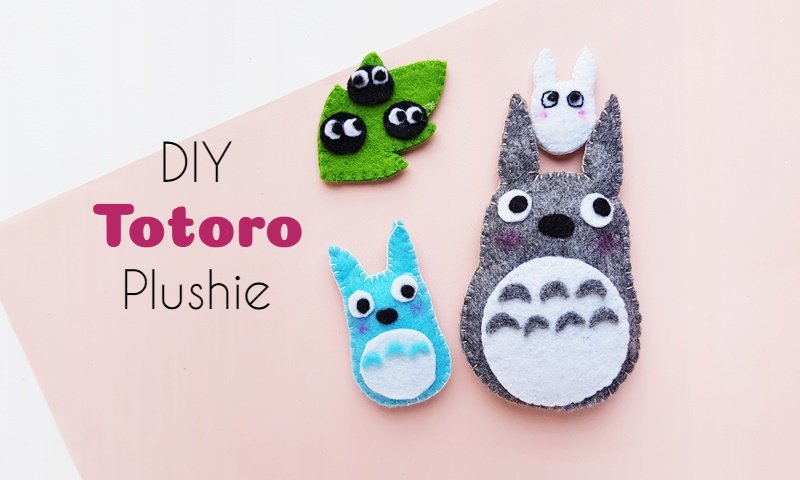
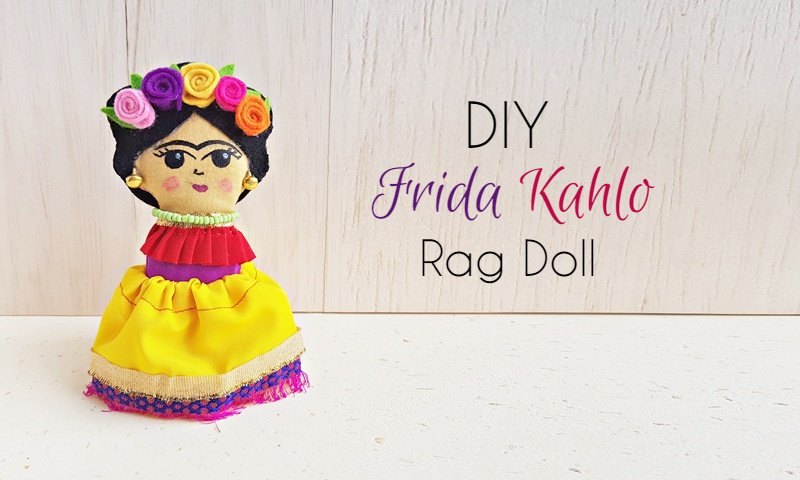
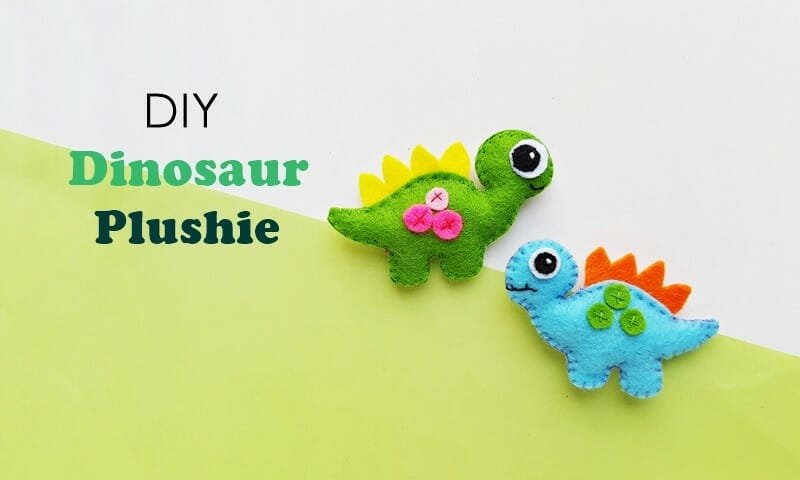
Handmade plushies are some of the most loved gifts, and most are easier than they look. This hub gathers felt and fabric projects, including owls, dinosaurs, bunnies, a Totoro, llamas, and plenty of gnomes, plus a few no-sew makes for when you would rather skip the needle.
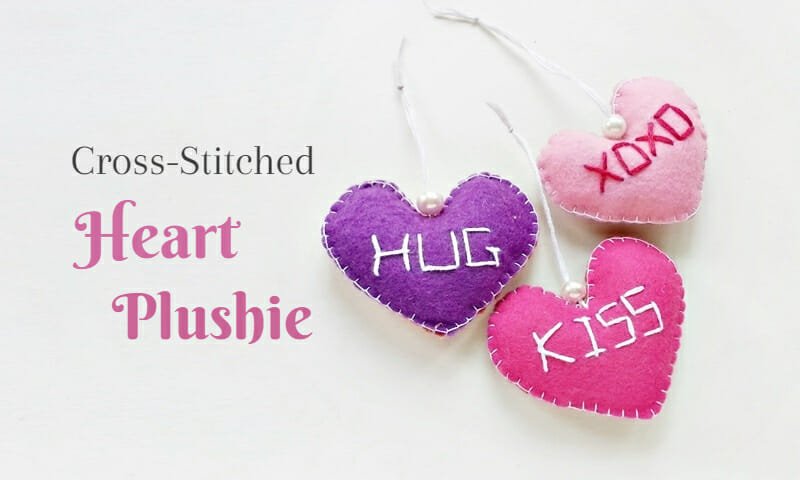
Many come with a free printable pattern, so you can trace the shapes straight onto felt and start cutting, and most are designed for hand sewing, so you do not need a machine to begin. The smaller makes, like pincushions, felt hearts, and ornaments, are great first projects, and they are ideal for baby gifts, nursery decor, and seasonal touches. Browse all craft tutorials to pair felt makes with other handmade gifts.


Plushies & Soft Toys
A quick guide before you pick your next plushies & soft toys project.
Usually no. Many plushie and felt projects on Craftaholic Witch are designed for hand sewing, which makes them easier to start with at home.
Many are, especially the felt ornaments, pocket toys, and smaller soft crafts. The pillar mixes easier and more detailed makes so you can choose your comfort level.
When a project has a matching shop file, it usually includes accurate pattern pieces and printable guides so you can skip sketching shapes from scratch.
| Cookie | Duration | Description |
|---|---|---|
| cookielawinfo-checbox-analytics | 11 months | This cookie is set by GDPR Cookie Consent plugin. The cookie is used to store the user consent for the cookies in the category "Analytics". |
| cookielawinfo-checbox-functional | 11 months | The cookie is set by GDPR cookie consent to record the user consent for the cookies in the category "Functional". |
| cookielawinfo-checbox-others | 11 months | This cookie is set by GDPR Cookie Consent plugin. The cookie is used to store the user consent for the cookies in the category "Other. |
| cookielawinfo-checkbox-necessary | 11 months | This cookie is set by GDPR Cookie Consent plugin. The cookies is used to store the user consent for the cookies in the category "Necessary". |
| cookielawinfo-checkbox-performance | 11 months | This cookie is set by GDPR Cookie Consent plugin. The cookie is used to store the user consent for the cookies in the category "Performance". |
| viewed_cookie_policy | 11 months | The cookie is set by the GDPR Cookie Consent plugin and is used to store whether or not user has consented to the use of cookies. It does not store any personal data. |