

Easter decorations hit different when you made them yourself. This paper garland uses colored craft paper and a free printable template with four designs: a bunny, egg, carrot, and flower. String them together and you get a cheerful wall decoration in about 45 minutes, no special tools needed.
It’s one of those crafts that works well for paper crafts tutorials and ideas beginners and makes a great activity to do with kids before the holiday.
Project Specifications
- Difficulty Level: Beginner-friendly
- Cost: Under $5
- Time: About 45 minutes
- Ages: 6+ (with adult help for cutting)
- Perfect For: Wall decor, window display, classroom bulletin board, party table
How to Make Easter Paper Garland
Things You’ll Need
Materials
- Colored craft papers
- Craft glue
- Yarn or string
- Free printable template
Tools
- Pencil
- Scissors
- Ruler (optional)
- Markers or Sharpies
Please note that the provided links may include affiliate links, which means that if you make a purchase through them, we may earn a small commission.
Step by Step Instructions for Making Easter Paper Garland
Step 1: Pick Your Papers and Print the Template
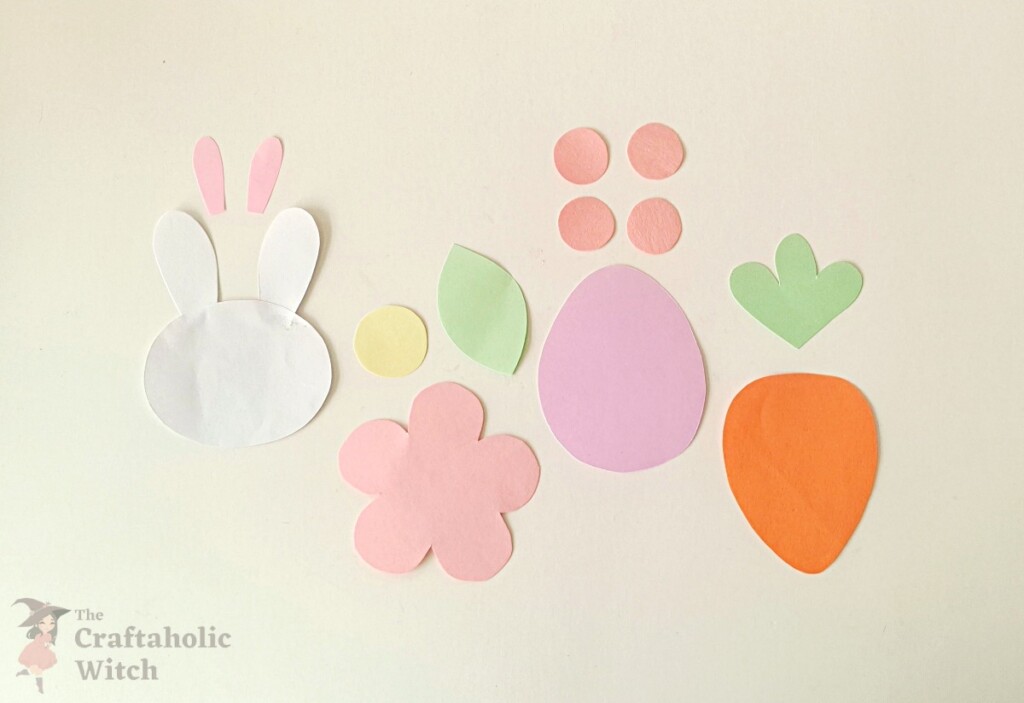
Select a mix of colored craft papers for your garland pieces. Print the template and cut out the four patterns: bunny, egg, carrot, and flower.
Bright spring colors work best here. Pastel pink, yellow, green, and blue all stand out nicely once the garland is strung up.
Step 2: Glue the Bunny Ear Pieces Together
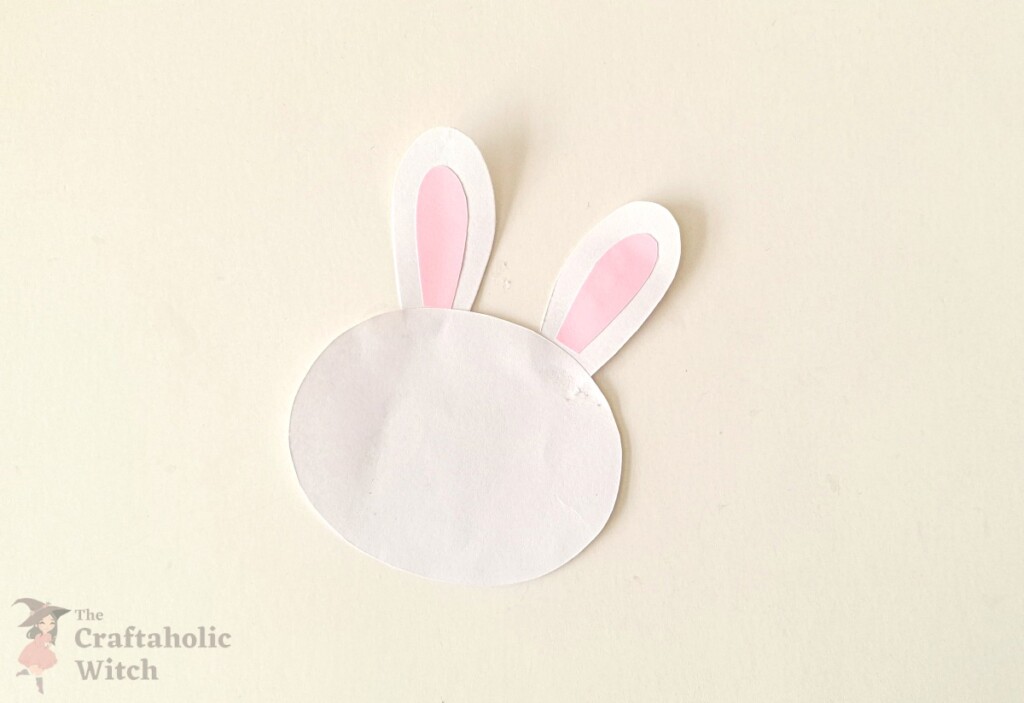
Take the bunny cutouts. Glue the inner ear pieces onto the ear sections of the bunny head base cutout. Press gently and let the glue set before moving on.
Don’t rush this step. If you lift the pieces too soon, the ears won’t sit flat.
Step 3: Assemble the Egg and Carrot
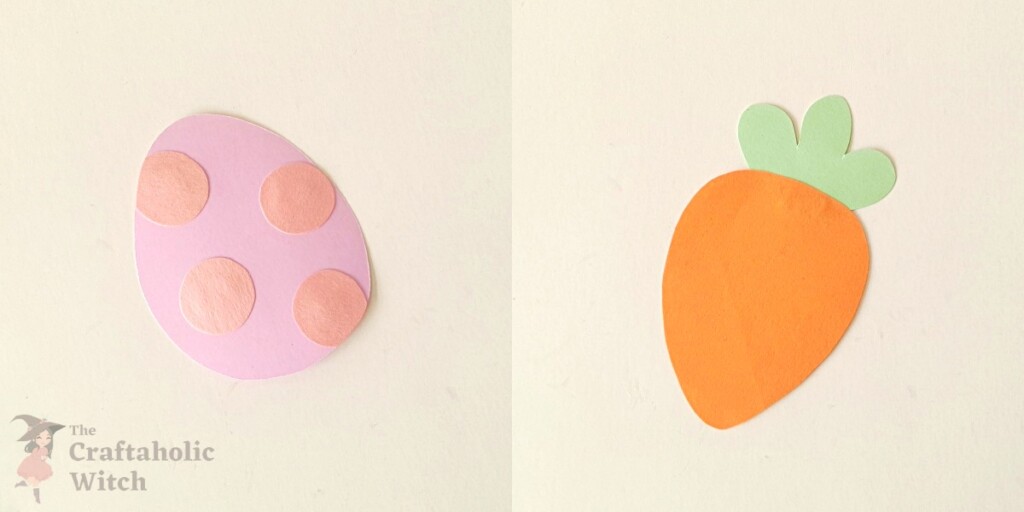
Take the egg and carrot cutouts. Glue the leaf cutout to the top of the carrot base, then glue the small round pieces onto the egg base to make the decorative spots.
If you want more ideas using similar paper cutting methods, our fall hanging mobile tutorial covers some of the same techniques.
Step 4: Outline the Carrot and Egg
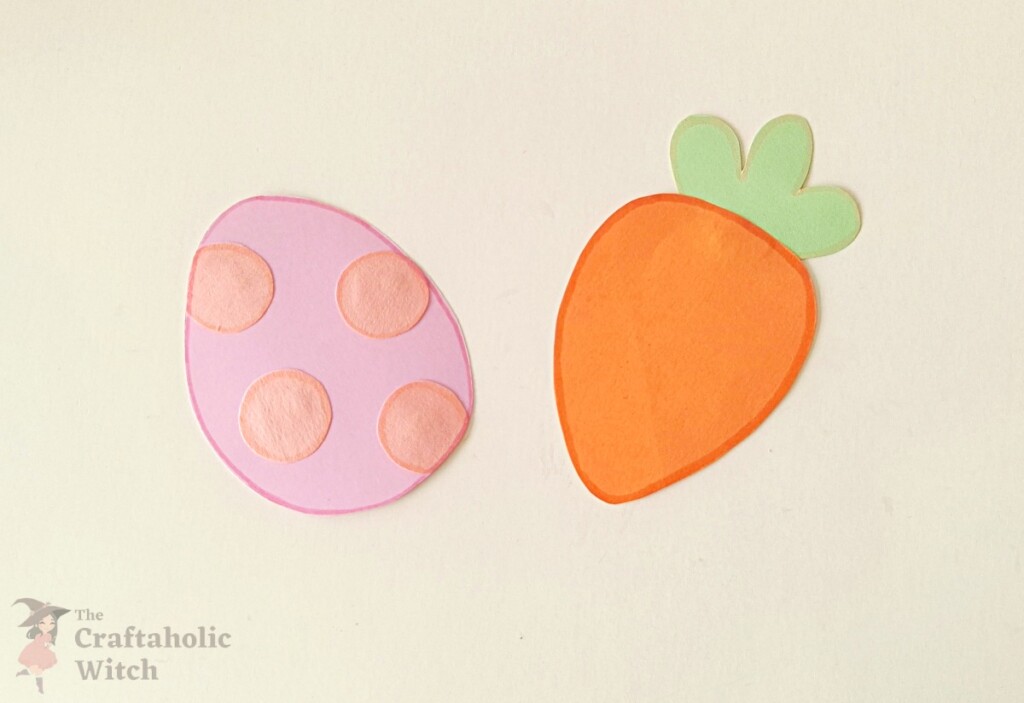
Use matching markers or Sharpies to outline the carrot and egg shapes. This adds definition and gives each piece a clean, finished look.
Go slow around curves and corners. A steady hand here makes a big difference.
Step 5: Build the Flower
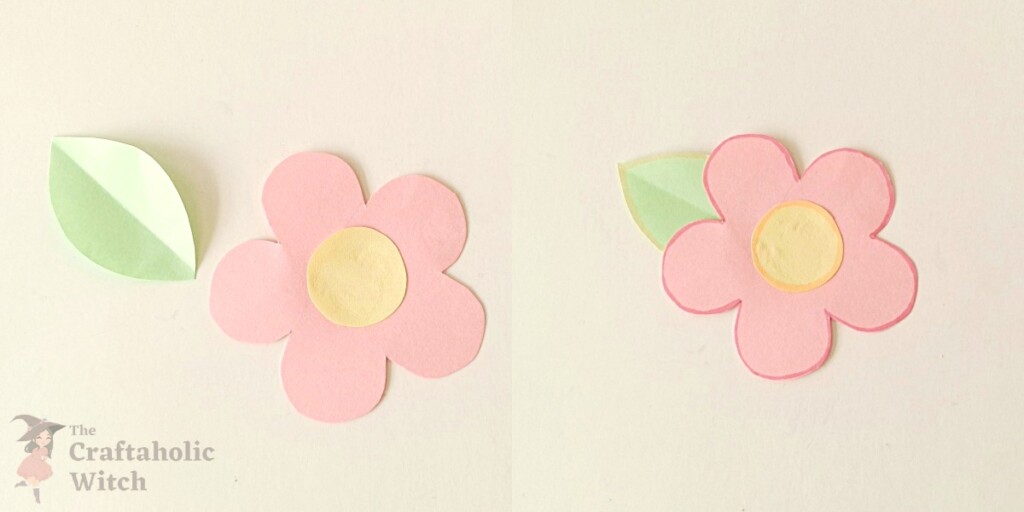
Take the flower cutouts and glue the small round piece to the flower’s center. Fold the leaf cutout vertically to create a crease, then glue it to the back of the flower.
Step 6: Outline the Remaining Pieces and Make Extras
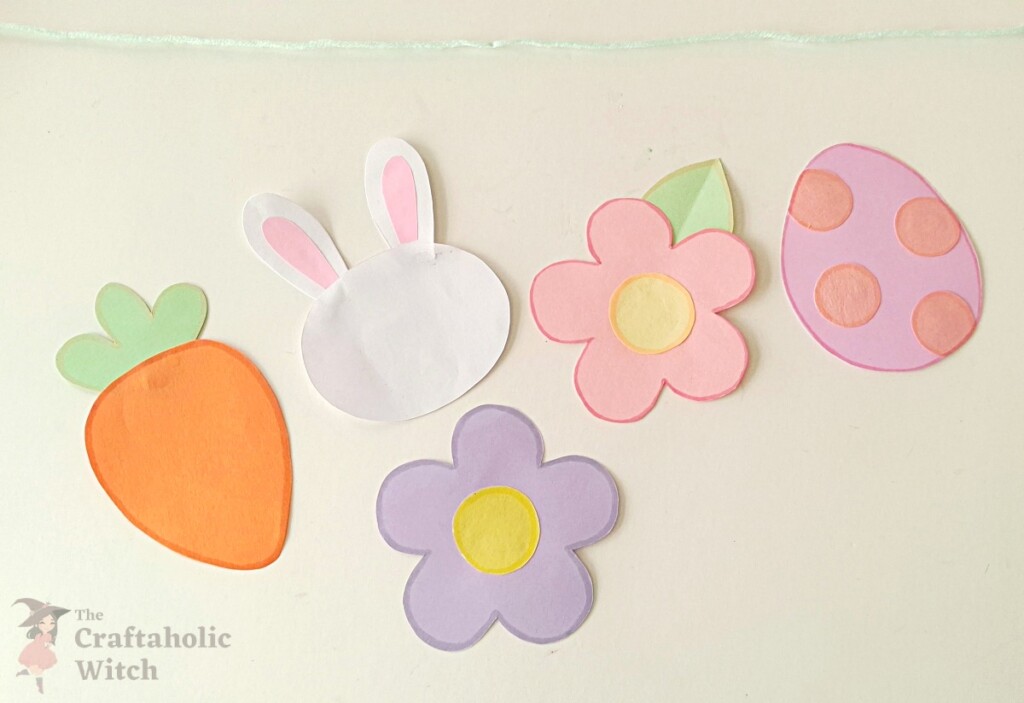
Use markers to outline the bunny and flower shapes too. Prepare 2-3 pieces of each design using different colored papers to give the garland variety.
This is also a good time to check that all your pieces are fully dry before you start the stringing steps.
Step 7: Cut the Garland String
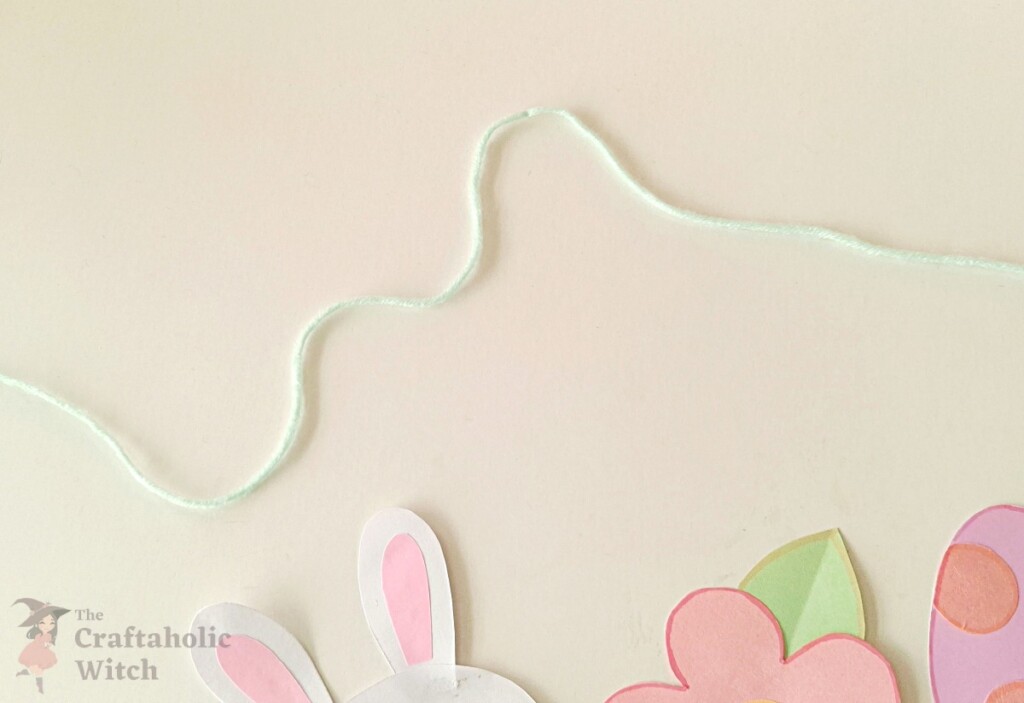
Cut a long piece of yarn or string for the garland. Make sure it’s long enough for all your pieces, and leave extra on both ends for hanging.
A good rule of thumb: cut more than you think you need. You can always trim the ends later. For another beginner-friendly paper craft idea, our paper basket weaving tutorial uses similar simple materials.
Step 8: Lay Out the Pieces in Order
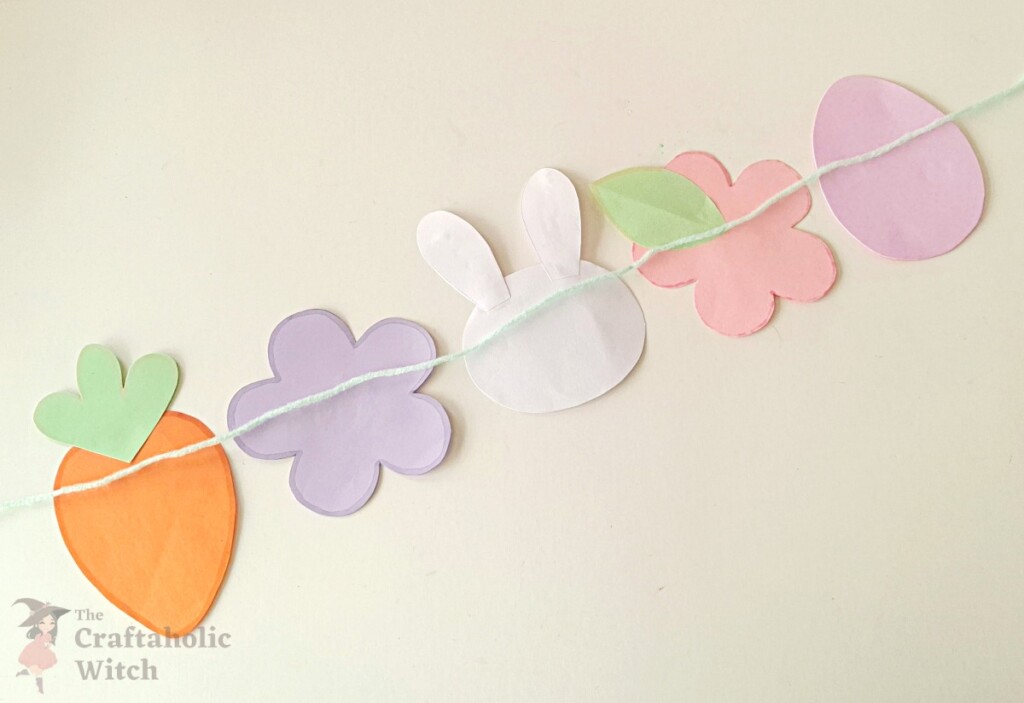
Place all the paper pieces on a flat surface with their back sides facing up. Arrange them in a row in the order you want, then lay the yarn horizontally across the back of each piece.
Take a moment to balance the spacing and color pattern before you start gluing. It’s much easier to adjust now than after everything is attached.
Step 9: Secure the String with Paper Strips
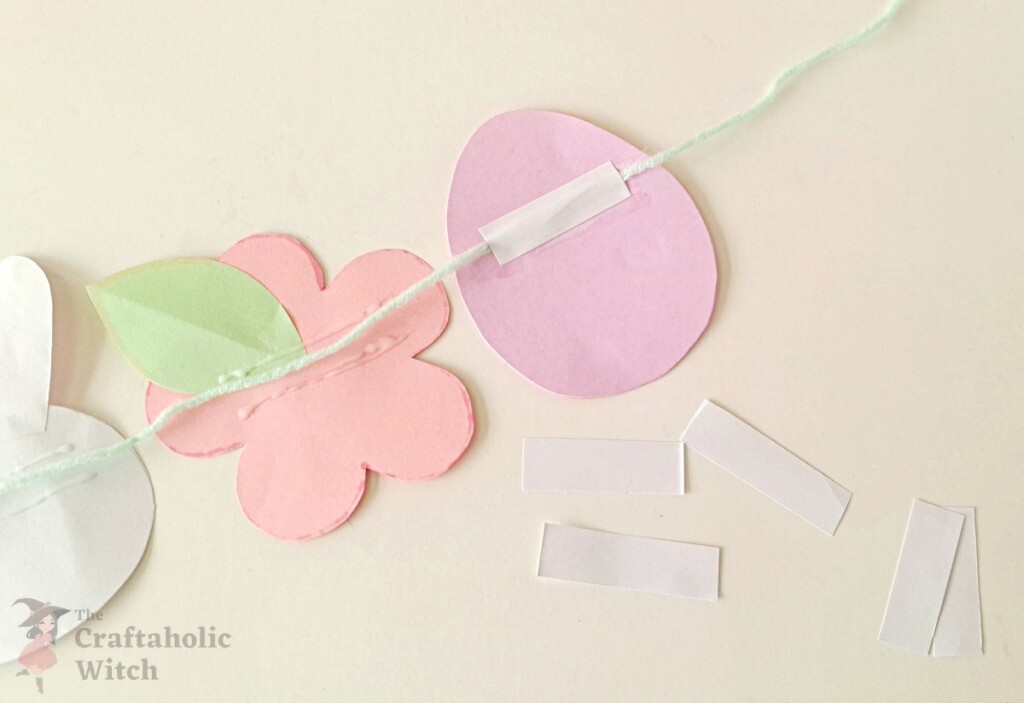
Cut small paper strips. Apply glue to a strip and place it over the string on the back of one paper piece, pressing it down firmly to hold the string in place.
This is where most people use too much glue. A thin, even coat on the strip is all you need. Excess glue can seep through and show on the front.
Step 10: Attach the Rest of the Pieces
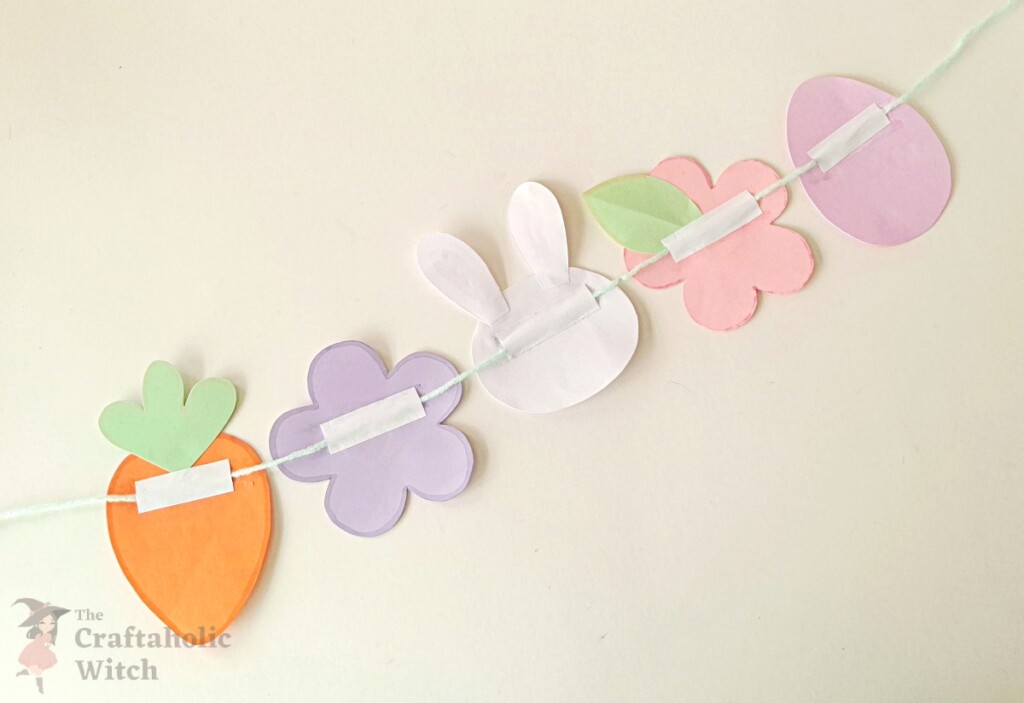
Repeat the same process for every other paper piece. Glue a strip over the string on each one until all your decorations are secured to the garland.
Work from one end to the other so the spacing stays consistent.
Step 11: Flip and Display
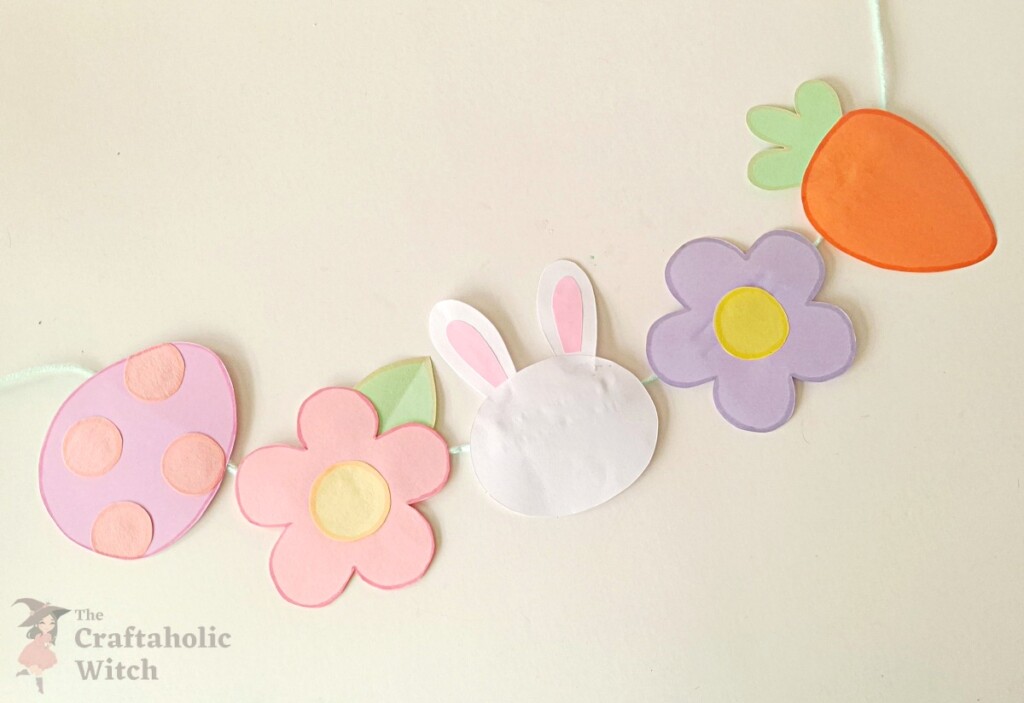
Once the glue dries, carefully flip the garland to the front side. Your colorful easy Easter paper garland is ready to hang wherever you want a little spring cheer.
Join Craft Challenge: Craft Your Calm
Make something that brings you a sense of peace, share a photo, and tell us your story. It's free to enter, open to everyone, and the entry with the most reactions takes home a $100 gift card. Takes five minutes to join.
Entries close August 30, 2026. No purchase necessary.
Tips for Beginners
New to papercrafting? A few small adjustments make a big difference in how the finished garland looks.
Print the template on regular paper first. Tracing onto colored craft papers from a printed copy keeps all your shapes consistent and the same size.
Use medium-weight craft paper or cardstock. Very thin paper tends to curl when glued, while very thick paper is harder to cut cleanly. Medium-weight hits the right balance.
Cut slowly around detailed edges. The bunny ears, carrot leaves, and flower petals look much sharper when the edges are smooth and even.
Arrange all your shapes before gluing anything to the string. This lets you balance the spacing and color pattern before you commit.
Make sure the paper strip fully covers the yarn on each piece. If any yarn is exposed, the decoration can shift or fall off after the garland has been hanging for a while.
Let everything dry fully before lifting the garland. Picking it up while the glue is still wet is the most common way shapes end up sliding out of place.
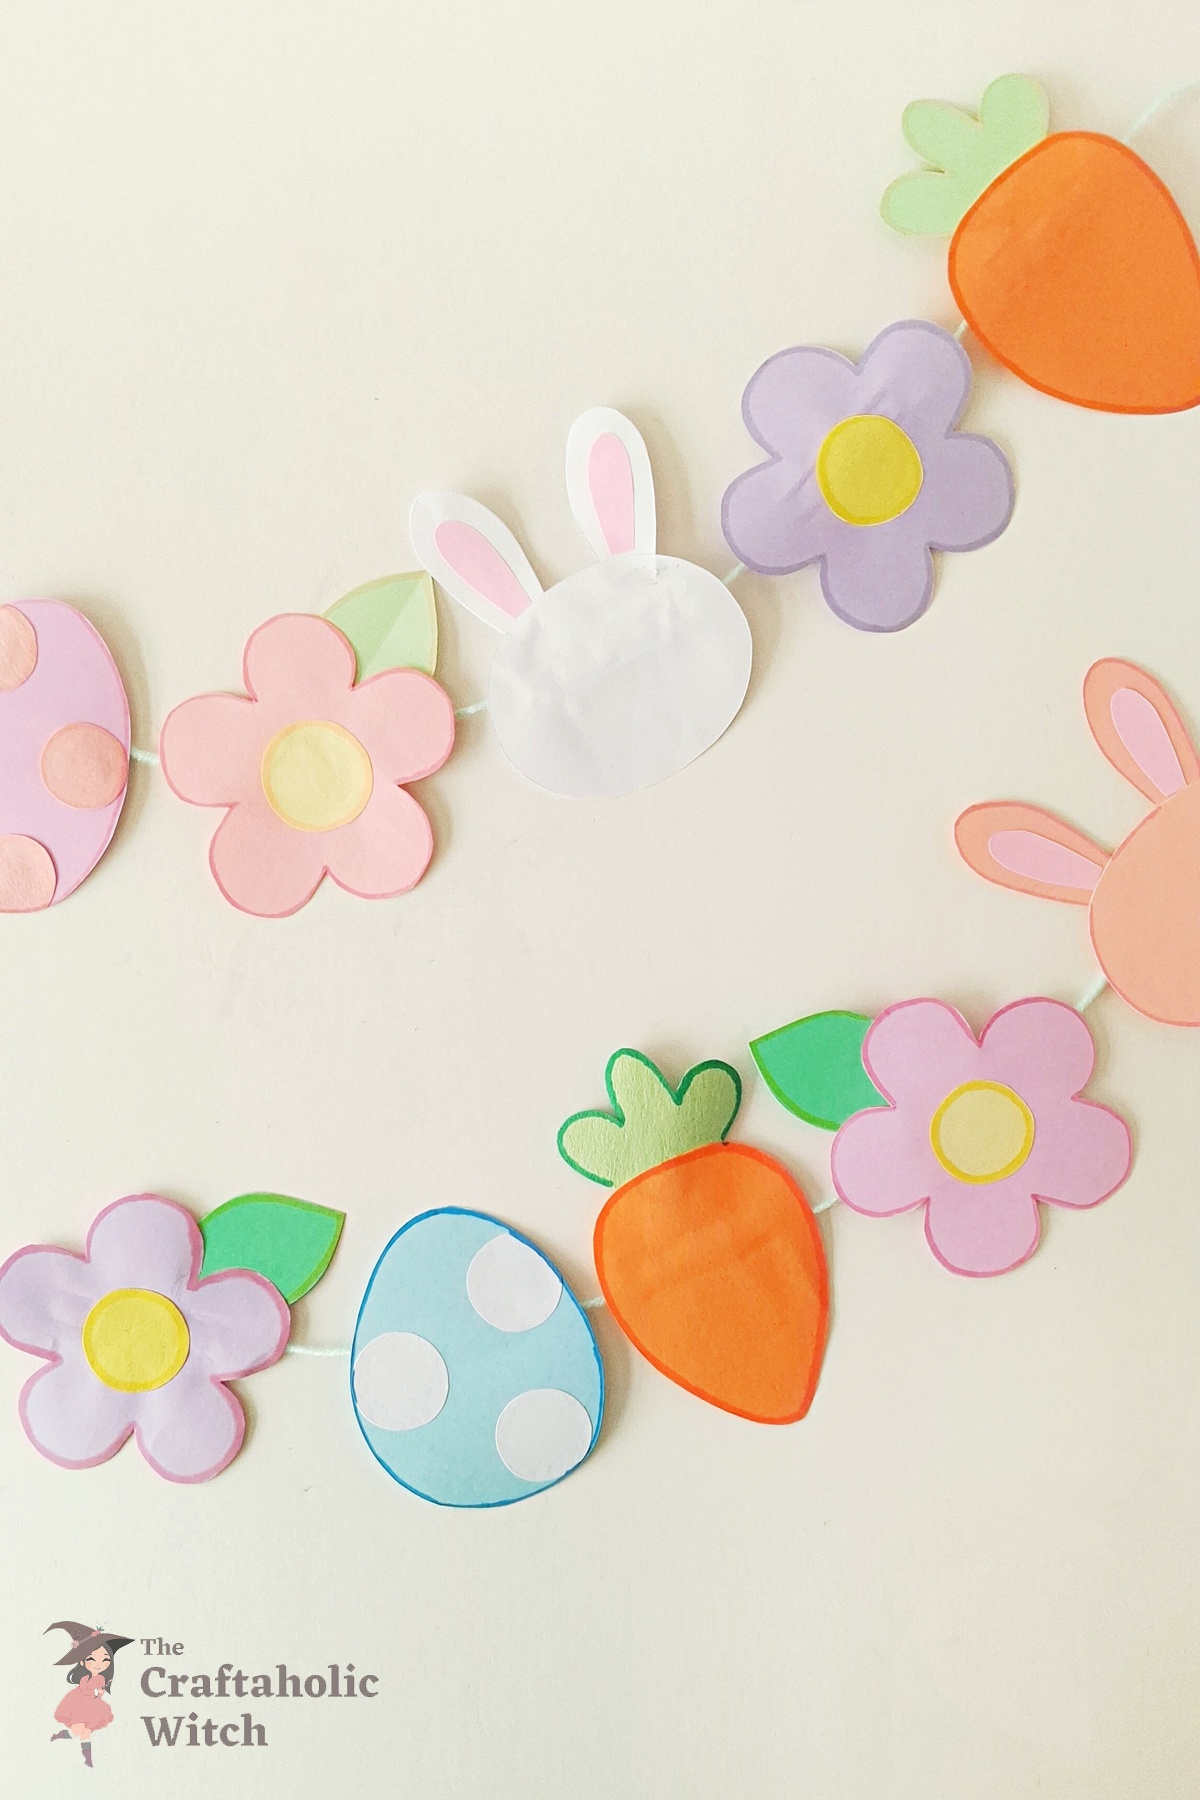
More Easy Easter Paper Crafts
This garland is a great starting point for Easter decorating. Once you’ve made one, it’s hard to stop.
Our paper crafts techniques hub has more beginner-friendly projects using similar materials and methods.
If you want to keep the Easter theme going, our origami Easter egg tutorial is a satisfying folding project that pairs nicely with this garland. And if you’re looking for something a little different, these no-dye Easter eggs are another way to make Easter decorations without needing paint or special supplies.
Check out all our Easter and spring craft ideas for more seasonal projects.
FAQ
Can I use regular printer paper instead of craft paper?
You can, but craft paper or cardstock holds up much better. Regular printer paper is thinner and tends to curl or buckle once glue is applied, especially on the larger bunny and flower shapes.
What’s the best string to use for this Easter garland?
Yarn works well and comes in lots of colors to match your paper choices. Twine, baker’s twine, or thin ribbon also work. Avoid very stretchy string since it can cause the pieces to droop or bunch unevenly.
How do I keep the garland pieces from sliding around after I hang it?
Make sure the paper strip on the back of each piece fully covers the yarn on both sides of the shape. The strip needs to sandwich the yarn tightly. If a piece keeps sliding, add a small dot of glue directly under where the string passes through.
Can kids make this Easter paper garland?
Yes, this is a great craft for kids 6 and up. The tracing, cutting, and gluing are all simple enough for young crafters. For kids under 8, an adult should help with the scissors on the detailed edges like the bunny ears and carrot leaves.
0 Comments
Join the conversation
Log in to your Craftaholic Community account to comment, ask questions, and cheer on fellow makers.
Log in to comment