

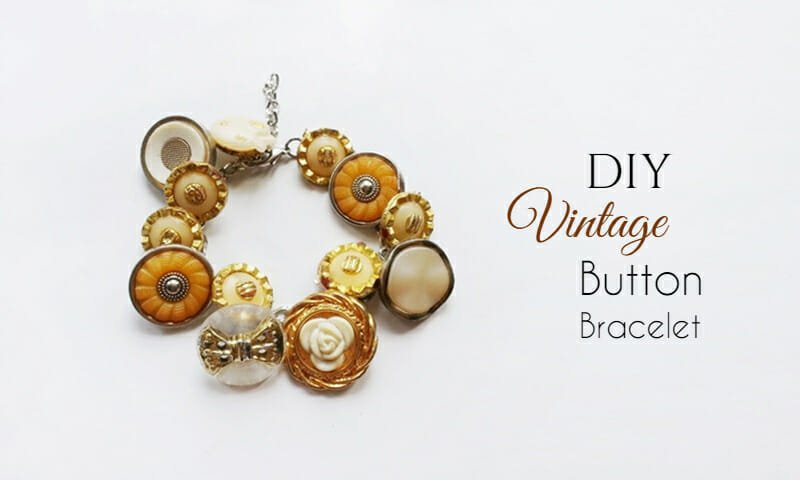
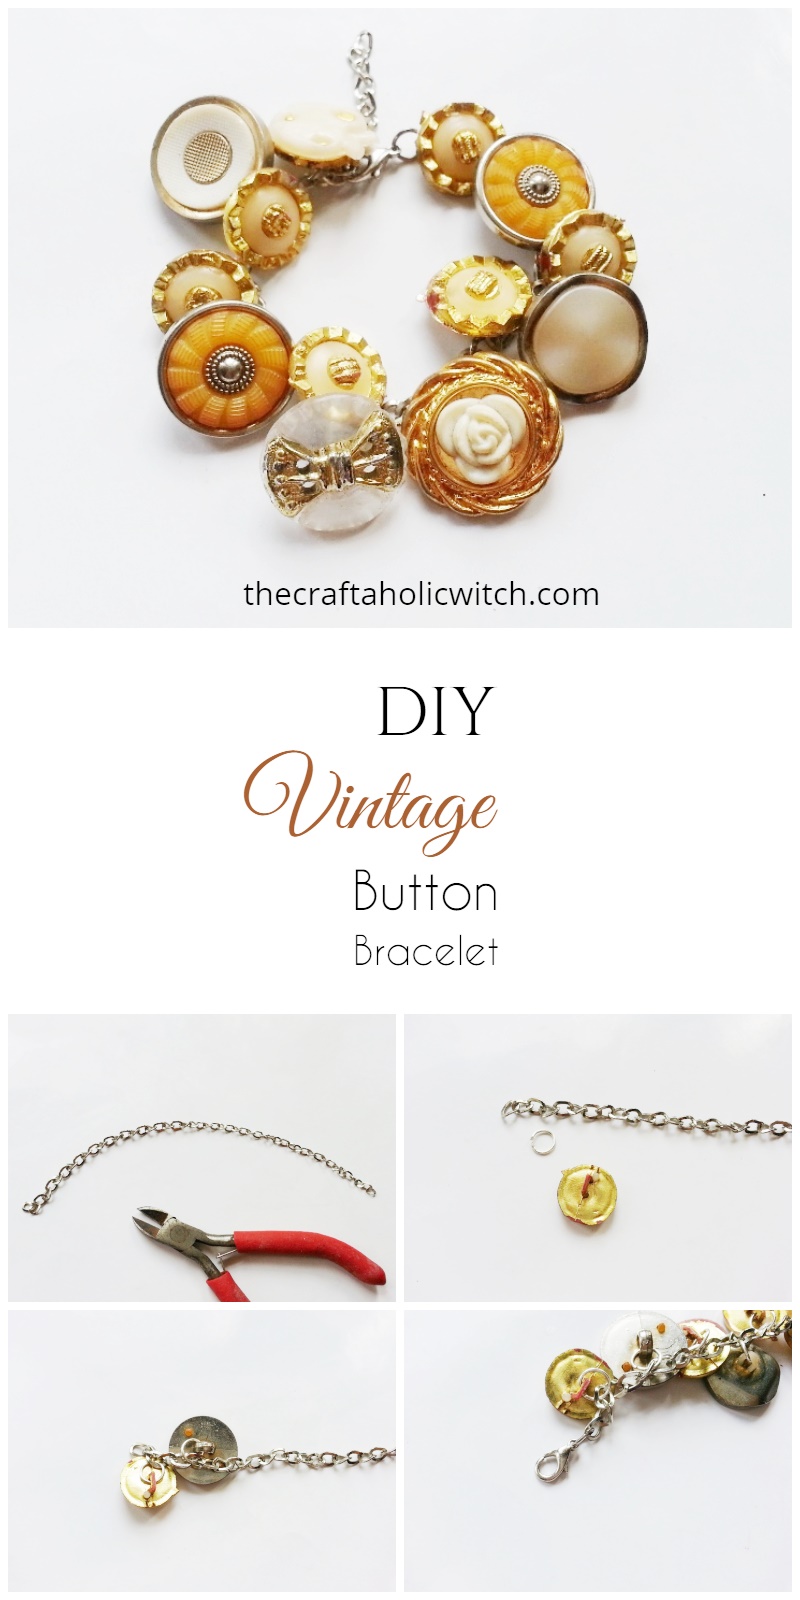
A packet of leftover buttons from the craft store was one of my best impulse buys. I got it home and found a handful of gorgeous vintage shank buttons hiding in the mix, and the little loop on the back of each one was practically begging to become jewelry.
This vintage button bracelet is one of the quickest ways to actually use that collection. The whole thing takes about 10 minutes, costs almost nothing if you already have a length of chain and a few jump rings, and the finished piece looks far more considered than the effort warrants. It makes a sweet handmade gift too.
Vintage Button Bracelet at a Glance
- Difficulty: Beginner
- Time: About 10 minutes
- Cost: Low (under $10 with basic supplies)
- Ages: 10 and up
- Best for: Using up a vintage button collection; quick handmade gifts
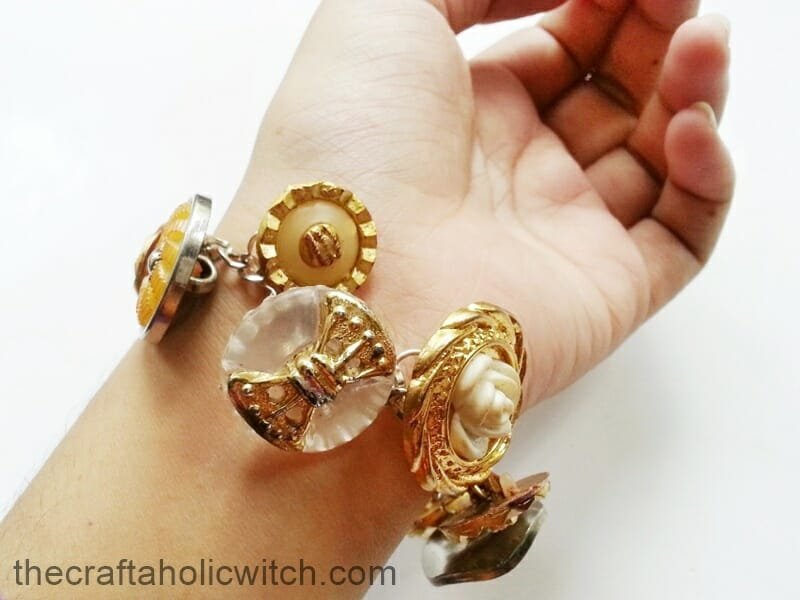
What You Need to Make a Vintage Button Bracelet
Materials
- Jewelry chain (cable or rolo style): cut it 2 cm longer than your wrist measurement to leave room for the clasp connection
- Vintage shank buttons: the loop on the back is what the jump ring threads through, so shank-style buttons are the ones you want; flat buttons with only holes need a small workaround (see Tips)
- Jump rings: one per button; 6-8 mm diameter suits most button shanks
- Lobster claw clasp: or any jewelry closure you prefer
Tools
- Craft pliers: two pairs is ideal, one to hold the jump ring and one to twist it; flat-nose or chain-nose both work
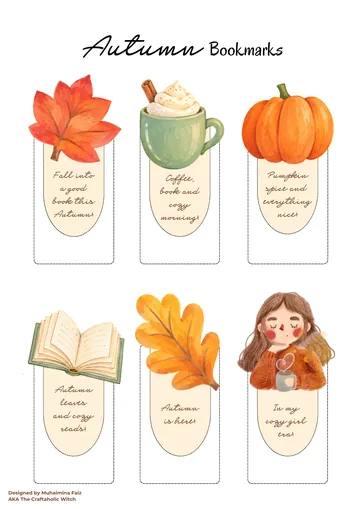
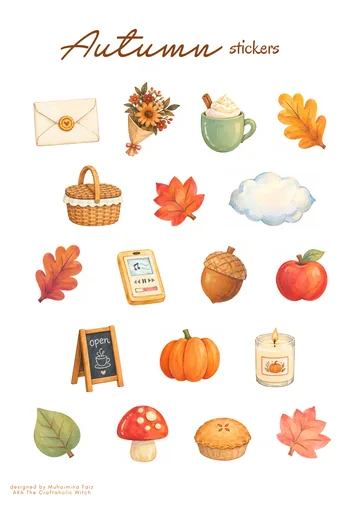
Free Autumn Bucket List + Printable Journal Pack
Everything you need for a cozy autumn, ready to print at home. Join the community for free and download it in one click.
- 13-page printable PDF
- 18 stickers and 6 bookmarks
- Journal pages and recipe cards
- Phone and computer wallpapers
How to Make a Vintage Button Bracelet
Step 1: Measure and Cut the Chain
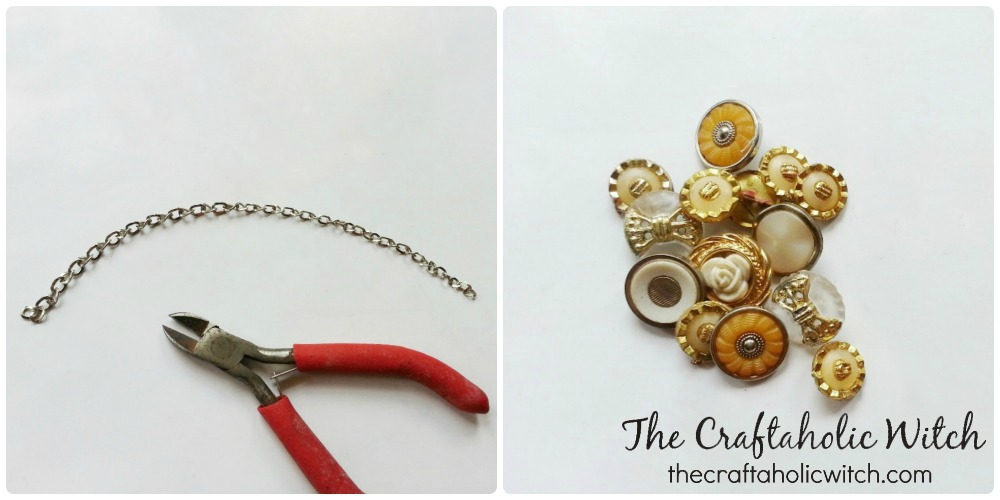
Wrap the chain around your wrist and cut it 2 cm longer than that measurement. That extra length is where the clasp will attach.
Before picking up the pliers, lay your buttons along the chain to work out the spacing. It’s much easier to try different arrangements at this stage than after they’re all attached.
Step 2: Attach a Button to the Chain with a Jump Ring
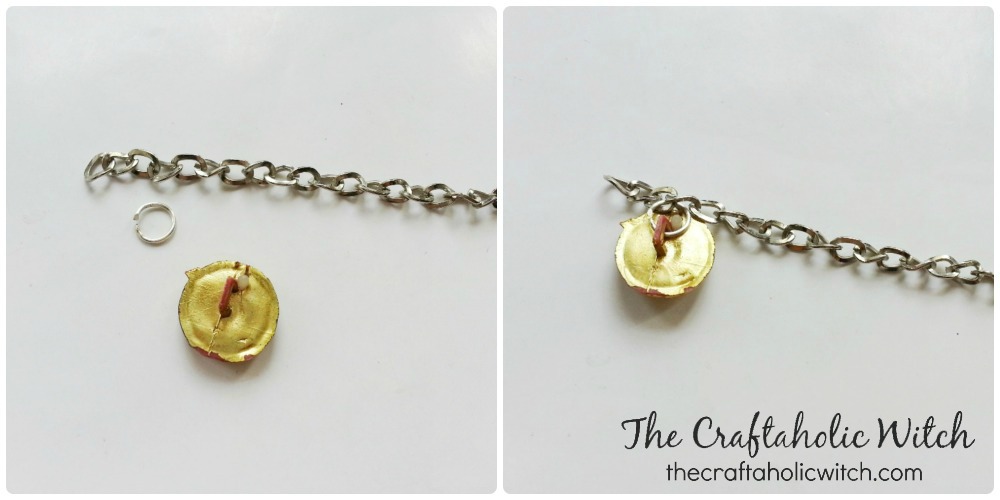
Start 2 chain links in from one end. Open a jump ring sideways (twist, never pull it apart) with your pliers, slip it through a chain link and through the button’s shank loop at the same time, then close it firmly. If you’ve never worked with jump rings before, this jump ring tutorial shows how to open and close them cleanly without distorting the shape.
Tip: Close the ring until the two ends are completely flush. A small gap will catch on fabric and can gradually work the button loose.
Step 3: Fill the Chain and Add the Clasp
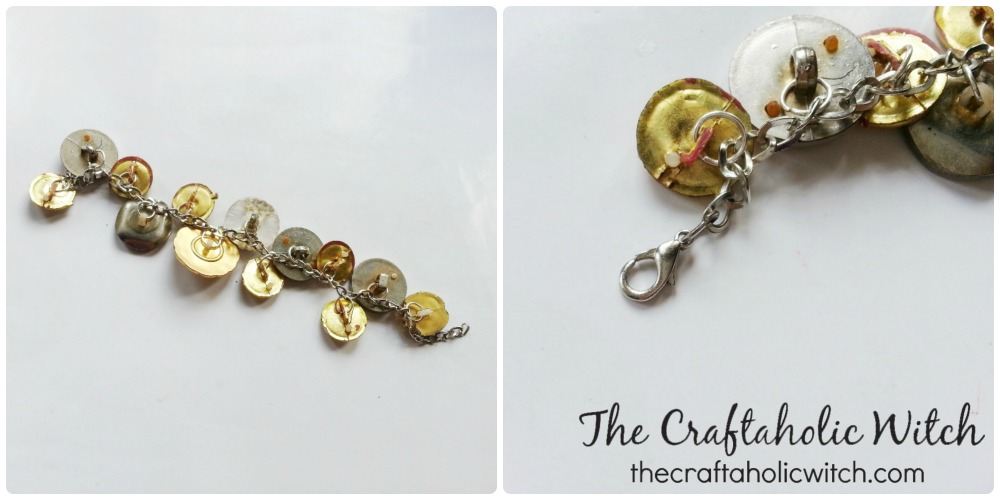
Skip 2 chain links between each button and attach the next one the same way: jump ring through the chain link, through the shank, close it tight. Work along the chain until you’re about 2 links from the far end.
Attach the lobster claw clasp to one end of the chain using a jump ring. The open end of the chain is where you fasten the clasp, and because there are several free links, the bracelet can adjust to fit different wrist sizes.
Share it in "I Made It" and let us cheer you on.
Post your finished make in "I Made It" so the community can celebrate it with you. Cheer on other makers too. Each month, the most loved craft wins 1 year of Craftaholic Premium ($59)
Tips for Your Vintage Button Bracelet
- Mix button sizes for a charm-bracelet feel, or stick to one size for something more uniform. Trying both arrangements along the unattached chain before you start is the easiest way to decide.
- No shank buttons? Thread a short piece of thin wire through two buttonholes, twist the ends into a small loop, and attach your jump ring to that instead.
- Store it hanging or flat so the buttons don’t press against each other; vintage glazed or mother-of-pearl buttons scratch more easily than they look.
Frequently Asked Questions
What kind of buttons work best for a vintage button bracelet?
Shank buttons, the ones with a small loop on the back, are the easiest to use because the jump ring feeds directly through the shank. Flat buttons with only holes can work if you thread a short wire through two holes and twist it into a loop for the jump ring, but shank buttons are quicker and more secure.
What size jump rings do I need?
Jump rings in the 6-8 mm range suit most vintage button shanks. The ring needs to fit through both the chain link and the button shank at the same time. If the shanks are unusually small, try 5 mm rings; for chunky or oversized buttons, 9-10 mm may be easier to work with.
Can I make this bracelet without pliers?
You can nudge a jump ring open and closed with your fingernails, but the ring rarely closes flush that way, making it more likely to snag or let the button work loose over time. Two pairs of pliers (even inexpensive craft ones) give you a solid, clean close in seconds and are worth having for any jewelry making project.
How long should the chain be for a bracelet?
Measure your wrist and add 2-3 cm. Most adult bracelets run 17-20 cm total. The 2 cm you cut extra in Step 1 is where the clasp attaches, and leaving a few free links at the other end means the bracelet can fit a range of wrist sizes.
More Bracelet Tutorials
- How to Make a Mixed Beaded Bracelet with Faux Pearls
- How to Make Ribbon-Wrapped Bangle Bracelets with Seed Beads
- How to Make an Easy Braided Friendship Bracelet
- How to Make a Chevron Friendship Bracelet
- How to Make a Cherry-Inspired Beaded Bracelet
Share your vintage button bracelet in the I Made It space inside Craftaholic Community. The most-loved post each month wins a one year free Premium membership.
0 Comments
Join the conversation
Log in to your Craftaholic Community account to comment, ask questions, and cheer on fellow makers.
Log in to comment