

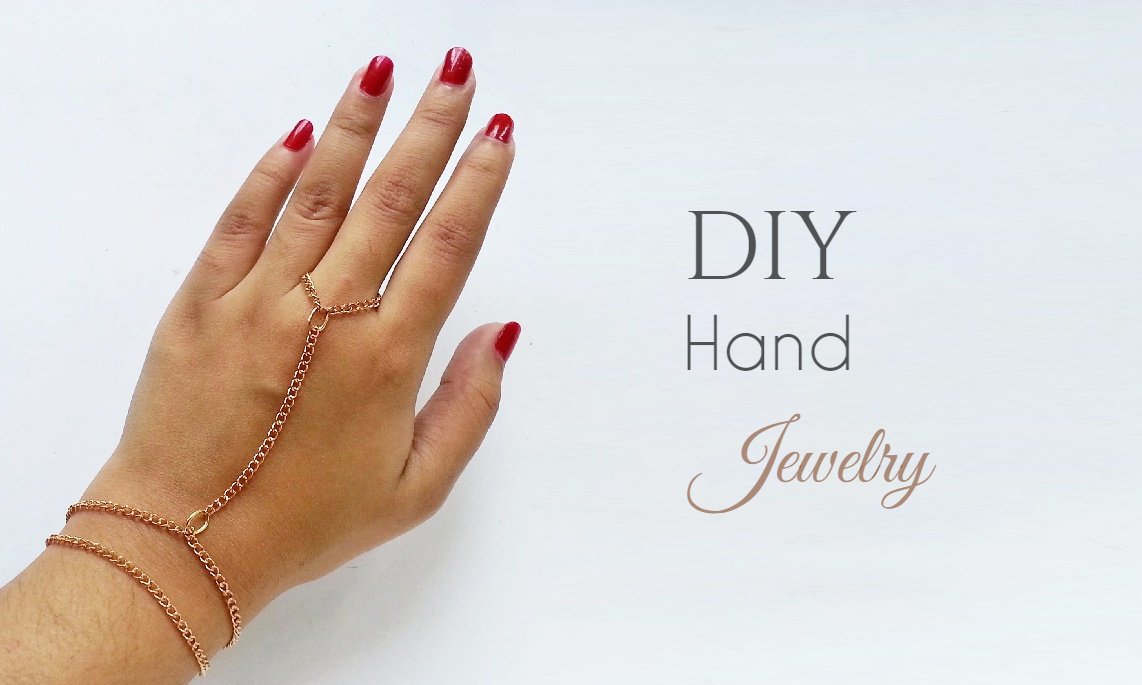
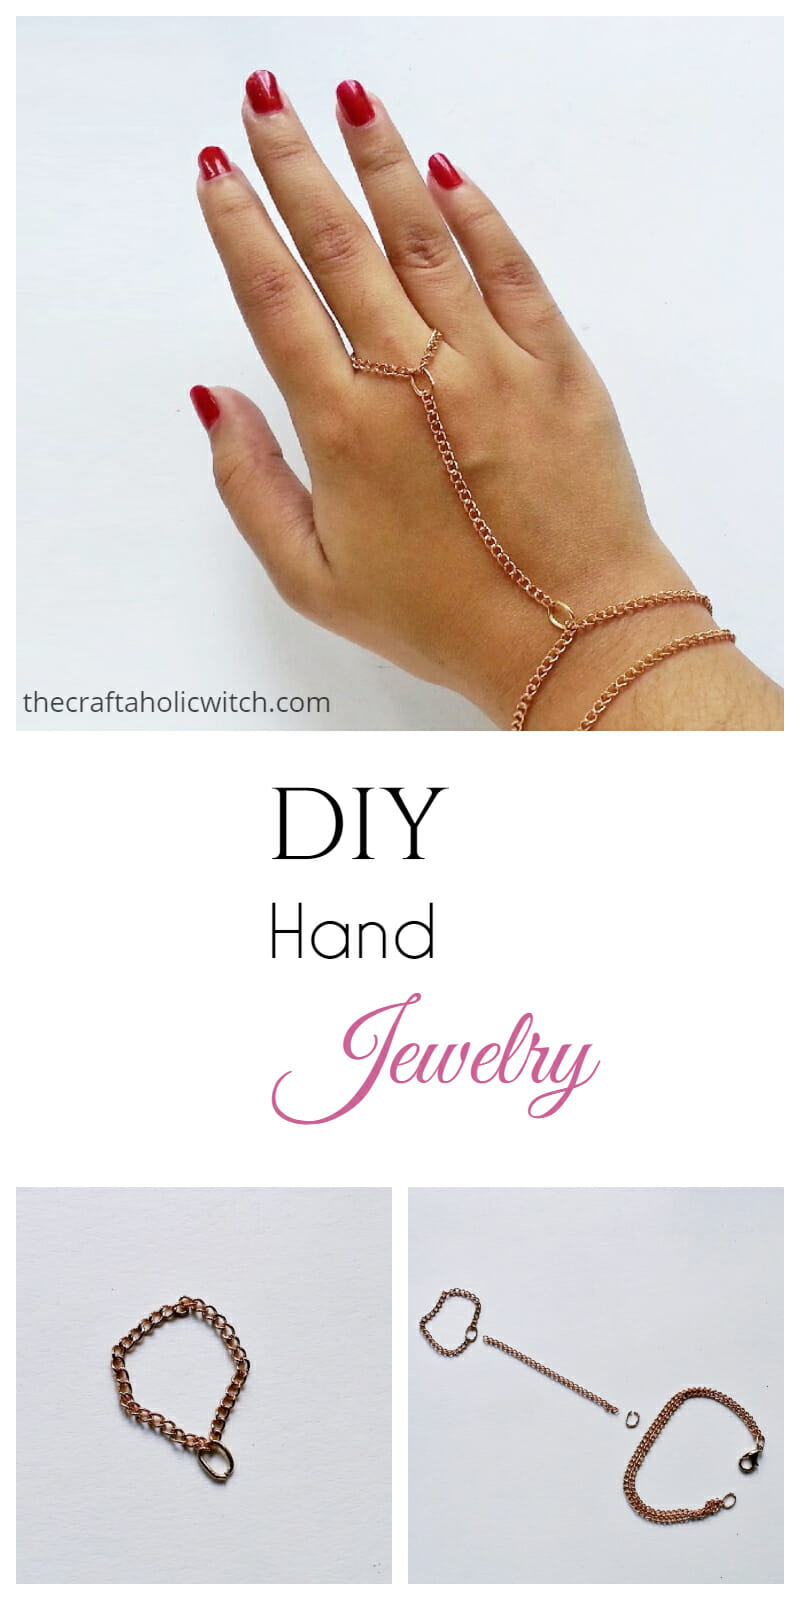
This hand chain connects a slim chain ring to a double-strand bracelet with a single chain piece that runs across the back of your hand. The finished piece looks like boutique jewelry, but the whole thing takes about 30 minutes and only needs four supplies.
It’s a great project to pair with other simple chain pieces. I often wear mine alongside a wire heart necklace or a daisy chain bracelet, and if you’ve made either of those, this hand chain will feel familiar right away. Same tools, same jump-ring basics, same chain-cutting approach.
Hand Chain at a Glance
- Difficulty: Beginner
- Time: 30 minutes
- Cost: Under $5
- Ages: 14+
- Best for: Gifts, everyday wear, layering jewelry
Join Craft Challenge: Craft Your Calm
Make something that brings you a sense of peace, share a photo, and tell us your story. It's free to enter, open to everyone, and the entry with the most reactions takes home a $100 gift card. Takes five minutes to join.
Entries close August 30, 2026. No purchase necessary.
What You Need to Make a Hand Chain
Materials
- Jewelry chain, small or medium links, about 50 cm total: fine or medium curb chain works well; you’ll use it for the ring, both bracelet strands, and the connector piece
- 4 to 6 jump rings, 4 to 6 mm: used to join every chain section; matching the metal to your chain keeps the piece looking cohesive
- 1 lobster clasp: lets you clip the bracelet shut with one hand, which is useful when you’re putting it on alone
Tools
- Cutting pliers: snips chain links cleanly at a joint so the cut ends sit flush
- 2 pairs of flat-nose pliers: hold and close jump rings without distorting their shape; using just one pair twists the ring open and leaves a gap
Ask inside "Crafty Q&A" while you are making.
"Crafty Q&A" is free to join. Share your question, photo, or the exact step where you got stuck, and chat with other makers plus the Craftaholic Witch team. You can also join any discussion thread already happening inside the space.
How to Make a Hand Chain
Step 1: Form the Chain Ring
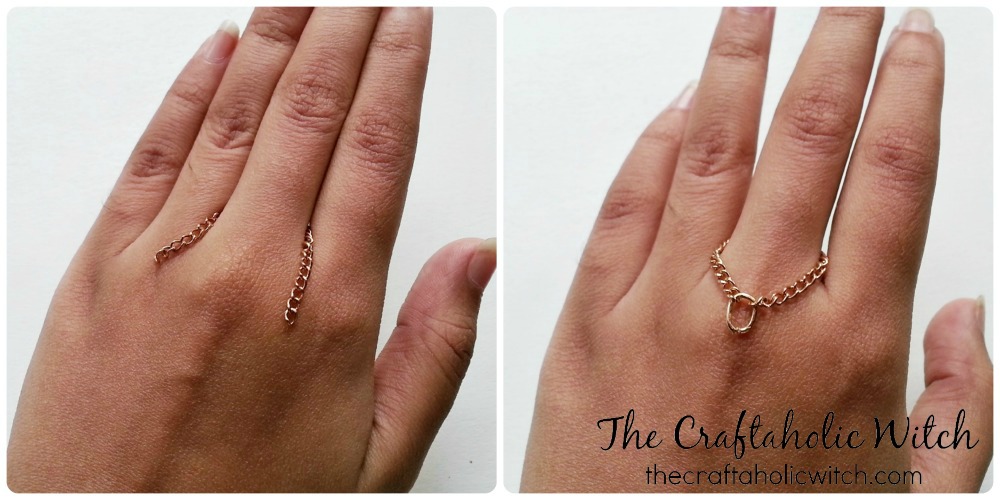
Wrap a length of chain around your finger to gauge the ring size, then cut it about 2 cm longer than the circumference. That extra length gives you enough slack to close the jump ring without the fit becoming too snug. Join both cut ends with a jump ring, slip the ring on, and check the fit before moving on. You want it snug enough not to spin freely but loose enough to slide off without a fight.
Step 2: Build the Double-Strand Bracelet
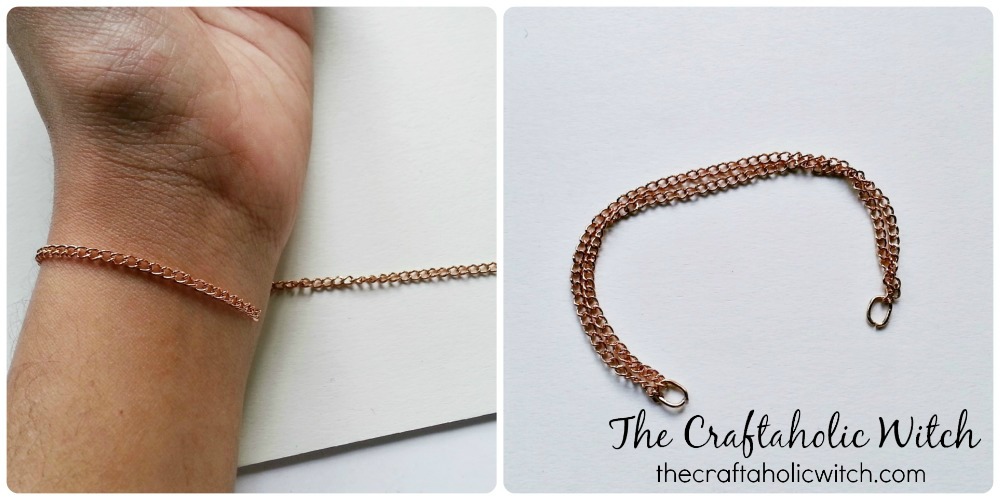
Wrap chain around your wrist to get the bracelet length, then cut two equal pieces at that measurement. Hold them side by side and join both ends on each side with a jump ring; this creates the double-strand look. Attach a lobster clasp to one of the end jump rings.
Keep the two strands flat and parallel as you close the jump rings. If one strand crosses over the other at the connector, the bracelet will twist on your wrist every time you wear it.
Step 3: Measure and Cut the Connector Chain
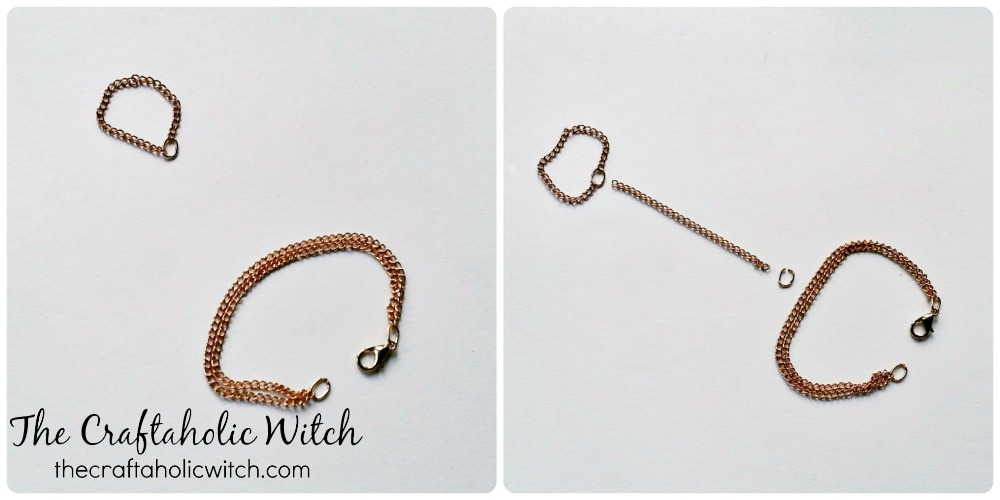
Put the ring on your finger and the bracelet around your wrist, then hold a loose length of chain across the back of your hand to judge how much you need. The amount varies by hand size, so measure it on your actual hand rather than estimating. Cut that piece and set it aside.
Tip: Cut the connector a link or two longer than your measurement. A chain that pulls the ring toward your knuckle is uncomfortable to wear all day, and trimming a couple of links after fitting is much easier than starting the piece over.
Step 4: Assemble the Hand Chain
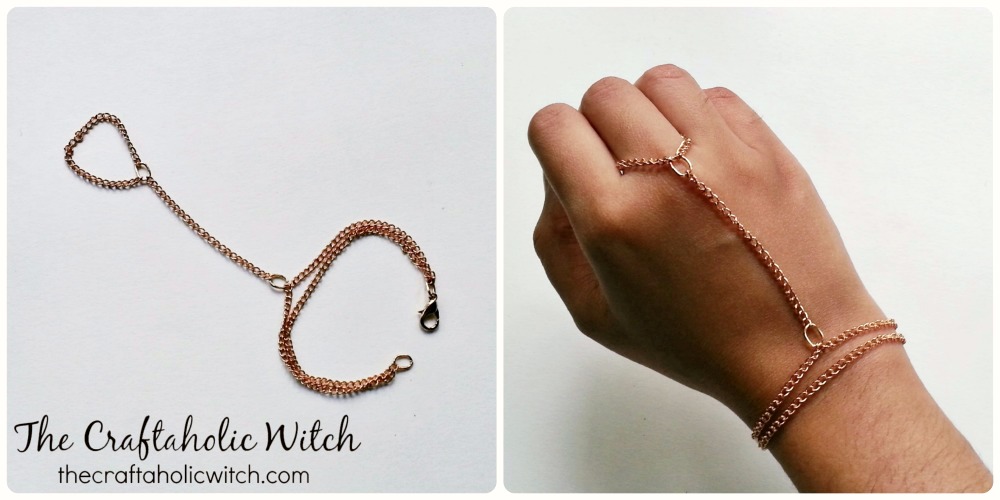
Use a jump ring to attach one end of the connector chain to the ring’s existing jump ring. Attach the other end to a center link on the bracelet, running it to one strand or threading it between both strands. Snap the lobster clasp shut and you’re done.
Share it in "I Made It" and let us cheer you on.
Post your finished make in "I Made It" so the community can celebrate it with you. Cheer on other makers too. Each month, the most loved craft wins 1 year of Craftaholic Premium ($59)
Tips for Making a Hand Chain
- Medium-weight curb chain holds its shape better across the back of the hand than fine cable chain, which tends to twist when worn.
- For a layered look, run a second connector chain parallel to the first, or add a second ring on an adjacent finger.
- A toggle clasp is a prettier alternative to the lobster clasp, but it usually needs both hands to fasten, so it works best when you always have someone to help you put it on.
Frequently Asked Questions
What size chain do I need to make a hand chain?
Plan on about 50 cm total: roughly 7 to 9 cm for the ring, 18 to 22 cm each for the two bracelet strands, and 8 to 12 cm for the connector piece that crosses your hand. Measure as you cut rather than pre-cutting everything, because hand and wrist sizes vary quite a bit.
Can I make a hand chain without pliers?
You need two pairs of flat-nose pliers to open and close jump rings properly. Opening them by hand warps the ring shape and leaves a gap the chain can eventually pull free through. A basic craft-store pair costs a few dollars and is worth having for any jewelry project.
What type of clasp works best for a DIY hand chain?
A lobster clasp is the most practical choice because you can click it shut with one hand, which matters when you’re putting on a bracelet by yourself. A toggle clasp looks nicer but usually needs a helper to fasten, so save it for a version you always put on with someone around.
Can I use a single bracelet strand instead of two?
Yes, a single strand works fine. The double-strand version gives the bracelet a fuller look, but one chain is easier to size and sits just as securely. Just attach the connector piece to a center link on the single strand.
How long does it take to make a hand chain?
About 30 minutes from start to finish. Most of that time goes into measuring and cutting the four chain sections to the right lengths. If this is your first time working with jump rings, give yourself an extra 10 minutes.
More Jewelry Making Tutorials
- How to Make a Heart Necklace with Wire for Beginners
- How to Make Hoop Earrings with Beads
- DIY Beaded Wire Ring
- Easy Wire Wrapped Dragonfly Pendant for Beginners
Share your hand chain in the I Made It space inside Craftaholic Community. The most-loved post each month wins a one year free Premium membership.
0 Comments
Join the conversation
Log in to your Craftaholic Community account to comment, ask questions, and cheer on fellow makers.
Log in to comment