

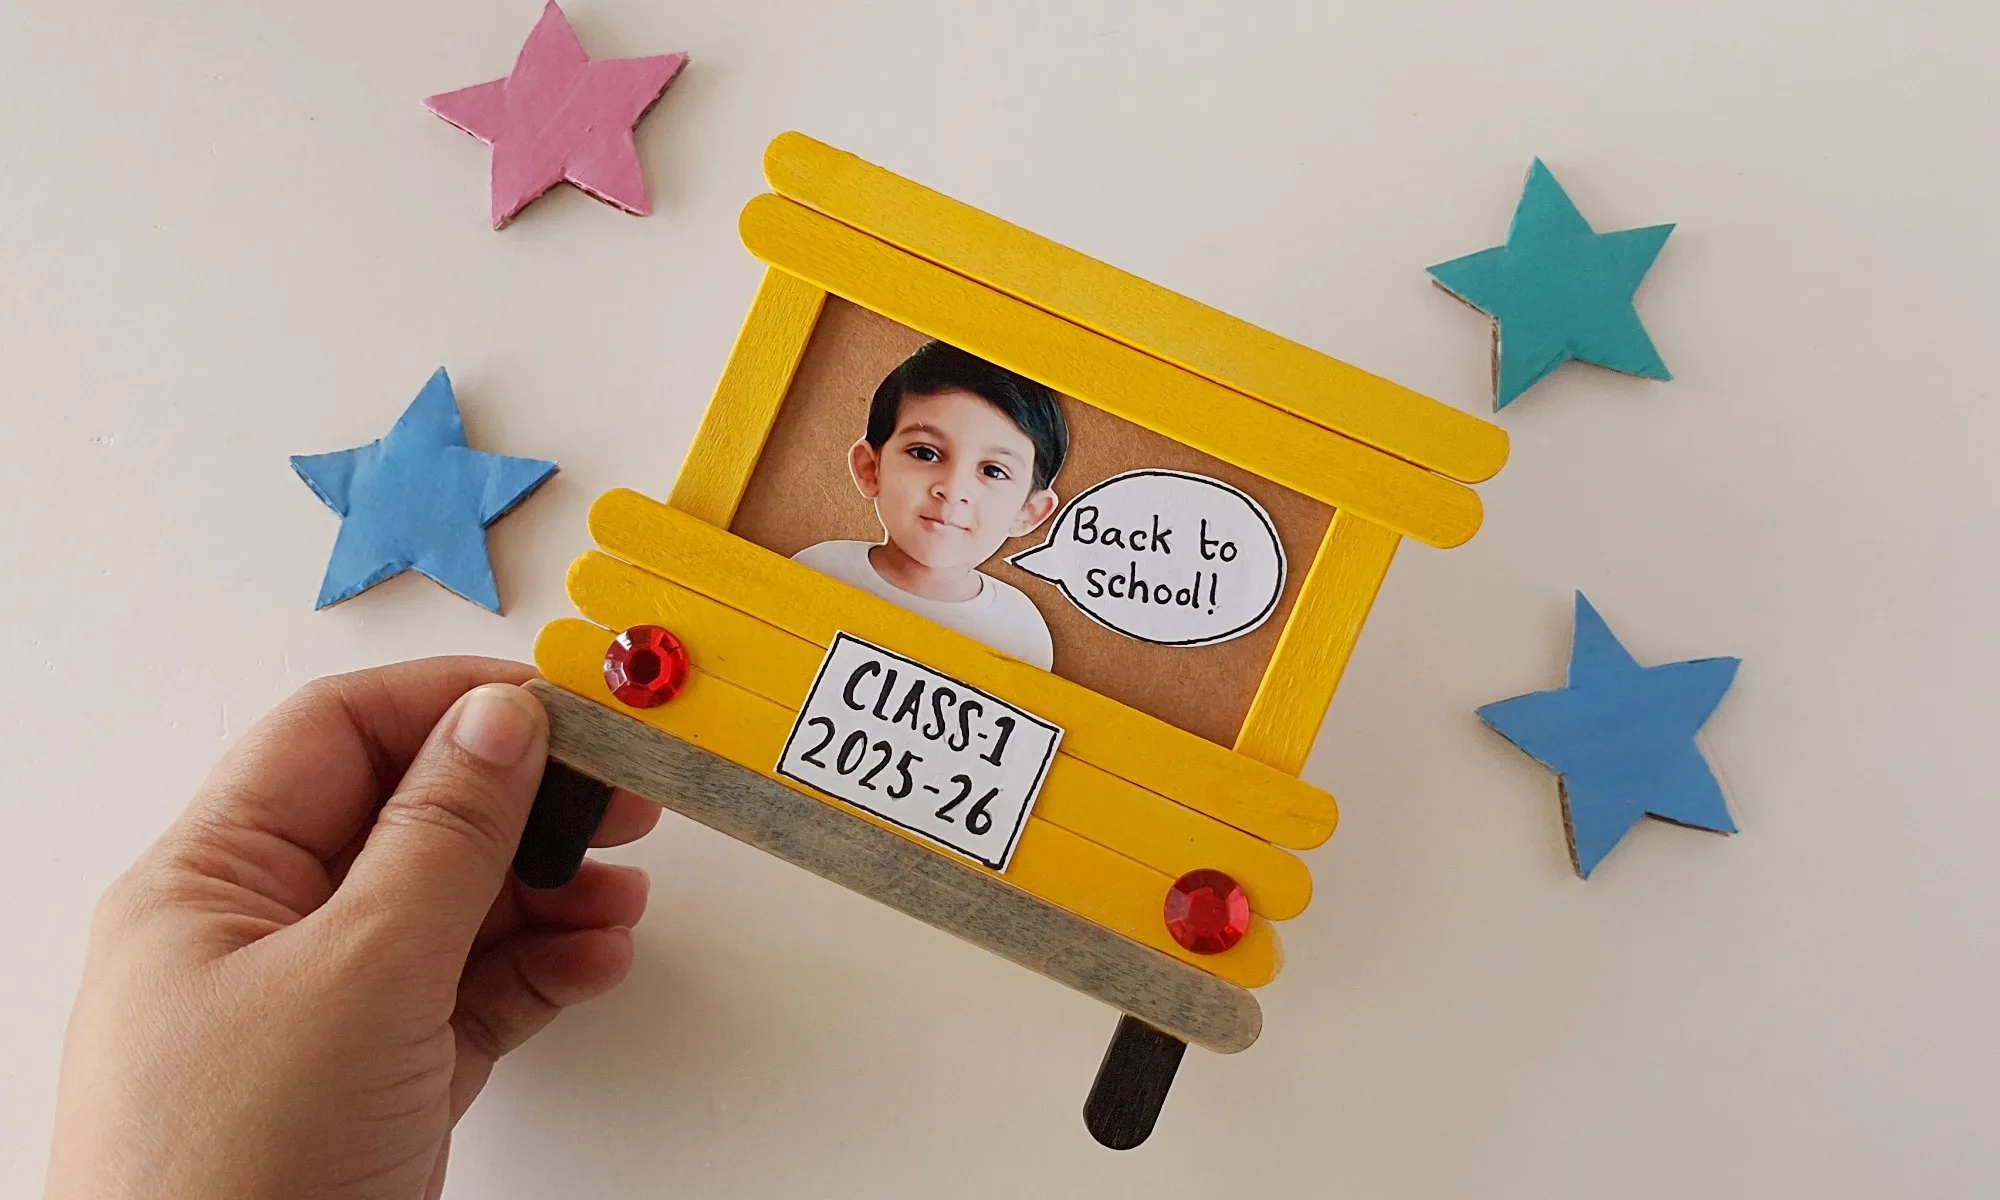
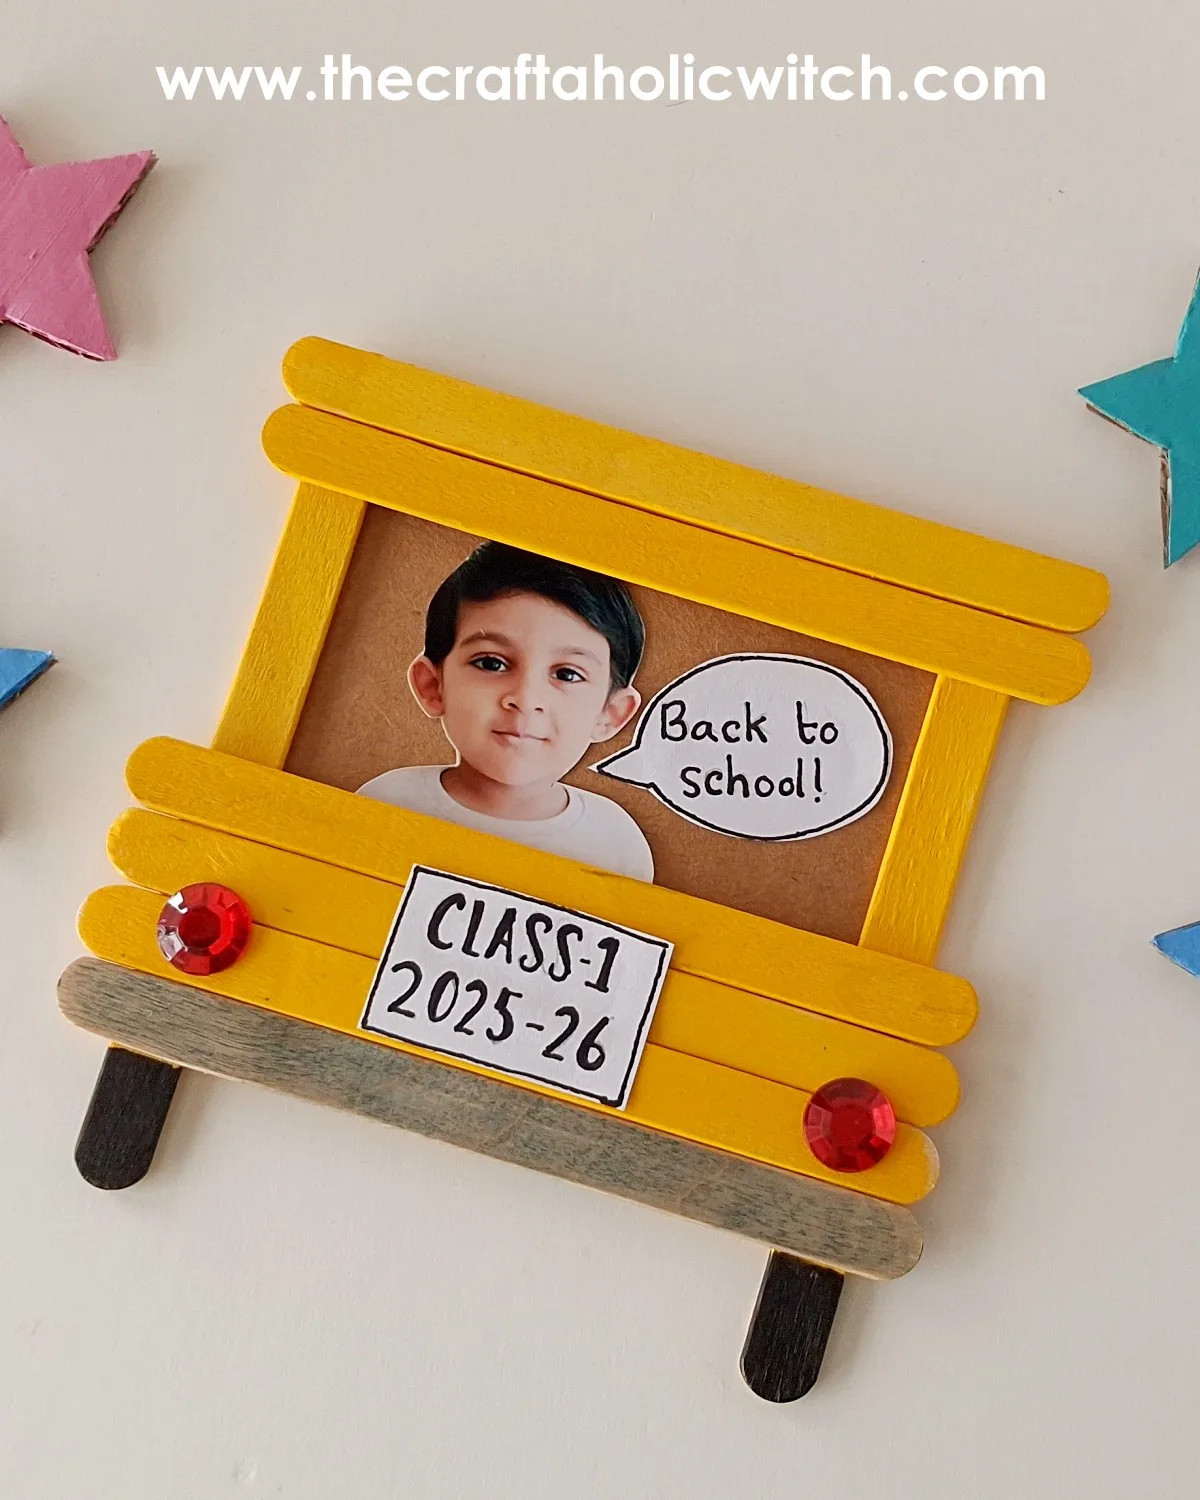
You can turn eight popsicle sticks into a cheerful yellow school bus photo frame in about half an hour, with your child’s picture glued right where the driver’s seat would be.
This photo frame is No. 5 in A Craft for Everyone Heading Back to School, our nine-project collection built around the three people a new school year is really about: the teacher setting up the room, the student walking in, and the parent sending them off. It follows the beaded bracelet for teachers in Act 2, the student-facing trio, with monster bookmarks up next.
All you need is a handful of craft sticks, a couple of acrylic markers, and some glue drying time between layers. It’s simple enough for a six year old to handle the gluing and coloring, with an adult taking care of the scissors and the small rhinestone accents. Prop it on a desk or send it home with a first day of school photo tucked inside as a keepsake, or browse the rest of the back to school collection for more.
Popsicle Stick School Bus Photo Frame at a Glance
- Difficulty: Beginner
- Time: 30 to 40 minutes, plus drying time between coats
- Cost: Under $5
- Ages: 6 and up, with adult help for gluing and the rhinestone accents
- Best for: Back-to-school gifts, classroom keepsakes, teacher appreciation
Join Craft Challenge: Craft Your Calm
Make something that brings you a sense of peace, share a photo, and tell us your story. It's free to enter, open to everyone, and the entry with the most reactions takes home a $100 gift card. Takes five minutes to join.
Entries close August 30, 2026. No purchase necessary.
What You Need to Make a Popsicle Stick School Bus Photo Frame
Materials
- 8 popsicle sticks, all the same length, so the frame sits flush and square once it’s glued
- 2 red decorative rhinestones, for the bus’s headlights
- Craft glue, strong enough to hold the stacked sticks together once it cures
- Cardstock paper, cut to back the open window so the photo has something to rest against
- A passport size or small wallet size photo of your child
- A scrap of white paper, for writing a name or class note next to the photo
Tools
- Acrylic markers in yellow, grey, and black, for a bus yellow coat that dries fast and covers in one pass
- A pair of scissors, for trimming the cardstock and photo to size
- A pen or marker, for the name or class note
Ask inside "Crafty Q&A" while you are making.
"Crafty Q&A" is free to join. Share your question, photo, or the exact step where you got stuck, and chat with other makers plus the Craftaholic Witch team. You can also join any discussion thread already happening inside the space.
How to Make a Popsicle Stick School Bus Photo Frame
Step 1: Selecting the Popsicle Sticks
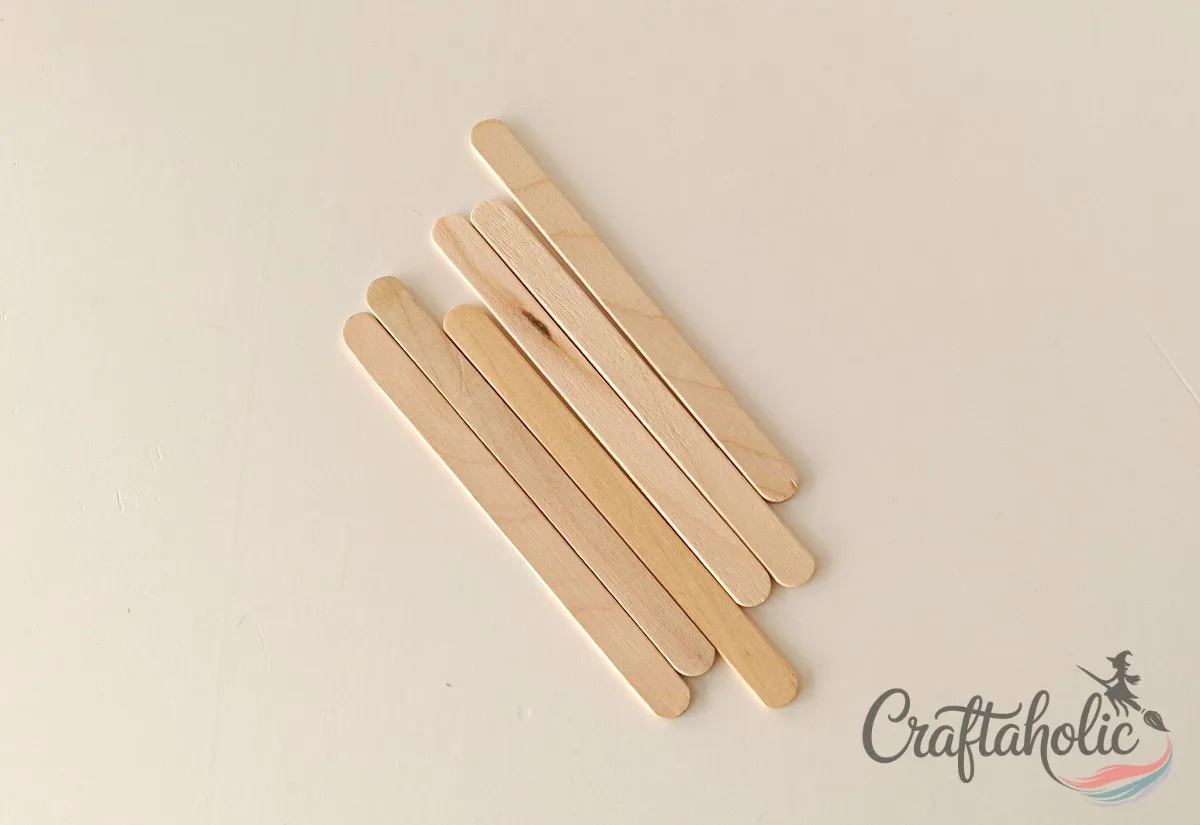
Grab eight popsicle sticks and line them up side by side. You want all eight the exact same length, since even one short stick will throw off the bus’s edges once everything is glued in place.
Step 2: Paint the Popsicle Sticks
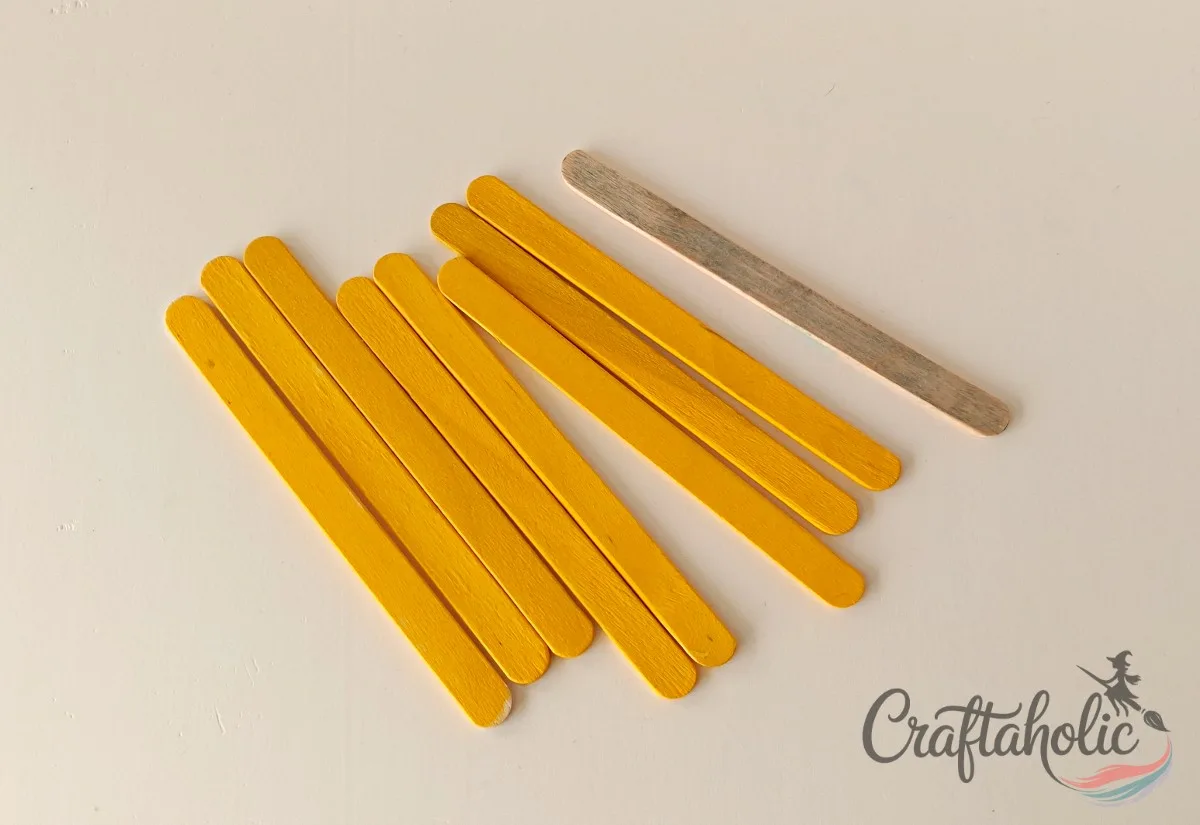
Set one stick aside and color it grey. This one becomes the bus’s window band. Color the remaining seven yellow, going over each one twice so the wood grain doesn’t show through, then let everything dry flat for about ten minutes before you start gluing.
Step 3: Place the Base Sticks
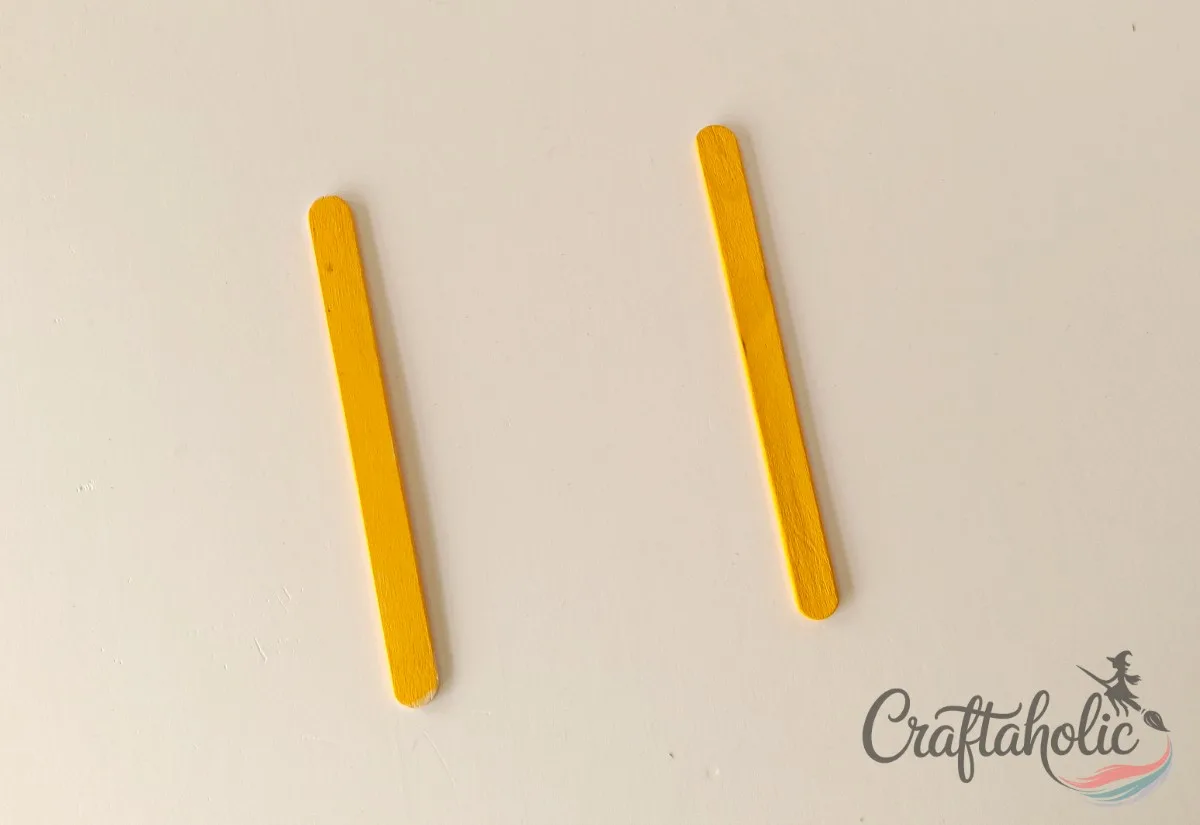
Lay two yellow sticks on your work surface, running parallel like train tracks. Leave a gap between them that’s noticeably narrower than the sticks are long; that gap becomes the open window where the photo goes later.
Step 4: Join the Top Popsicle Stick
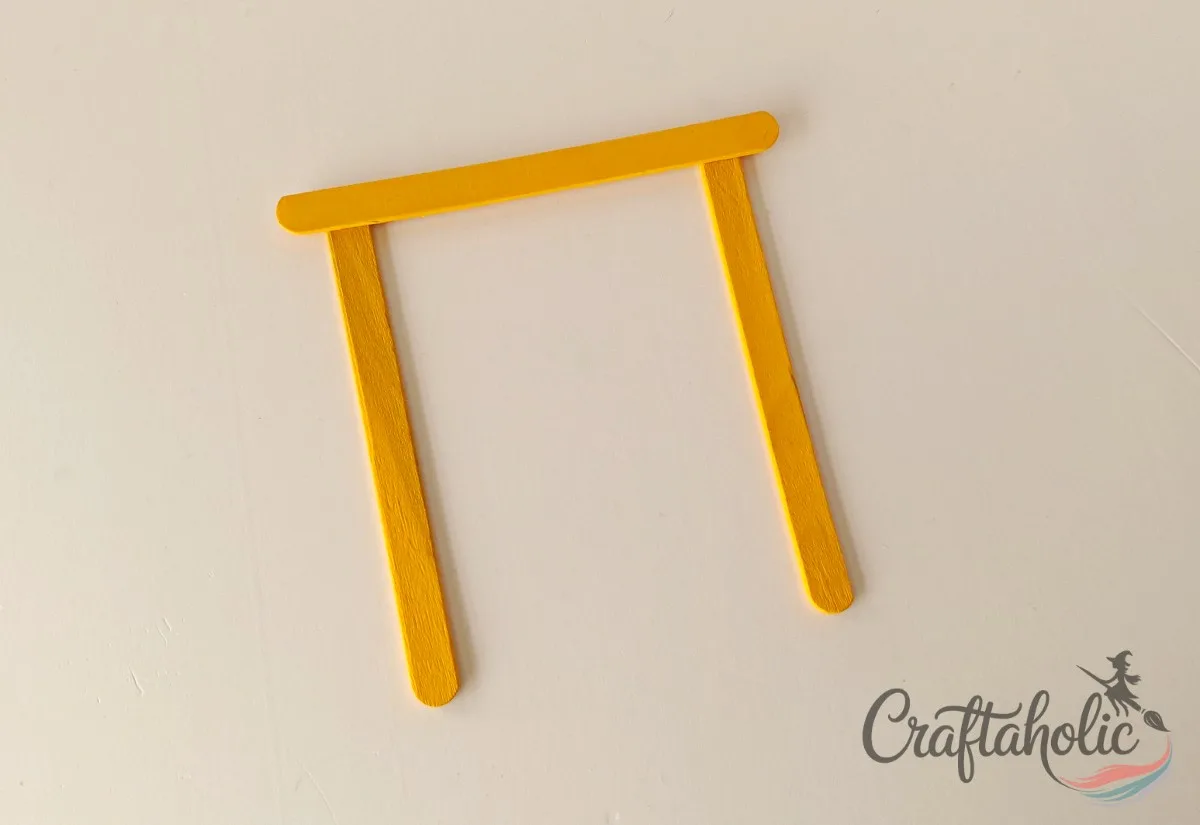
Run a thin line of craft glue across the top of both parallel sticks and press a third yellow stick down horizontally, capping the top like a bridge. Hold it in place for about thirty seconds while the glue grabs.
Step 5: Join More Sticks
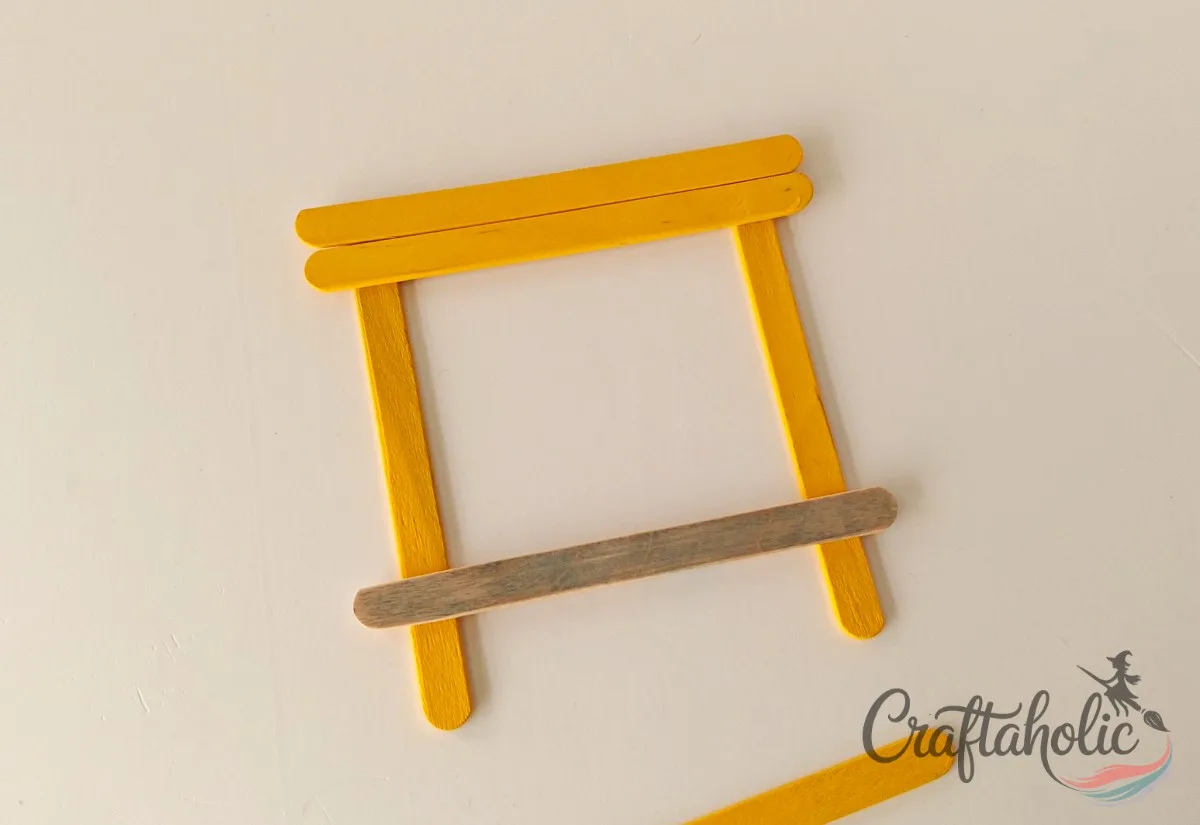
Glue another yellow stick directly below the one you just placed, then glue the grey stick underneath that. Stop the grey stick about 2 centimeters short of the open end of the two parallel sticks on each side; that leftover 2 centimeters is where the tires get painted in the next step.
Step 6: Complete the Bus Pattern
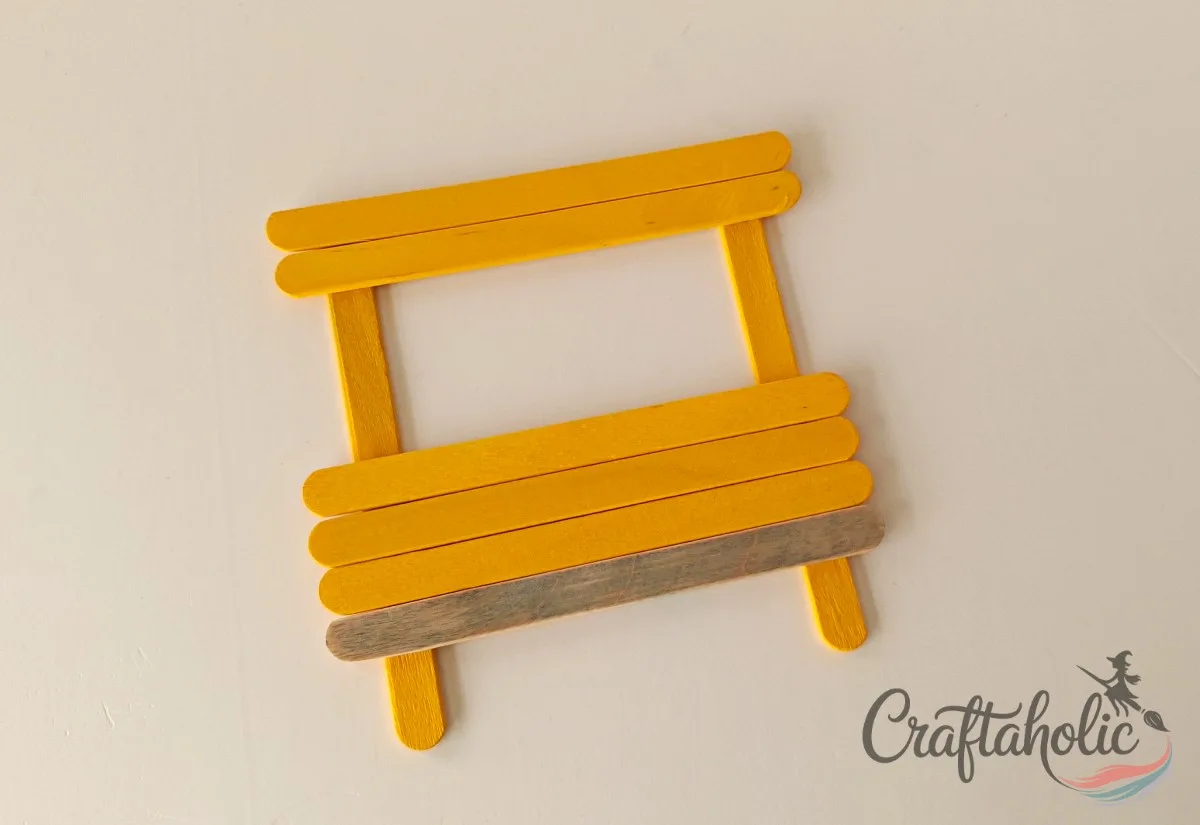
Glue three more yellow sticks above the grey one, stacking them snug against each other with no gaps. Once this layer dries, the bus shape is essentially built, and the empty rectangle between the top sticks and the grey one is your bus window.
Step 7: Paint the Tires
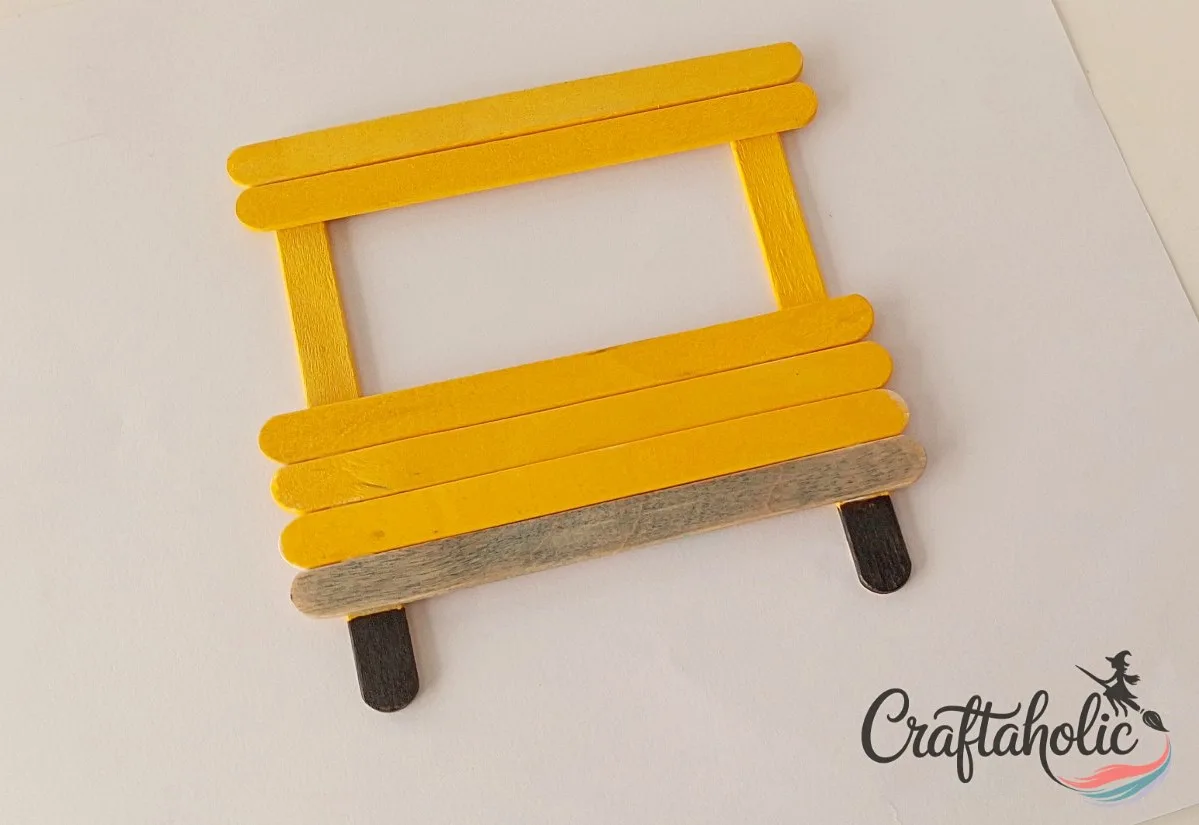
Take a black marker to the two short 2 centimeter sections you left exposed on the parallel sticks and fill them in solidly. These become the bus’s front tires once the frame stands upright.
Step 8: Attach a Cardstock Paper
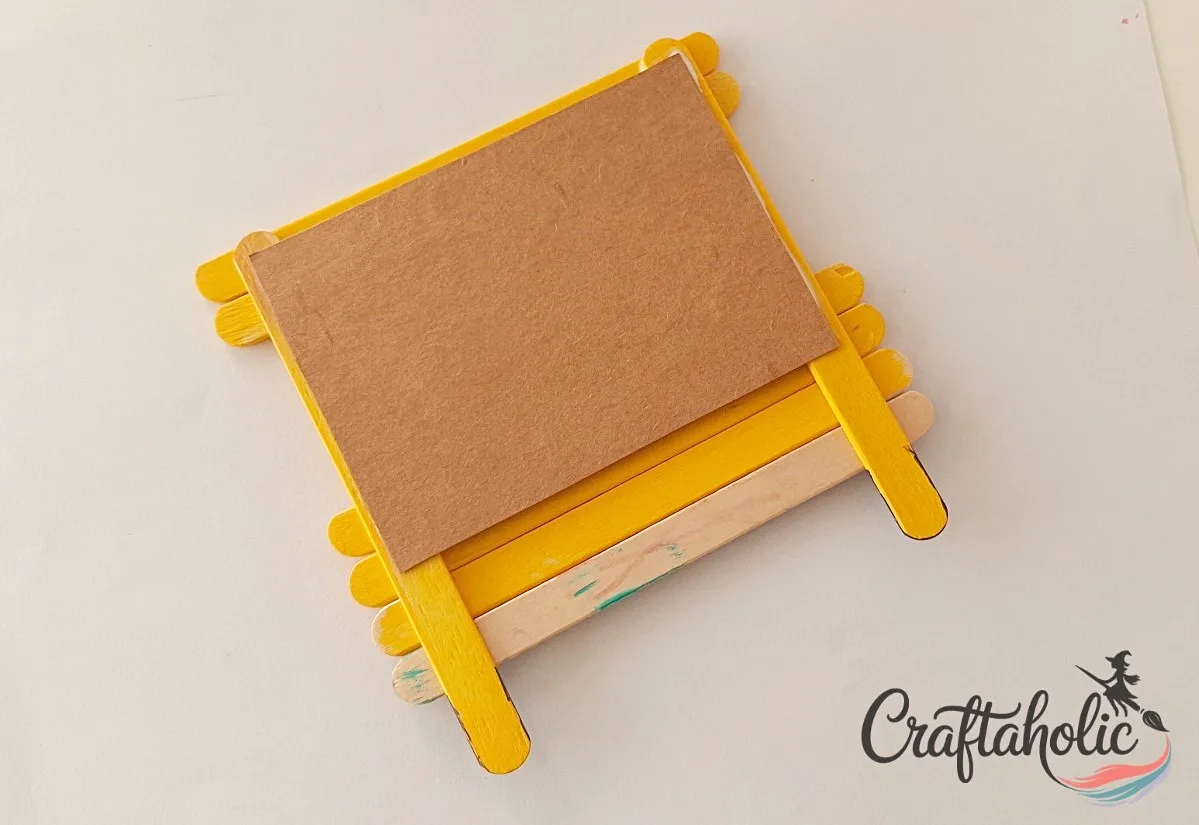
Cut a piece of cardstock to fit snugly inside the open window between the stacked sticks. Flip the whole bus over and glue the cardstock to the back, covering the opening. This backing is what your child’s photo will sit against.
Step 9: Add the Front Lights
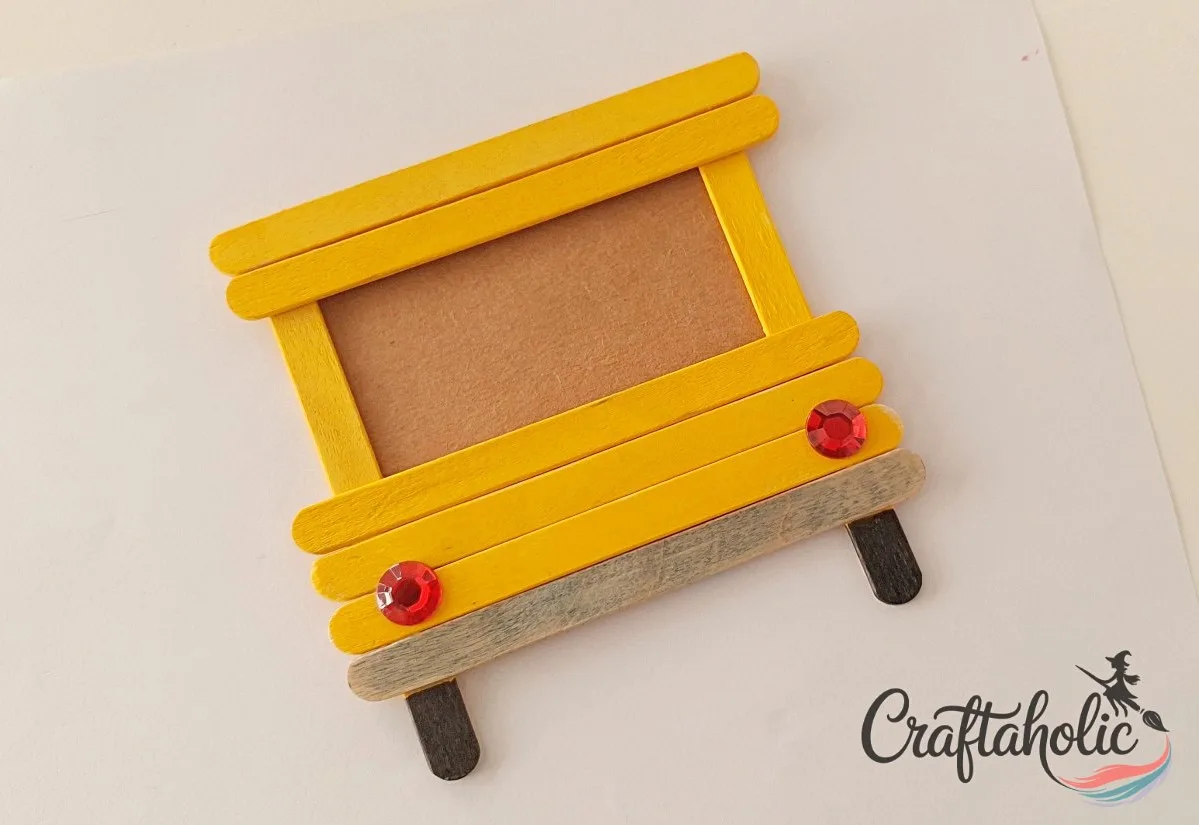
Dab a small amount of glue on each side of the grey stick and press a red rhinestone into each spot. They sit right above the tires and read as the bus’s headlights once the frame is finished.
Step 10: Add Your Child’s Photo and School Info
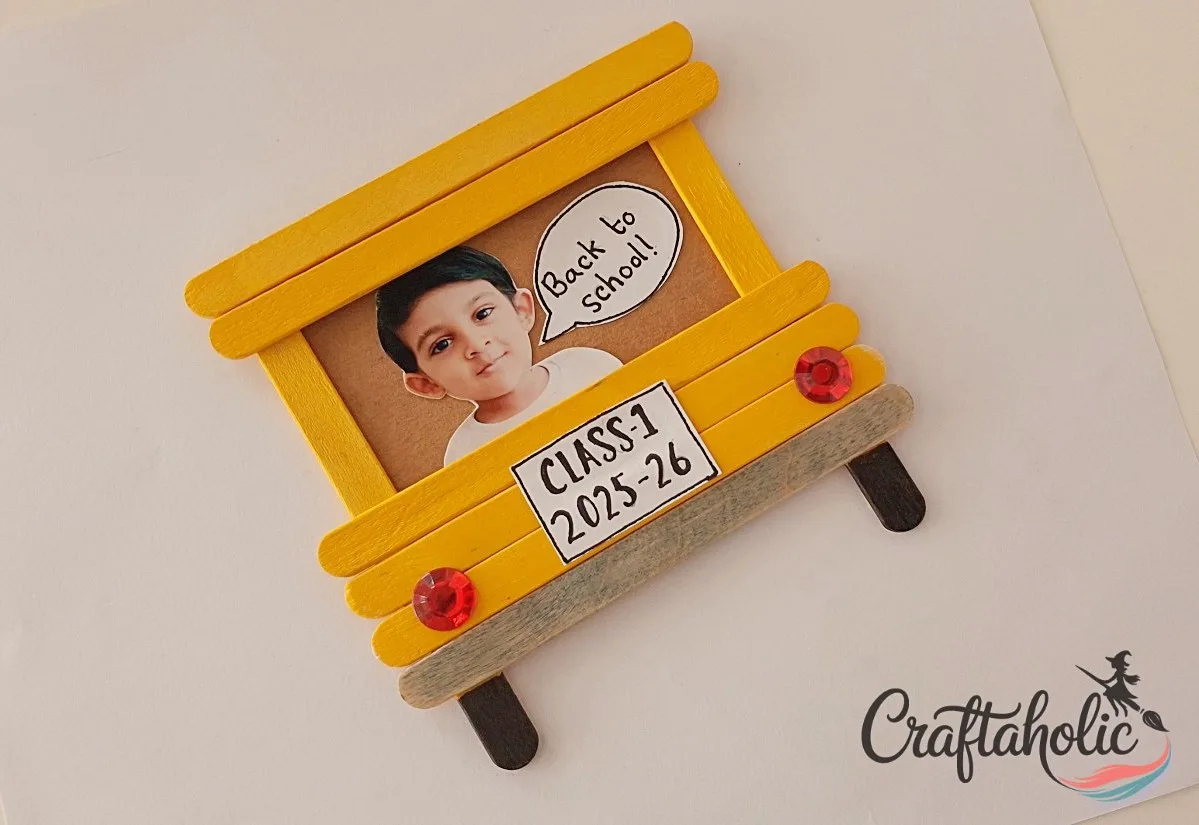
Trim your child’s photo to fit inside the window and glue it to the cardstock backing, positioned like they’re sitting in the driver’s seat. Add their name, grade, or a short note on the scrap of white paper next to the photo. This is the step that turns it from a craft into a keepsake, so take your time here.
Share it in "I Made It" and let us cheer you on.
Post your finished make in "I Made It" so the community can celebrate it with you. Cheer on other makers too. Each month, the most loved craft wins 1 year of Craftaholic Premium ($59)
Tips for the Popsicle Stick School Bus Photo Frame
- Let each coat of paint dry fully before gluing pieces together. Wet paint under glue can peel and lift later.
- No acrylic markers on hand? Regular acrylic paint and a small flat brush work just as well; just give it a bit longer to dry between coats.
- The frame lies flat once it’s built. Glue a folded strip of cardstock or a small magnet to the back if you want it to stand on a desk or stick to a fridge.
- Swap the rhinestones for flat-back gems or star stickers if you’re making this with a toddler who still puts small things in their mouth.
Frequently Asked Questions
Can I make this without acrylic markers?
Yes. Regular acrylic paint and a small brush work just as well for coloring the sticks. Apply two thin coats instead of one, and give each coat a few extra minutes to dry before you start gluing.
Does the popsicle stick bus frame stand up on its own?
Not on its own; it’s built flat. Glue a folded strip of cardstock or a small magnet to the back of the frame if you want it to stand on a desk or shelf, or simply lean it against something.
How long does this craft actually take?
Budget about 30 to 40 minutes of hands-on time, plus roughly 10 minutes of paint-drying time in between steps. Most of that is gluing and waiting for each layer to set before adding the next.
Is this project safe for younger kids?
The gluing and painting steps are fine for kids around 6 and up with supervision. The small rhinestones are a choking risk for toddlers, so swap them for stickers or skip them if you’re crafting with a child under 3.
What size photo fits the frame best?
A passport size or small wallet size photo fits the window created by the parallel sticks best. If your printed photo is bigger, trim it down before gluing so it sits flush against the cardstock backing.
More Paper Crafts Tutorials
Browse our full paper crafts collection for more kid-friendly projects like this one:
- How to Make a Paper Quilling Photo Frame
- Easy Star Pencil Toppers
- Toilet Paper Roll Fairy House Lantern
Share your popsicle stick school bus photo frame in the I Made It space inside Craftaholic Community. The most-loved post each month wins a one year free Premium membership.
0 Comments
Join the conversation
Log in to your Craftaholic Community account to comment, ask questions, and cheer on fellow makers.
Log in to comment