

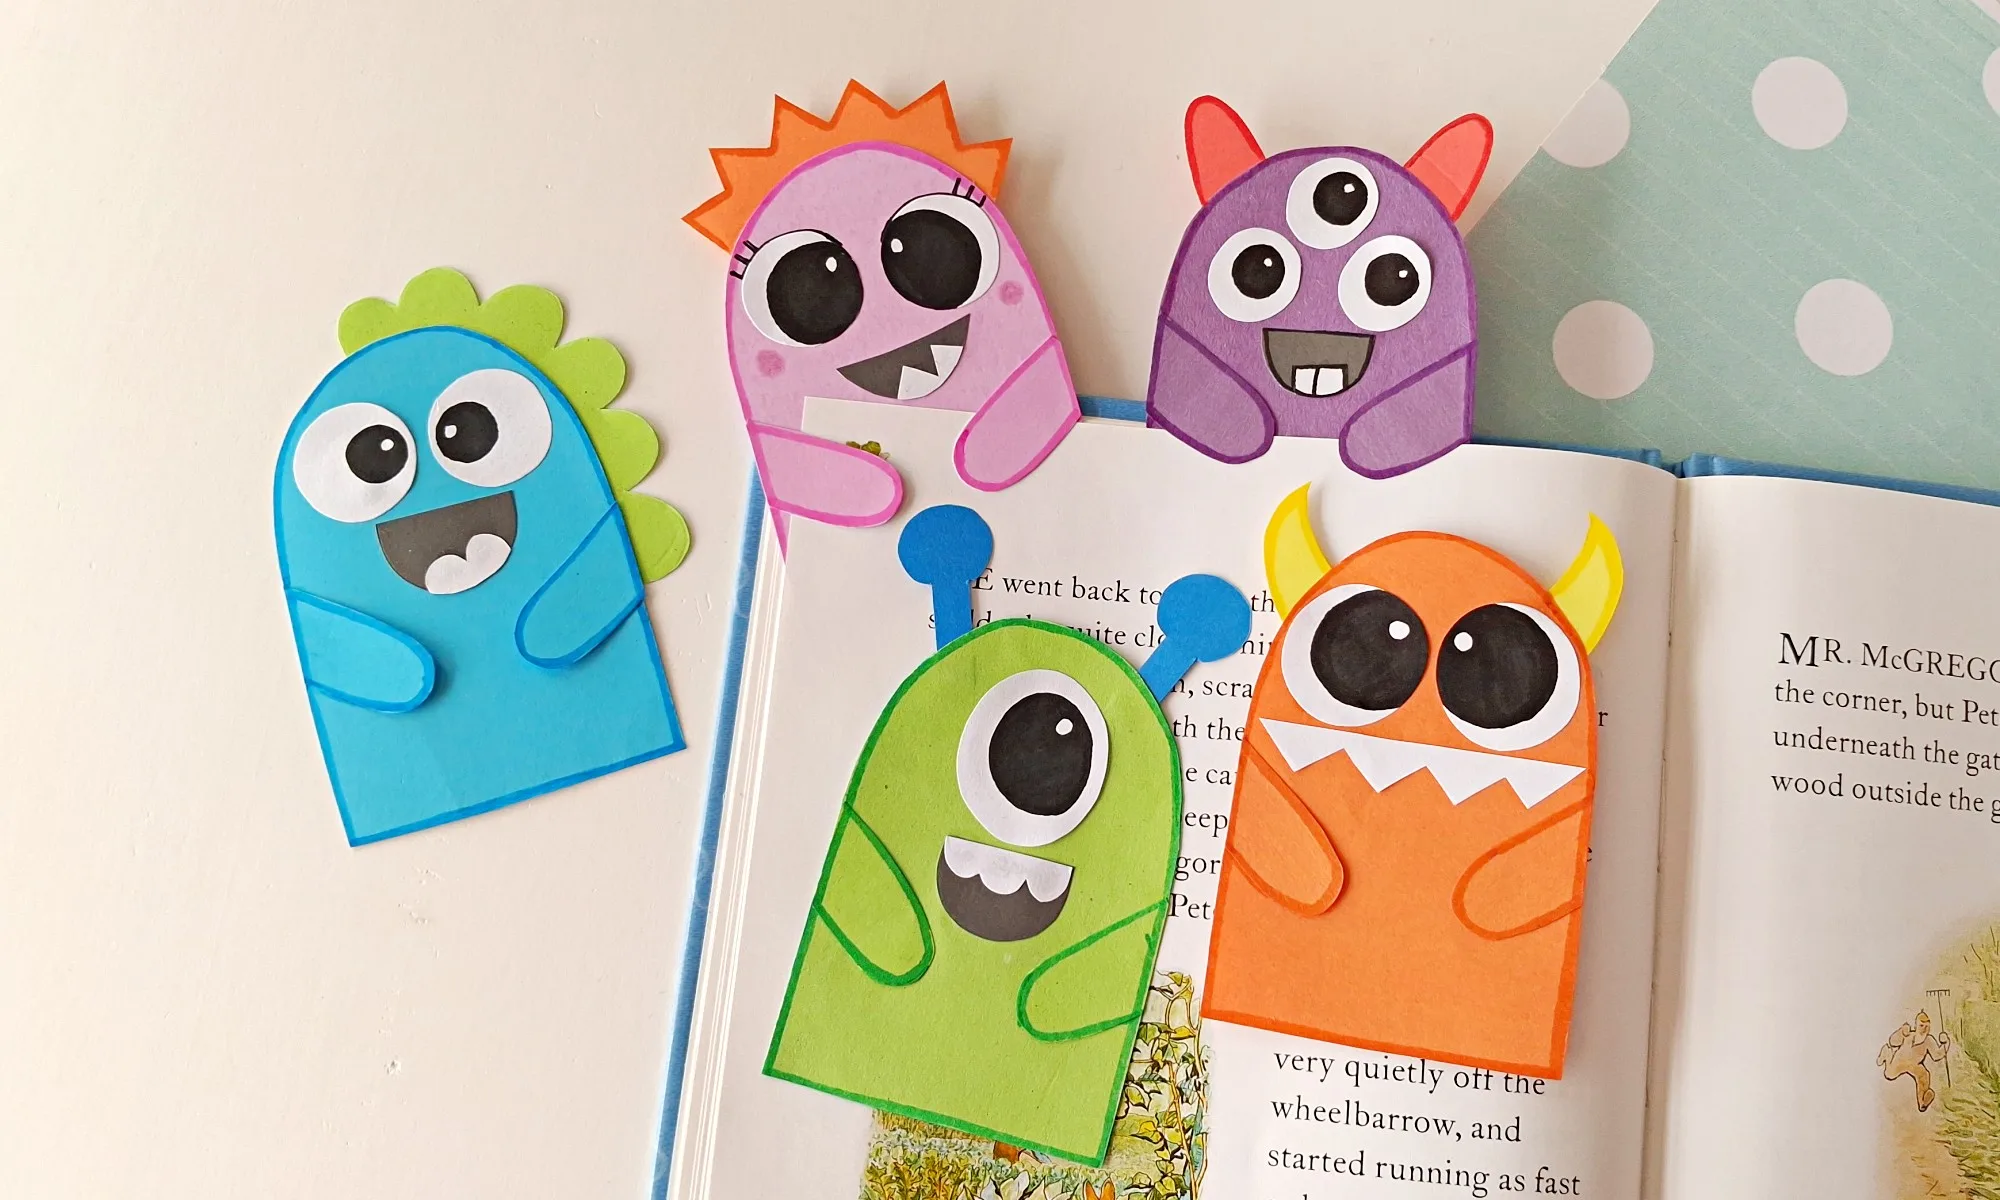
A monster bookmark like this is exactly the kind of thing that makes a kid actually want to open their book bag. You’ll turn a handful of colored craft paper into five snaggle-toothed monster bookmarks with nothing but scissors, glue, and markers, in about half an hour.
These bookmarks are No. 6 in A Craft for Everyone Heading Back to School, our nine-project collection built around the three people a new school year is really about: the teacher setting up the room, the student walking in, and the parent sending them off. They follow the school bus photo frame, closing out Act 2’s student-facing trio.
Make a whole set and let the kids pick their favorite before the first day back, or browse the rest of the back to school collection for more.
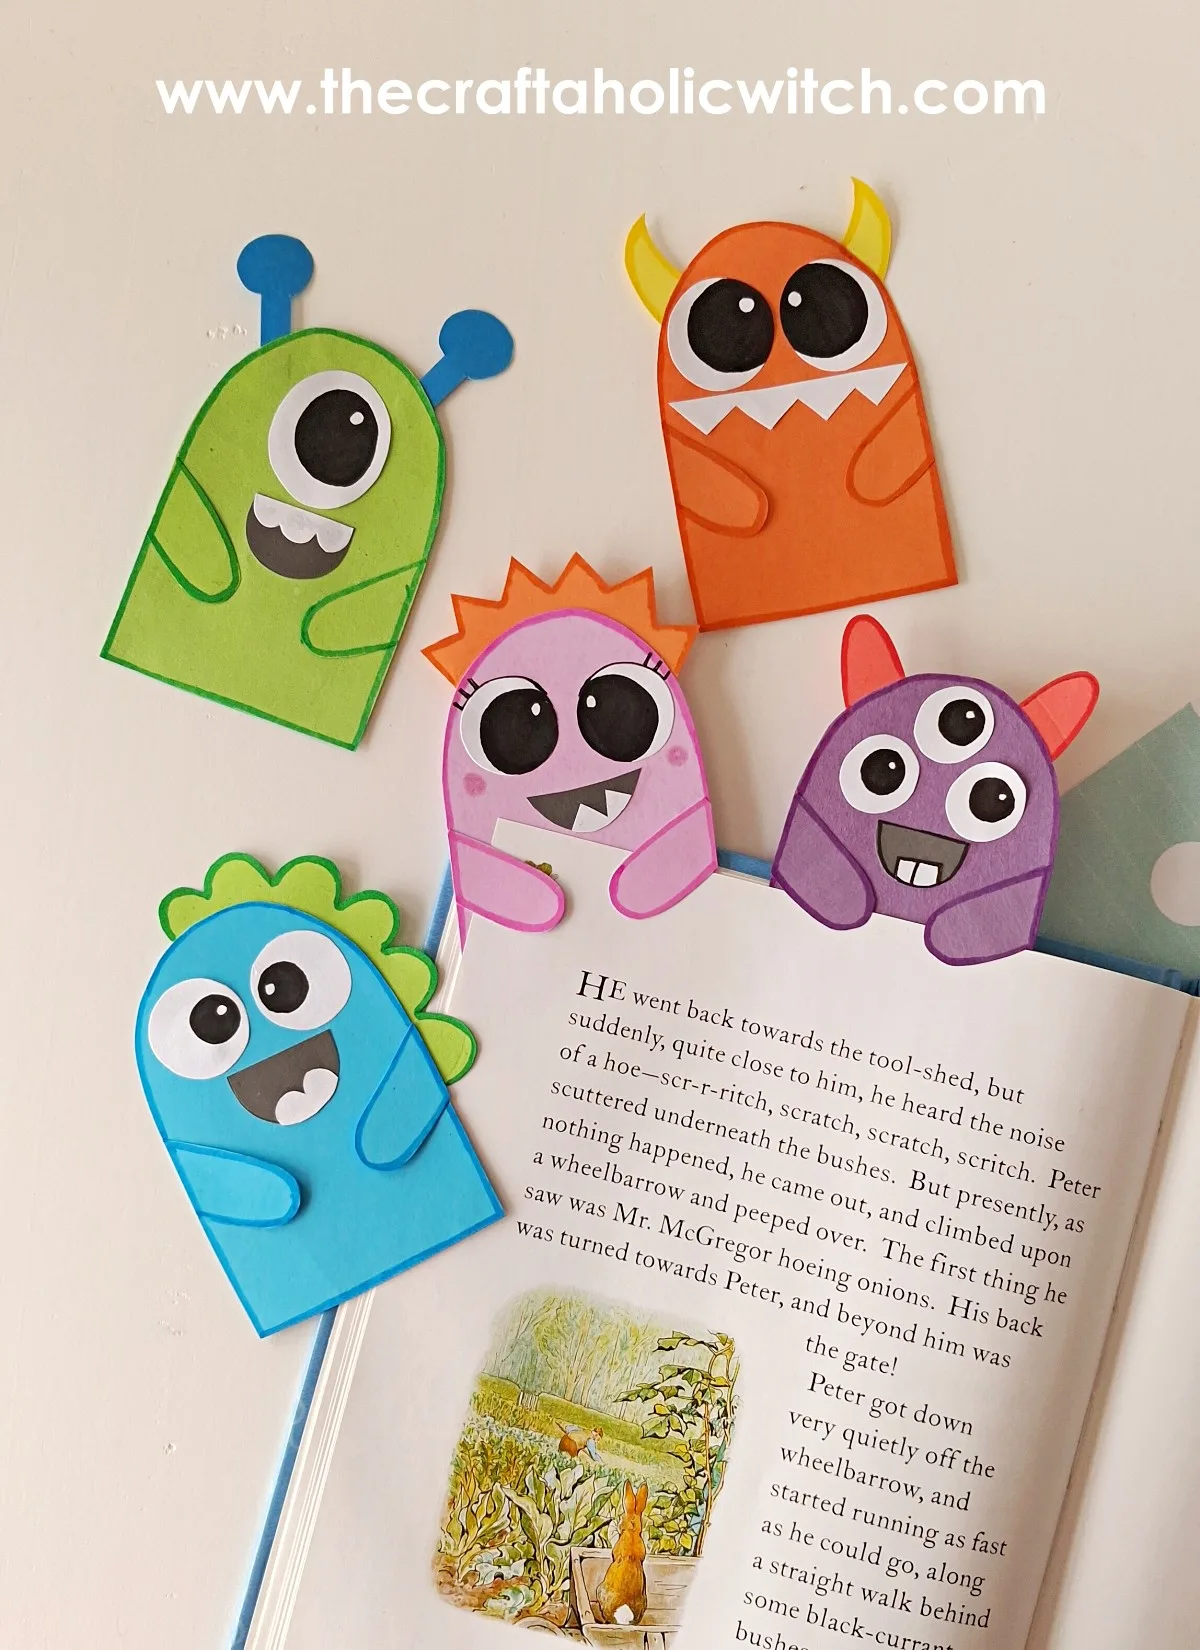
List of Supplies:
- Colored craft papers
- Pencil
- A pair of scissors
- Craft glue
- Markers
Join Craft Challenge: Craft Your Calm
Make something that brings you a sense of peace, share a photo, and tell us your story. It's free to enter, open to everyone, and the entry with the most reactions takes home a $100 gift card. Takes five minutes to join.
Entries close August 30, 2026. No purchase necessary.
Instructions:
Step 1: Preparing the Patterns
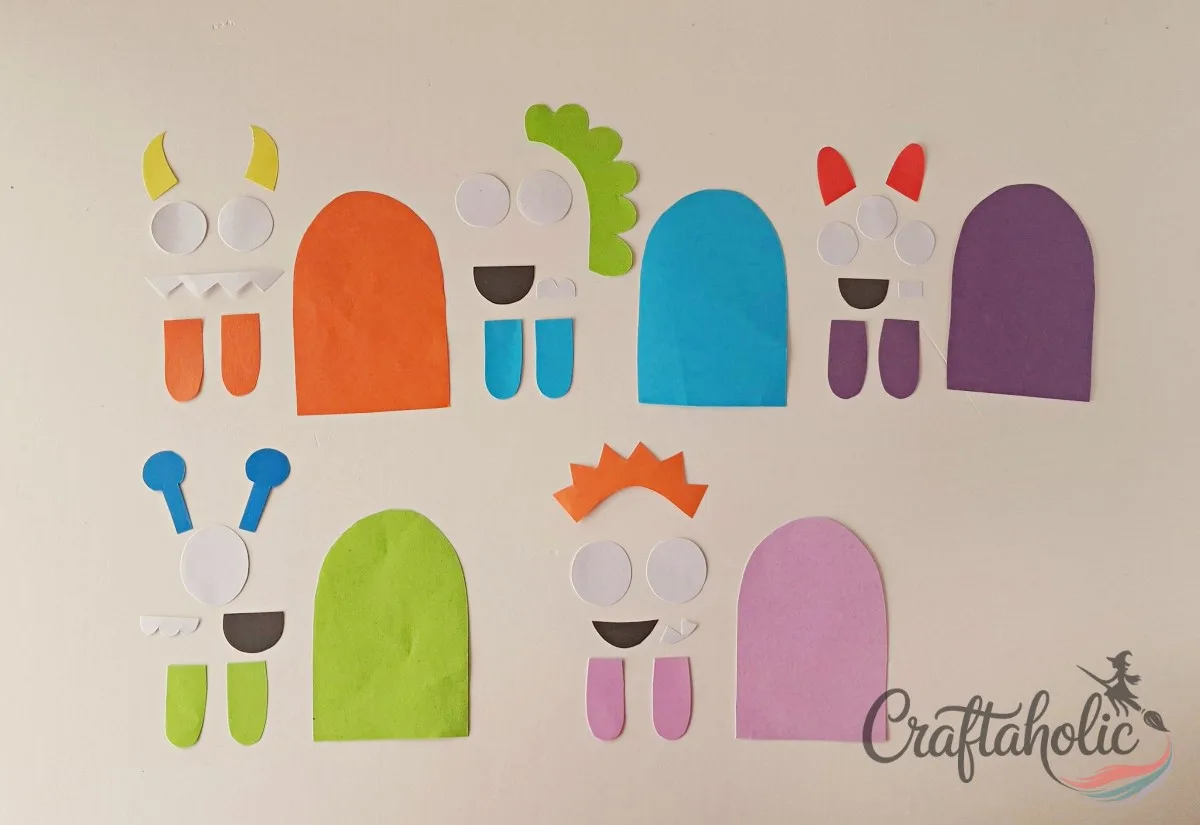
Select different fun and bright colored craft papers for the cute monster hug bookmarks. Use white paper for the eye bases and colors of your choice for the rest of the patterns. Trace the patterns on the selected colored craft papers, and cut out the traced patterns with a pair of scissors.
Step 2: Select Patterns for a Monster
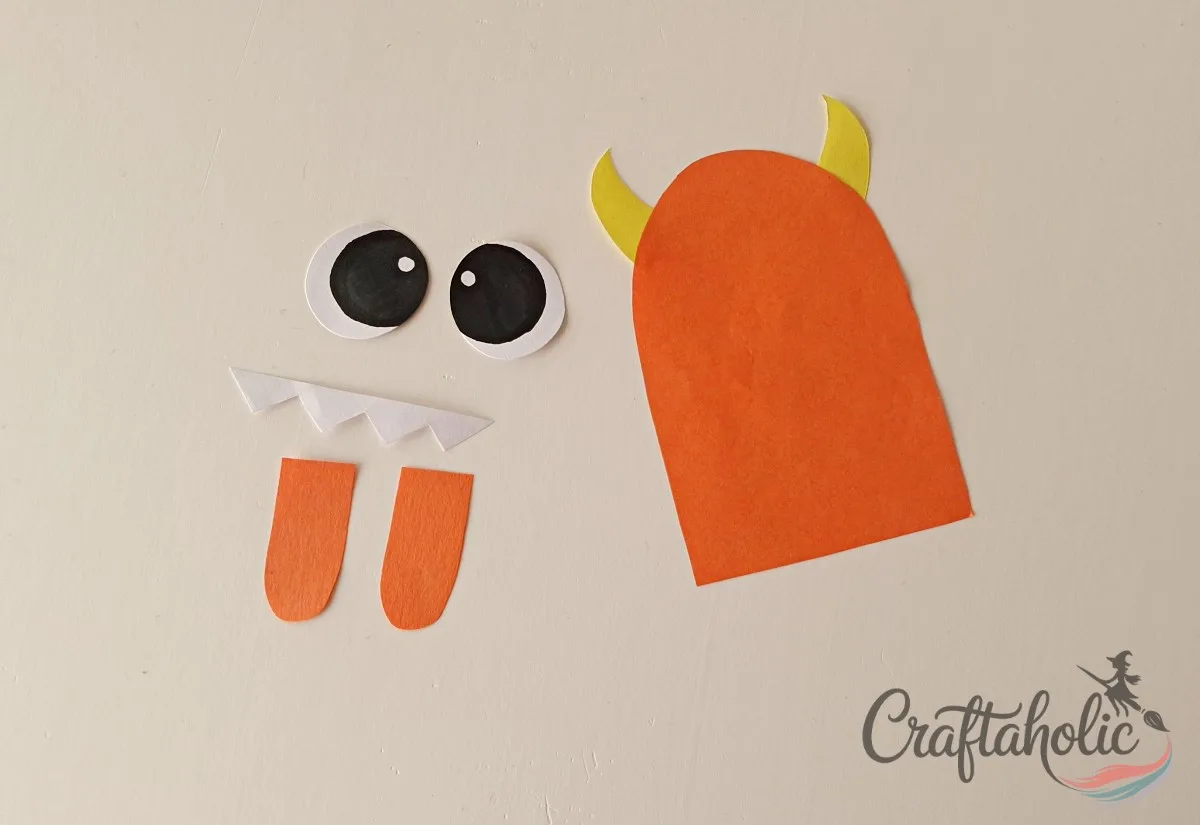
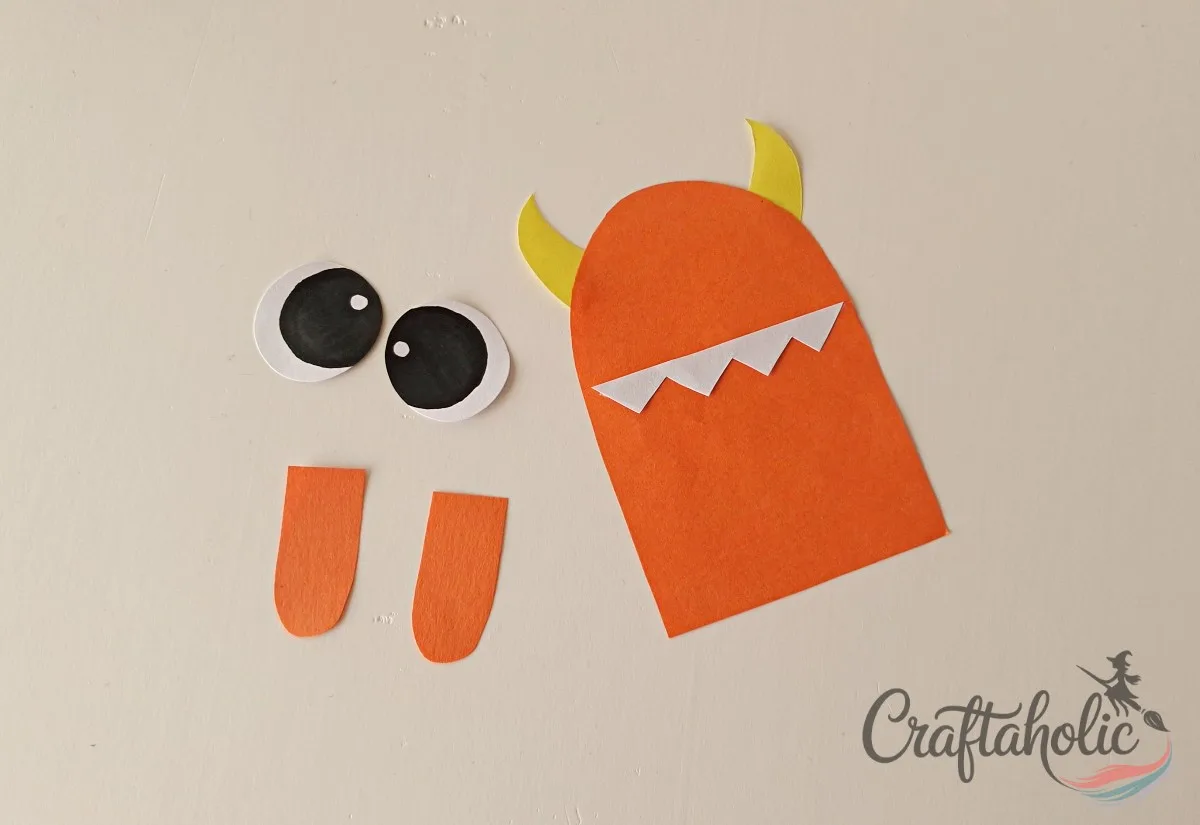
You can mix and match the parts to make your monster. I’ve glued 2 horns to the top side of a monster base and selected zigzag teeth for it. Draw eyes on the eye base cutouts with a marker.
Step 3: Glue the Teeth Cutout
Glue the zigzag teeth cutout to the base, near the top part. Make sure to keep enough space above the teeth for the eyes.
Step 4: Glue the Eyes
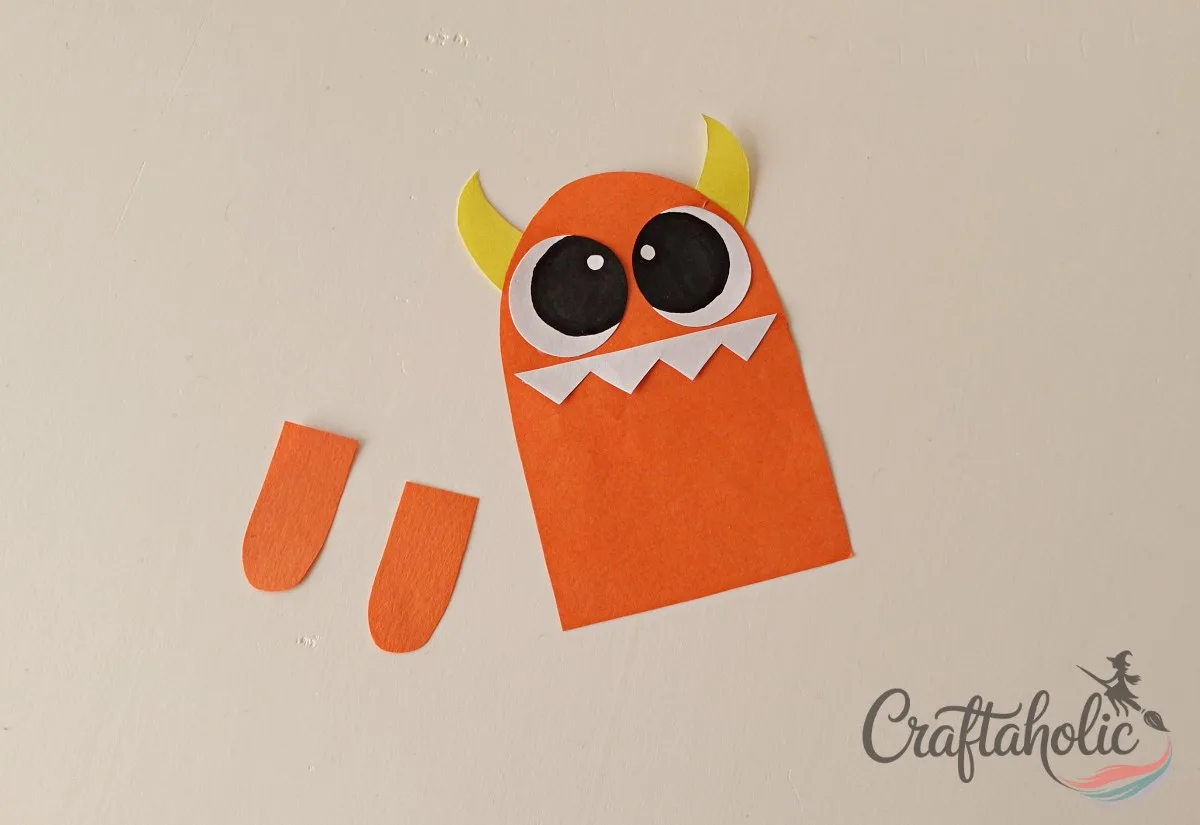
Glue the eyes to the base, above the teeth.
Step 5: Glue Arm Cutouts to the Side
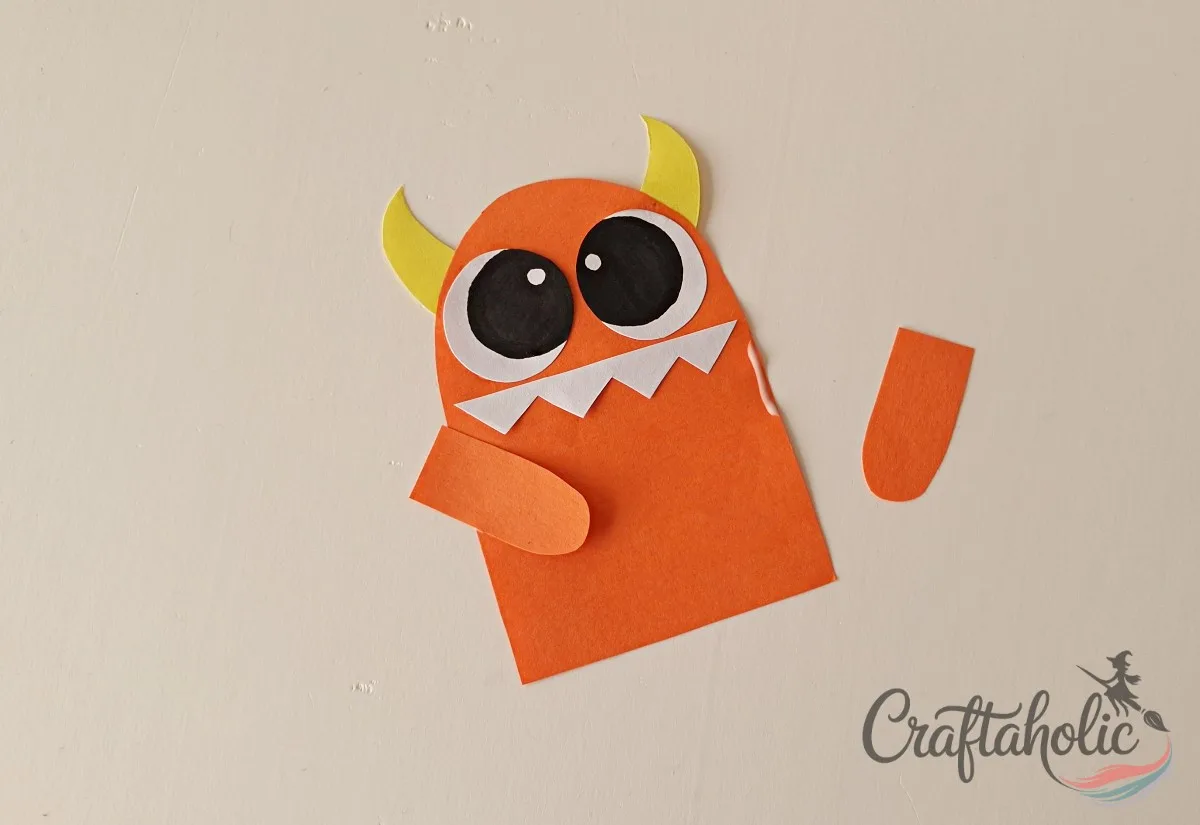
Apply a short line of glue along the left and right sides of the base to join the arms. Join the outer side of the arm to the glued part and keeping the round end of the arm inside the base.
Step 6: Glue Both Arms
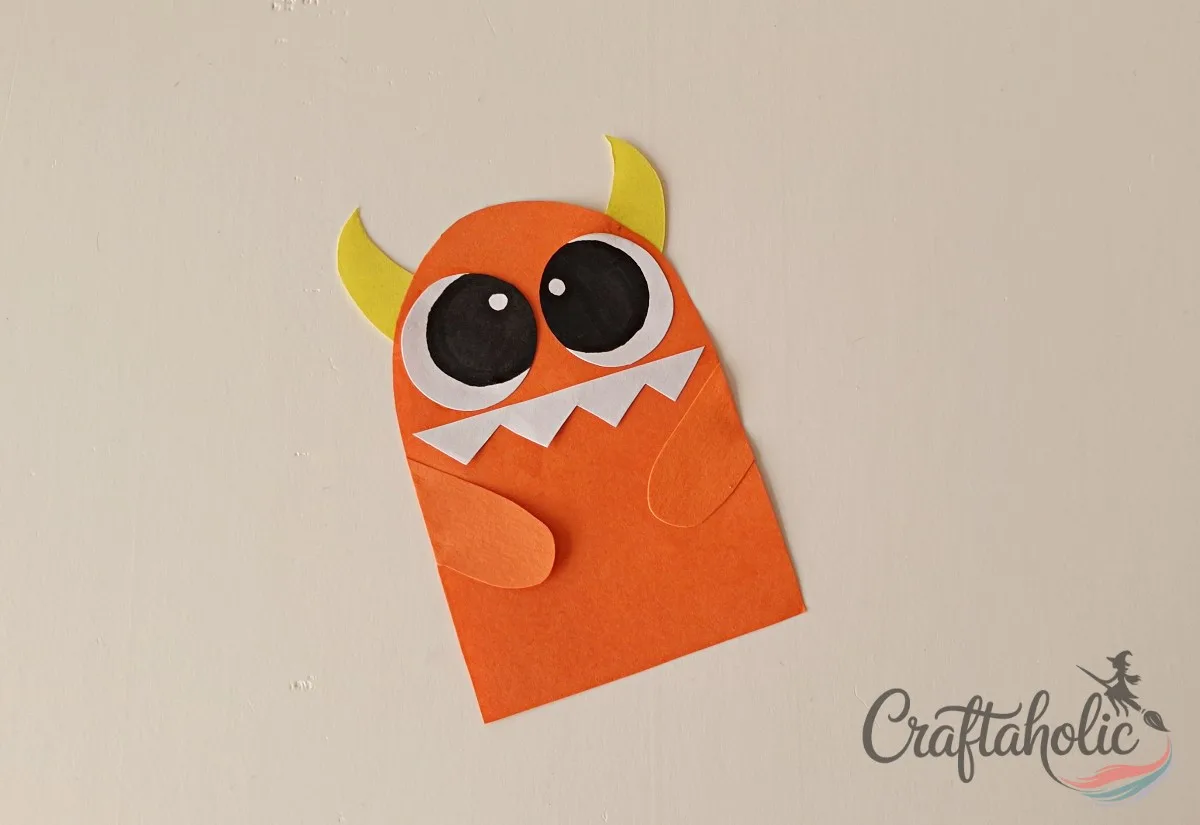
Glue the 2 arms on both sides of the base by gluing them along the sides only. Trim extra edges of the attached arms and align them with the base outline.
Step 7: Let’s Craft another Monster
For the second monster, I’ve selected a mouth, small zigzag teeth, and a head-scale. Glue the head-scale to the top side of the base cutout and glue the teeth cutout to the mouth cutout. Draw eyes on the eye base cutouts.
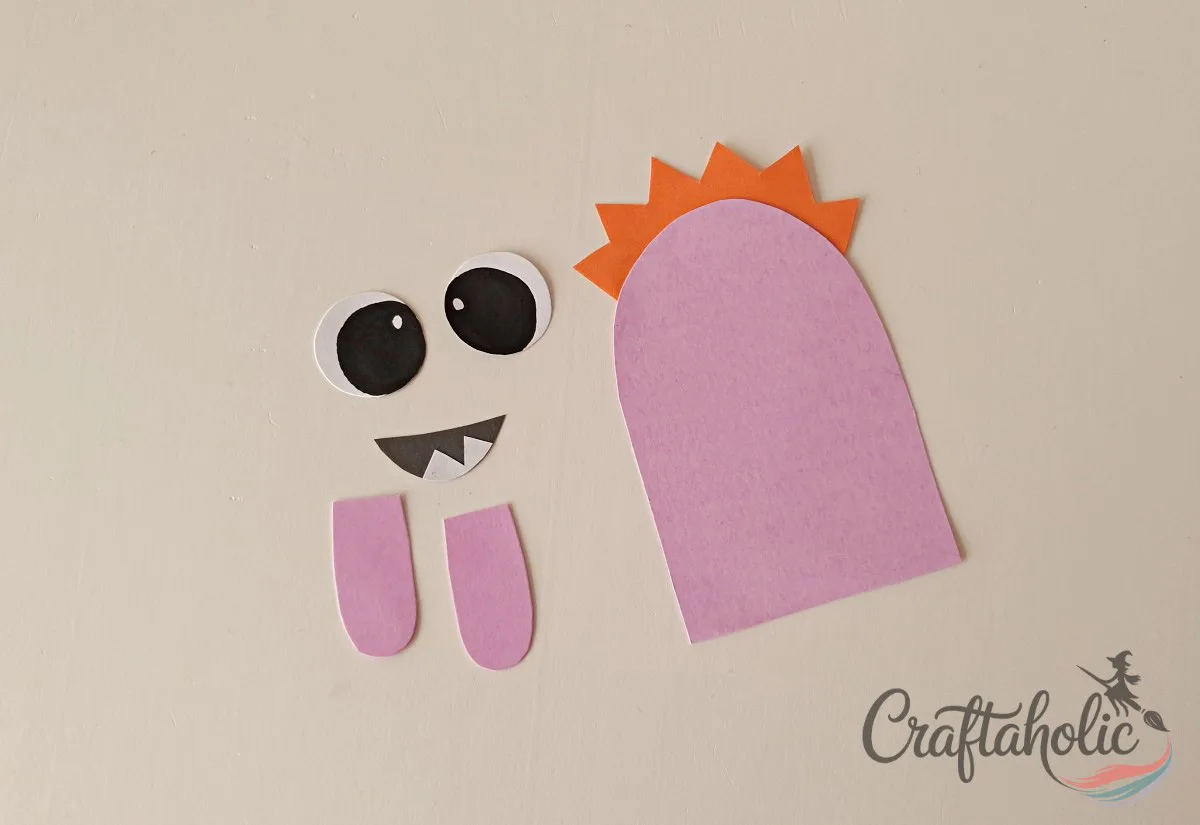
Step 8: Glue the Eyes
Glue the eyes to the top part of the base.
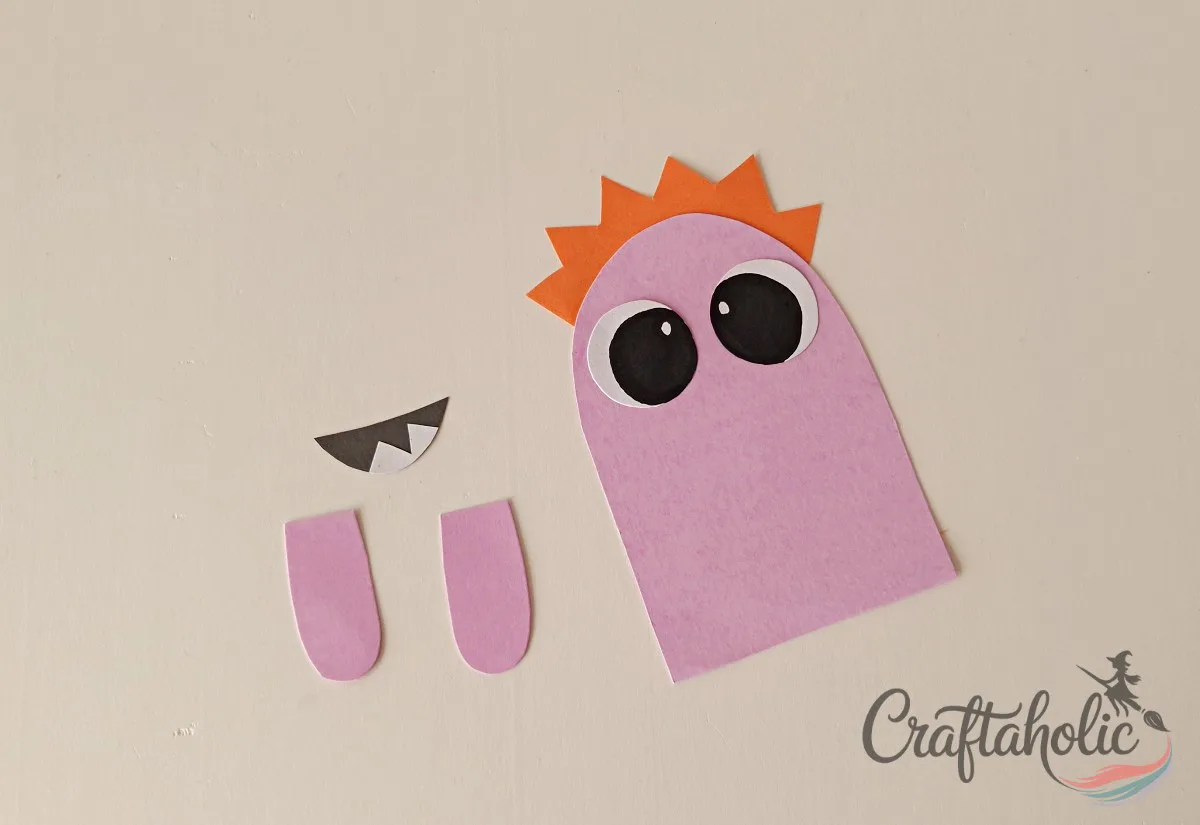
Step 9: Glue the Mouth
Glue the mouth pattern on the base, below the eyes.
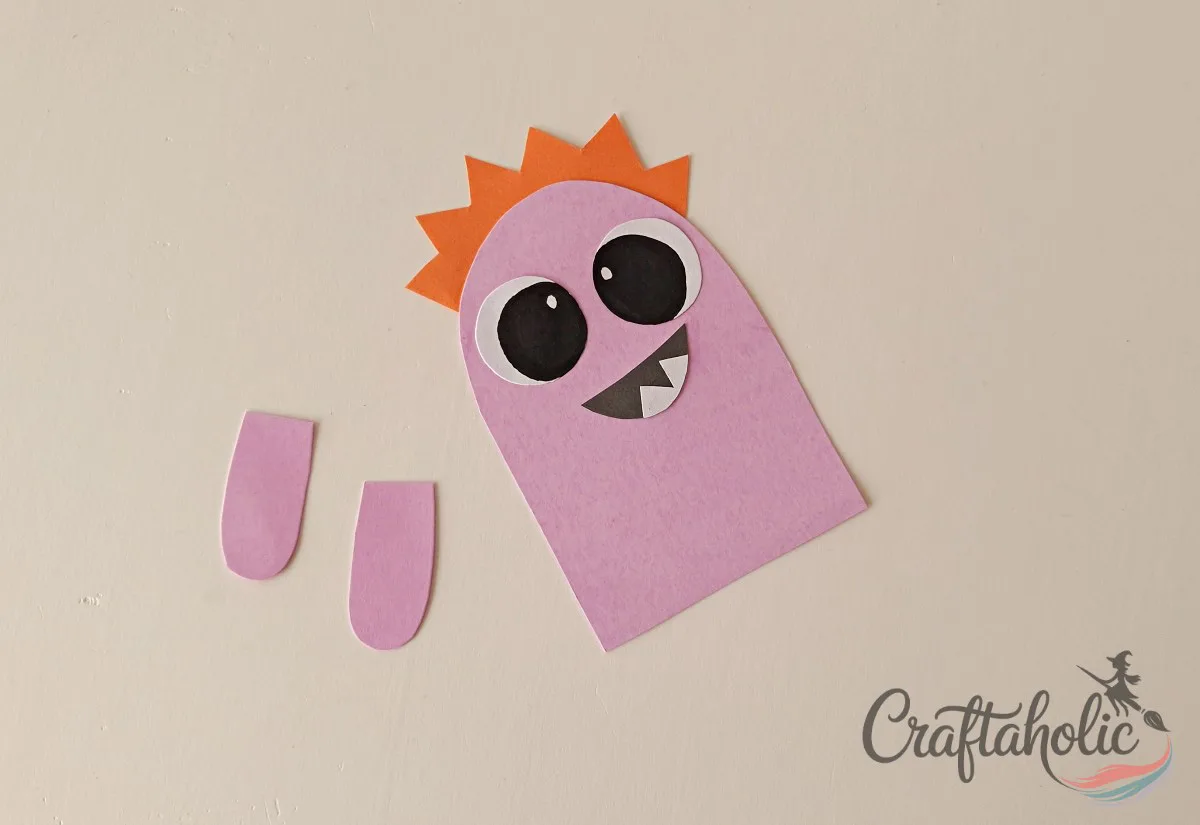
Step 10: Attach the Arms
Glue the 2 arms on both sides of the base by gluing them along the sides only, like we did for the previous monster.
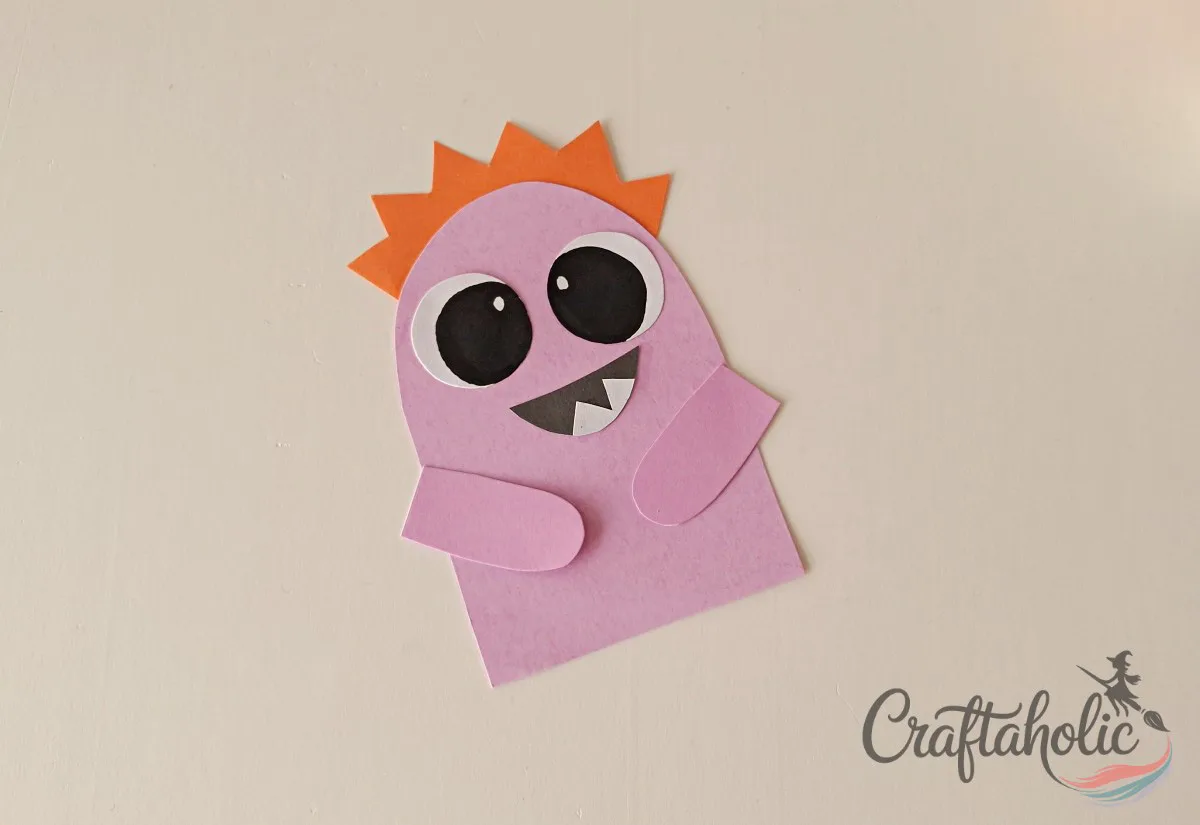
Step 11: Add Outlines
Use markers to draw outlines to the base and arms of the paper monsters. This will give them a nice and finished look.
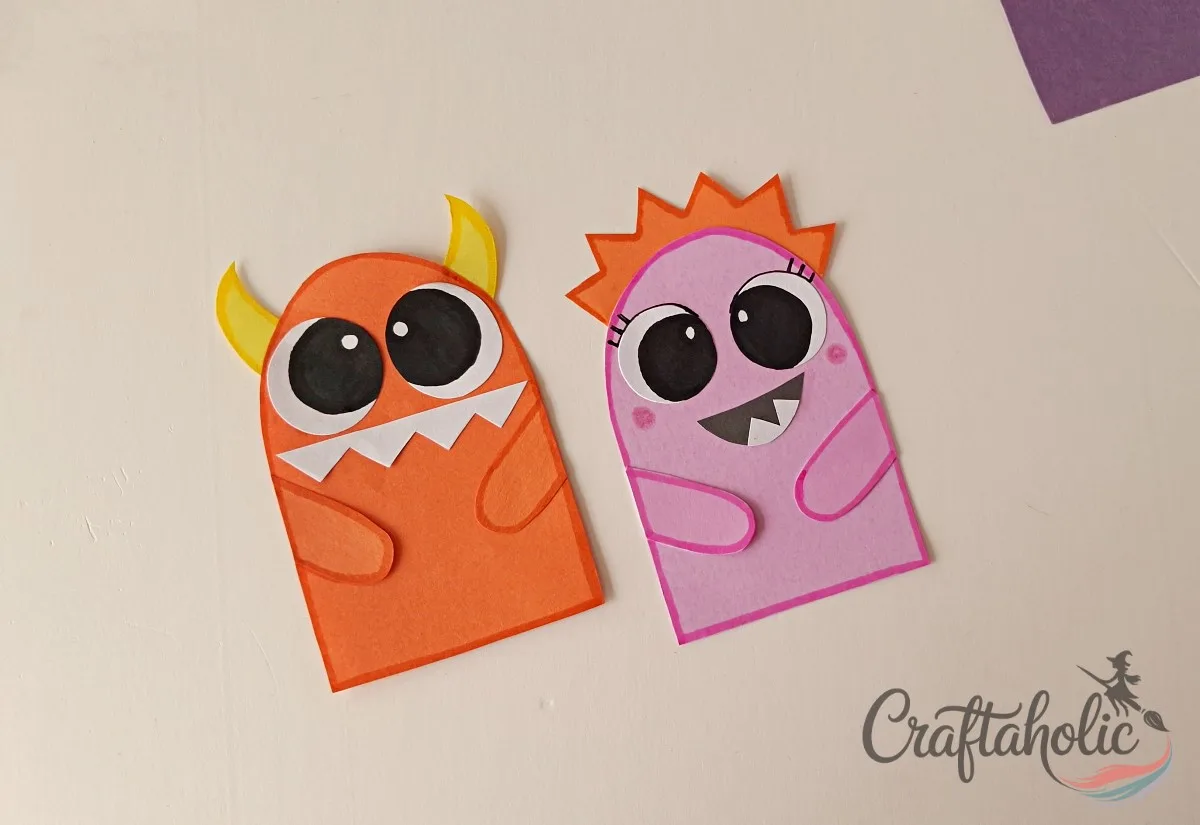
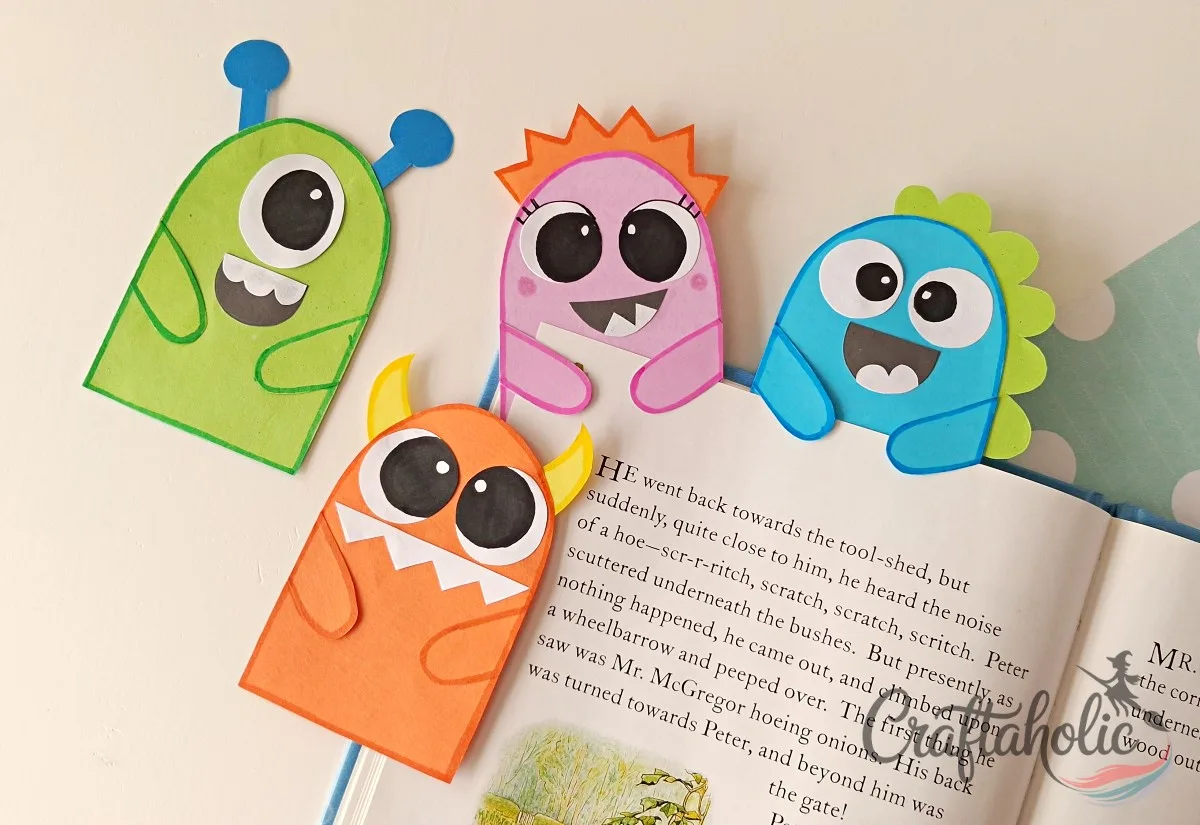
Step 12: Use Them as Bookmarks
To use the paper monsters as bookmarks, simply insert a page under their arms.
0 Comments
Join the conversation
Log in to your Craftaholic Community account to comment, ask questions, and cheer on fellow makers.
Log in to comment