

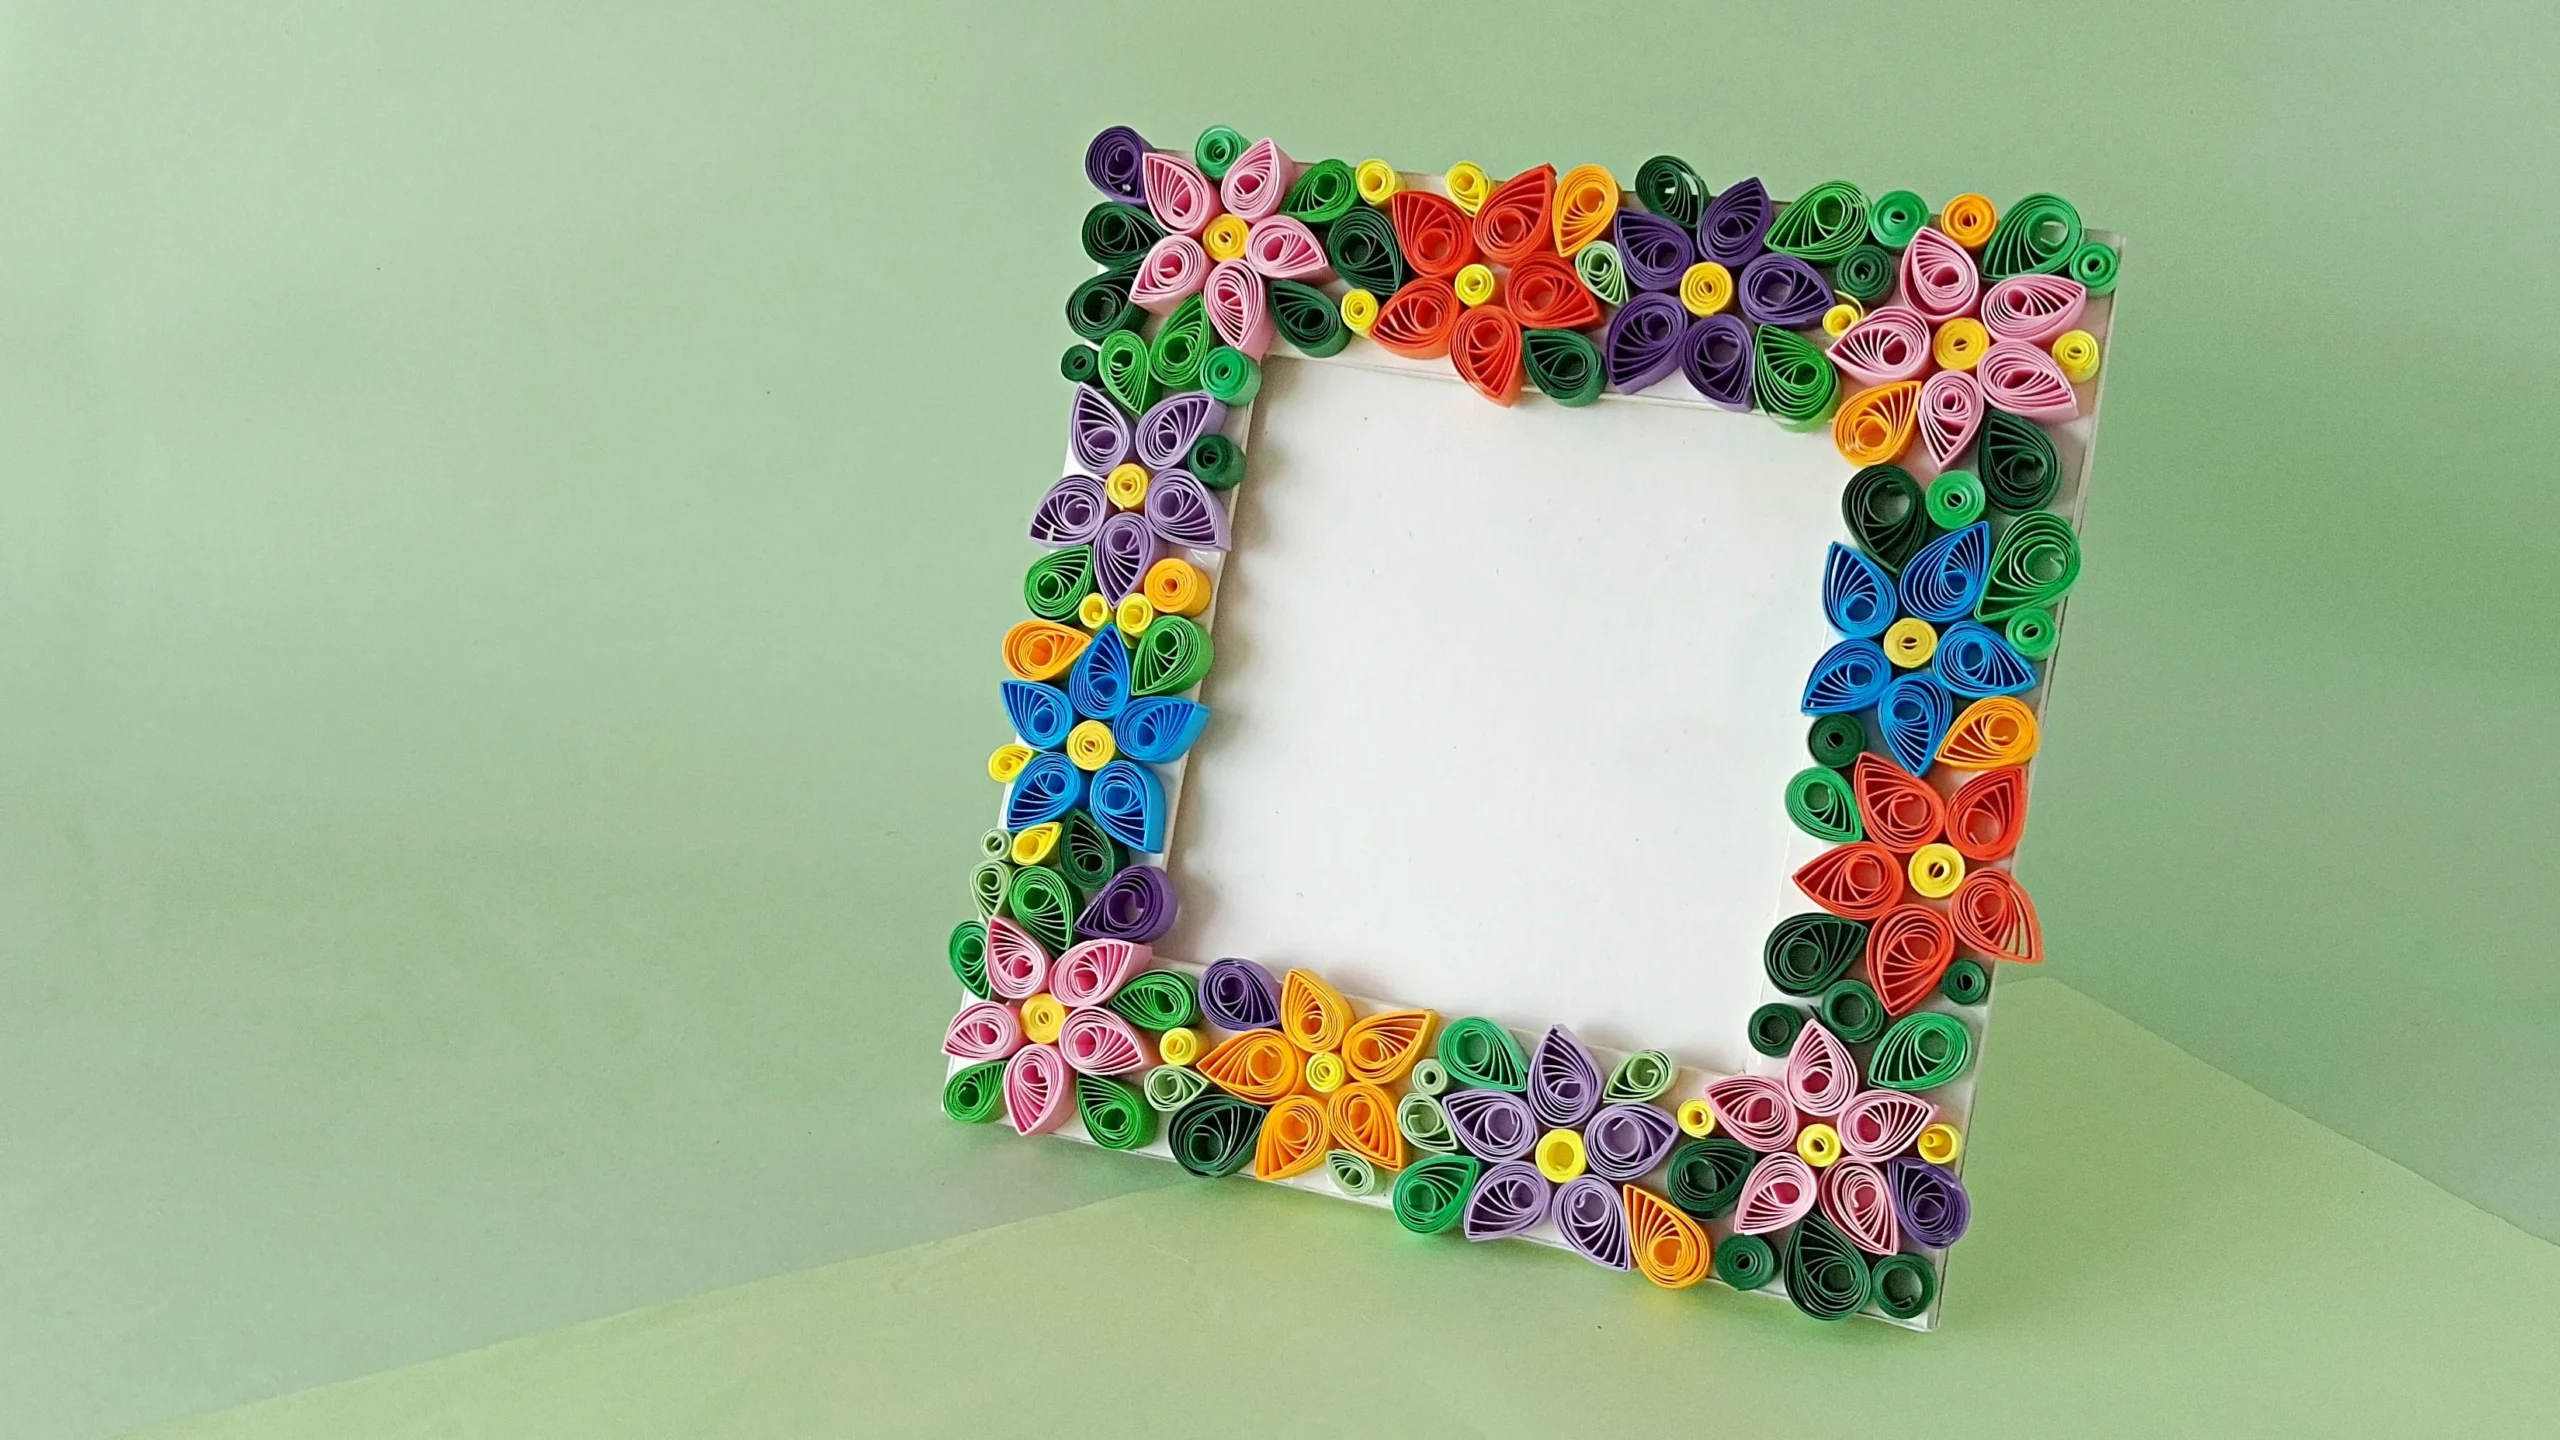
Some friends deserve a gift that took real time to make. A paper quilling photo frame is covered in tiny coiled flowers and leaves you shape by hand, and it holds a favorite photo of the two of you right in the center. It is part of the A Gift for Every Friend series, five handmade Friendship Day projects where every tutorial makes a complete gift for a different kind of friend. This one is for the friend who notices the details.
You will build a simple three-layer cardboard frame using the printable template, then fill every inch of the front with quilled flowers, leaves, and coils in whatever colors you like. The quilling itself uses just two basic shapes, a loose coil and a teardrop, so even if you have never tried paper quilling before, you can follow along. It takes a couple of hours and the result looks like something from a craft fair, not a first attempt.
Paper Quilling Photo Frame at a Glance
- Difficulty: Beginner to intermediate (coiling, shaping, gluing)
- Time: 2 to 3 hours
- Cost: Under $5
- Ages: 10+ (younger kids with help on the cutting)
- Best for: Friendship Day gifts, room decor, handmade keepsakes

What You Need to Make a Paper Quilling Photo Frame
Materials
- Gypsum board or cardboard sheet (2mm thick). For the three frame layers and the stand. Sturdy cardboard works just as well.
- Quilling strips. Assorted colors for the flowers, leaves, and filler coils. Pick your friend’s favorite colors or go rainbow.
- Craft glue. White craft glue with a fine tip applicator works best for both the frame layers and the tiny quilled pieces.
- Printable template. The printable frame layer patterns and stand. Get it through Create & Celebrate or the Friendship Day Craft Bundle.
Tools
- Paper quilling tool. A slotted quilling needle for coiling the strips evenly.
- X-acto knife or utility knife. For cutting the cardboard frame pieces along the traced lines.
- Scissors. For trimming quilling strips and cutting out the template.
- Pencil and ruler. For tracing the template patterns onto the cardboard.
The photo frame template is available through Create & Celebrate or the Friendship Day Craft Bundle. Print it at full size on regular paper, then trace the shapes onto your cardboard.
Ask inside "Crafty Q&A" while you are making.
"Crafty Q&A" is free to join. Share your question, photo, or the exact step where you got stuck, and chat with other makers plus the Craftaholic Witch team. You can also join any discussion thread already happening inside the space.
How to Make a Paper Quilling Photo Frame
Step 1: Prepare the Frame Parts

Print out the template and cut out all the frame layer patterns. You need three layers: a full back piece, a middle piece with the photo window cut out, and the front frame piece. Trace each pattern onto 2mm cardboard or gypsum board with a pencil and ruler, then use an X-acto knife to cut along the traced lines. Clean, straight cuts here make the finished frame look much neater, so take your time on the corners.
Step 2: Attach the Back and Middle Layers

Place the back layer on a flat surface and spread glue evenly across it. Set the middle layer on top and press the two together, making sure the edges line up on all four sides. The gap between these layers is what holds the photo in place later.
Step 3: Attach the Front Layer

Glue the front layer (the frame) on top of the middle layer. Press the layers gently and check that all three are aligned neatly on every edge. Set the assembled frame aside and let it dry completely while you prepare the quilled patterns. Rushing ahead before the glue sets means the layers can slide apart when you start pressing quilled pieces onto the surface.
Step 4: Gather Quilling Strips and Tool

Gather your quilling strips, quilling tool, and glue. Before you start coiling, take a moment to decide on a color scheme or sketch a rough layout. We went with a rainbow mix of flowers, but you could do two or three coordinating colors for a cleaner look. The frame needs quite a few flowers, so pull out more strips than you think you will need.
Step 5: Start the Quilling

Take a 10 inch quilling strip and slide one end into the slot of your quilling tool. Roll the tool toward you, keeping the strip snug and even as it wraps around itself. Coil the entire strip, then carefully slide the finished coil off the tool without unraveling it.
Tip: Roll slowly and keep the edges of the strip aligned as you go. A tight, even coil at this stage makes every shape you form from it look cleaner.
Step 6: Form Loose Coils

Set the tight coil on a flat surface and let it spring open slightly until it reaches the size you want. Then dab a tiny dot of glue on the loose end and press it against the coil to lock it in place. These loose coils become the flower centers, so make several in different colors before moving on.
Step 7: Coil Green Strip for the Leaves

Coil a 20 inch green strip the same way, then drop it into the 11mm hole on your round shape ruler (quilling circle template board). The ruler controls the size so every leaf comes out the same. Let the coil expand to fill the hole before you take it out.
Step 8: Press the Green Loose Coil Into a Teardrop

Carefully lift the loose coil out of the ruler without letting it unwind further. Pinch one side between your thumb and finger to form a teardrop shape. The rounded end is the base of the leaf and the pinched point is the tip. Hold the pinch for a second so it keeps its shape.
Step 9: Prepare More Green Teardrop Shapes

Glue the open end of each teardrop to secure the shape, then repeat until you have a good pile of green leaves ready to go. You will need quite a few to fill the gaps between flowers, so making them in a batch now saves time later. Aim for at least 20 to 30 leaves depending on the size of your frame.
Step 10: Prepare Teardrop Shapes for the Petals

Follow the same coil-and-pinch technique you used for the leaves, but this time use your flower colors. Each flower needs 5 or more petals, so plan ahead based on how many flowers you want on the frame. Having all the petals and leaves ready before you start gluing them to the frame makes the decorating step much smoother.
Step 11: Start Decorating the Frame

Pick a corner or a spot along one side to place your first flower. Dab glue on the bottom of a loose coil and press it onto the frame surface. This coil is the center of your first flower. You can apply glue to the frame and set the piece on top, or apply glue to the bottom of the quilled piece itself. Whichever feels easier, just use a small amount so it does not squeeze out around the edges.
Step 12: Create a Flower Shape

Arrange 5 or more teardrop petals around the loose coil center, pointed ends facing outward, to form a flower. Press each petal gently so it sits flat against the frame and snug against the center coil. If a petal shifts before the glue sets, nudge it back with a toothpick or the tip of your quilling tool.
Step 13: Add Quilled Leaves Around the Flower

Place a few green teardrop leaves in the spaces around and between the petals. The leaves fill the gaps and give the flower a natural, garden look. Point the leaf tips outward from the flower so they radiate like real leaves would.
Step 14: Continue Adding Quilled Flowers

Keep building flowers along the frame, leaving small gaps between each one. Vary the colors as you go so the finished frame has a nice mix. Do not worry about filling every gap yet. You will come back with leaves and coils to pack those in after all the flowers are placed.
Step 15: Fill Each Side Neatly

Work one side of the frame at a time rather than jumping around randomly. Finishing each side fully before rotating to the next gives the design a clean, intentional look. It also lets each side dry flat while you work on another.
Step 16: Fill Bigger Gaps With Leaves

Once all the flowers are in place, go back and tuck quilled leaves into the larger empty spaces between them. Angle the leaves so they fit snugly against their neighbors. This layer of fill is what makes the frame look lush and full instead of spotty.
Step 17: Fill the Smaller Gaps With Loose Coils or Tight Coils

For the tiny remaining gaps, roll small loose coils or tight coils and press them into place. These little fillers are the finishing touch that makes the frame look completely covered. Step back and check the frame from a distance so you can spot any bare cardboard still showing through.
Step 18: Attach the Stand to the Backside

Carefully flip the frame over to its back. Cut the stand piece from the template, score it along the fold line, and glue the top portion to the back of the frame as shown. Position it slightly above center so the frame leans at a stable angle when standing.
Step 19: Check if the Stand Works Properly

Stand the frame upright and check that it balances without tipping forward. If it leans too far, adjust the angle of the stand or move where it is glued. Once the stand works, lay the frame flat for at least an hour so the glue on both the quilled pieces and the stand dries completely before you handle it or slide a photo in.
Share it in "I Made It" and let us cheer you on.
Post your finished make in "I Made It" so the community can celebrate it with you. You will also see what other makers have made, leave a little encouragement, and cheer them on too.
Tips for Your Paper Quilling Photo Frame
- Work on one side of the frame at a time so you can lay it flat while the glue dries, then rotate to the next side.
- Use a round shape ruler (quilling circle template) to keep your loose coils the same size. Consistent coils make the flowers look much neater.
- Apply glue sparingly. A tiny dot on the bottom of each quilled piece is enough. Too much glue squeezes out around the edges and shows.
- Let the finished frame dry flat for at least an hour before standing it up, so the quilled pieces are fully set before gravity pulls on them.
Pin for Later


Frequently Asked Questions
Do I need experience with paper quilling to make this frame?
No. The entire frame uses just two basic shapes: a loose coil for the flower centers and a teardrop for the petals and leaves. If you can roll a strip around a tool and pinch one end, you already know everything you need.
Can I use regular cardboard instead of gypsum board?
Yes. Any sturdy cardboard around 2mm thick works well. Cereal box cardboard is a bit thin but you can double it up. The key is that the frame needs to be stiff enough to stand upright with the quilled pieces on the front.
How long does the quilling part take?
The frame itself is quick to build, maybe 20 minutes. The quilling and decorating is the longer part and takes 1 to 2 hours depending on how detailed you go. You can always do fewer flowers for a simpler look.
What size photo does this frame hold?
The template is sized for a standard small photo. You can scale the template up or down to fit the photo you want to display, just keep the three-layer structure the same.
More Friendship Day Craft Tutorials
This frame is part of the A Gift for Every Friend series. Here are the other Friendship Day projects in the series:
- Friendship Day Coloring Bookmark
- Felt BFF Bunny Plush
- Paper Polaroid Camera Card
- Easy Braided Friendship Bracelet
Get all the project templates through Create & Celebrate or the Friendship Day gift Bundle.
Made this frame or want to show off your quilled flowers? Join Craftaholic Community and share your paper quilling photo frame. We would love to see which colors you picked.
0 Comments
Join the conversation
Log in to your Craftaholic Community account to comment, ask questions, and cheer on fellow makers.
Log in to comment