

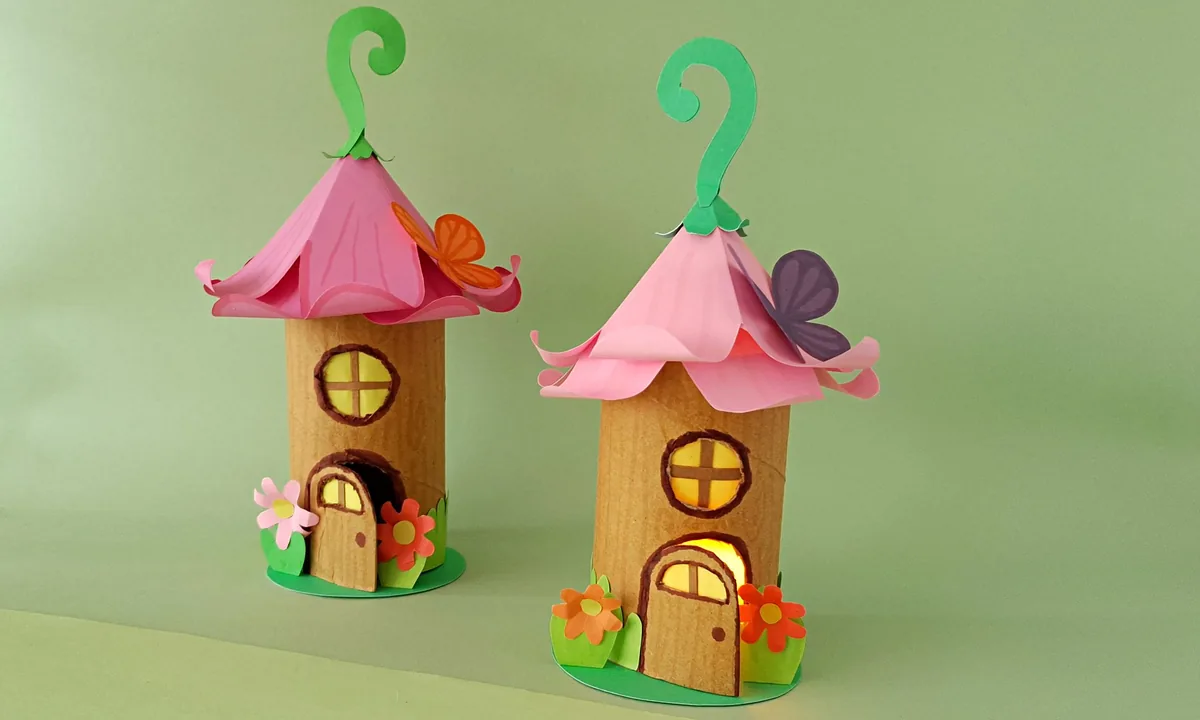
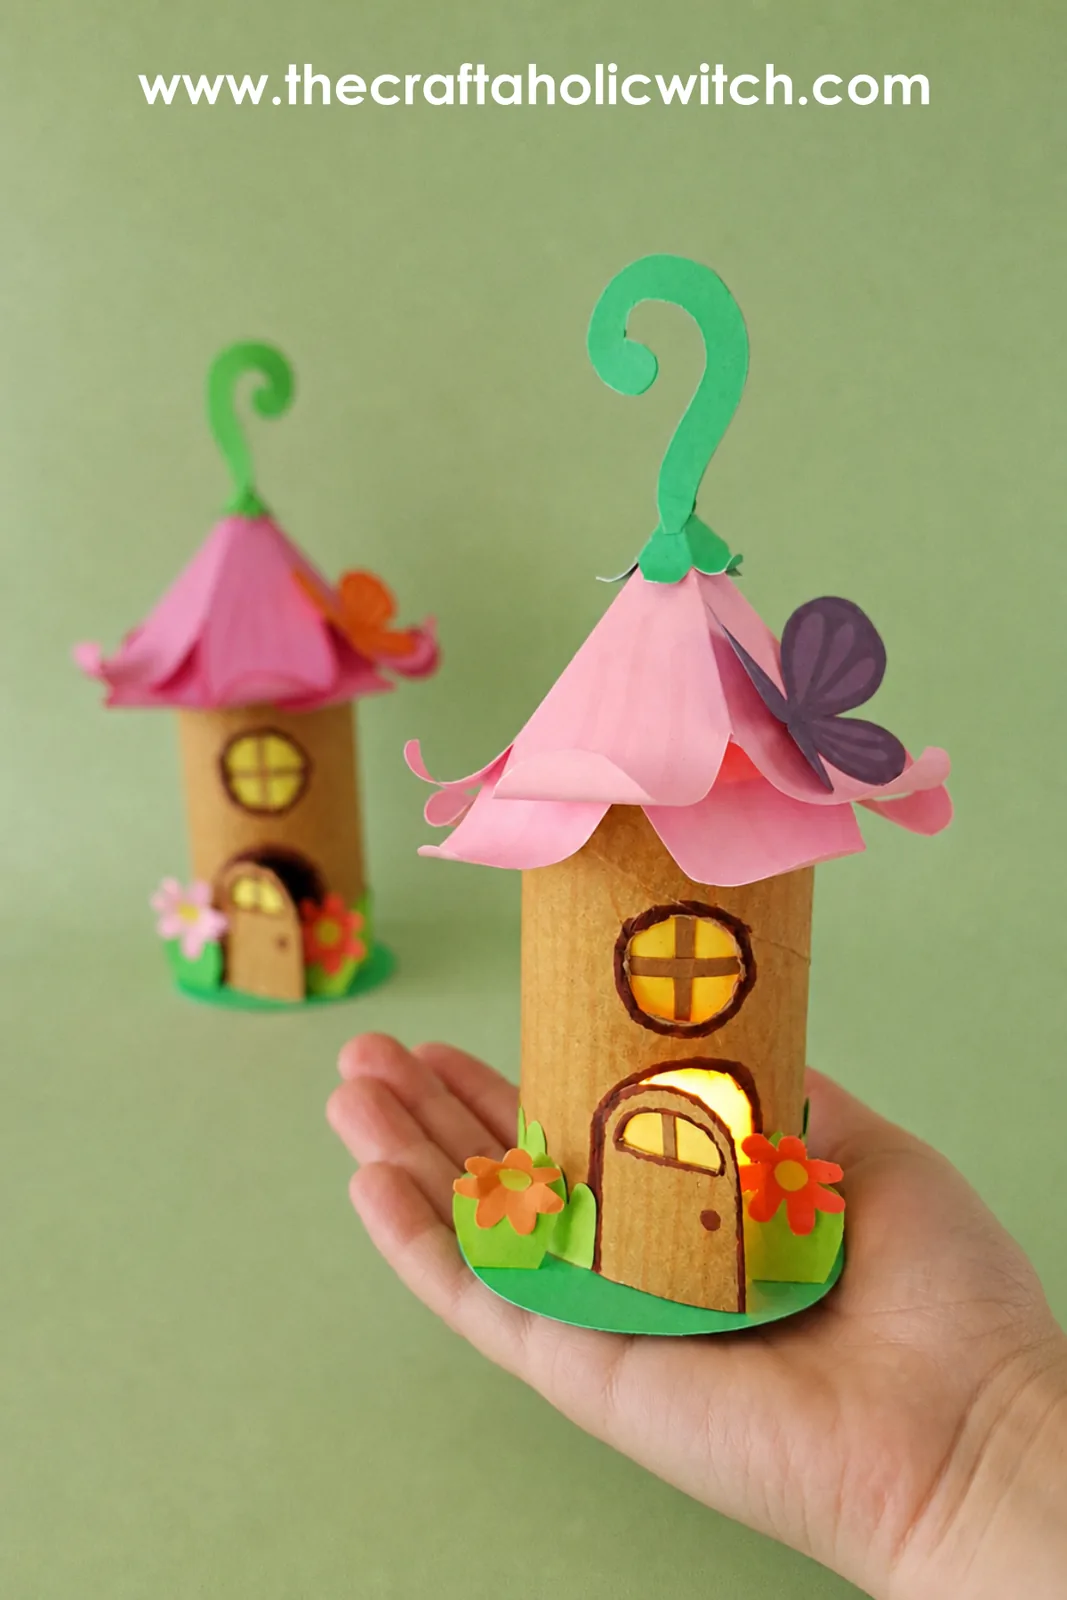
It is a beginner-friendly project, though it does help to have a little experience with paper cutting, since some of the pieces are small and there is a craft knife for the door and window. It was also one of the most-requested makes on our idea board, so if you voted for a fairy house, this one is for you.
Once it is done, you have a soft little night light for a shelf or windowsill, a sweet addition to a fairy garden, or a quick handmade gift. It is a favorite for the warmer months, so you will find it in both my spring crafts and summer crafts libraries. The free template below has every piece, so you can print, trace, and start cutting right away.
Toilet Paper Roll Fairy House Lantern at a Glance
- Difficulty: Beginner
- Time: 1 to 2 hours
- Cost: Under $5
- Ages: 8 and up, with adult help for the knife cuts
- Best for: Spring and summer decor, kids’ room night lights, fairy garden play
Join Craft Challenge: Craft Your Calm
Make something that brings you a sense of peace, share a photo, and tell us your story. It's free to enter, open to everyone, and the entry with the most reactions takes home a $100 gift card. Takes five minutes to join.
Entries close August 30, 2026. No purchase necessary.
What You Need to Make a Toilet Paper Roll Fairy House Lantern
Materials
- Empty toilet paper roll or cardboard tube: the body of the house. A paper towel tube cut into pieces works too if you want taller or shorter houses.
- Colored craft paper: for the flower roof, door, windows, grass, and flowers. Medium-weight paper (around 120gsm) holds the 3D roof shape far better than thin printer paper.
- Craft glue: tacky craft glue grips the curved tube and the layered petals. A glue stick is fine for the flat pieces, and an adult-run hot glue gun speeds up the roof.
- Small LED tea light: the glow that turns the house into a lantern. Always an LED light, never a real flame near paper.
Tools
- Pencil: for tracing the template onto your paper.
- Craft knife (X-acto): to cut the window and door openings in the tube. An adult should handle this part.
- Scissors: for cutting out all the paper pieces.
- A small round object: a marker barrel or thin dowel to curl the petal tips so the roof looks realistic.
- Fine marker: to draw the butterfly and the door and window details.
Free Fairy House Lantern Template
Every shape you need is in the free printable template: the flower roof petals, the cup and stem, the butterfly, the door and windows, the grass, the little flowers, and the round base.
Download the fairy house lantern template from community, print it at 100% (no scaling), and trace the pieces onto your craft paper.
Ask inside "Crafty Q&A" while you are making.
"Crafty Q&A" is free to join. Share your question, photo, or the exact step where you got stuck, and chat with other makers plus the Craftaholic Witch team. You can also join any discussion thread already happening inside the space.
How to Make a Toilet Paper Roll Fairy House Lantern
Step 1: Print and Cut Out the Template Pieces
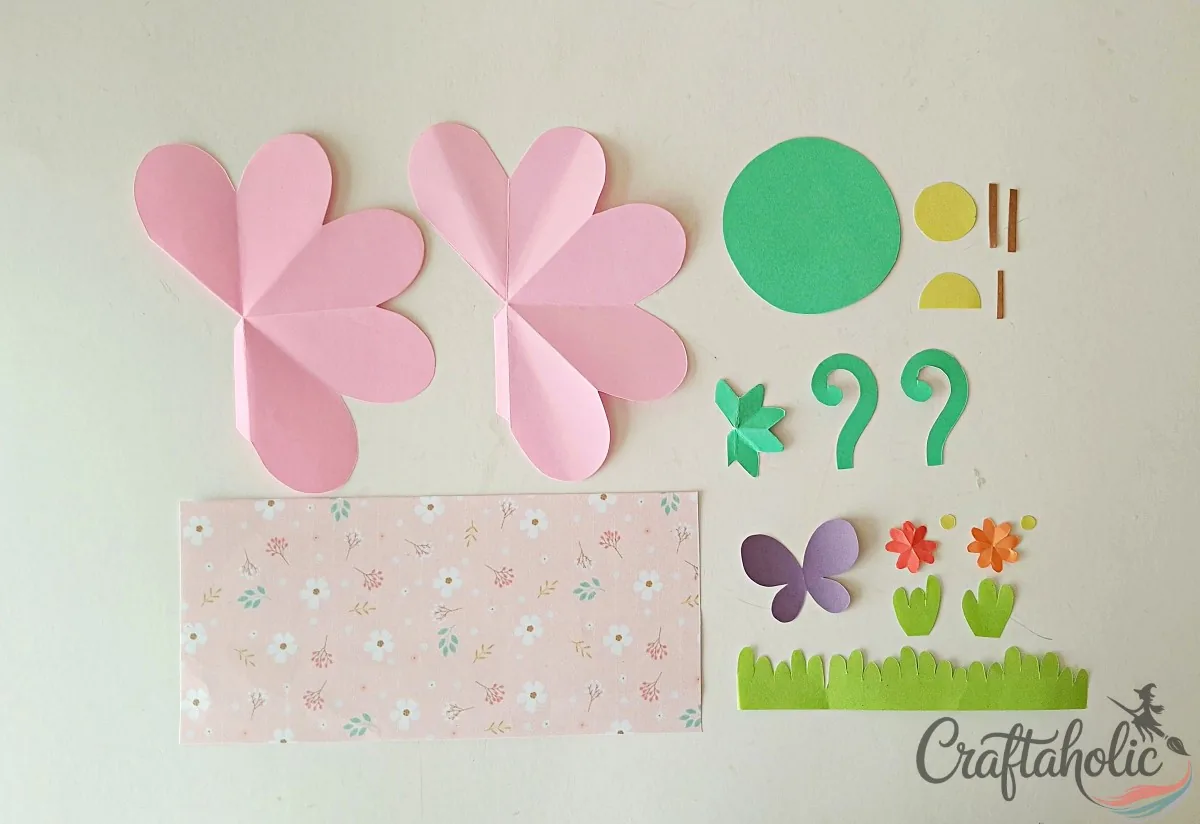
Print the template, cut out every pattern, then trace each shape onto the craft paper colors you want and cut those out too. You will end up with the flower roof petals, the window and door covers and strips, a butterfly, the roof stem, small flowers, leaves, a grass layer, and the round base.
For the tube itself you have a choice: wrap it in printed paper, or leave the bare cardboard for a natural woodgrain look. Both read as a little house.
Step 2: Shade the Grass, Leaves, and Flowers
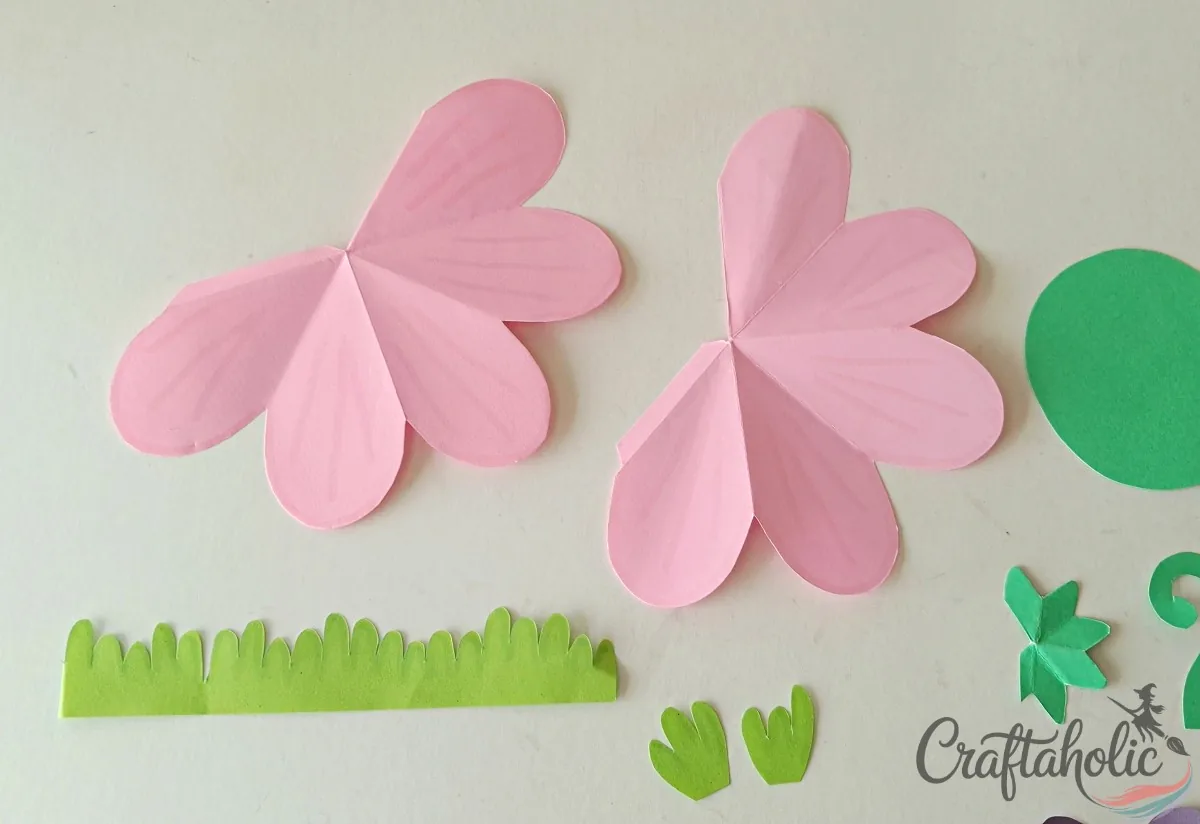
Take a marker one shade darker than each piece and trace lightly around the edges of the grass layer, the leaves, and the flower roof petals. That bit of shading gives them depth so they do not read as flat paper.
While the roof petals are in front of you, crease a neat fold down the middle of each petal. Those folds are what let the roof sit like a real flower later.
Step 3: Shape the Flower Roof Into a 3D Bloom
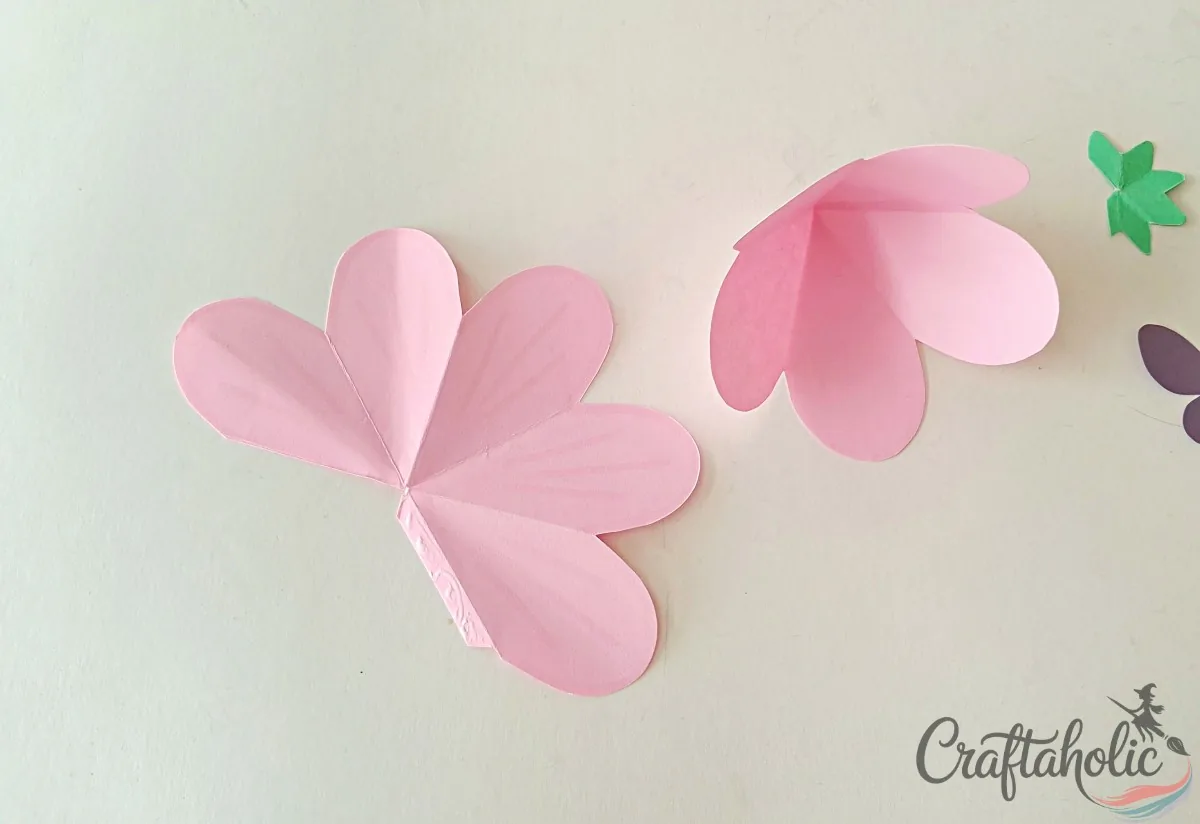
Run a thin line of glue along the narrow tab on each flower piece, then bring that tab around to meet the opposite open edge so the flat flower cups into a 3D bloom. Hold each seam for a few seconds until it grabs.
Aim for a gentle funnel, not a tight cone. That soft curve is what makes it look like a drooping flower roof instead of a party hat.
Step 4: Curl the Petal Tips for a Realistic Roof
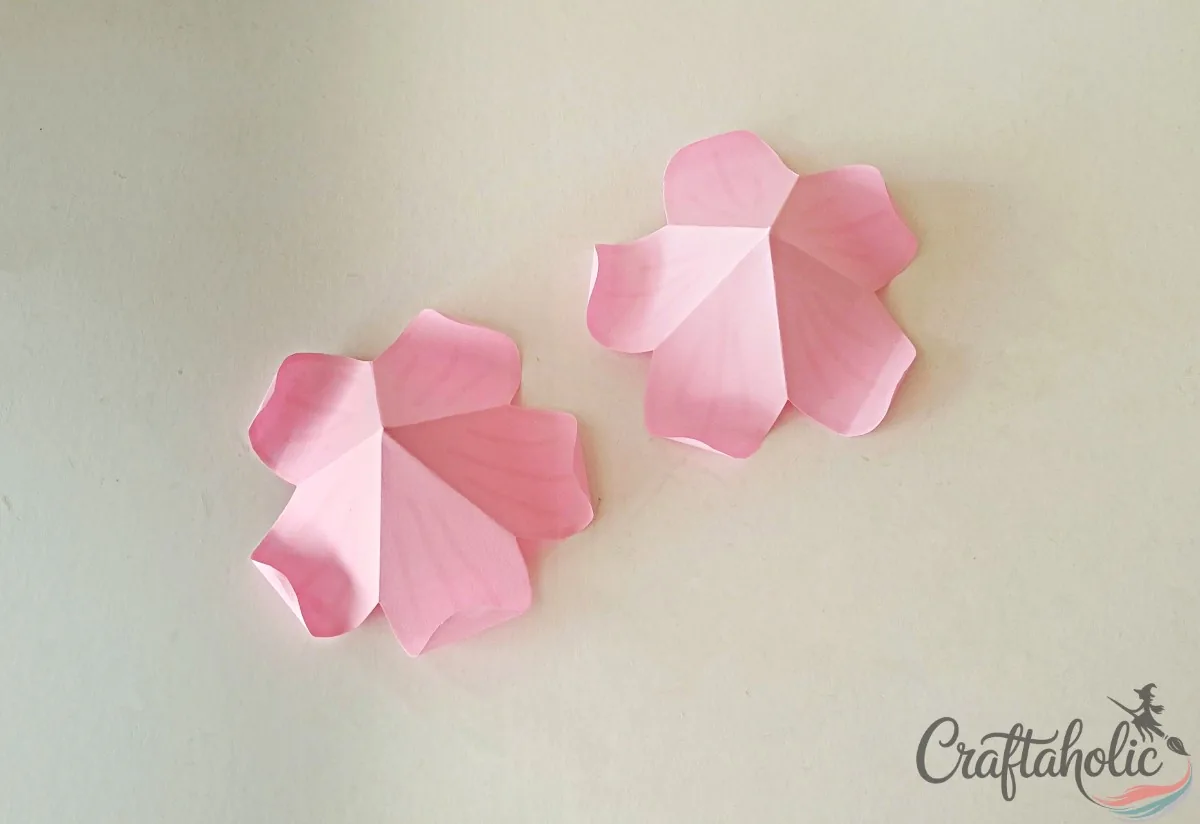
Wrap the rounded end of each petal around a marker barrel or thin dowel and hold it for a moment to set a soft curl. Work your way around every petal on the outer layers.
Curled tips catch the light and instantly make the paper look less like a cutout and more like a real, drooping flower.
Step 5: Form the Cup and Stem
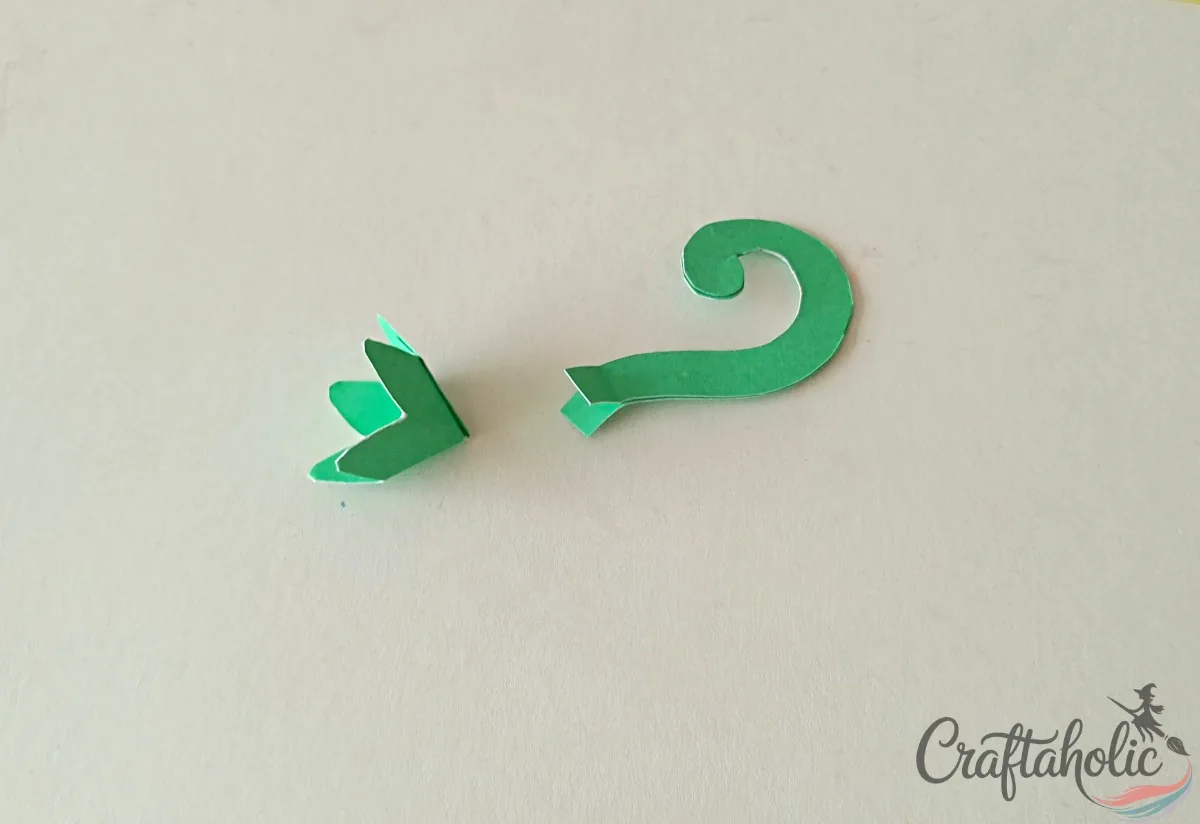
Bring the two open sides of the cup piece together and glue them into a little 3D cup, the same way you shaped the flowers. For the stem, leave the bottom 1 cm unglued and roll and glue the rest into a thin tube.
That loose 1 cm at the base is not a mistake. It gives you a flap to attach the stem in the next step.
Step 6: Add the Stem, Draw the Butterfly, and Gather the Roof Parts
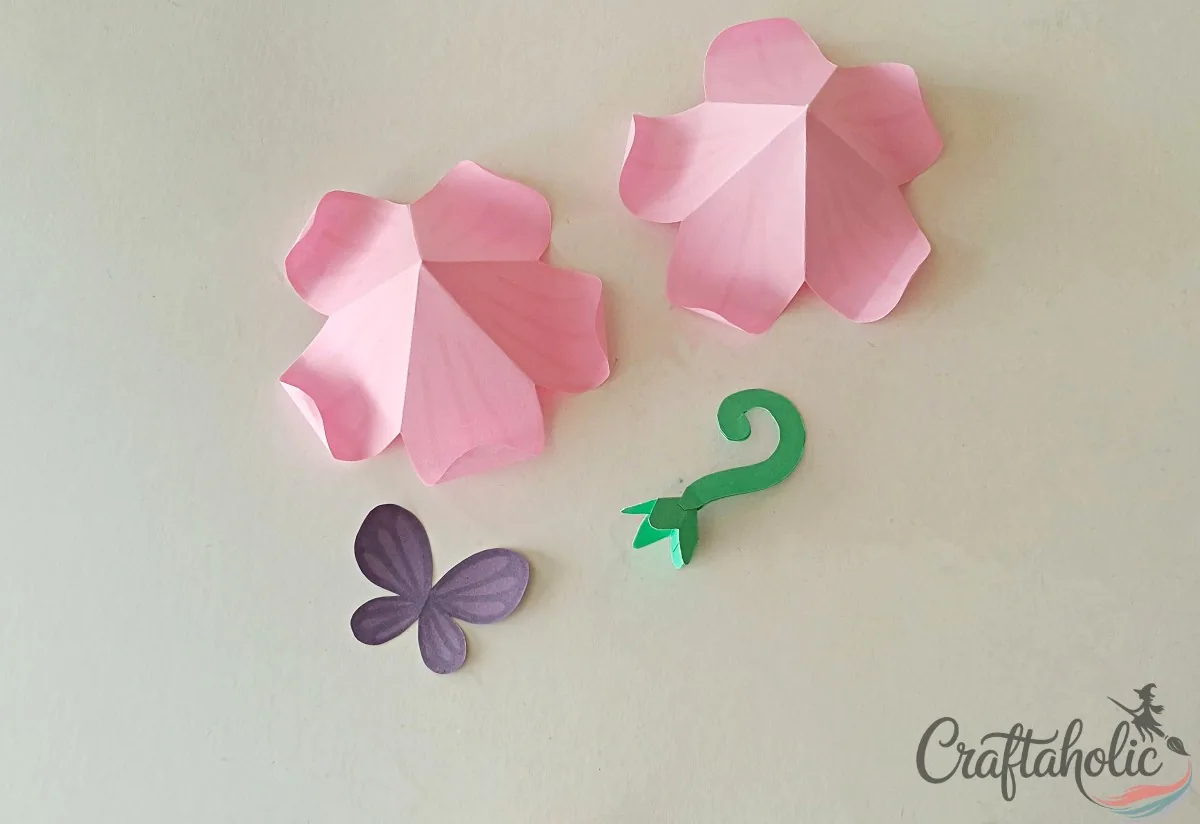
Glue the loose 1 cm at the base of the stem onto the pointed end of the cup so the two become one topper. Use a fine marker to draw wings and outlines on the butterfly cutout.
Now lay out all three roof parts together: the layered flower, the cup-and-stem topper, and the butterfly. If you want a fancier one, the folded butterflies from my paper butterflies tutorial look lovely perched on the roof.
Step 7: Stack the Flower Roof Layers
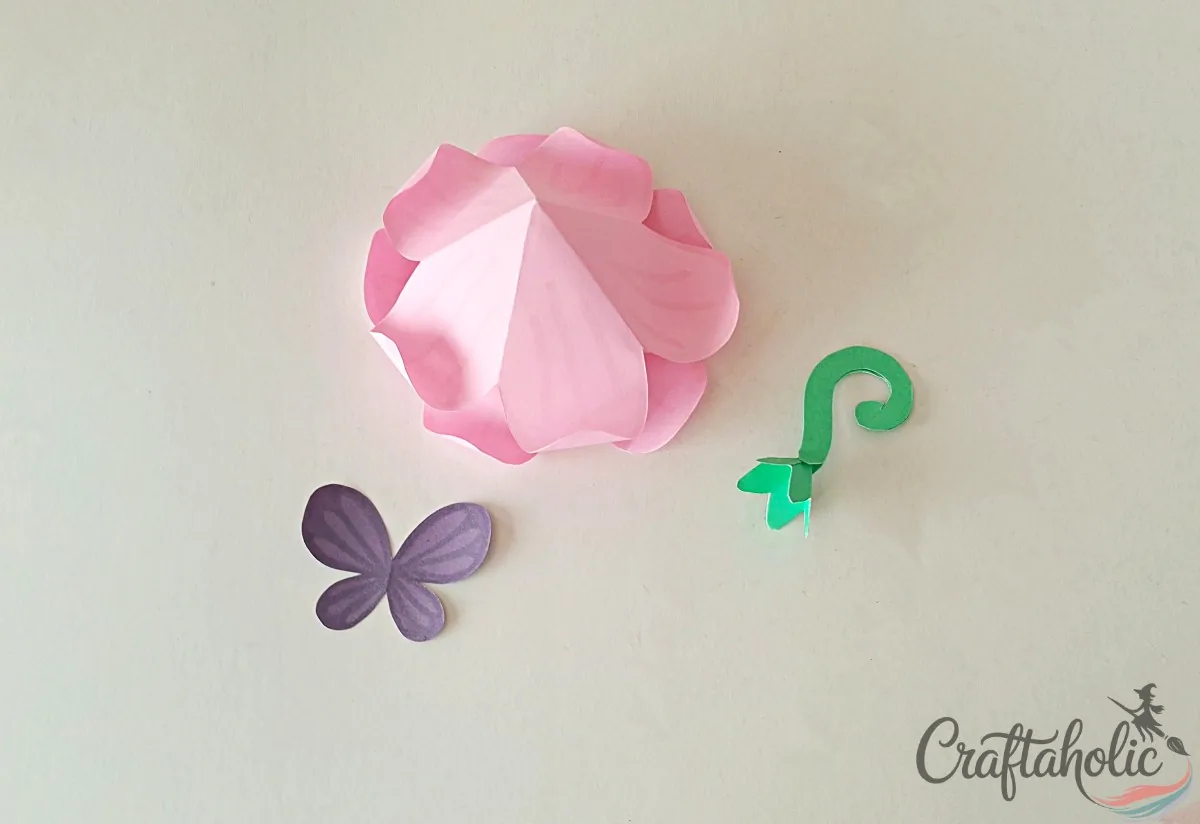
Glue the flower blooms together, one nested on top of the next, largest at the bottom and smallest up top. Press each layer down at the center only so the petals stay free to flare out.
You should end up with a full, tiered flower that already reads as a roof.
Step 8: Attach the Topper and Butterfly
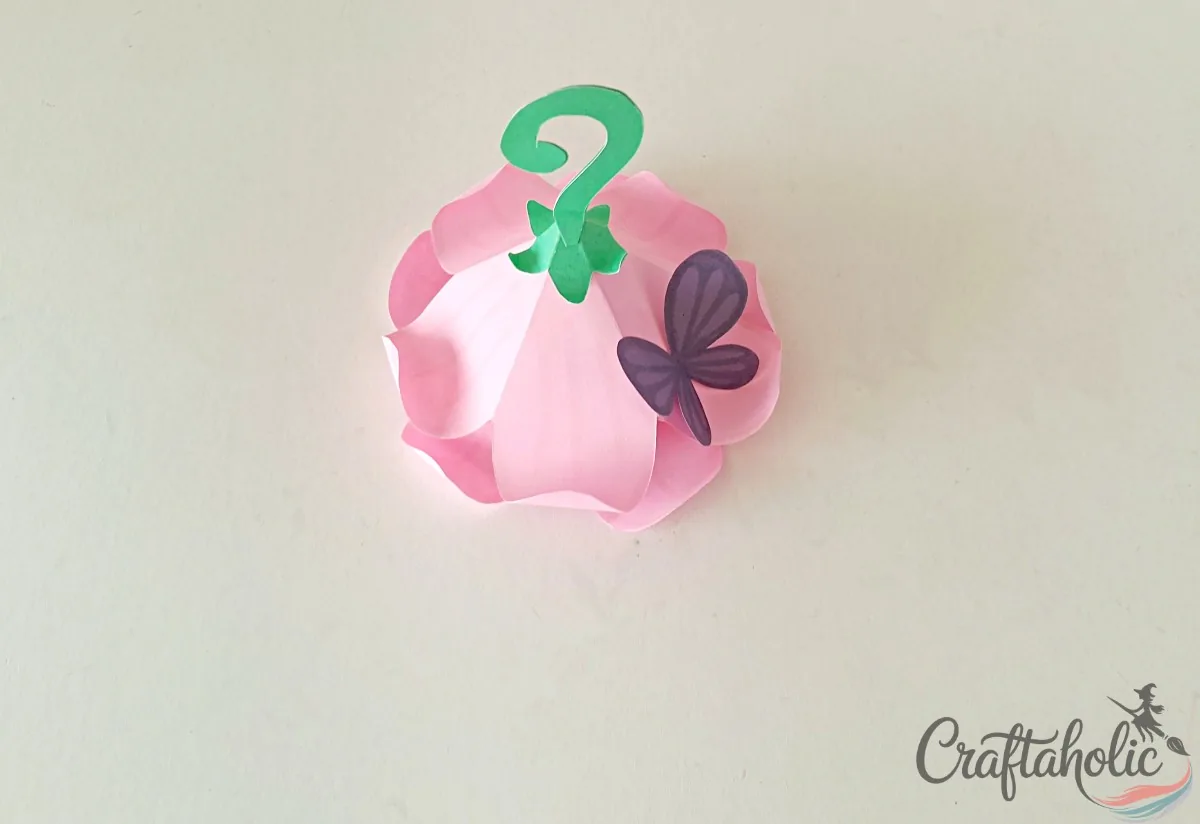
Glue the cup-and-stem topper to the very top of the stacked flower roof, then glue the butterfly wherever it looks happiest on the petals.
Set the finished roof aside to dry fully while you build the rest. A half-set roof will sag if you handle it too soon, so give it real time.
Step 9: Slit and Shape the Small Flowers
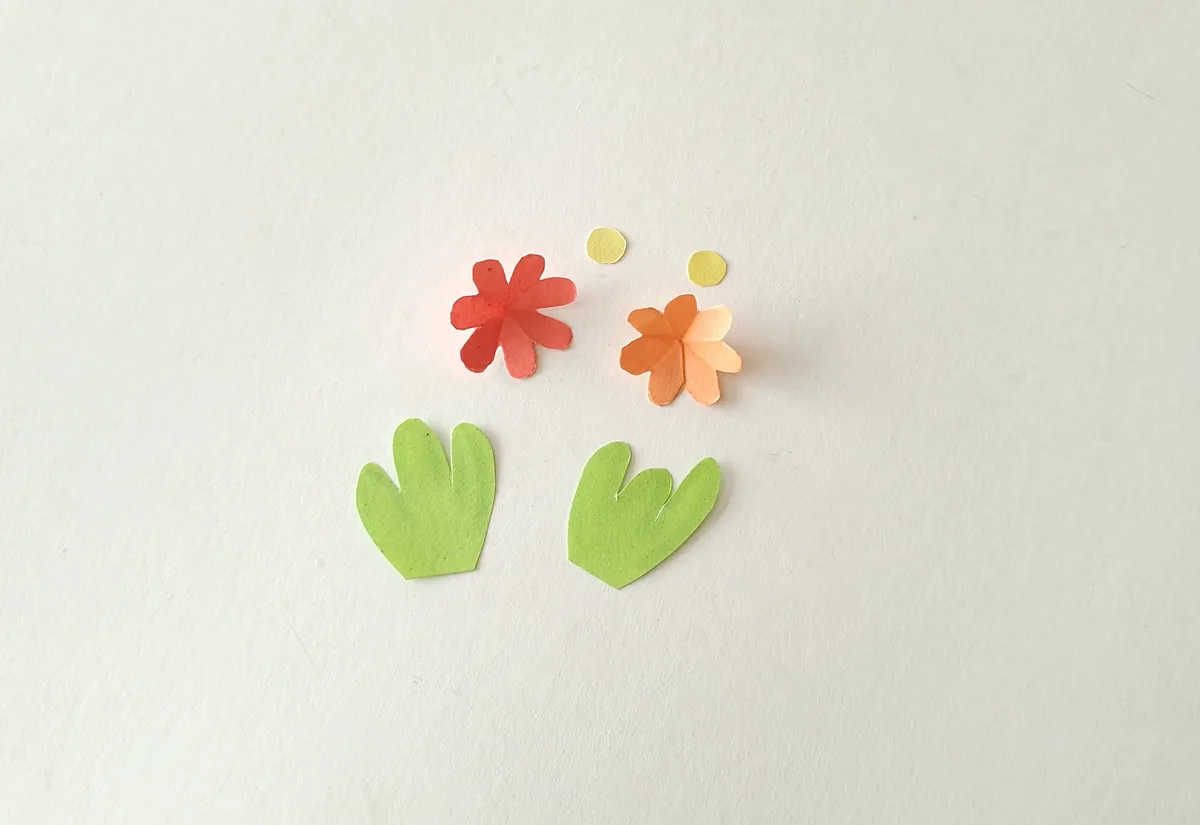
Take the two small grass pieces, the small flowers, and the little round centers. On each small flower, snip one short slit from the edge in toward the middle, between two petals.
Overlap the cut edges slightly and glue them. That small overlap lifts the flat flower into a soft, dimensional one.
Step 10: Finish the Little Grass Flowers
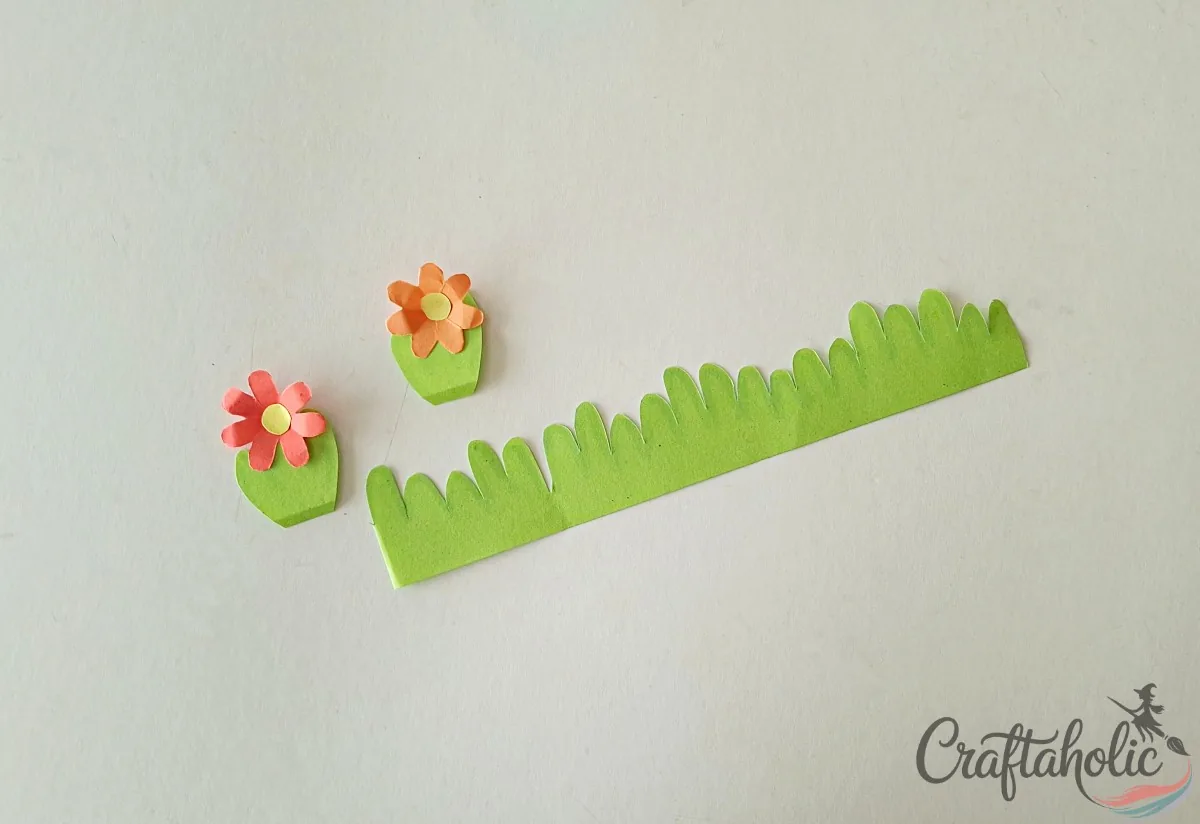
Glue a round center into the middle of each small flower, then glue the finished flowers onto the small grass pieces. These are the tufts that will sit at the base of the house, by the door.
Set them aside with the roof so everything is ready for the final build.
Step 11: Cut the Door and Window Into the Tube
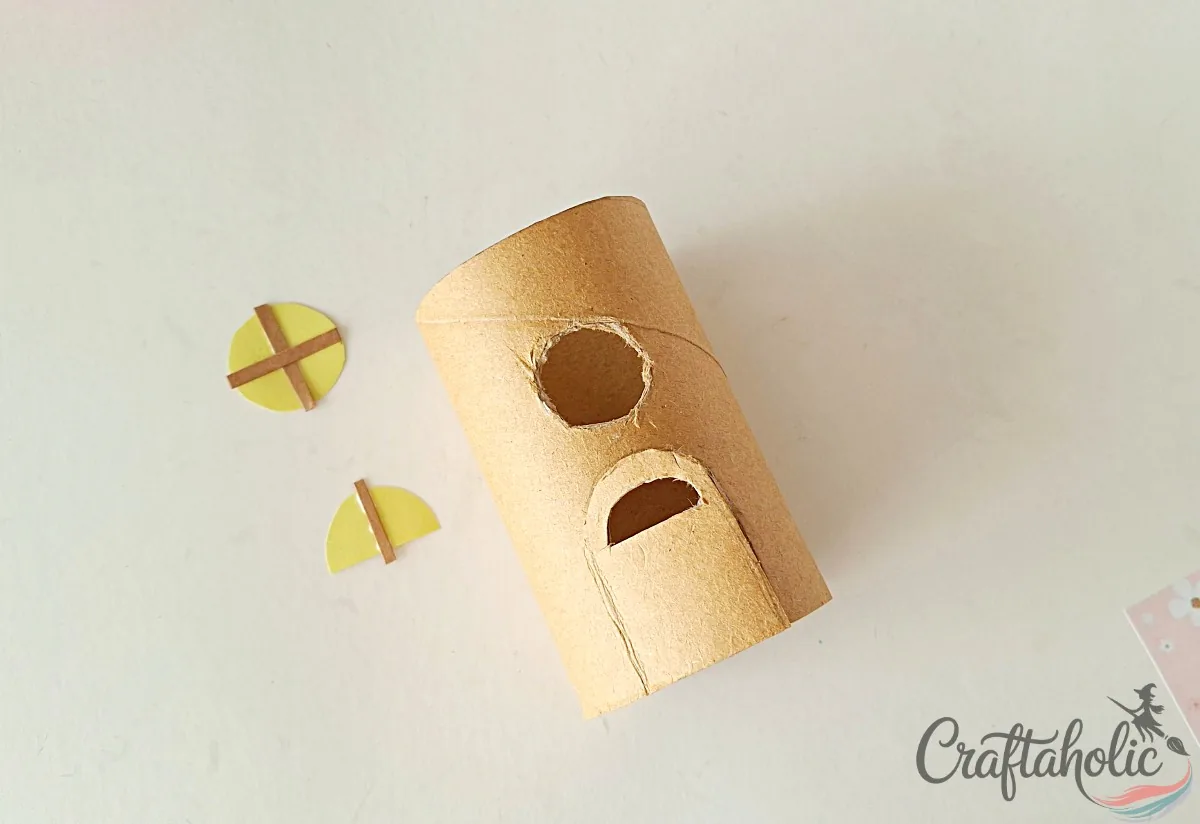
Pencil a window and a door onto the cardboard tube. Cut the window out completely with the craft knife, but on the door cut only three sides so it stays hinged and can open and close. Then glue the thin cover bars across the window and the strips onto the door so they look framed.
Warning: Cut on a scrap board or a cutting mat and keep fingers well clear of the blade. Leaving one side of the door uncut is what lets it swing open, so do not cut all the way around.
Step 12: Add the Covers and Wrap the Grass Base
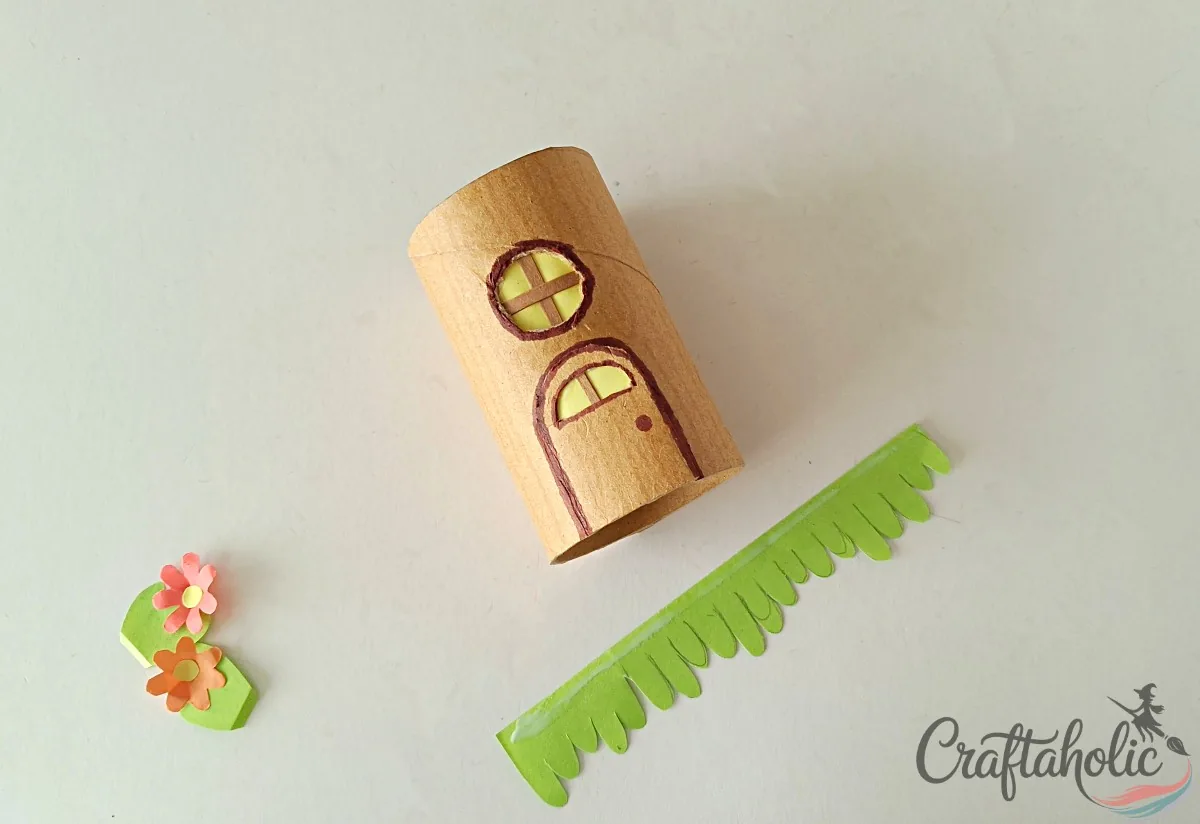
Fit the window and door covers over their openings so the raw cut edges disappear. Then wrap the long grass strip around the bottom of the tube, leaving the doorway clear so the door can still open.
The house should now look finished from the outside, just waiting for its roof.
Step 13: Lay Out Every Piece Before Assembly
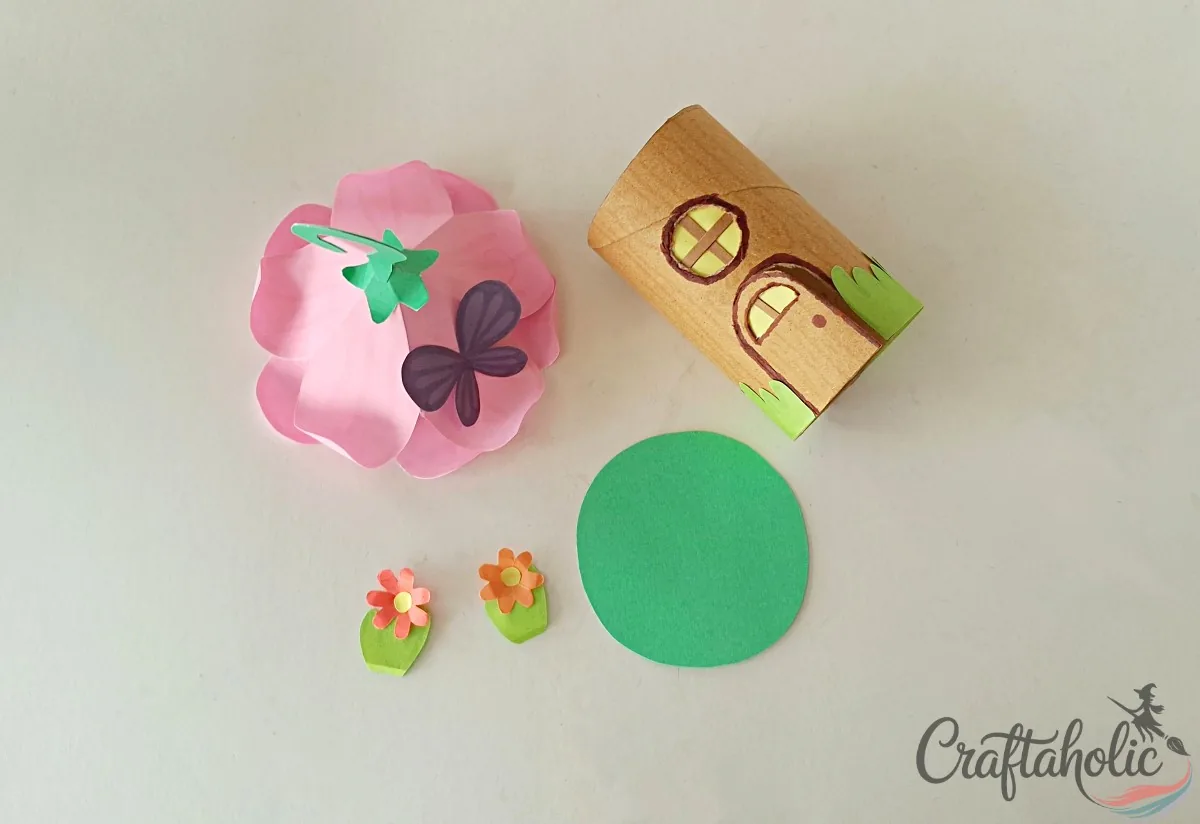
Line up your four finished parts: the flower roof, the tube house, the round base, and the little grass flowers.
Note: this is a checkpoint, not a new step. If any glue seam still feels soft, especially on the roof, give it a few more minutes now so nothing shifts when you put it all together.
Step 14: Glue the Grass Flowers Onto the Base
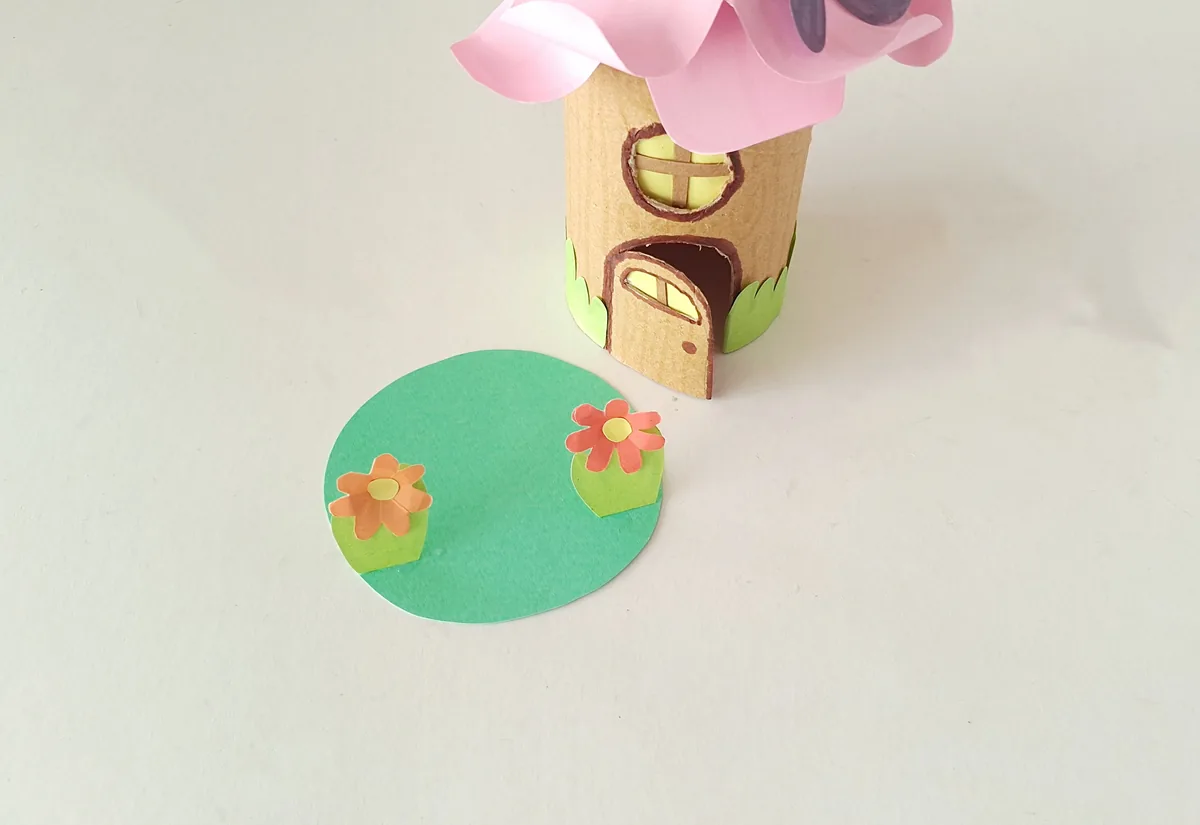
Glue the bottom edge of each grass-flower tuft to the round base, one on each side of where the door will sit, kept low and toward the front so they frame the entrance.
The base is what lets the house stand on its own, so press these until they hold firmly.
Step 15: Set the LED Candle on the Base
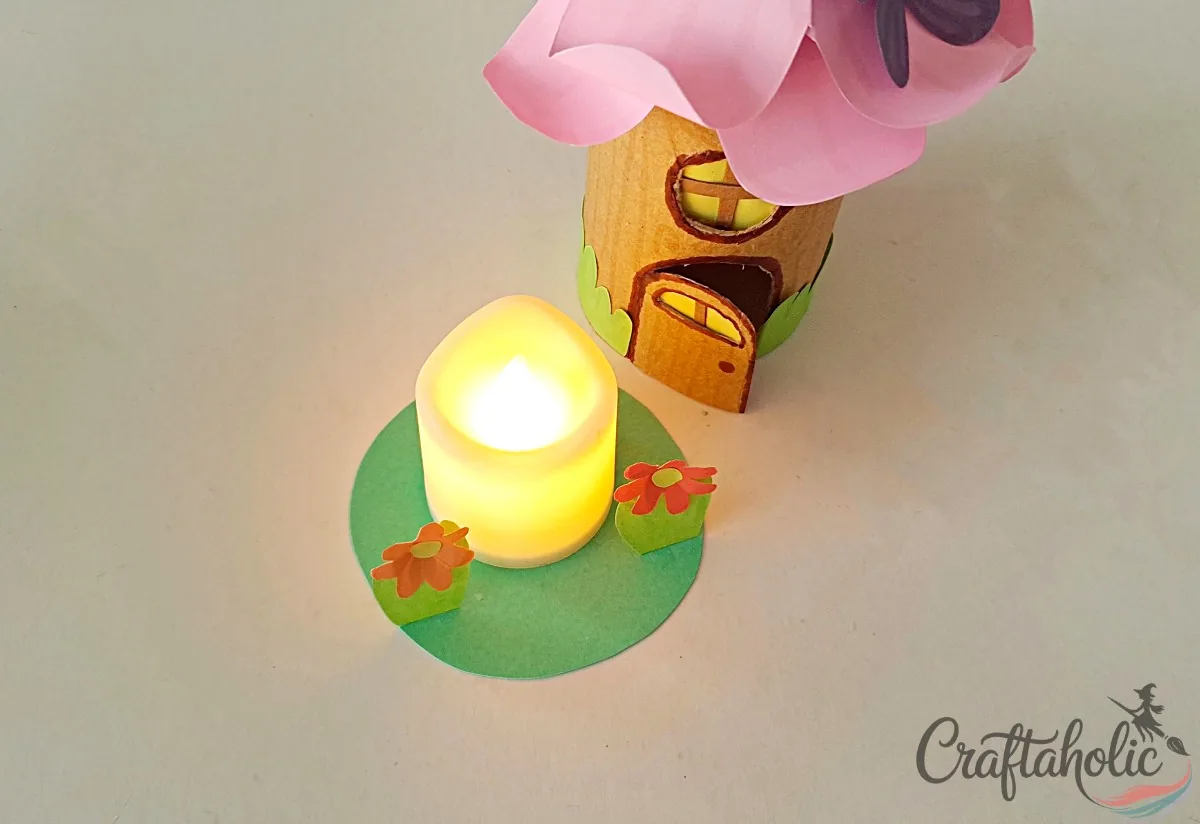
Place a small LED tea light in the center of the base, right where the tube will go over it. Switch it on now so you can check the glow in the next step.
Only ever use an LED light here. A real flame and a paper house do not mix.
Step 16: Cap It With the House and Light It Up
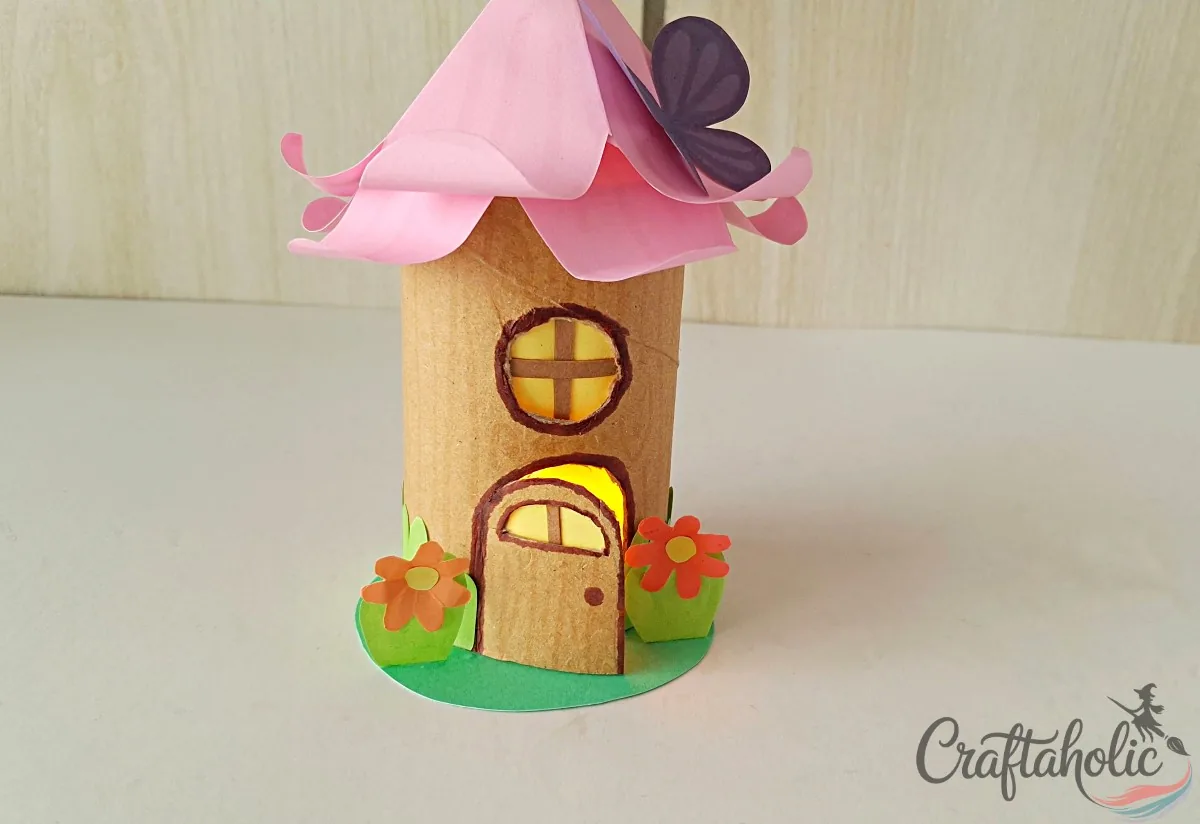
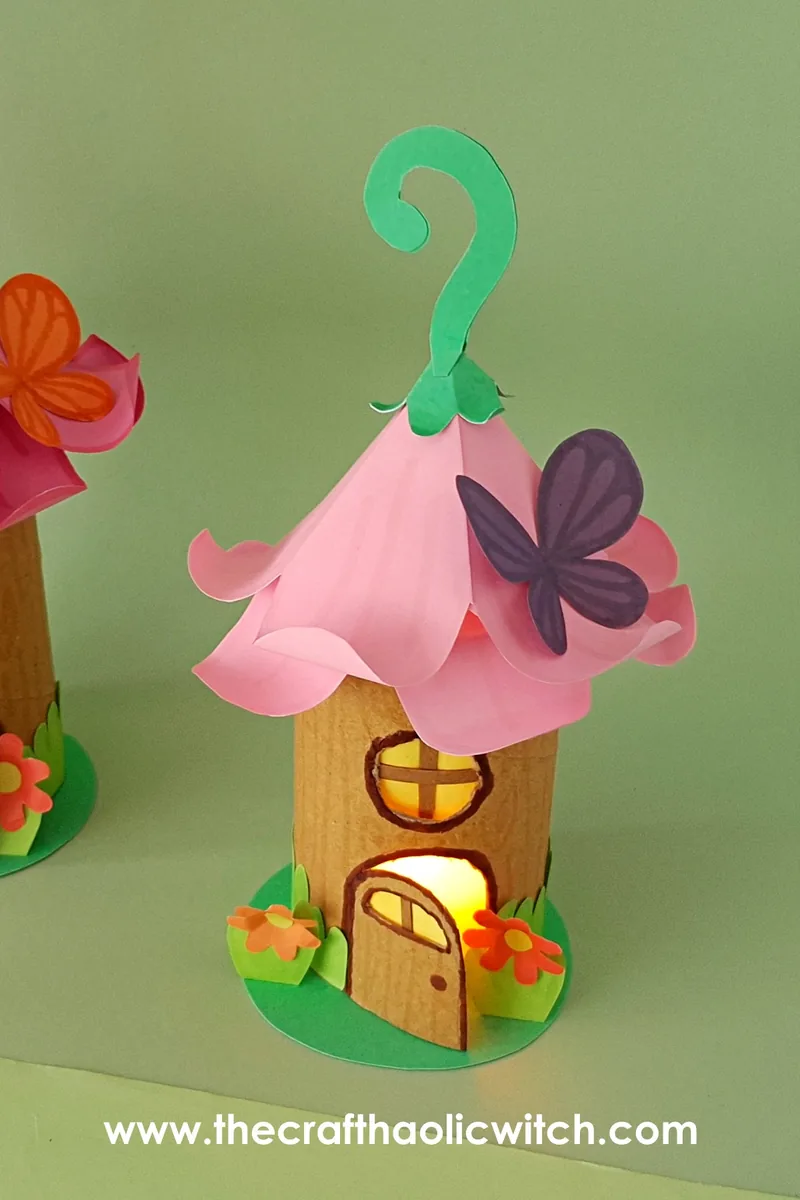
Lower the tube house over the LED candle so it sits on the base, then rest the flower roof on top. That is your finished toilet paper roll fairy house lantern.
It looks its best in a dim room or the late afternoon, when the light spills out through the little window and the open door.
Share it in "I Made It" and let us cheer you on.
Post your finished make in "I Made It" so the community can celebrate it with you. Cheer on other makers too. Each month, the most loved craft wins 1 year of Craftaholic Premium ($59)
Tips and Variations
- Swap the pink flower roof for other colors, a blue morning glory, a yellow daffodil, or warm autumn tones, to match a season or a child’s favorite.
- Make a few at different heights for a windowsill fairy village; a paper towel tube cut into two or three pieces gives you tall and short houses.
- Store the roof and the house separately in a box so the curled petals keep their shape between displays, and take the LED light out when it is not lit to save the battery.
Frequently Asked Questions
Can I make this fairy house without an X-acto knife?
Yes. Small, sharp scissors can cut the door and window if you first poke a starting hole with a pencil tip. The cuts will not be quite as crisp as a craft knife, but for younger makers it is the safer choice and still looks great once the covers go on.
What paper works best for the flower roof?
Medium-weight craft paper, around 120gsm, holds the curled 3D roof shape best. Thin printer paper tends to flop and will not keep the petal curl, while heavy cardstock over 200gsm is stiff and cracks when you fold between petals. If all you have is printer paper, glue two sheets together for more body.
Is it safe to put a candle inside a paper house?
Only an LED tea light is safe. The house is made entirely of paper and glue, so a real flame is a genuine fire risk. A battery LED candle gives the same warm glow with no heat, which is the whole point of turning it into a lantern.
How do I keep the flower roof from sagging?
Let every glued seam dry fully before you stack and handle the layers, since sagging almost always comes from building on glue that has not set. Using medium-weight paper and gluing the layers only at the center, so the petals stay free, also helps the roof hold its shape.
Can young kids make this craft?
Kids around 8 and up can do most of it, with an adult handling the knife cuts for the door and window. Younger children can trace, cut the simple shapes with scissors, curl the petals, and glue. It works best as a make-together project rather than a fully solo one.
More Recycled and Paper Crafts to Try
- How to Make Paper Butterflies (with Free Template)
- Easy Toilet Paper Roll Gnome (Free Pattern + Video)
- How to Make a DIY Recycled Pumpkin Box (Toilet Paper Roll Craft)
- Easy to Make Recycled Spoon Fairy for Kids (with Free Template)
- DIY Fairy Garden
- 17 Best DIY Construction Paper Crafts With Full Tutorials
Made your own little house? Share your toilet paper roll fairy house lantern in the I Made It space inside Craftaholic Community. The most-loved post each month wins a one year free Premium membership.
0 Comments
Join the conversation
Log in to your Craftaholic Community account to comment, ask questions, and cheer on fellow makers.
Log in to comment