

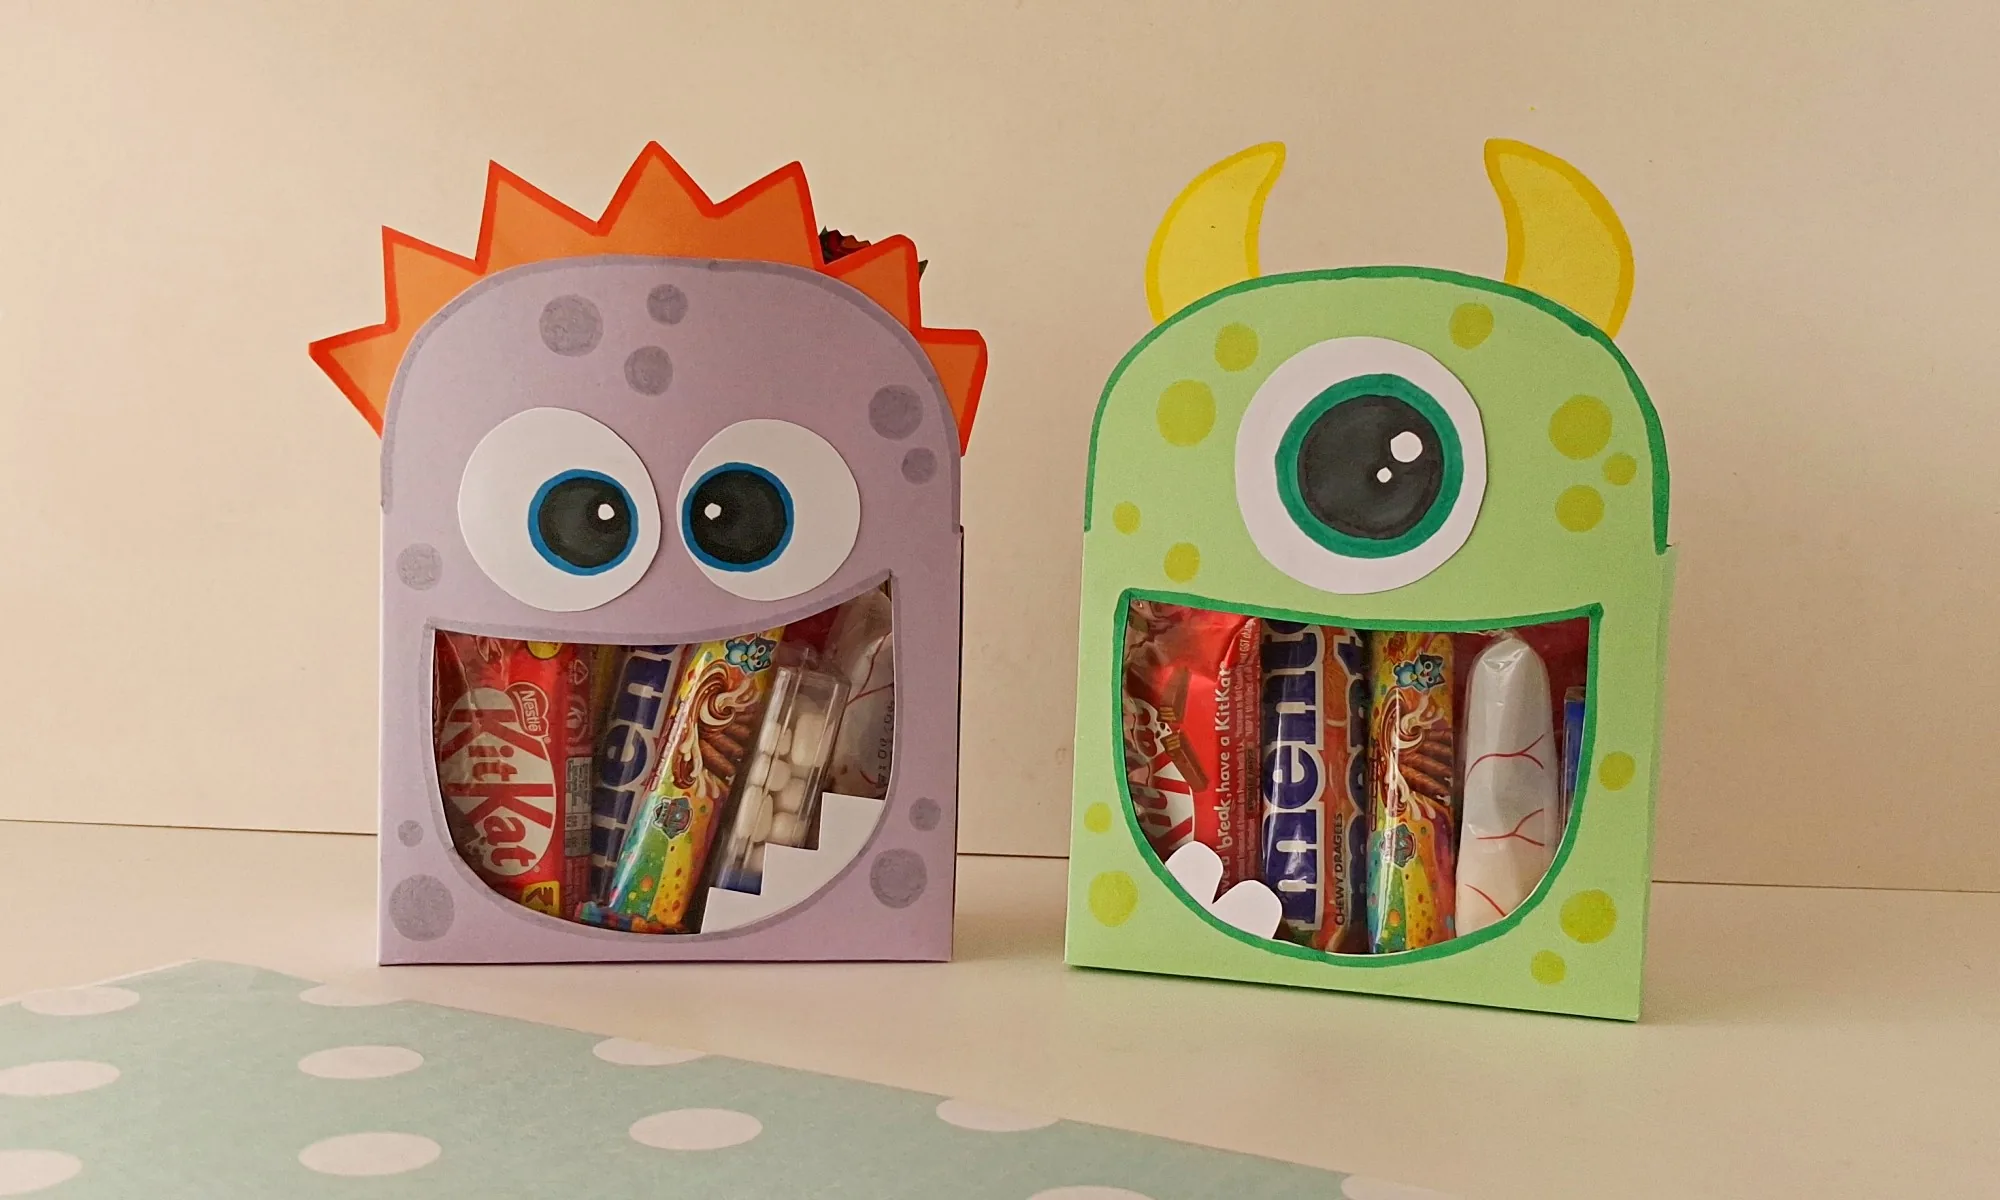
A monster snack box like this is exactly the kind of party favor a kid shows off to everyone before they’ve even opened the mouth to get at the candy inside.
You’re cutting a monster face from cardstock, punching out a mouth-shaped window, and filling it with candy behind a clear plastic sheet. It comes together with a printed template and basic craft supplies, no tools beyond a utility knife for the mouth cutout.
Fill it for a Halloween party, a classroom treat swap, or just because your kid asked for a monster this week. The supplies are cheap, mostly cardstock and craft paper you likely already have.
If you like the idea of a whole matching set, our paper halloween treat box set uses a rolled-paper base instead of a template to make a ghost, a bat, a Frankenstein, and a candy corn box.
Monster Snack Box at a Glance
- Difficulty: Beginner
- Time: 30 minutes, plus drying time between the gluing steps
- Cost: Under $5, mostly cardstock and craft paper you likely already have
- Ages: 8+ with adult help for the utility-knife mouth cutout; 10+ can work independently
- Best for: Halloween parties, trick-or-treat favors, classroom treat swaps
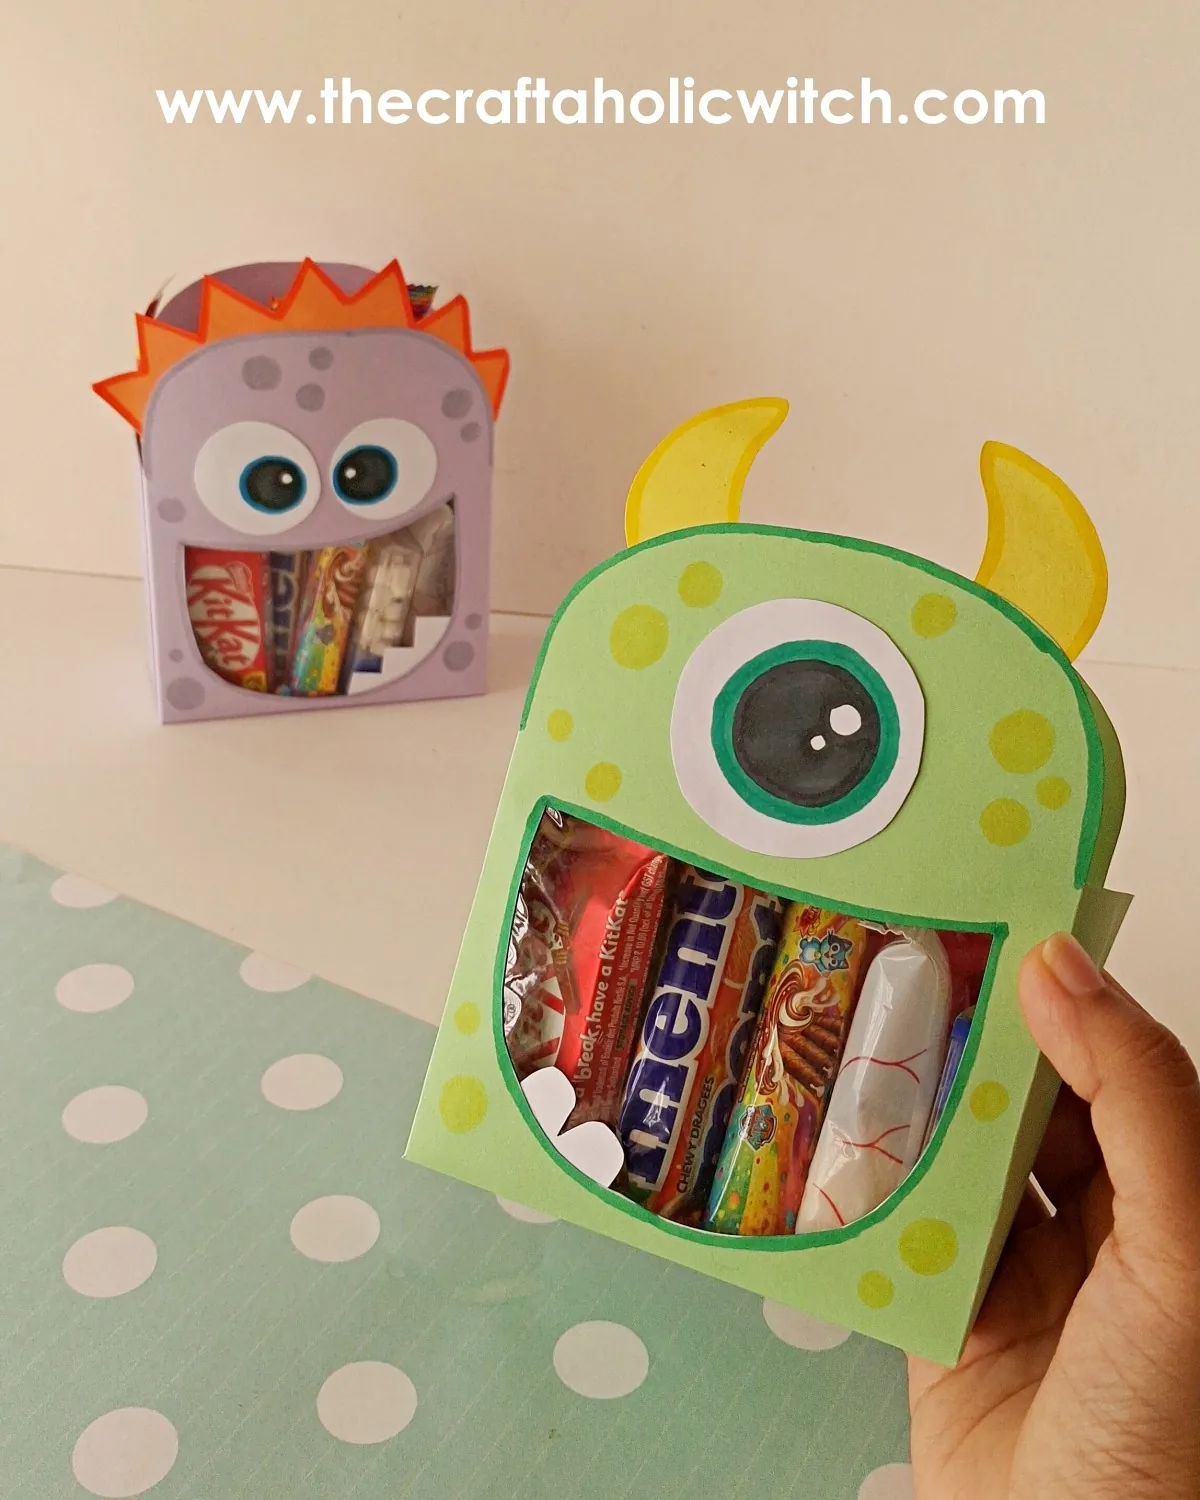
What You Need to Make a Monster Snack Box
Materials
- White thick, hard cardstock paper, forms the box itself; regular craft paper is too thin to hold the folded shape once it’s filled
- Colored craft papers, for the horns, teeth, scale, and other face add-ons
- Printed template, gives you the box net and both mouth-shape options to trace
- Craft glue, holds every seam and add-on in place; budget extra time for it to dry between steps
Tools
- Pencil, for tracing the template pieces onto your papers
- A pair of scissors, for cutting out the box template and face pieces
- Utility knife, for cutting the mouth opening cleanly; this is the one step to supervise with younger makers
Ask inside "Crafty Q&A" while you are making.
"Crafty Q&A" is free to join. Share your question, photo, or the exact step where you got stuck, and chat with other makers plus the Craftaholic Witch team. You can also join any discussion thread already happening inside the space.
How to Make a Monster Snack Box
Step 1: Trace and Cut the Box Template
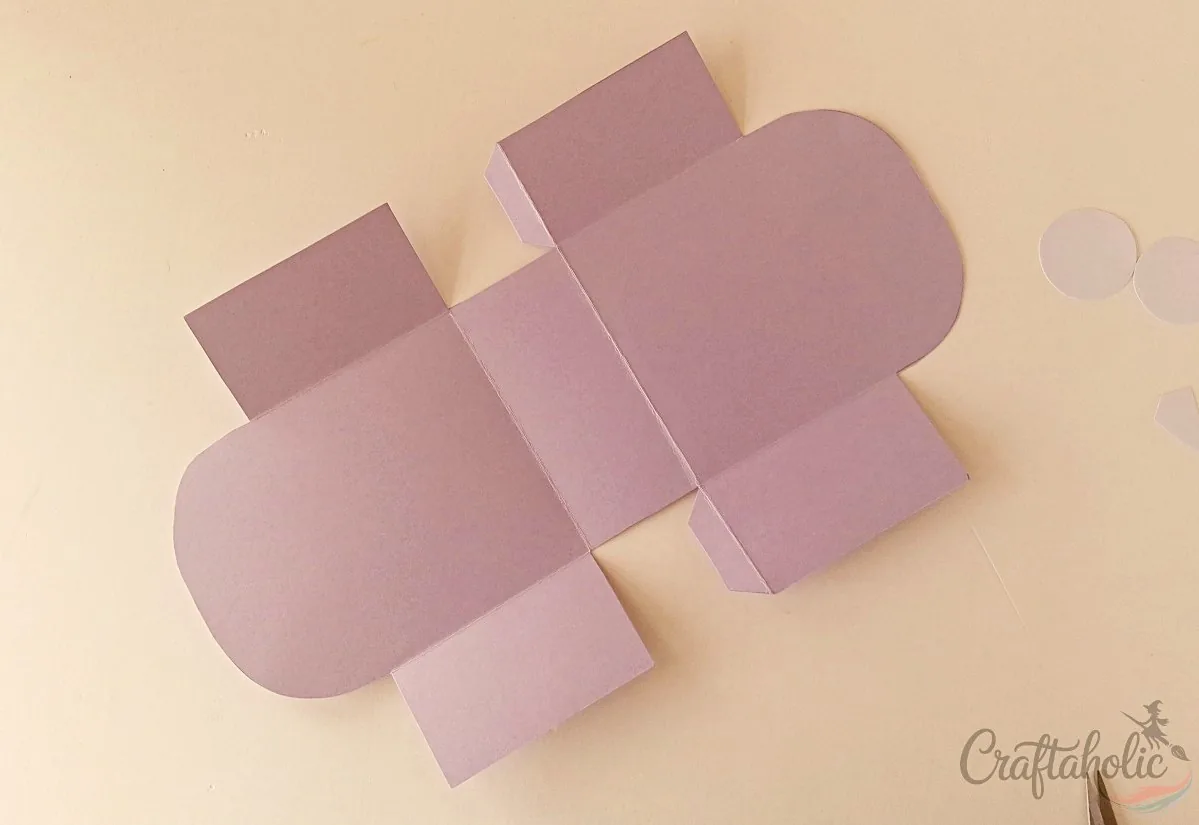
Trace the box template onto a sheet of thick, hard cardstock, then cut it out neatly with a sharp pair of scissors. Stick to real cardstock here. Regular craft paper is too thin to hold the box’s shape once it’s folded and filled with candy.
Step 2: Cut the Mouth Opening
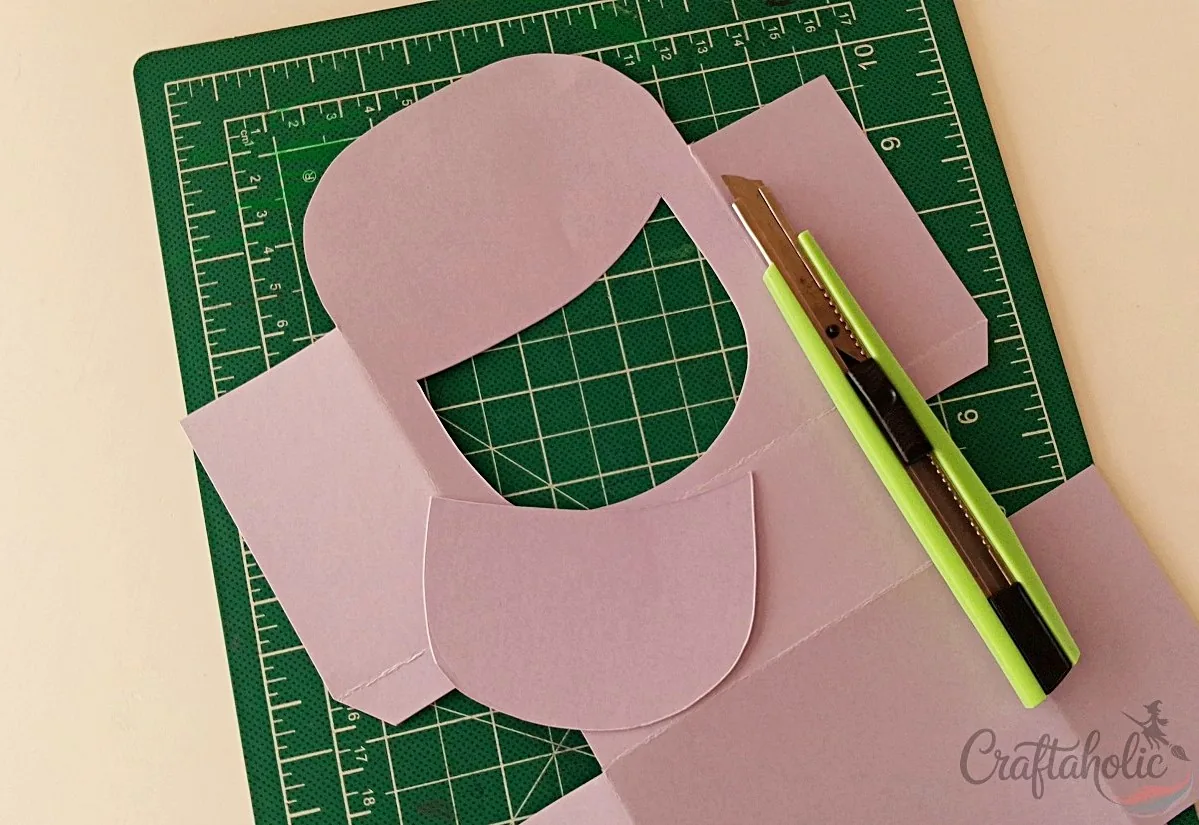
The template gives you two mouth-shape options. Pick the one you like and trace it onto the front panel of the box template, keeping the rounded top edge of the panel as the top of the box so the mouth lands in the lower half. Cut the traced mouth shape out with a utility knife.
Warning: A utility knife needs more control than scissors around a curved line, so do this cut yourself or supervise closely with younger makers.
Step 3: Cut a Clear Sheet for the Window
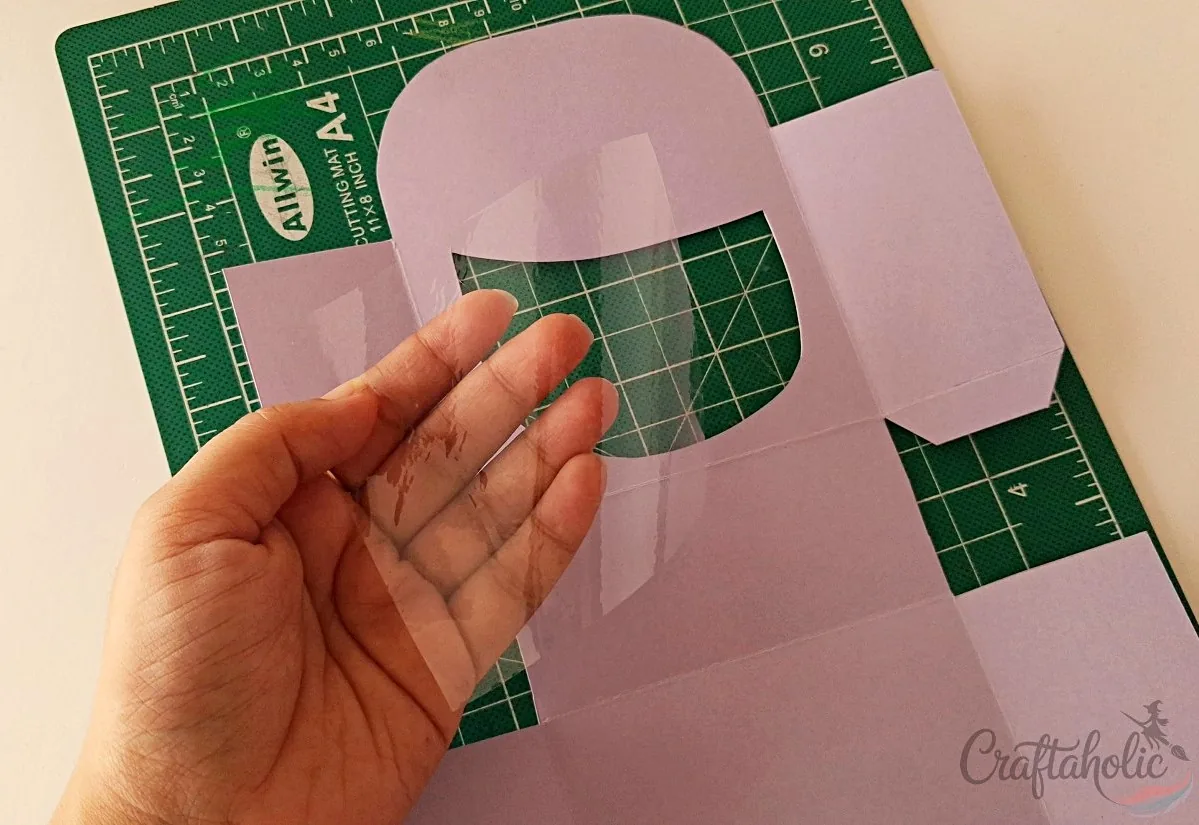
Cut a piece of clear plastic sheet a little larger than the mouth opening, with enough overlap on every side to glue it down in the next step.
Step 4: Cut and Color the Monster’s Face Pieces
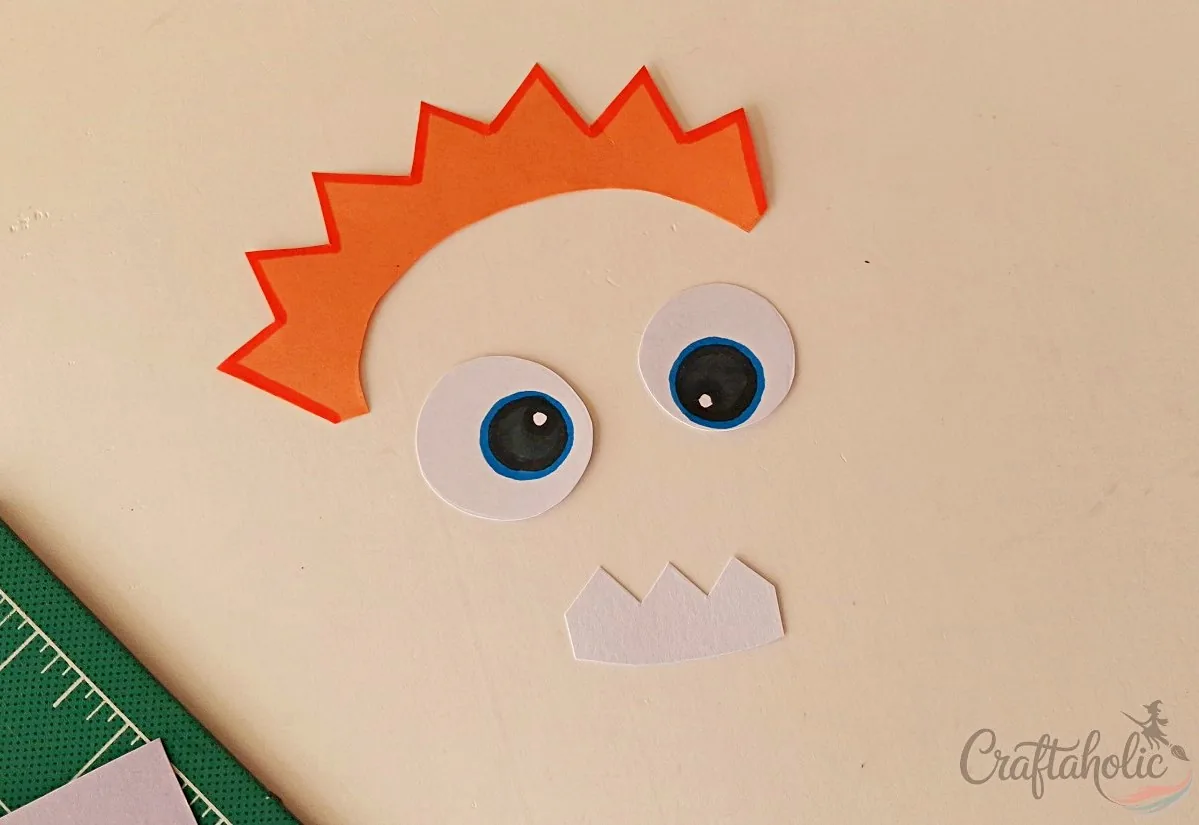
Cut the remaining pieces, the eyes, horns or scale, and any other add-ons, from your craft papers, then use markers to add outlines and detail to each one. The eyes are a good spot to get creative: try two different colors, or ring the pupil in a second shade. Color the horns or scale to match or contrast with the base for a bolder look.
Step 5: Attach the Teeth and Window on the Inside
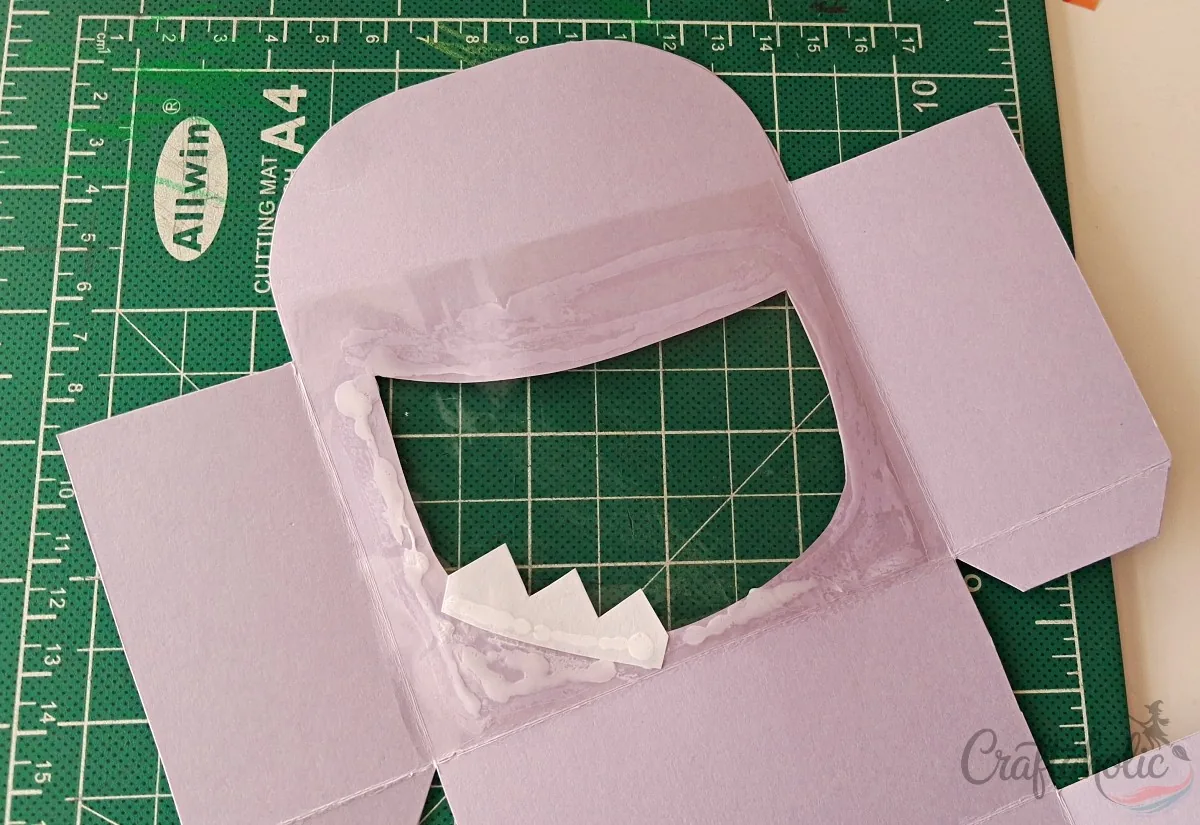
Flip the box template to its inside face. Glue a teeth cutout along the bottom, rounded edge of the mouth opening, then glue your clear plastic sheet over the whole opening from the inside, sealing it around every edge.
Let the glue dry fully before you move on. A loose edge here is what lets a candy wrapper poke through the window later.
Step 6: Glue On the Horns or Scale
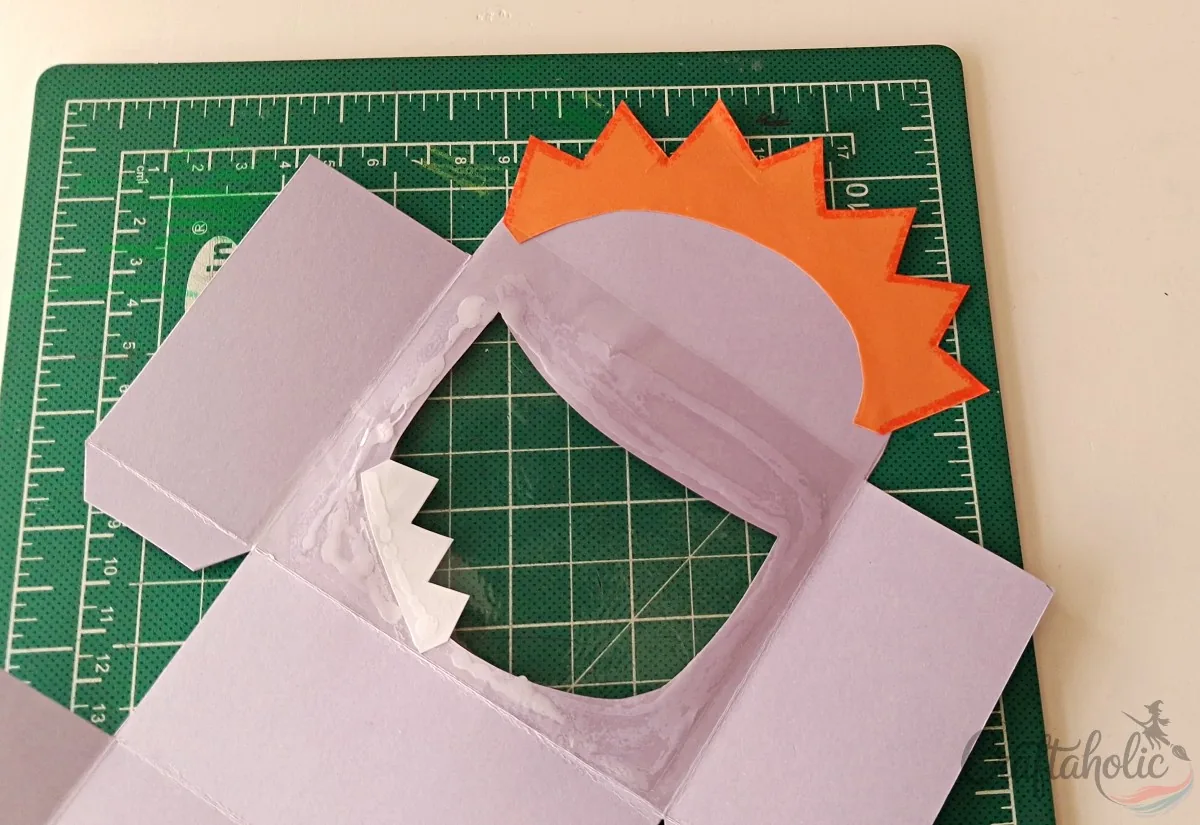
Still working on the inside face, glue your chosen horns or scale to the top edge of the monster’s head. Everything you’ve attached so far, the teeth, the window, and now the horns or scale, belongs on this inside face; only the eyes and patterns go on the front.
Step 7: Flip It Over and Glue On the Eyes
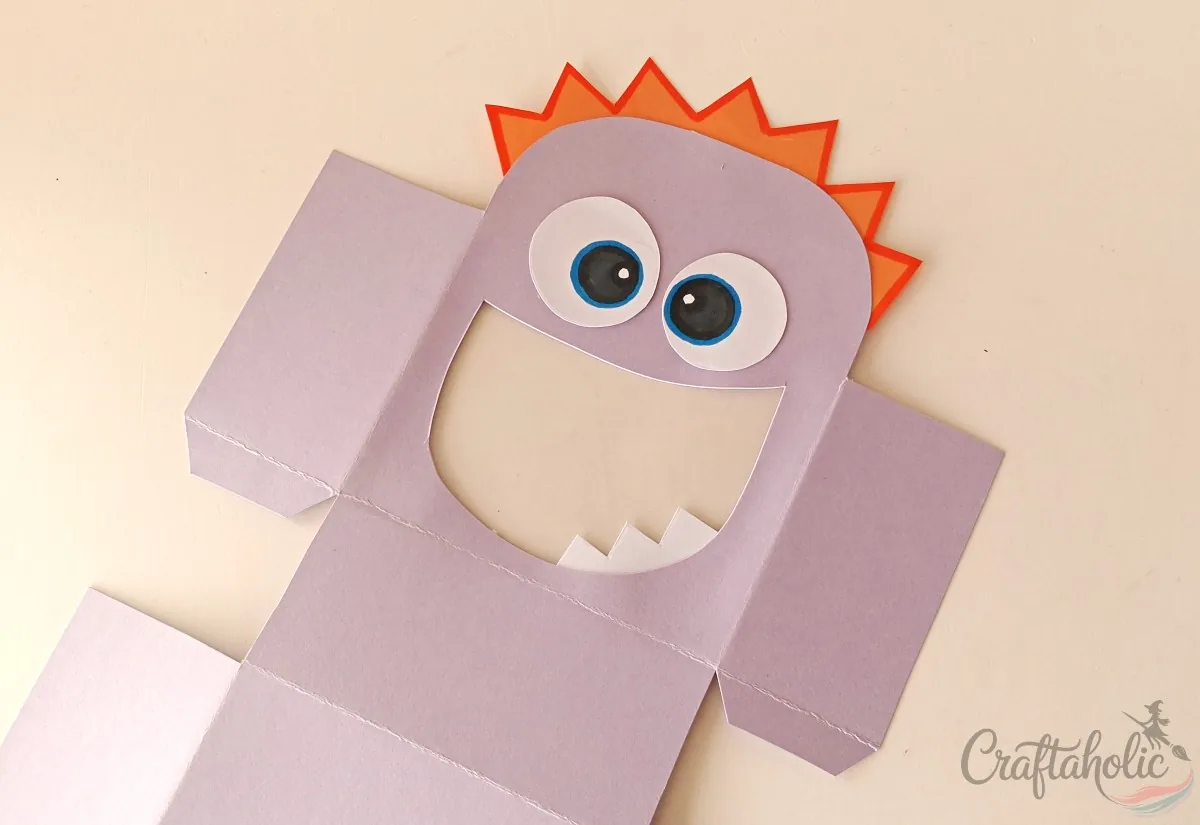
Turn the box template back to its front. Glue the eyes above the mouth opening, centered on the monster’s face.
Step 8: Add Spots, Stripes, or Patterns
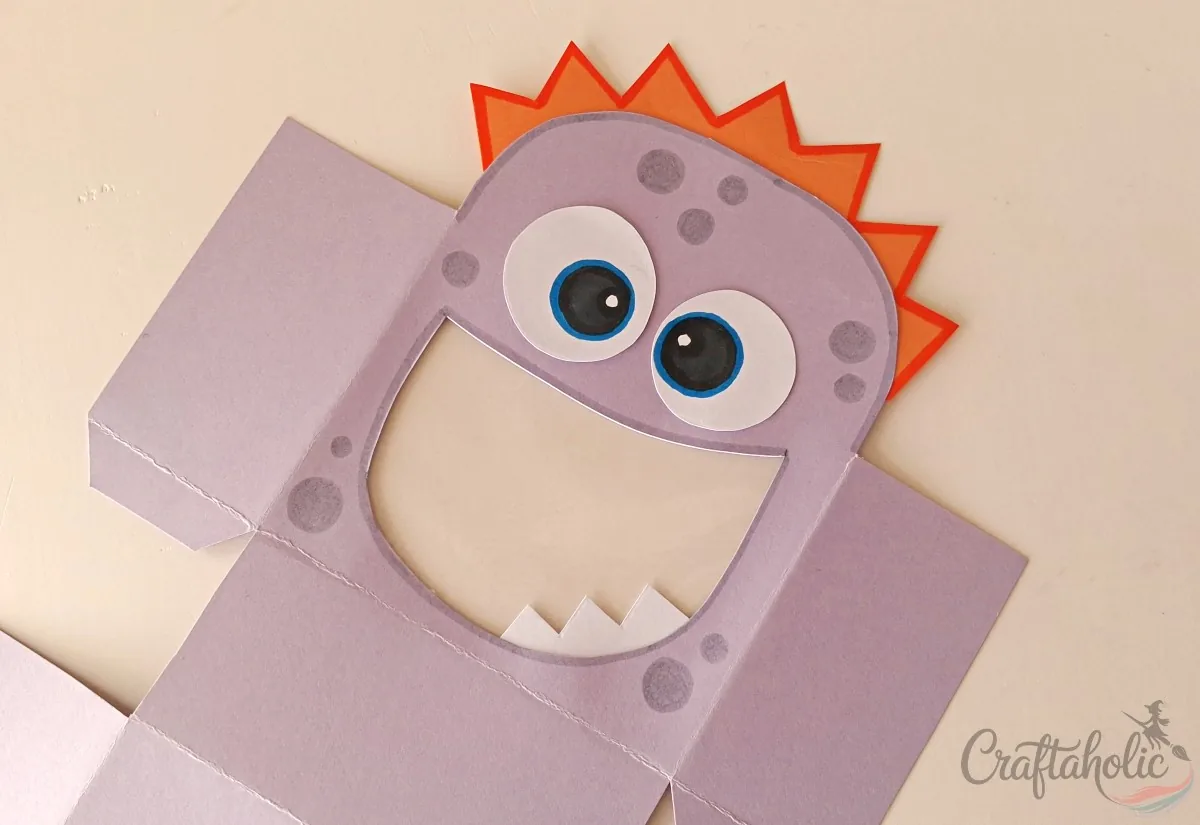
Finish the front with markers, spots, stripes, or any pattern you like, to give your monster its own personality.
Step 9: Fold and Glue the Top and Bottom Flaps
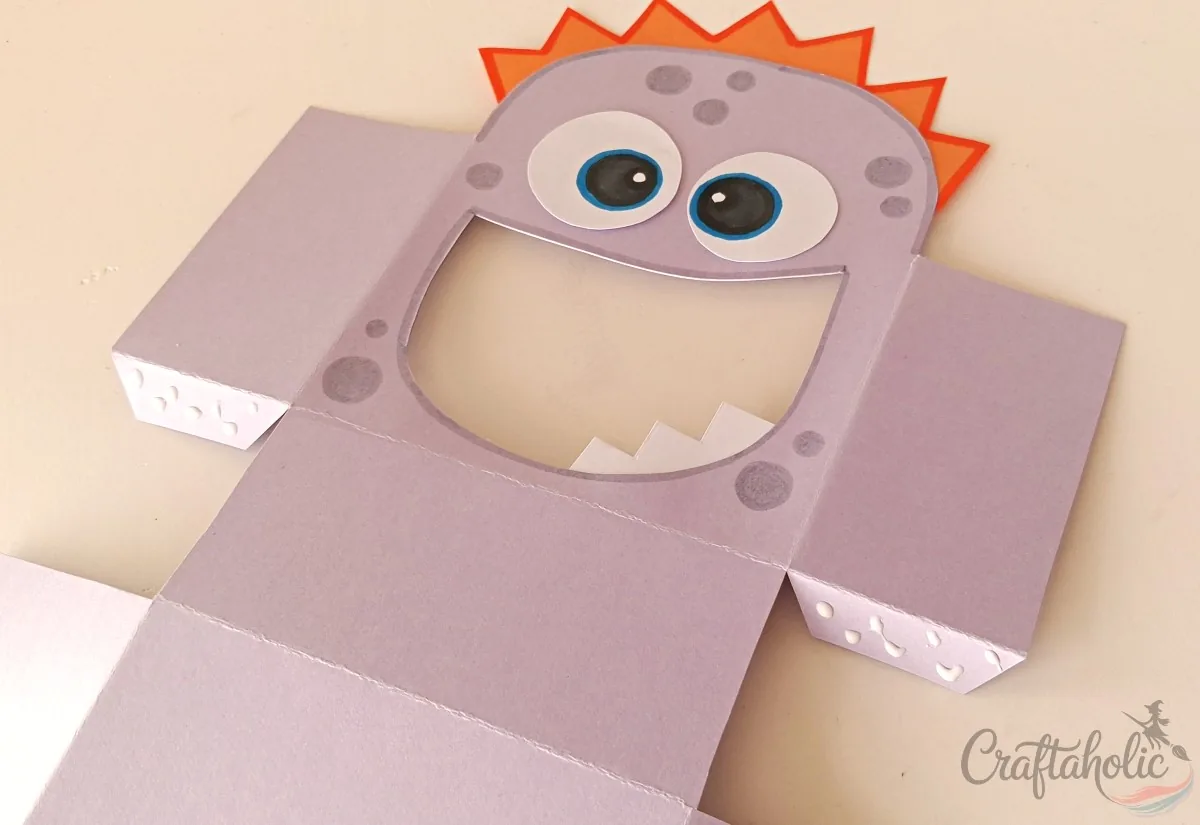
Fold the two narrow top and bottom flaps in along their inner crease lines, then run glue evenly along each one.
Step 10: Fold Up the Front and Close the Flaps
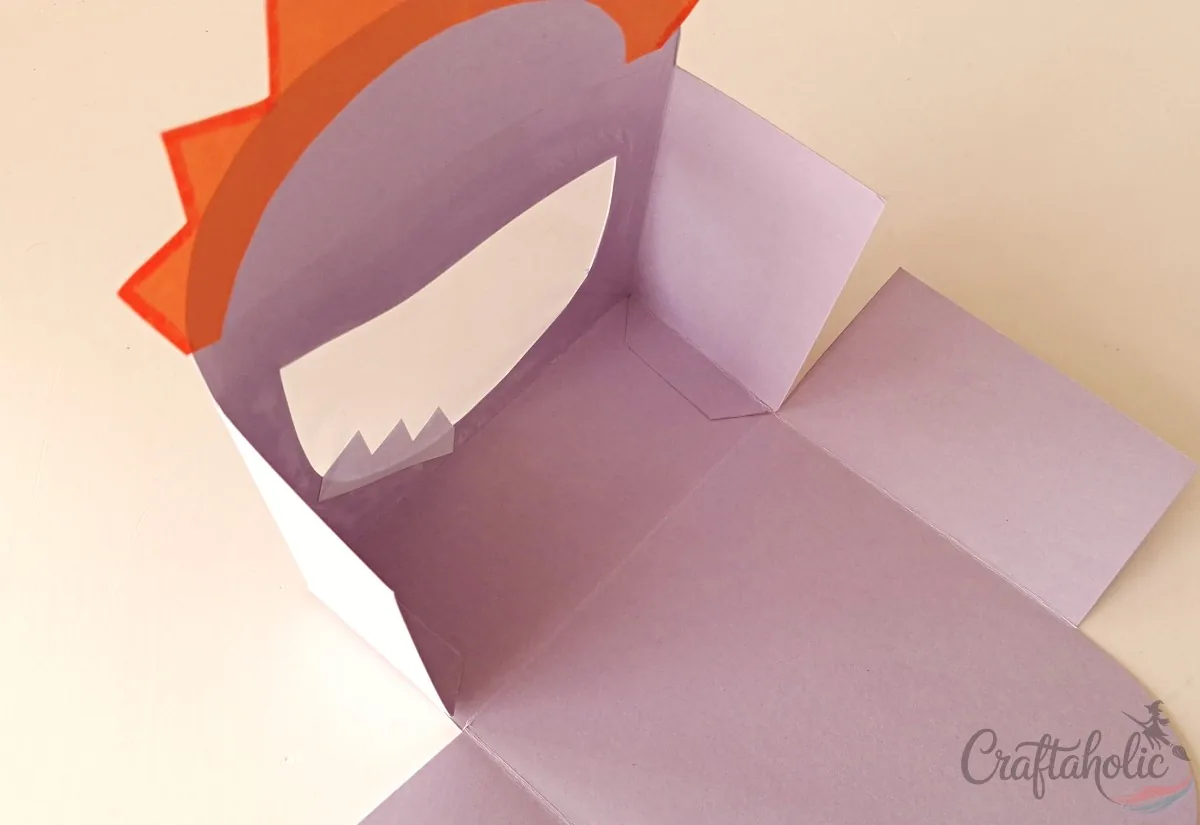
Fold the front panel up to a right angle, then press the glued top and bottom flaps against it, matching them to the full width of the front so the seam sits flush.
Step 11: Glue the Side Flaps
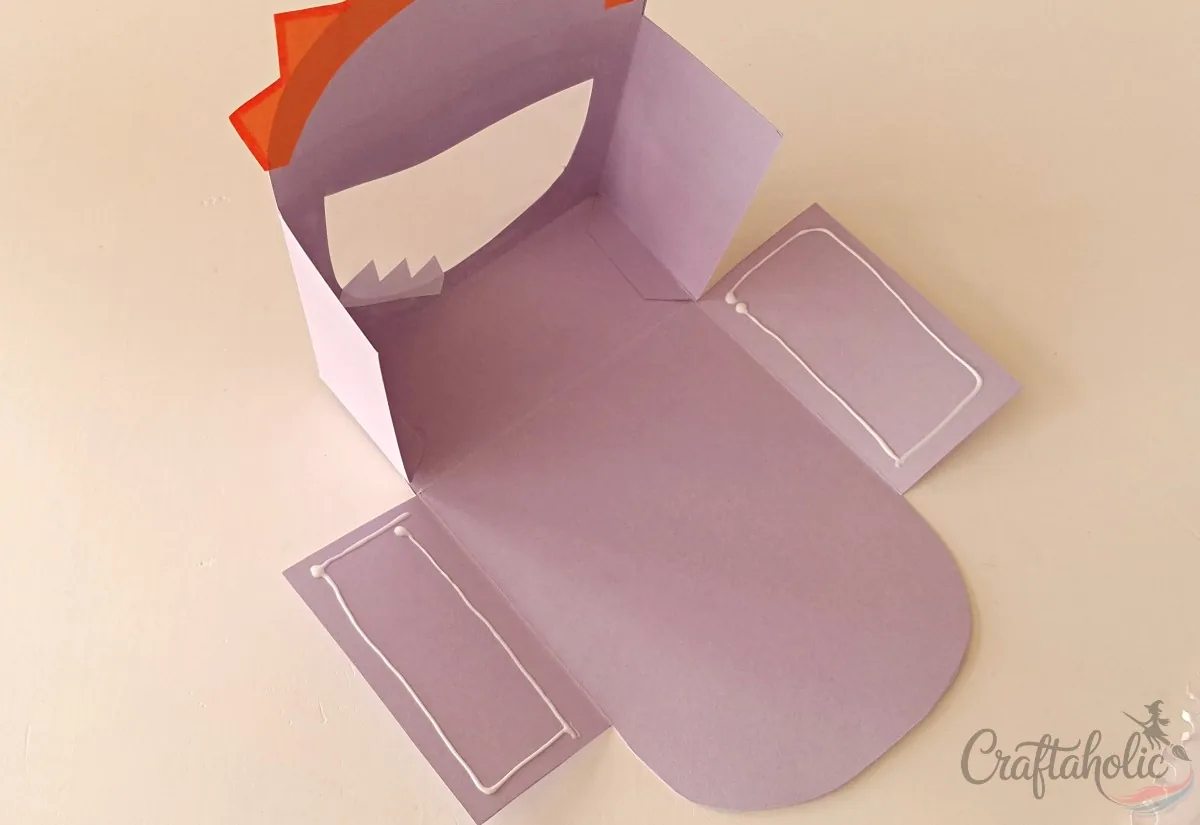
Run glue along the two remaining side flaps.
Step 12: Fold Up the Sides to Close the Box
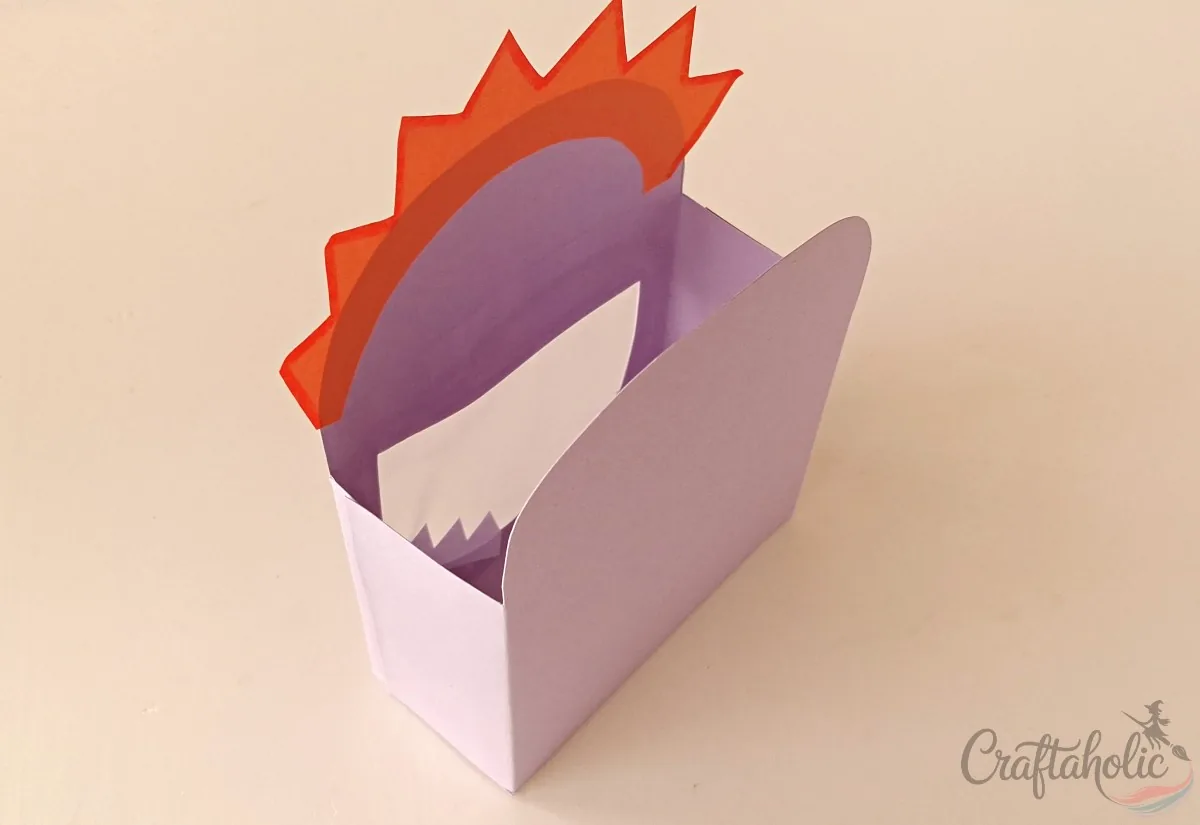
Fold the glued side flaps up and press each one against its neighboring panel, working one side at a time so you can line up the edges neatly before the glue grabs.
Step 13: Let the Glue Cure Before You Fill It
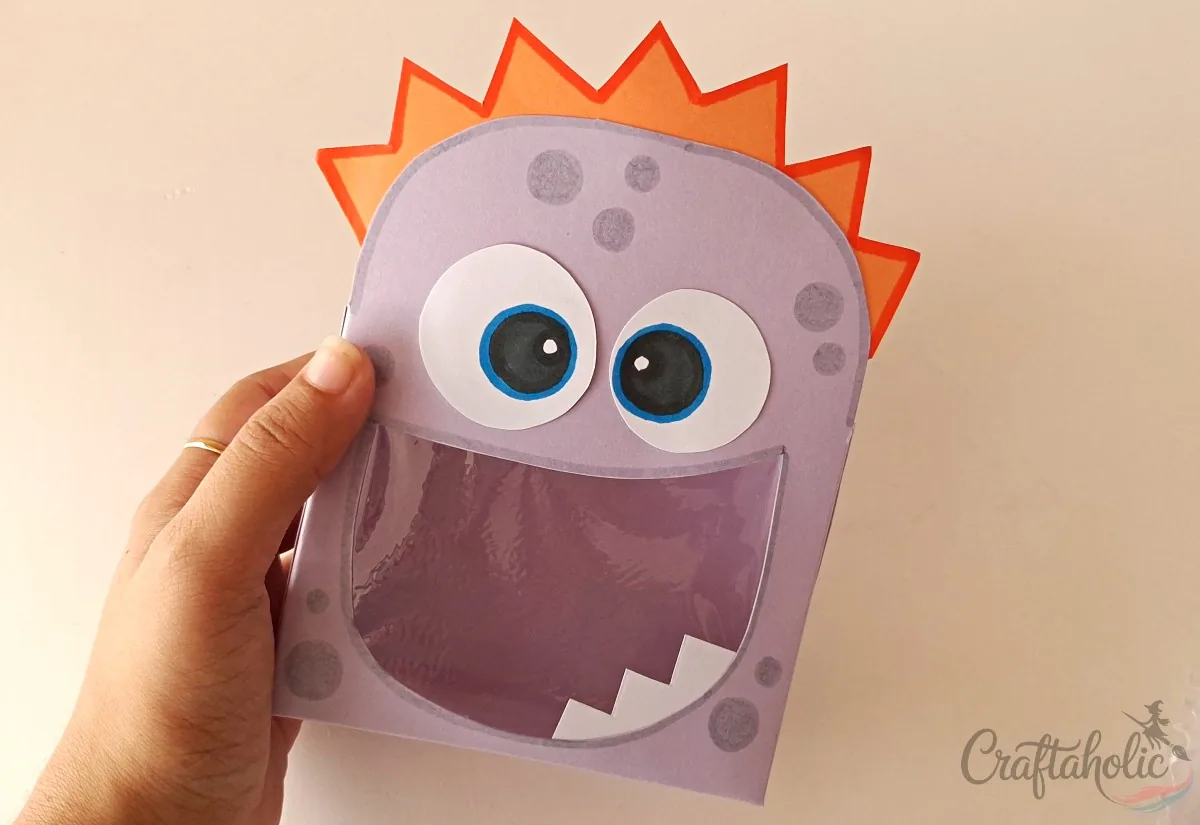
Set the finished box aside and let every glued seam cure completely before you touch it again. A box filled too early can pop open at a corner, so hold off on the candy until it’s fully dry.
Share it in "I Made It" and let us cheer you on.
Post your finished make in "I Made It" so the community can celebrate it with you. Cheer on other makers too. Each month, the most loved craft wins 1 year of Craftaholic Premium ($59)
Tips for Monster Snack Boxes
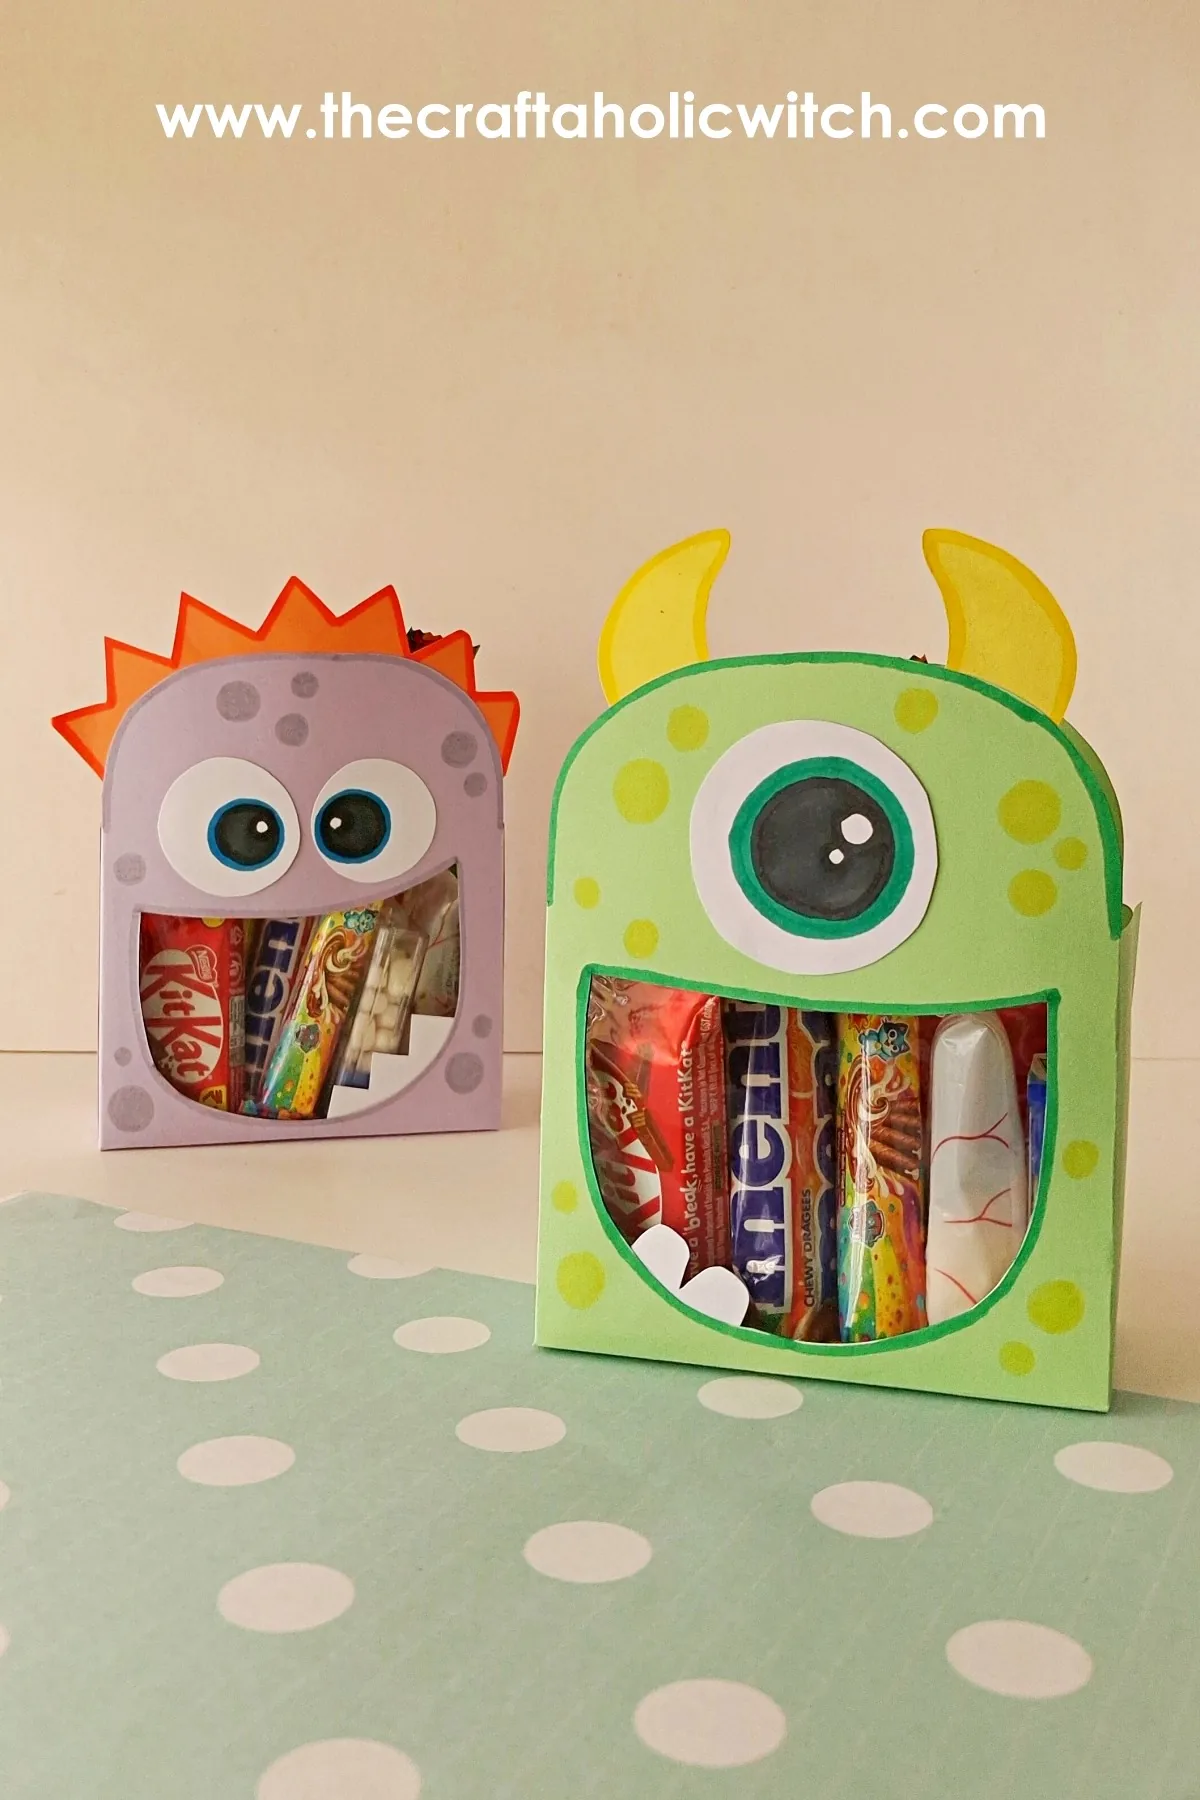
- Mix up the color palette (purple with orange spikes, green with yellow horns) to make a small set that doesn’t look like it came from one mold.
- Trace extra body pieces while you have the template out if you’re making more than one box; it’s the fastest way to batch a few for a class or party.
- Swap the candy for stickers or a small toy if you’re making these for a classroom with food allergies to watch for.
Frequently Asked Questions
What can I use instead of a utility knife to cut the mouth opening?
A small, sharp craft knife works the same way if you don’t have a dedicated utility knife. Whichever blade you use, cut on a self-healing mat or a few layers of cardboard so you don’t score the table underneath, and let an adult handle this step with younger makers.
How long does it take to make a monster snack box?
Cutting and assembling one box takes about 30 minutes of active work, plus drying time between the gluing steps. Budget closer to an hour total if you want every seam fully set before you fill it with candy.
Can I make this without printing the template?
The template is the fastest way to get the box shape and both mouth options right, but you can trace an existing small box for the base and freehand a mouth shape and face pieces if you’d rather skip printing. The proportions just won’t be as exact.
Why won’t my monster snack box hold its shape?
This is almost always the glue on the flaps. If a flap wasn’t pressed flat before the glue set, or the box was filled with candy before the seams cured, a corner can pop open. Let every glued seam dry completely before you touch the box again, and fill it only once it’s fully set.
How is this different from your other Halloween treat boxes?
This one is built from a printed box template with a die-cut mouth window that shows the candy through a clear plastic sheet, while our paper halloween treat box set rolls a paper cone into a triangle shape instead. Both use basic craft supplies, but the clear window here is the main visual difference.
Can my kid make this on their own?
Most of this project, tracing, cutting with scissors, gluing, and decorating, is easy for a kid working solo from about age 8 or 9 up. The one step to sit in on is cutting the mouth opening with a utility knife; everything else they can run with.
More Paper Crafts Tutorials
- Browse all our Paper Crafts tutorials
- More Paper Decor & 3D Crafts projects
- Cute and Easy Ghost Lollipop Holder for Halloween
- How to Make a Classroom Reward Jar
Share your monster snack box in the I Made It space inside Craftaholic Community. The most-loved post each month wins a one year free Premium membership.
0 Comments
Join the conversation
Log in to your Craftaholic Community account to comment, ask questions, and cheer on fellow makers.
Log in to comment