

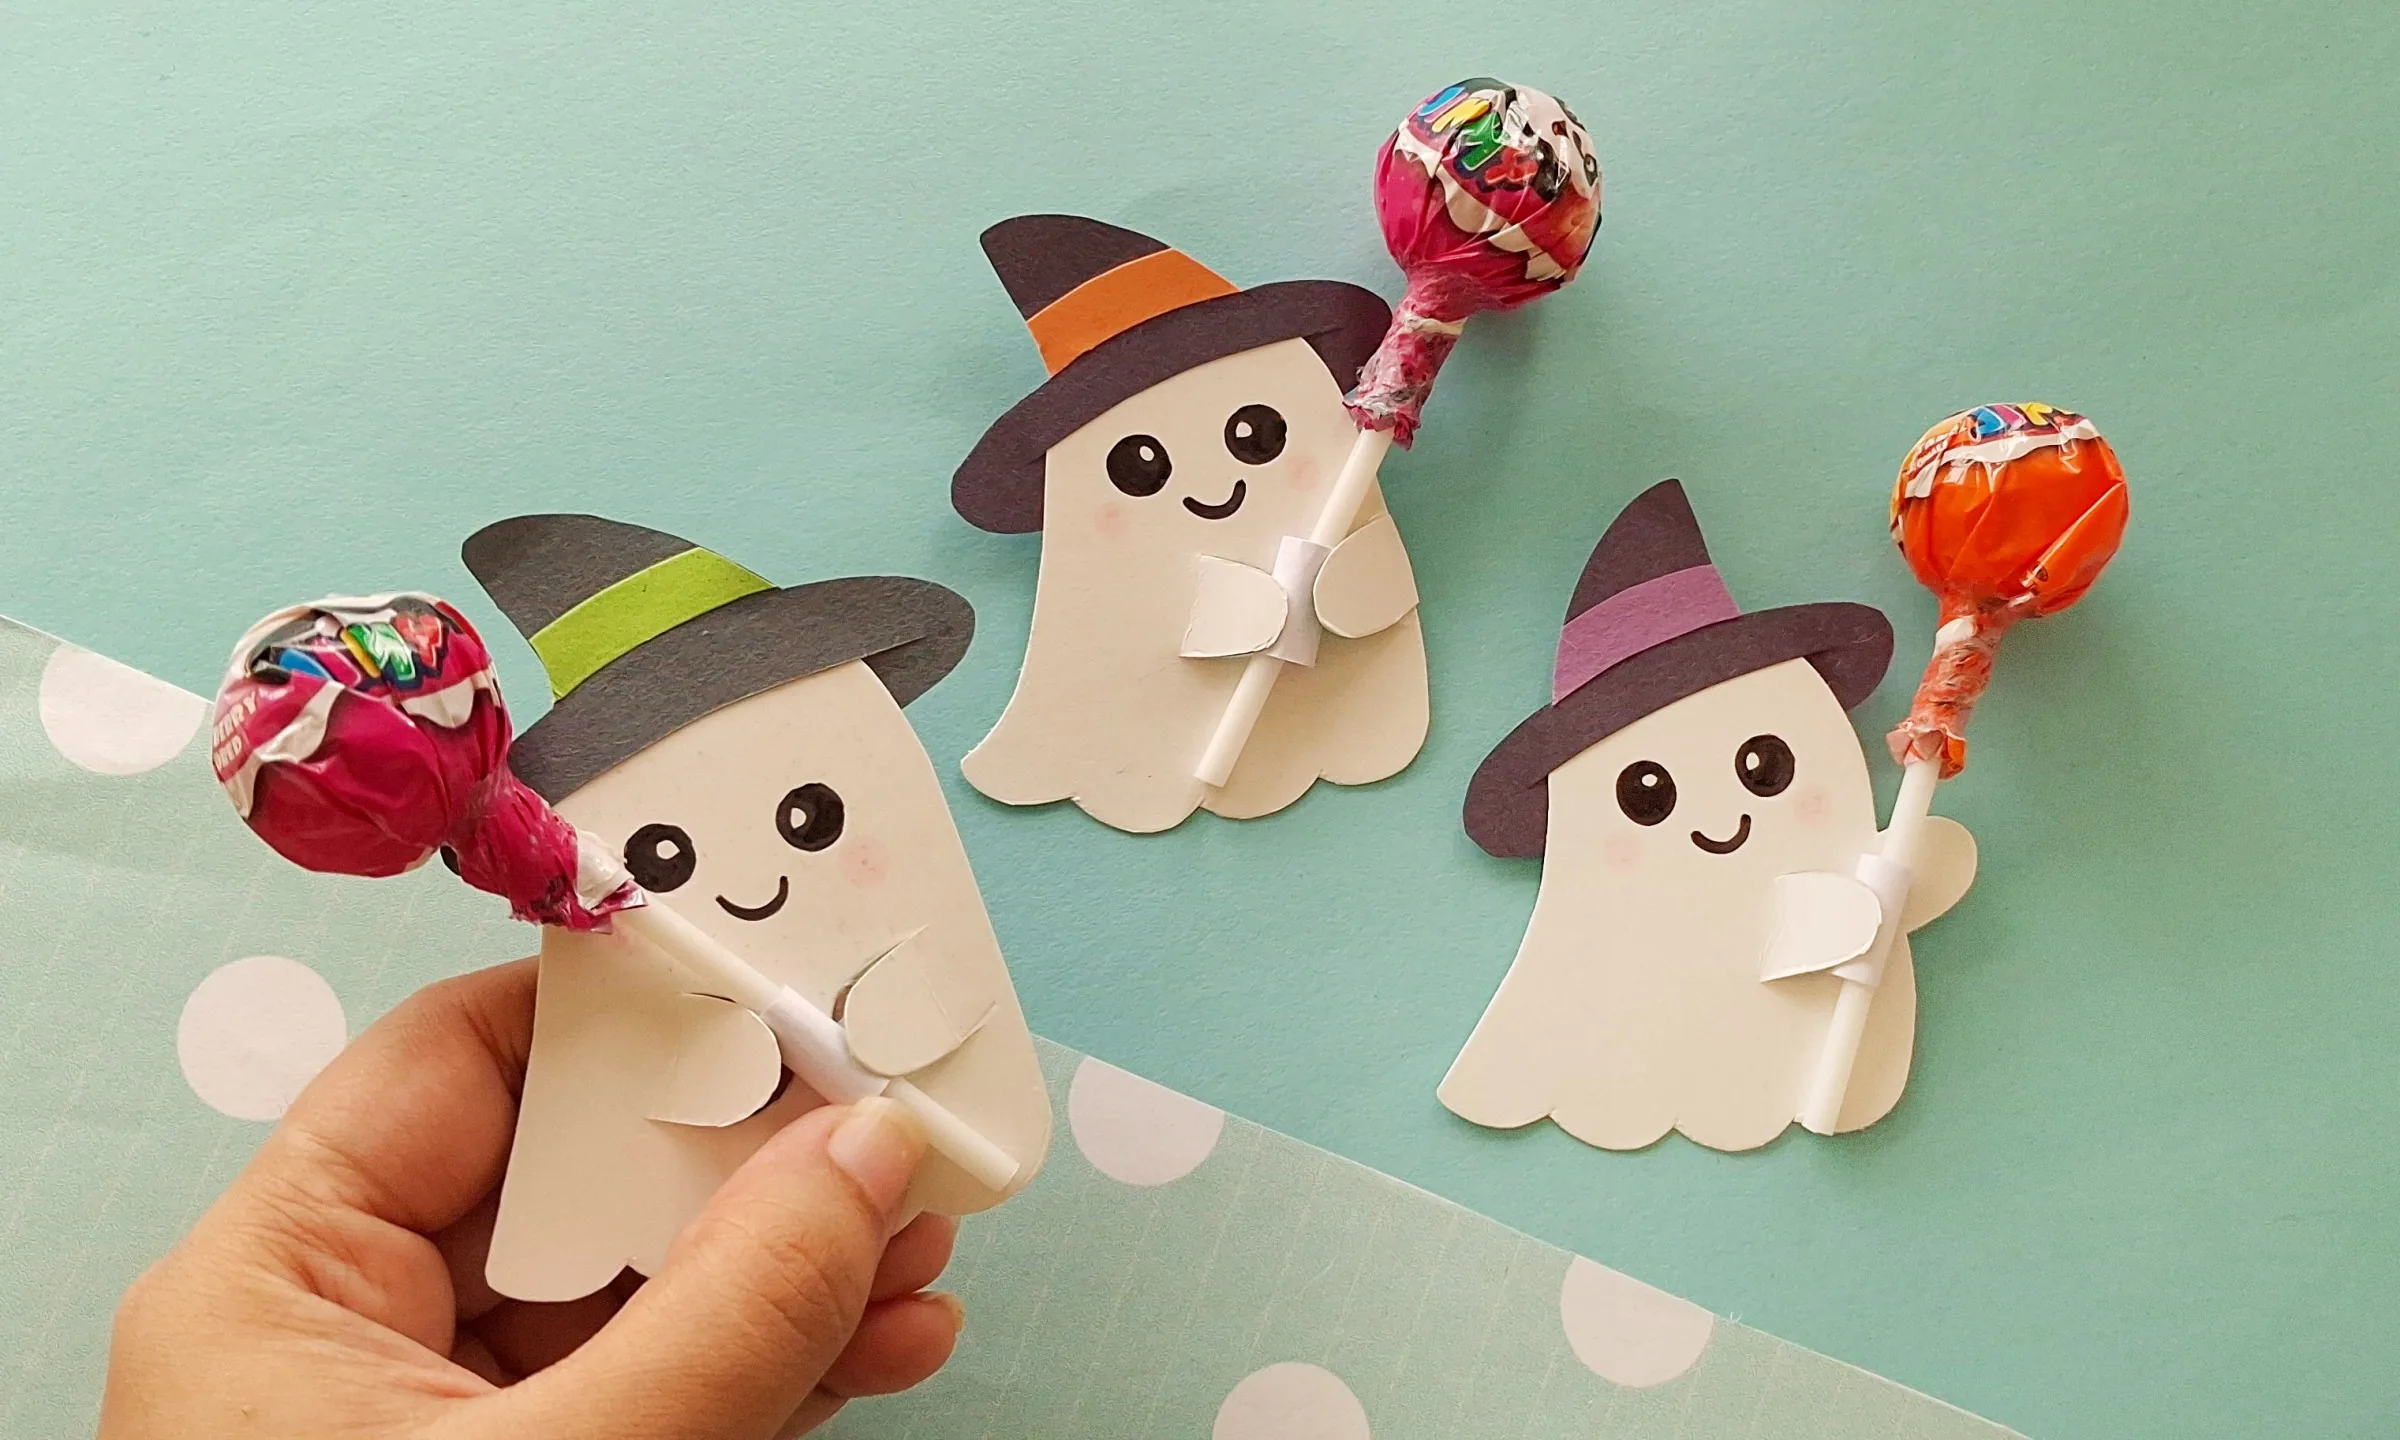
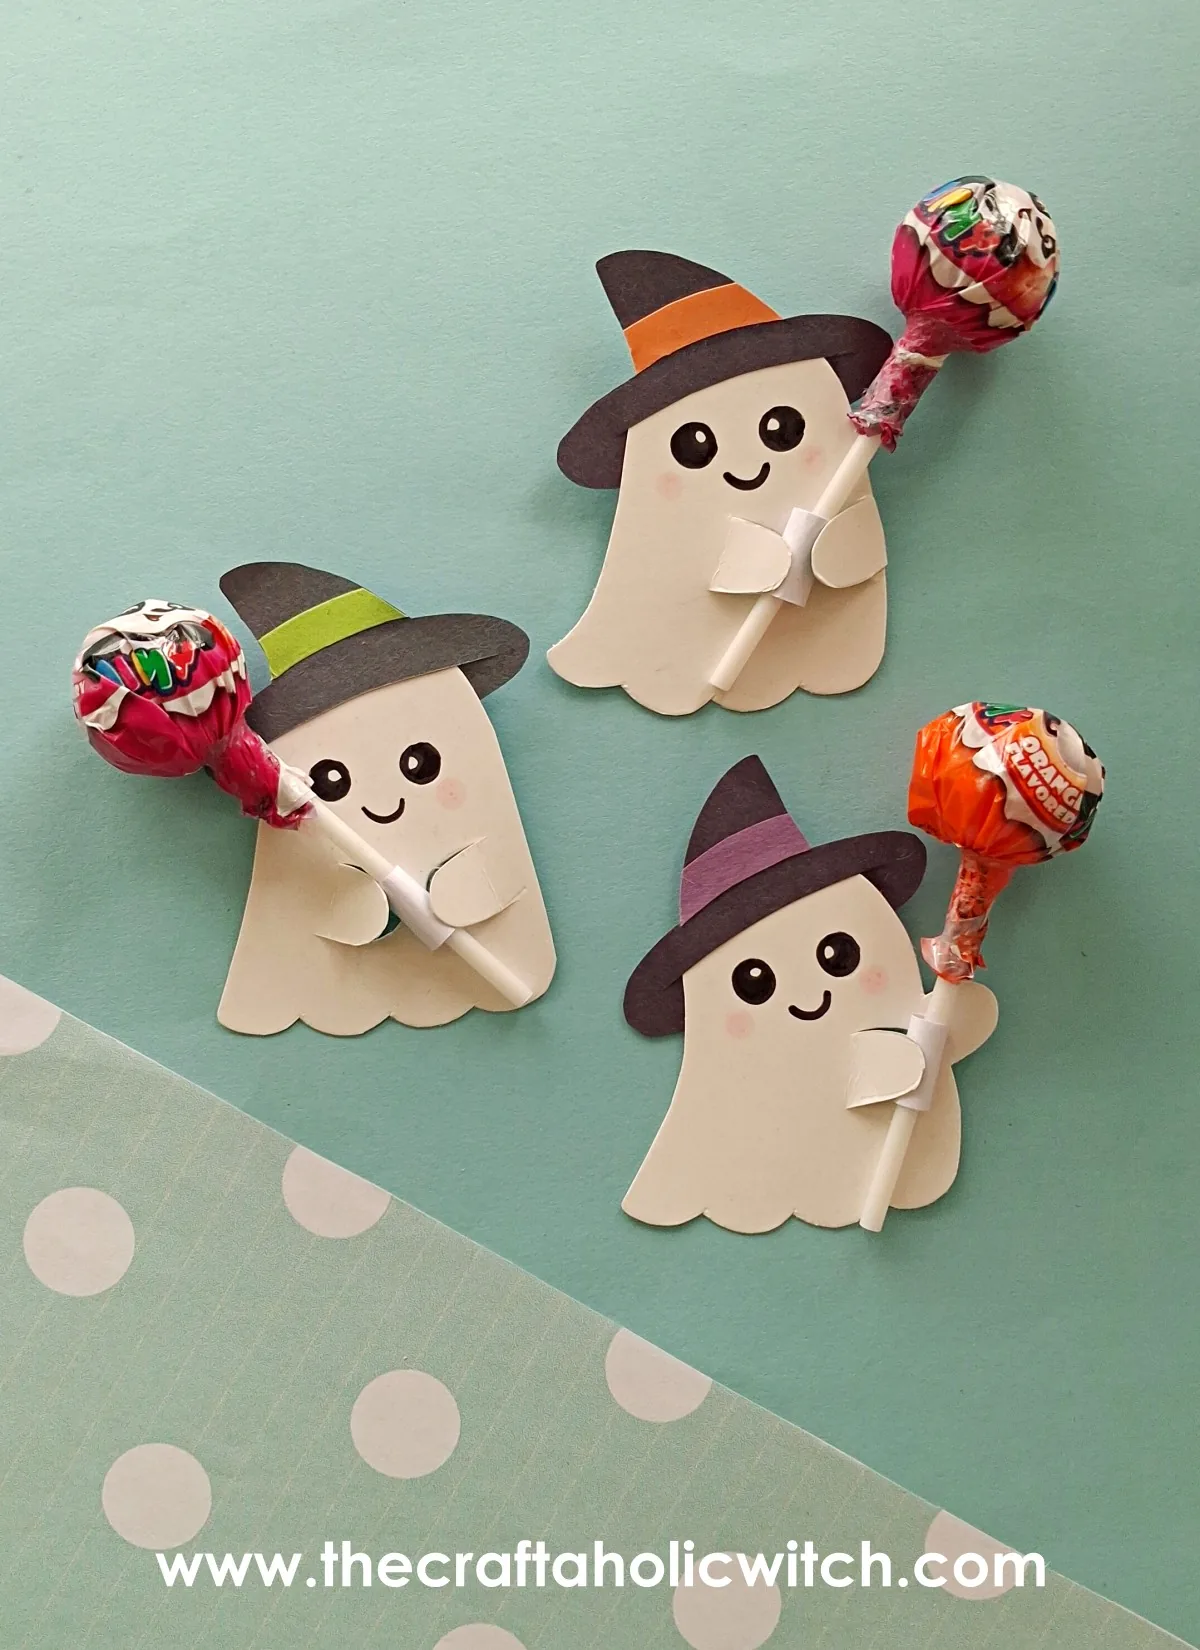
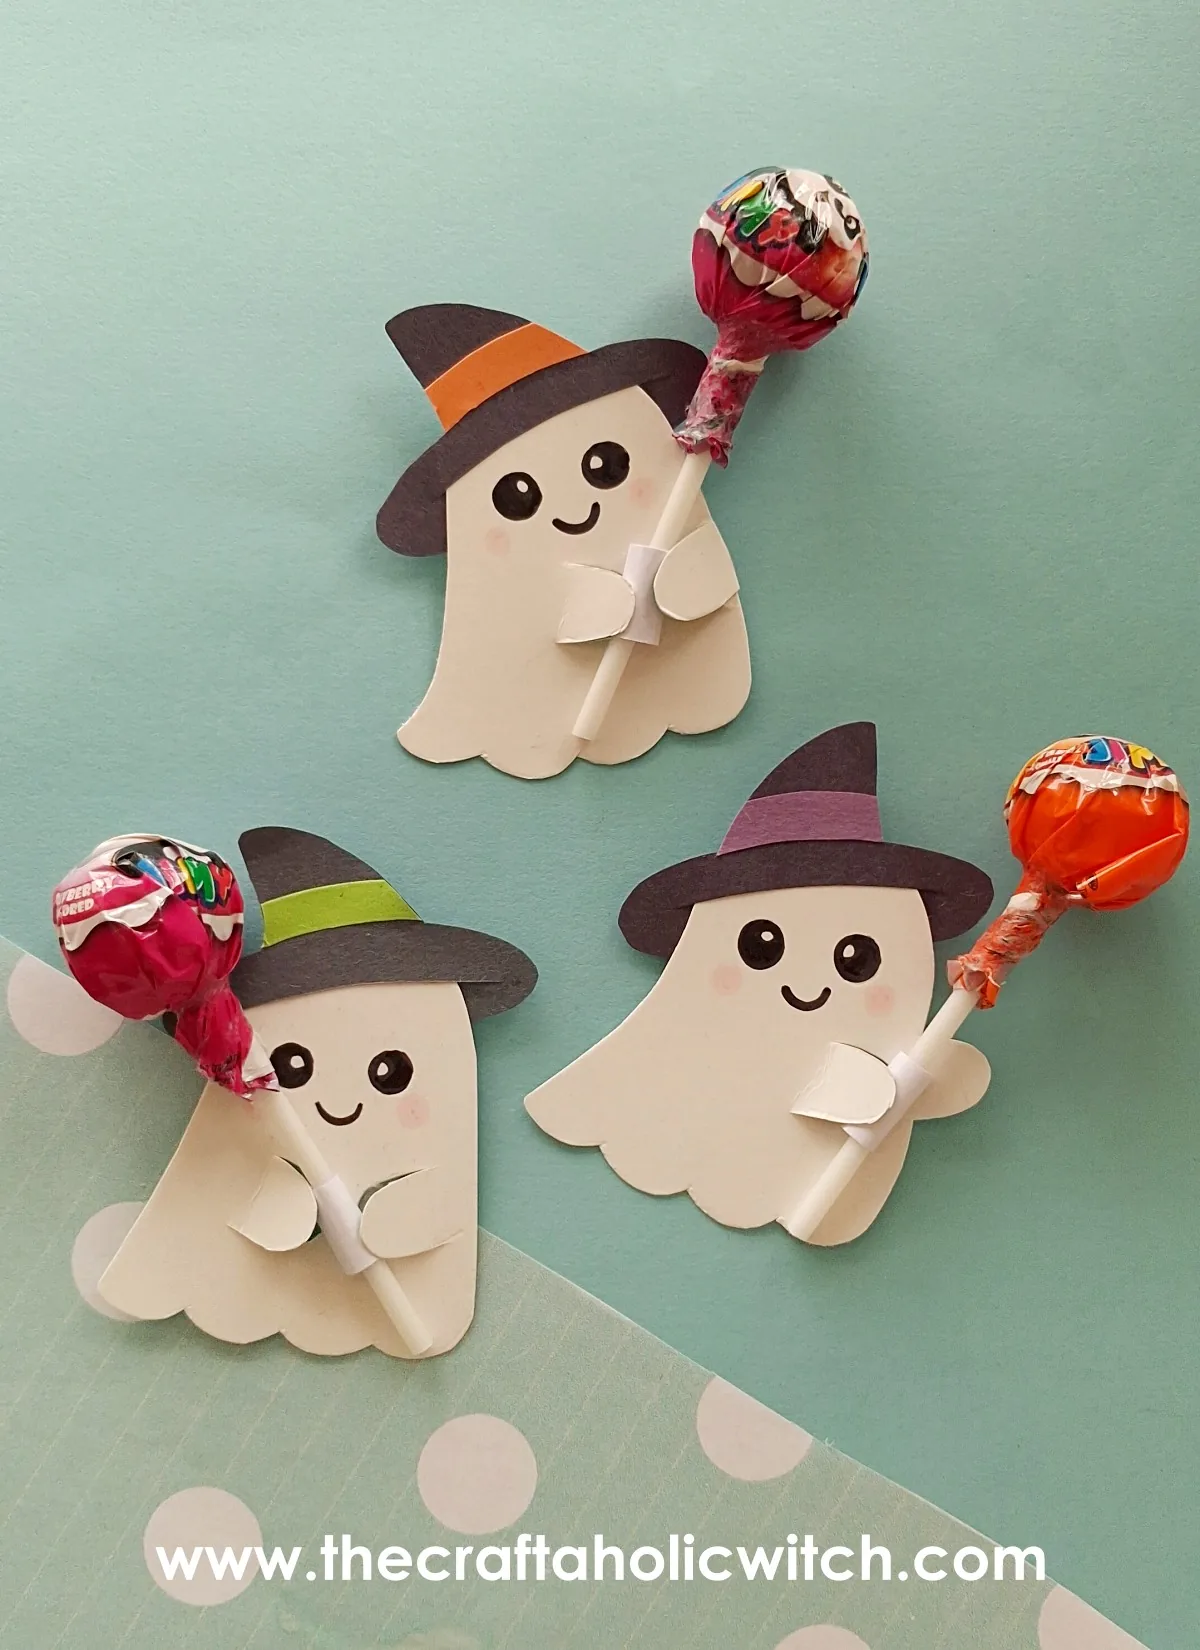
Hand a kid a plain lollipop and you get a quick thanks. Hand them one propped in the arms of a googly-eyed paper ghost wearing a witch hat, and the reaction is a whole different level.
A ghost lollipop holder like this comes together from cardstock, craft paper, and glue in about 30 to 45 minutes, with a utility knife handling the one step worth doing yourself for a younger crafter. It’s an easy pick from our paper craft tutorials whenever a Halloween party or classroom treat bag needs a quick favor.
It’s also one of several projects in our Halloween crafts collection, worth a browse if you’re rounding out a whole party’s worth of favors.
Ghost Lollipop Holder at a Glance
- Difficulty: Beginner
- Time: 30 to 45 minutes
- Cost: Under $5
- Ages: 6 and up, with adult help for the utility knife step
- Best for: Halloween goodie bags, classroom parties, and trick-or-treat favors
What You Need to Make a Ghost Lollipop Holder
Materials
- White thick, hard cardstock, for the ghost bodies. This needs to be sturdy since it holds the actual weight of a lollipop; regular paper tears at the arm slits.
- Colored craft paper, for the hats, hat bands, and Ghost 3’s extra arm piece.
- Craft glue, to hold every layer together.
- A few lollipops, sized to fit the paper sleeve you’ll roll in Step 10.
- Regular white paper, cut into small rectangles for the lollipop sleeve.
Tools
- Pencil, for tracing the template pieces.
- Scissors, for cutting out the traced shapes.
- A utility knife, for cutting clean, straight arm slits (the one step worth doing yourself if your crafter is young).
Get the Free Template
Download the free printable ghost template from the community: Ghost Lollipop Holder Template. It includes all 3 ghost outlines plus the hat, hat band, and arm pieces.
Ask inside "Crafty Q&A" while you are making.
"Crafty Q&A" is free to join. Share your question, photo, or the exact step where you got stuck, and chat with other makers plus the Craftaholic Witch team. You can also join any discussion thread already happening inside the space.
Step-by-Step Instructions
Step 1: Trace and Cut the Ghost Bodies
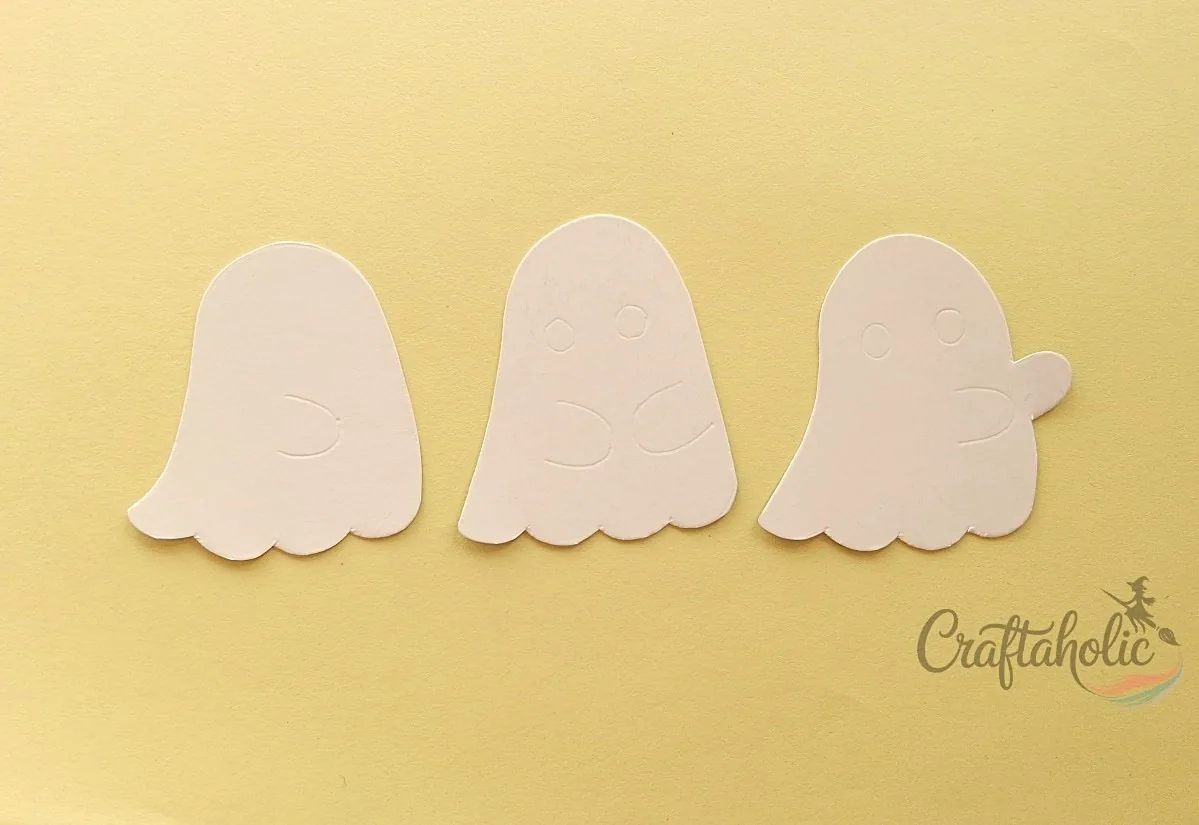
Pick your favorite of the 3 ghost outlines on the template, or cut all 3 like I did. Trace them onto thick, sturdy cardstock, then cut each one out with scissors.
Tip: Cardstock only for this piece. These ghosts end up holding the actual weight of a lollipop, so regular craft paper tears right at the arm slits.
Step 2: Cut the Hat and Arm Pieces
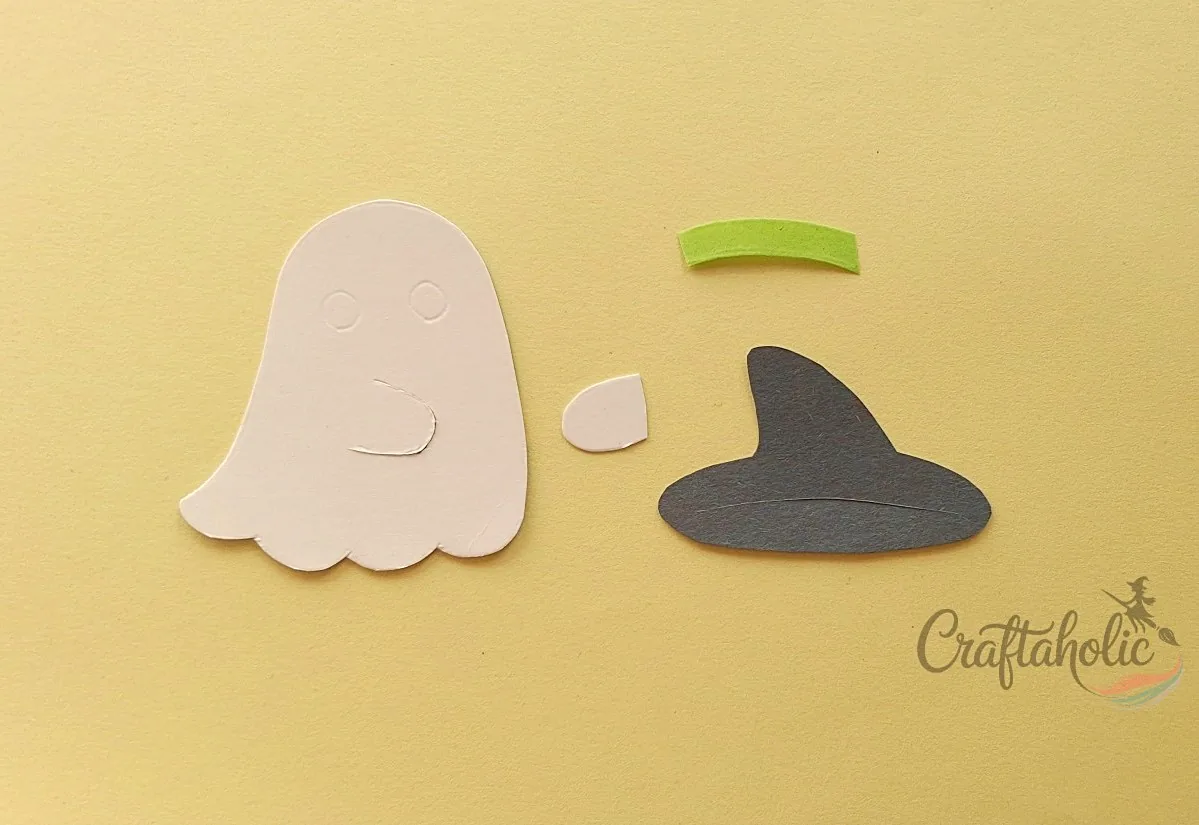
Ghost 3 needs one extra piece: a separate arm cutout for its right side, traced from cardstock. Cut the hat and hat band shapes from colored craft paper for all 3 ghosts.
Step 3: Slit Each Ghost’s Arms
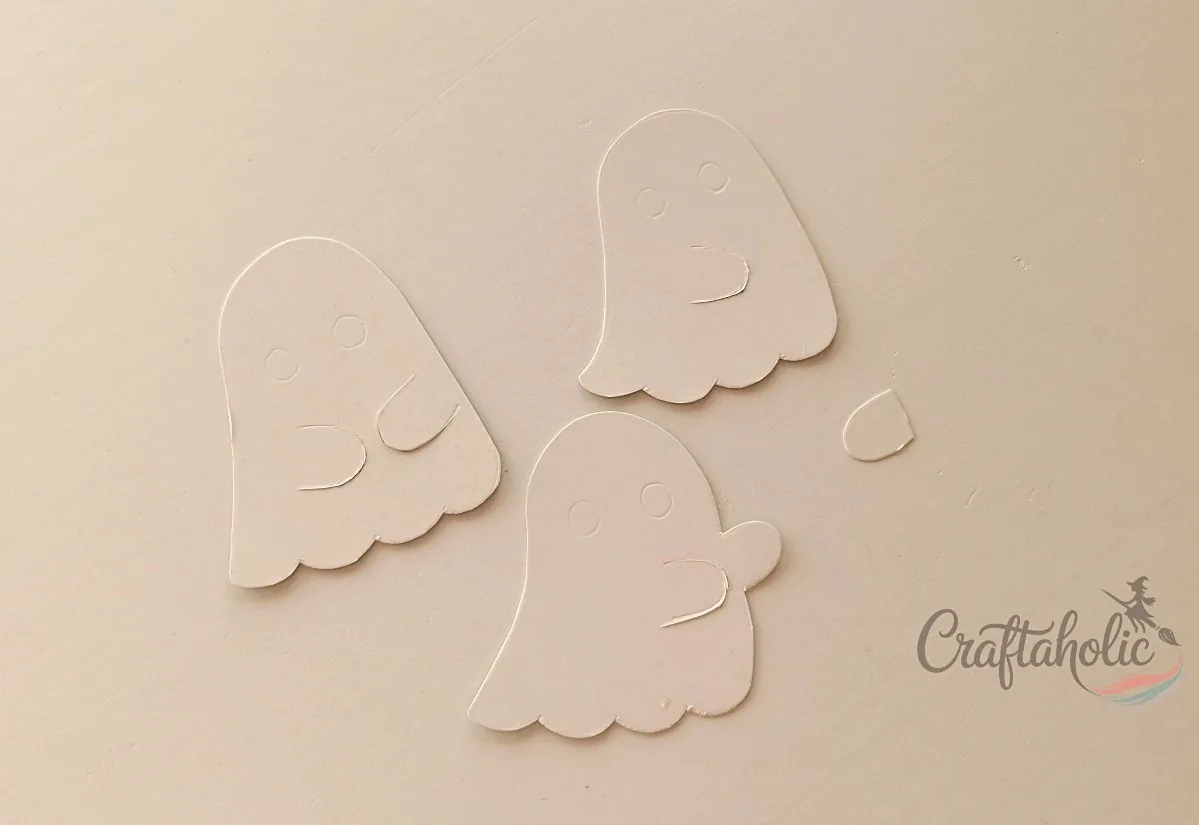
Ghost 1 gets 2 slits, one through each arm. Ghosts 2 and 3 each get just one, through the left arm. Use a utility knife for clean, straight slits; this is the one step I’d take over from a younger crafter.
Step 4: Assemble the Witch Hats
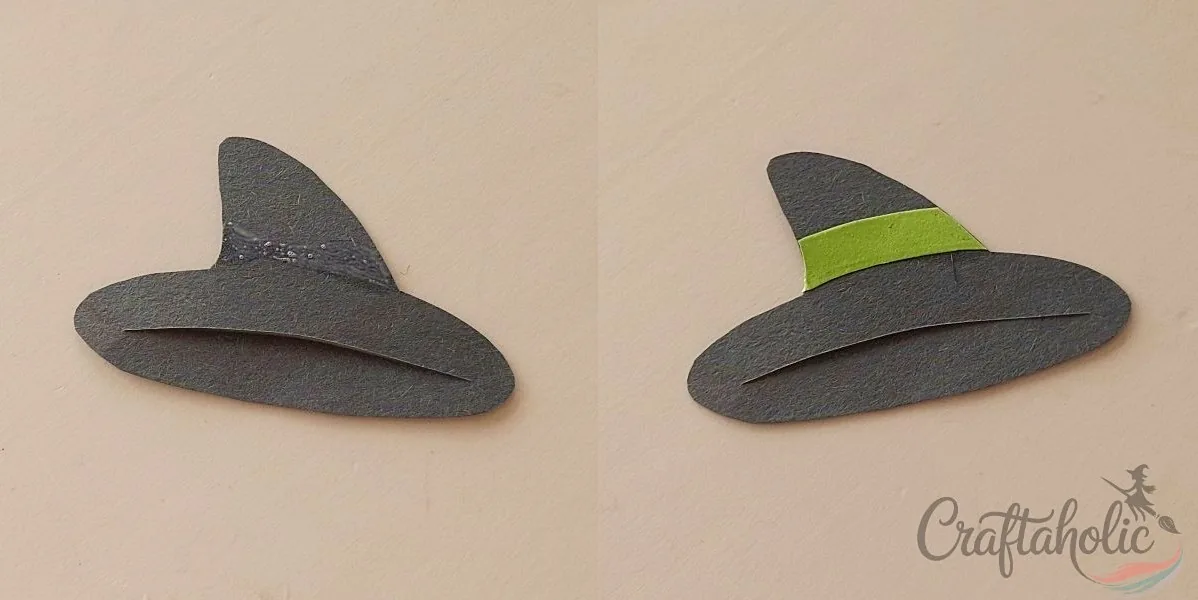
Cut a slit along the marked line on each hat base, then glue a hat band just above the brim. Repeat for all 3 hats, mixing up the band colors if you want each ghost to look a little different.
Step 5: Give Ghost 1 Its Hat
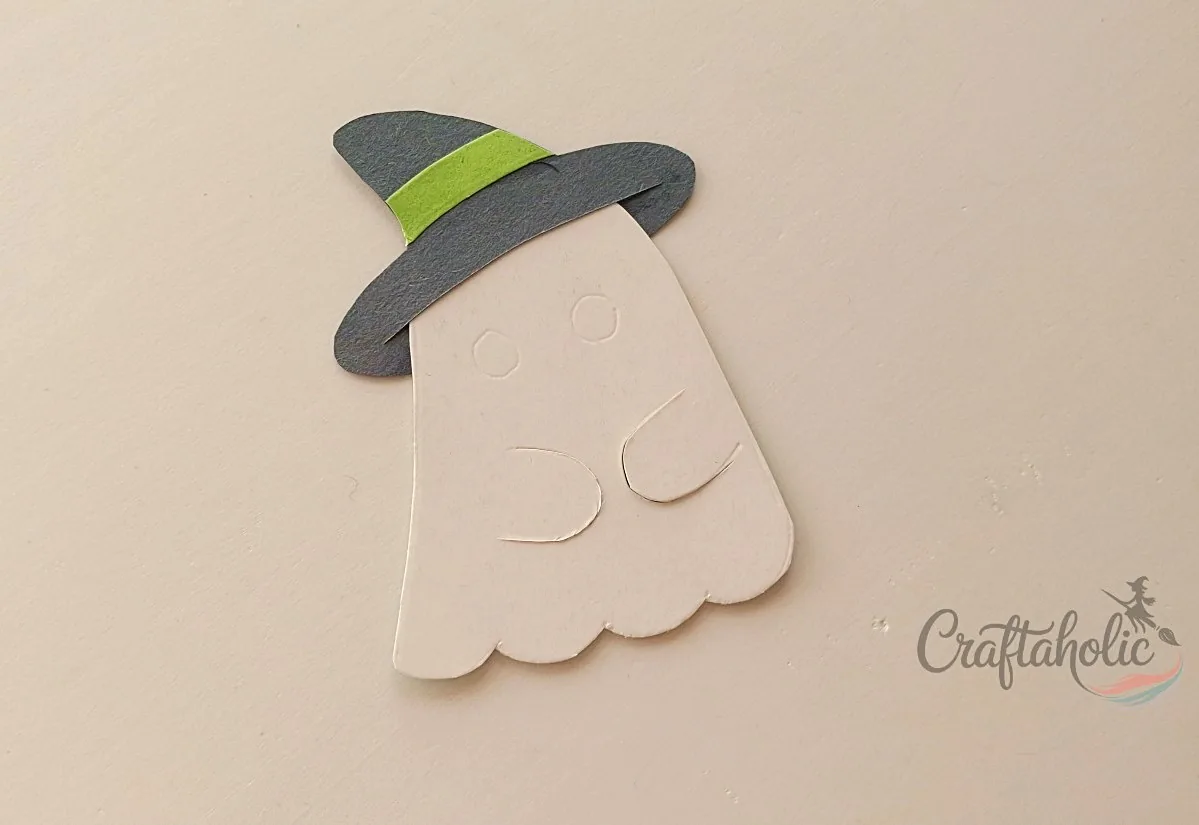
Slide the top of the Ghost 1 body up through its hat’s slit from underneath, then glue the hat in place. The slit does the work of holding the hat at an angle, so a small dab of glue at the base is all you need.
Step 6: Prep Ghost 3’s Body and Hat
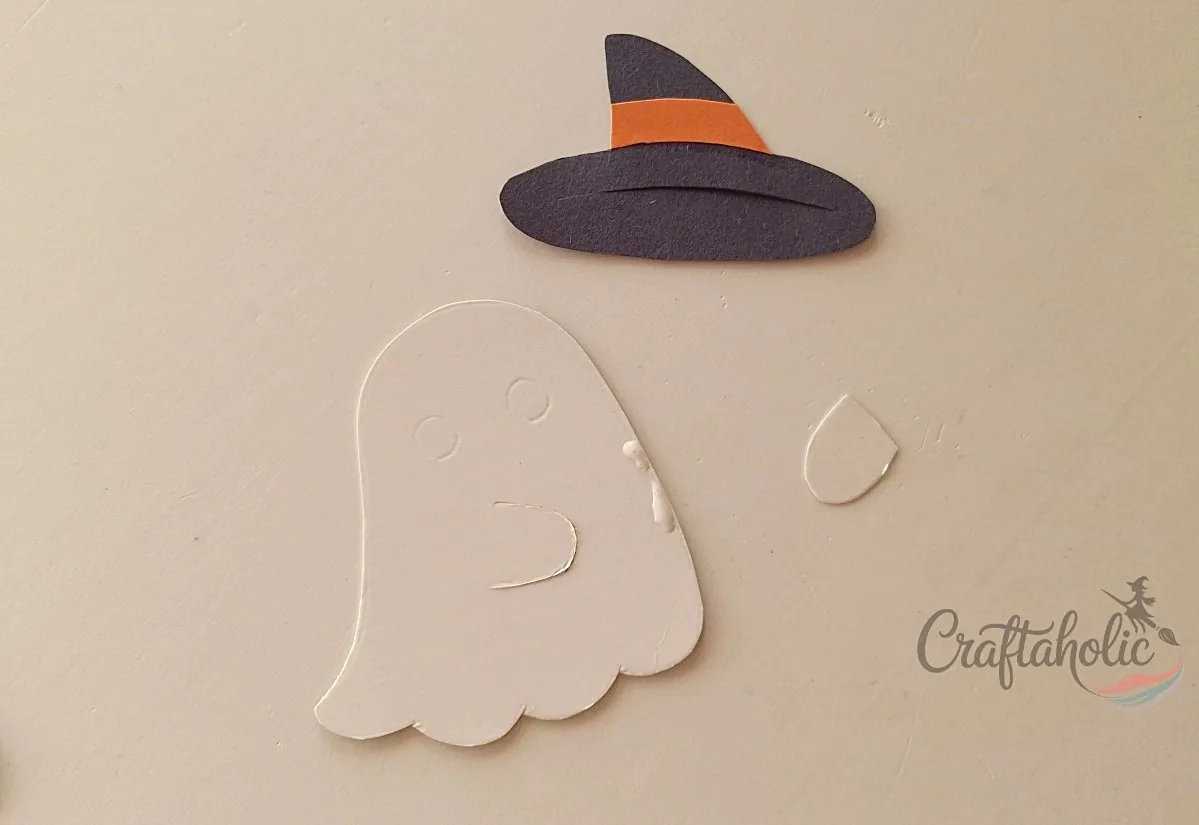
Run a line of glue along the right side of Ghost 3’s body, and put together its hat the same way as the others.
Step 7: Attach Ghost 3’s Extra Arm
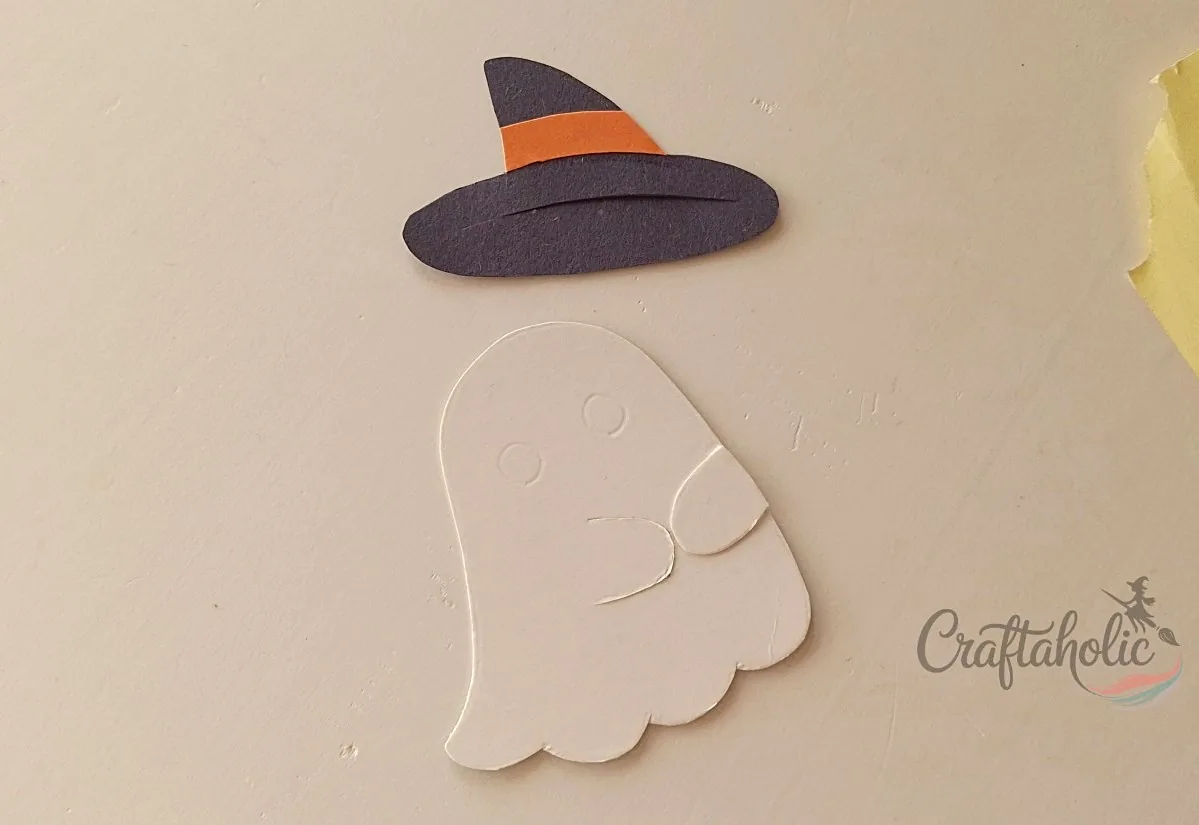
Line up the straight edge of the separate arm piece with the glue you just laid down, and press it into place.
Tip: Glue only along that straight edge. Leaving the rest of the arm unglued gives it a slightly propped-out look instead of lying flat against the body.
Step 8: Hat the Remaining Ghosts
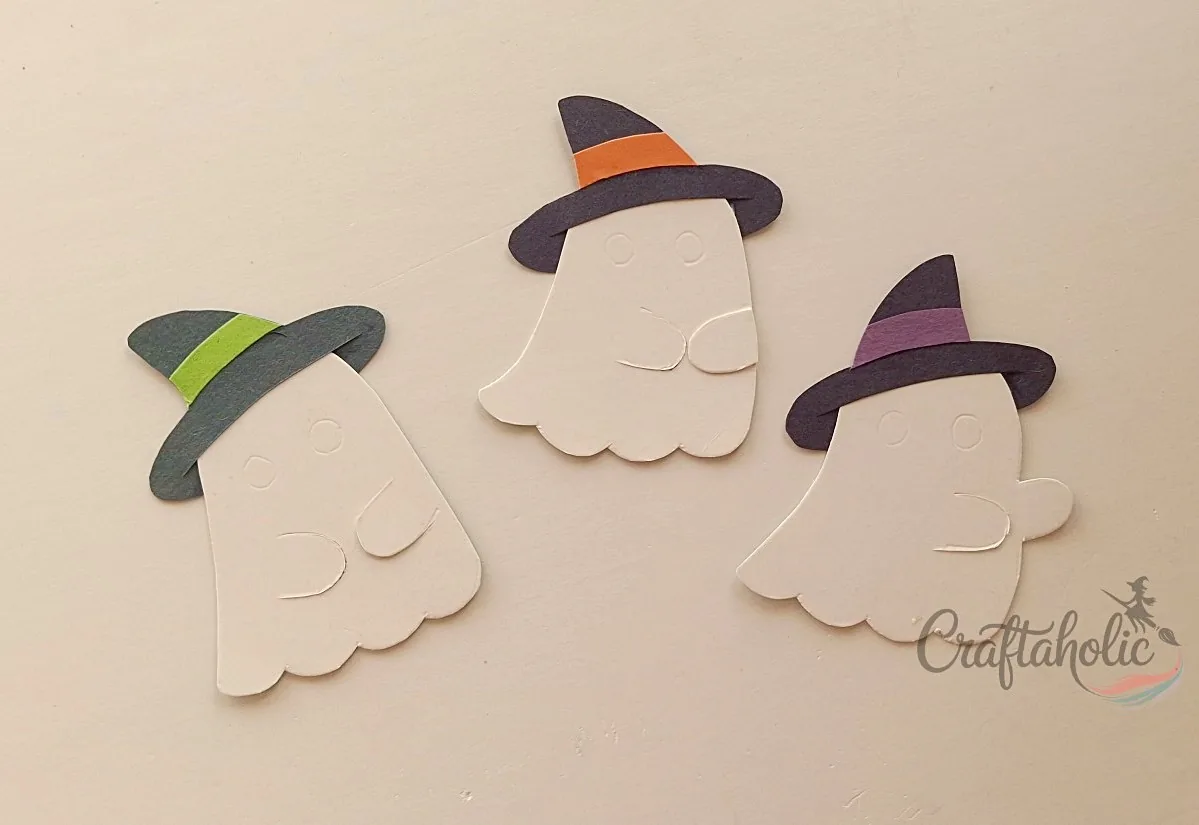
Ghost 2 and Ghost 3 get their hats the same way Ghost 1 did: slide the body up through the hat slit from below, then glue it in place. All 3 ghosts should now be wearing their hats.
Step 9: Draw the Faces
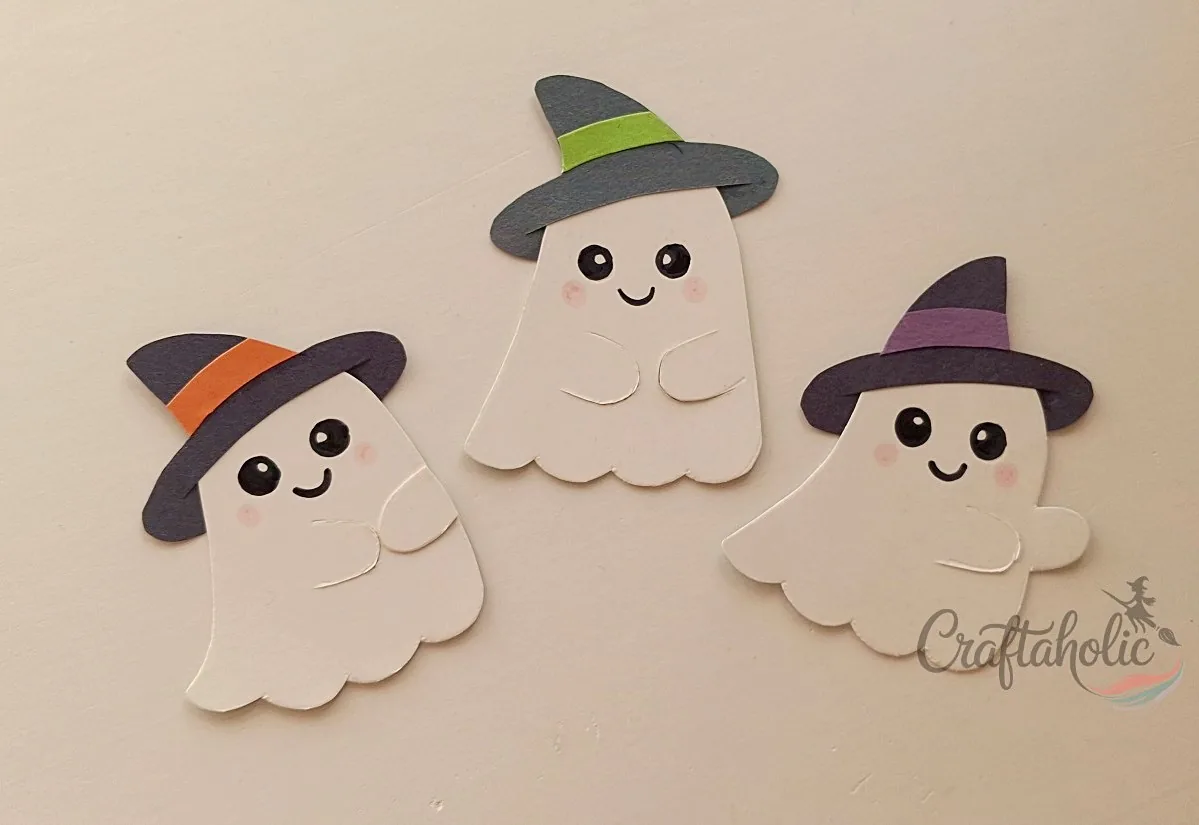
Use a marker to draw eyes, a smile, and a couple of pink cheeks on each cardstock ghost. This is the step that actually gives them personality, so take your time here.
Step 10: Build the Lollipop Sleeve
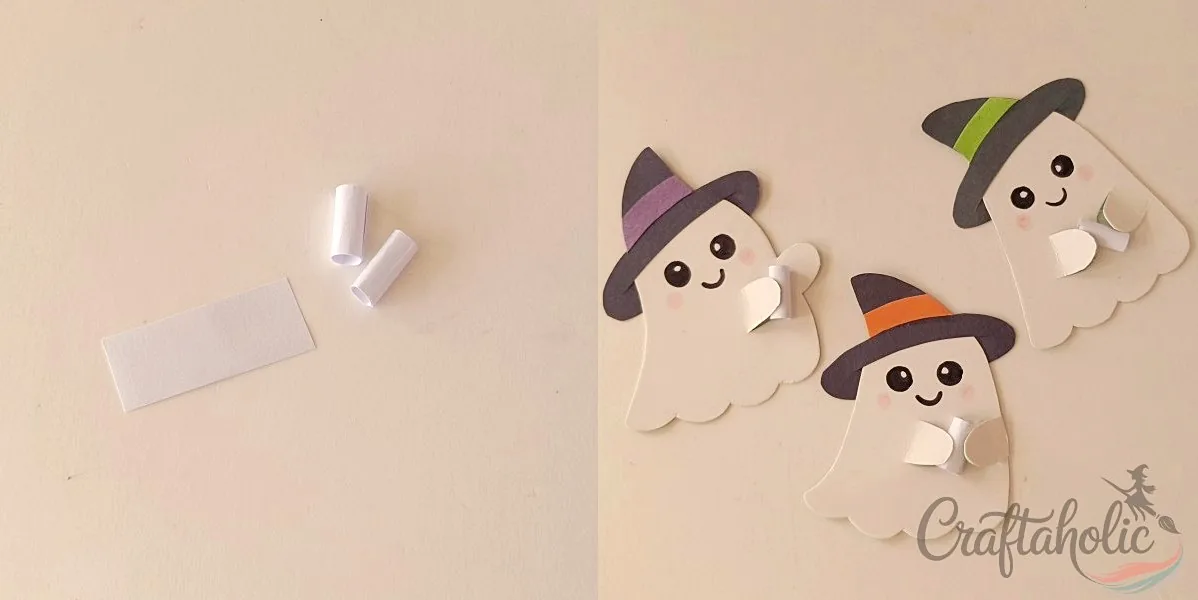
Cut a small rectangle of regular white paper and roll it into a tube. Size it to fit snugly around a lollipop stick, since real lollipop sticks vary a bit in width. Glue the rolled tube between each ghost’s arms, then let the glue dry completely before moving on.
Step 11: Slide In the Lollipop
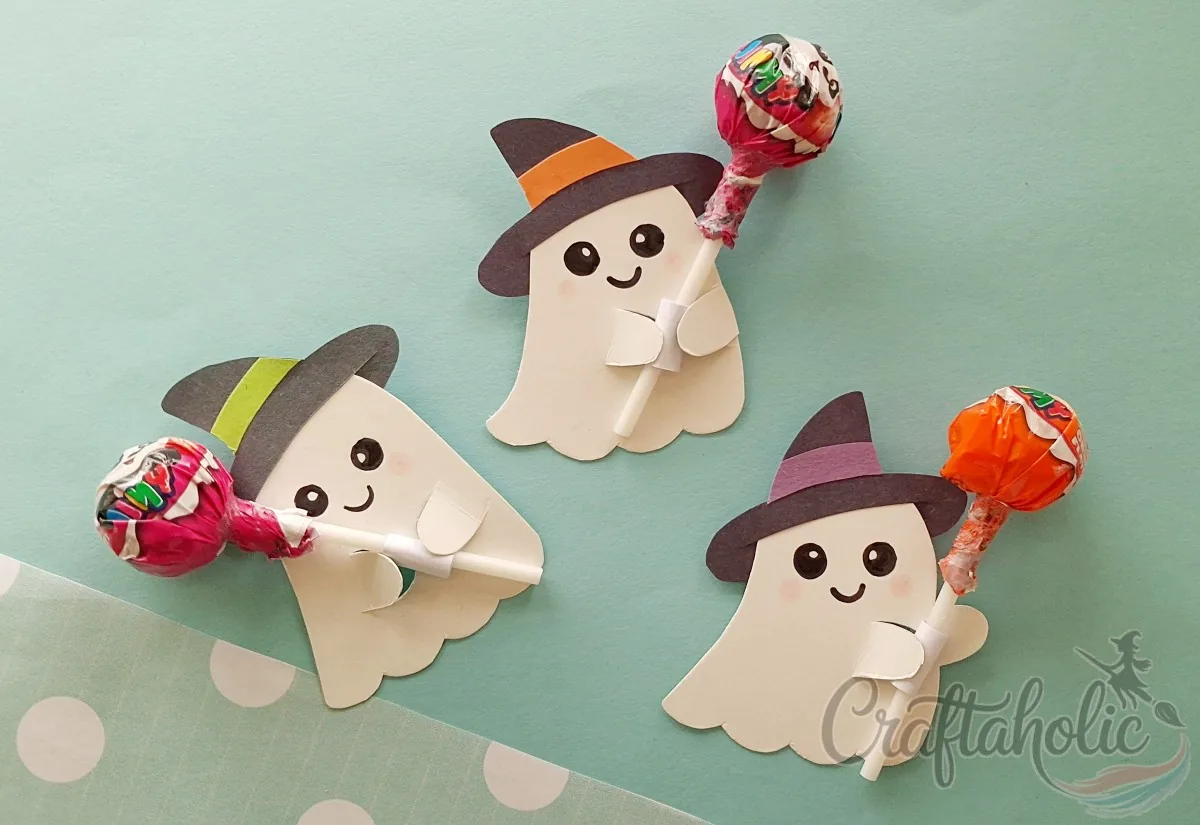
Once the glue has fully dried, push a lollipop stick up through the paper sleeve from below. The ghost’s arms now look like they’re wrapped right around the candy, no extra glue required.
Share it in "I Made It" and let us cheer you on.
Post your finished make in "I Made It" so the community can celebrate it with you. Cheer on other makers too. Each month, the most loved craft wins 1 year of Craftaholic Premium ($59)
Tips and Variations
- Skip the witch hat for a plainer classic ghost, or swap it for a small paper bow if witches aren’t the theme you’re going for this year.
- Make the ghost bodies smaller for cupcake toppers, or bigger for a goodie bag centerpiece; just scale the sleeve and lollipop size to match.
- Store finished ghosts flat in an envelope until Halloween so the hats don’t get bent in a drawer.
Frequently Asked Questions
What can I use instead of a utility knife to cut the arm slits?
A small pair of embroidery scissors works if you snip carefully along the marked line instead of slicing straight through. It takes a bit longer than a utility knife, but it’s a safer option to hand to a kid making these on their own.
How long does a ghost lollipop holder take to make?
Making one ghost takes about 10 minutes once the template pieces are cut, so a set of 3 comes together in 30 to 45 minutes total. Most of that time goes into cutting and gluing, since the glue in Step 10 needs to dry before you insert the lollipop.
Can I make this without printing the template?
Yes, you can free-hand a simple rounded ghost shape and a basic witch hat instead of tracing the template. The exact proportions matter less than making sure each arm is wide enough to fit a slit for the lollipop stick.
Is this safe for young kids to make on their own?
Most of it, yes. Tracing, cutting the cardstock and craft paper, gluing, and drawing the faces are all fine for a kid to do solo. The one step I’d handle myself for a younger crafter is Step 3, cutting the arm slits with a utility knife.
How is a ghost lollipop holder different from your Moving Ghost Puppet?
The Moving Ghost Puppet has a jointed arm that swings when you pull a string underneath, so it’s built to be played with. This ghost lollipop holder is a simpler, static design made specifically to cradle a lollipop stick between its arms, which makes it the better pick when the goal is a quick Halloween treat topper rather than a toy.
More Paper Crafts Tutorials
- Easy 3D Paper Pumpkin to Make with Kids
- 20 Easy Halloween Paper Crafts for Kids to Make at Home
- Craft a Flapping Paper Bat
Share your ghost lollipop holder in the I Made It space inside Craftaholic Community. The most-loved post each month wins a one year free Premium membership.
0 Comments
Join the conversation
Log in to your Craftaholic Community account to comment, ask questions, and cheer on fellow makers.
Log in to comment