

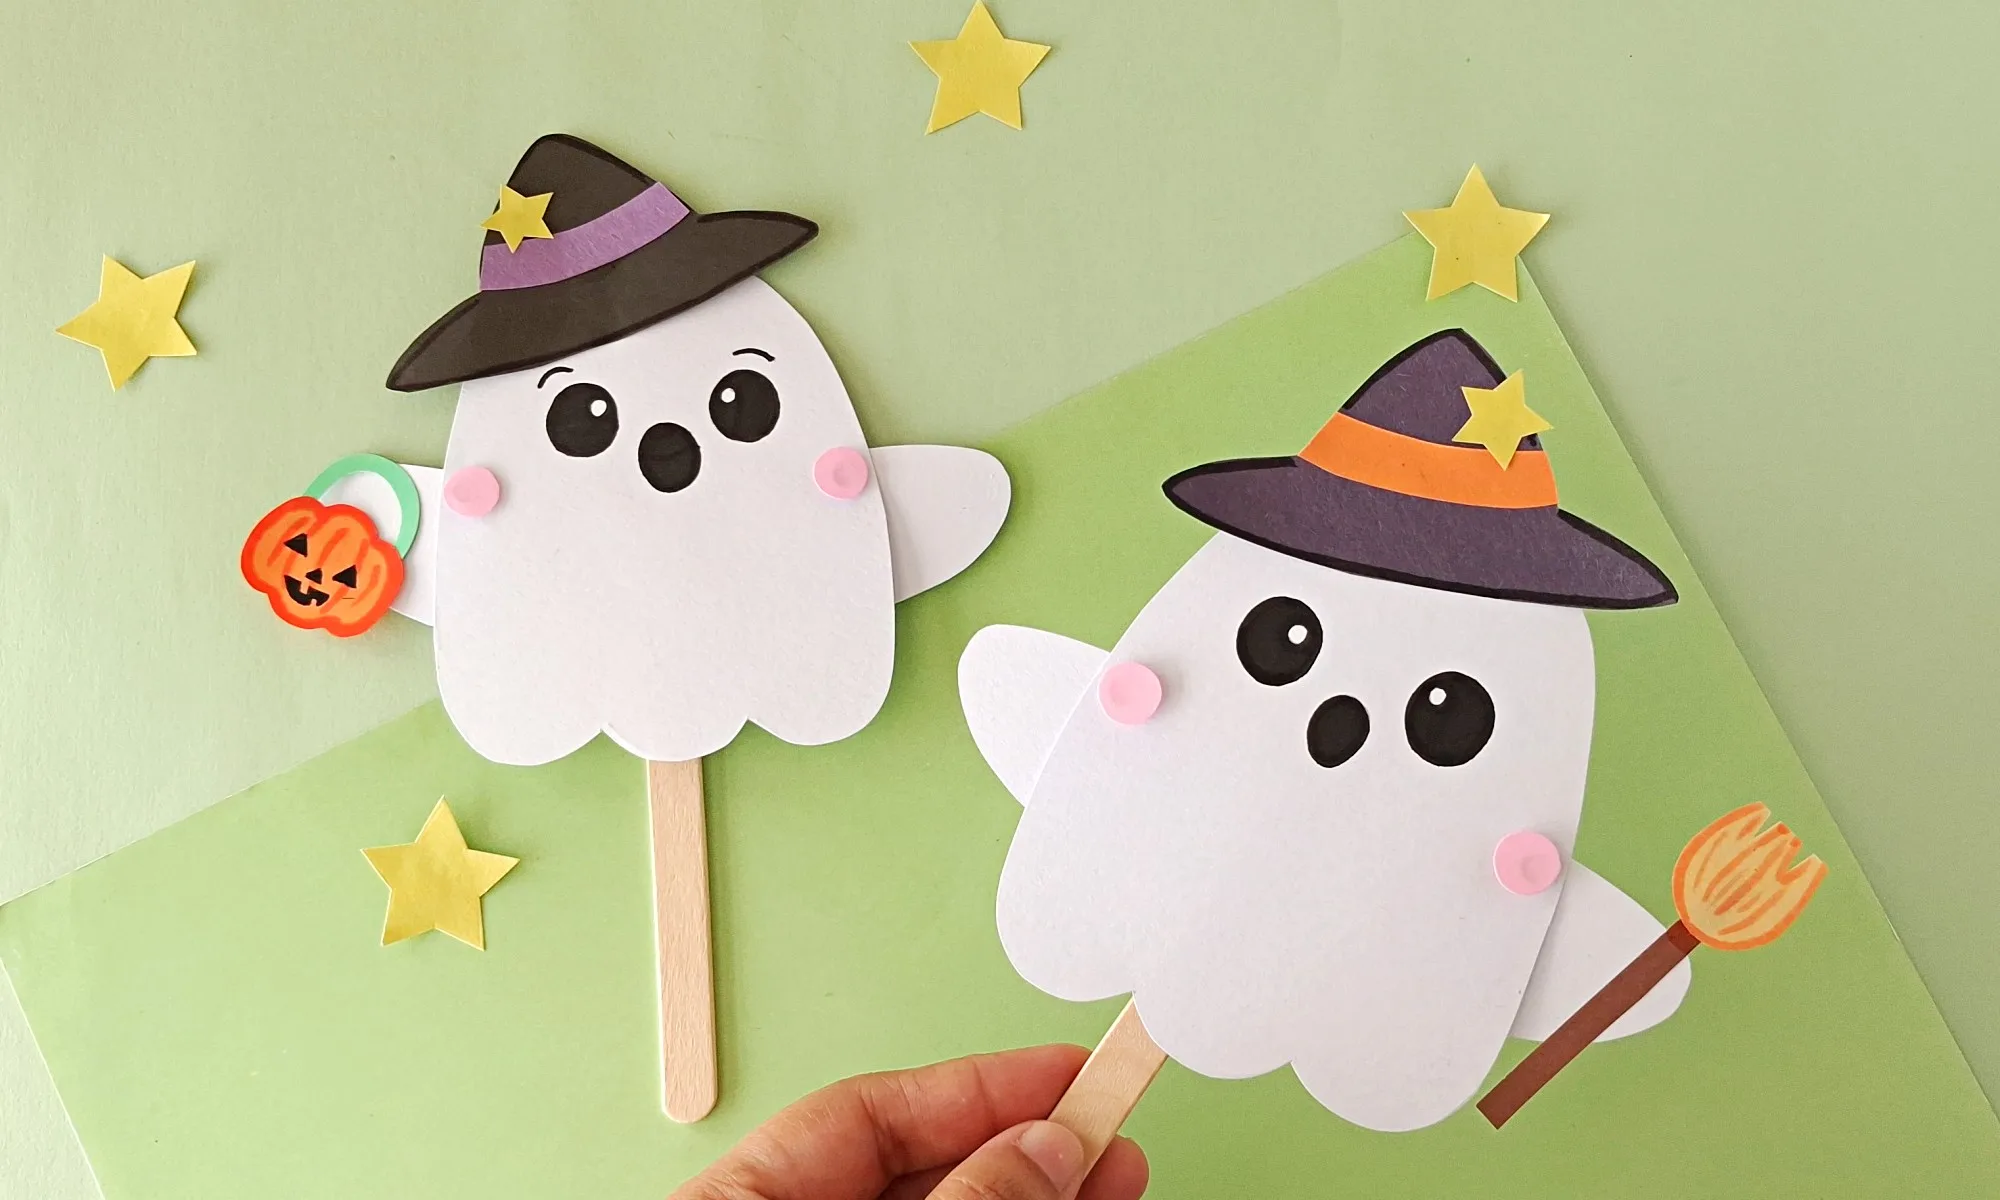
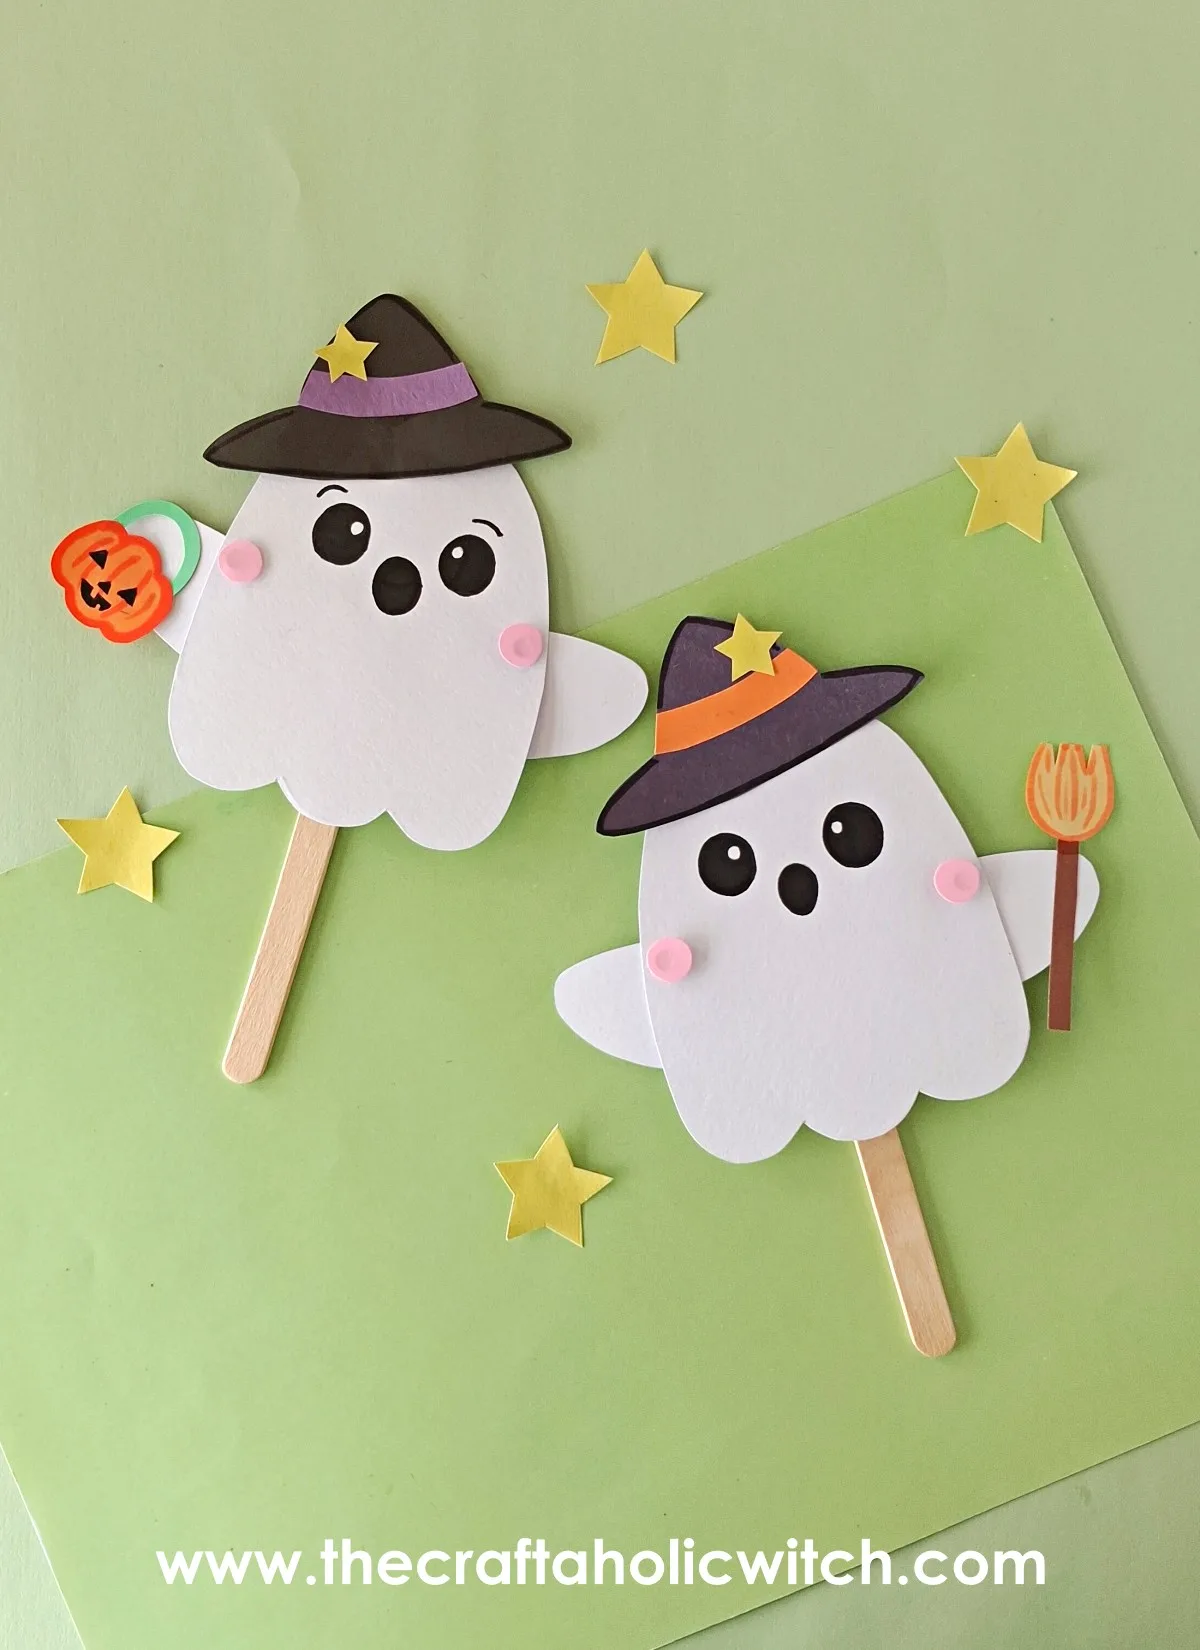
A ghost puppet whose arms swing up and down on their own looks like something off a craft store shelf, but it only takes an afternoon and a handful of paper scraps to make one yourself.
You’ll build a paper moving ghost puppet with brad-pin arms and a pull-string mechanism, using paper, a needle, and a popsicle stick, in about 30 minutes, and it moves the second a kid tugs the stick.
This one fits right alongside our other easy Halloween paper crafts for kids, and if you like how the arms swing on this one, our flapping paper bat uses a similar pull mechanism and is worth trying next.
Moving Ghost Puppet at a Glance
- Difficulty: Easy, with an adult handling the needle and brad pin steps
- Time: About 30 minutes
- Cost: Under $5, mostly paper scraps and a popsicle stick
- Ages: 6 and up, with adult help for steps 5 through 11
- Best for: Halloween crafting, puppet shows, and classroom parties
Join Craft Challenge: Craft Your Calm
Make something that brings you a sense of peace, share a photo, and tell us your story. It's free to enter, open to everyone, and the entry with the most reactions takes home a $100 gift card. Takes five minutes to join.
Entries close August 30, 2026. No purchase necessary.
What You Need to Make a Moving Ghost Puppet
Materials
- Medium-thick white paper, for the ghost body, since it needs enough weight to hold its shape once the brad pin goes in
- Colored craft paper, for the hat, broom, and blush details
- Craft glue, to attach the hat, broomstick, and blush pieces
- A brad pin, the small paper fastener that lets the arm pivot at the joint
- Strong, non-stretch string or yarn, to pull both arms at once without stretching loose
- A popsicle stick, to build the handle you’ll actually hold and pull
Tools
- A pencil, to trace the template pieces before cutting
- A pair of scissors, for cutting out the paper pieces
- A needle, to poke the joint holes and thread the pull string
This puppet uses a free printable template for the ghost, hat, and broom shapes. Download the free moving ghost puppet template and print it onto your paper before you start cutting.
Ask inside "Crafty Q&A" while you are making.
"Crafty Q&A" is free to join. Share your question, photo, or the exact step where you got stuck, and chat with other makers plus the Craftaholic Witch team. You can also join any discussion thread already happening inside the space.
How to Make a Moving Ghost Puppet
Step 1: Trace and Cut Out the Template Pieces
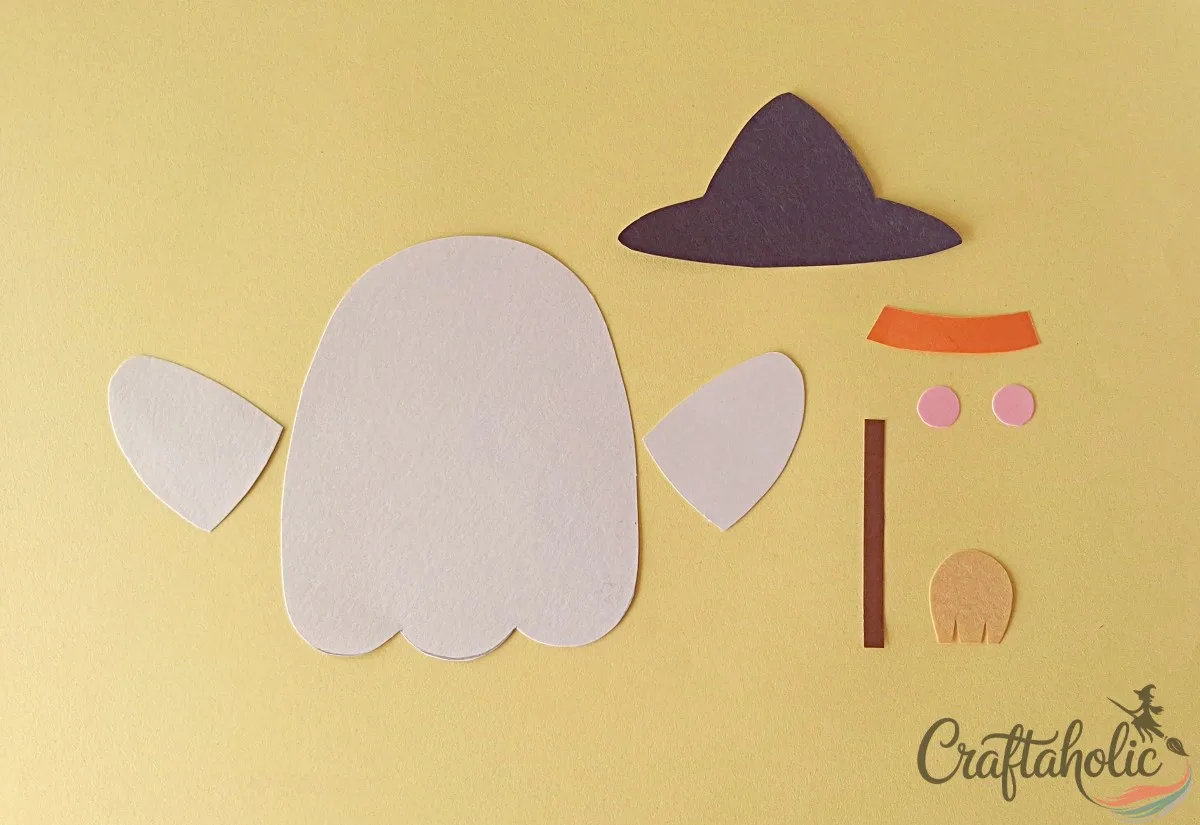
Print the template onto medium-thick white paper for the ghost, and colored craft paper for the hat, broom, and blush pieces. Trace each shape with a pencil, then cut everything out with scissors. Keeping the ghost’s paper on the thicker side pays off later, since it needs to hold its shape once the brad pin goes in.
Step 2: Assemble the Hat and Broomstick
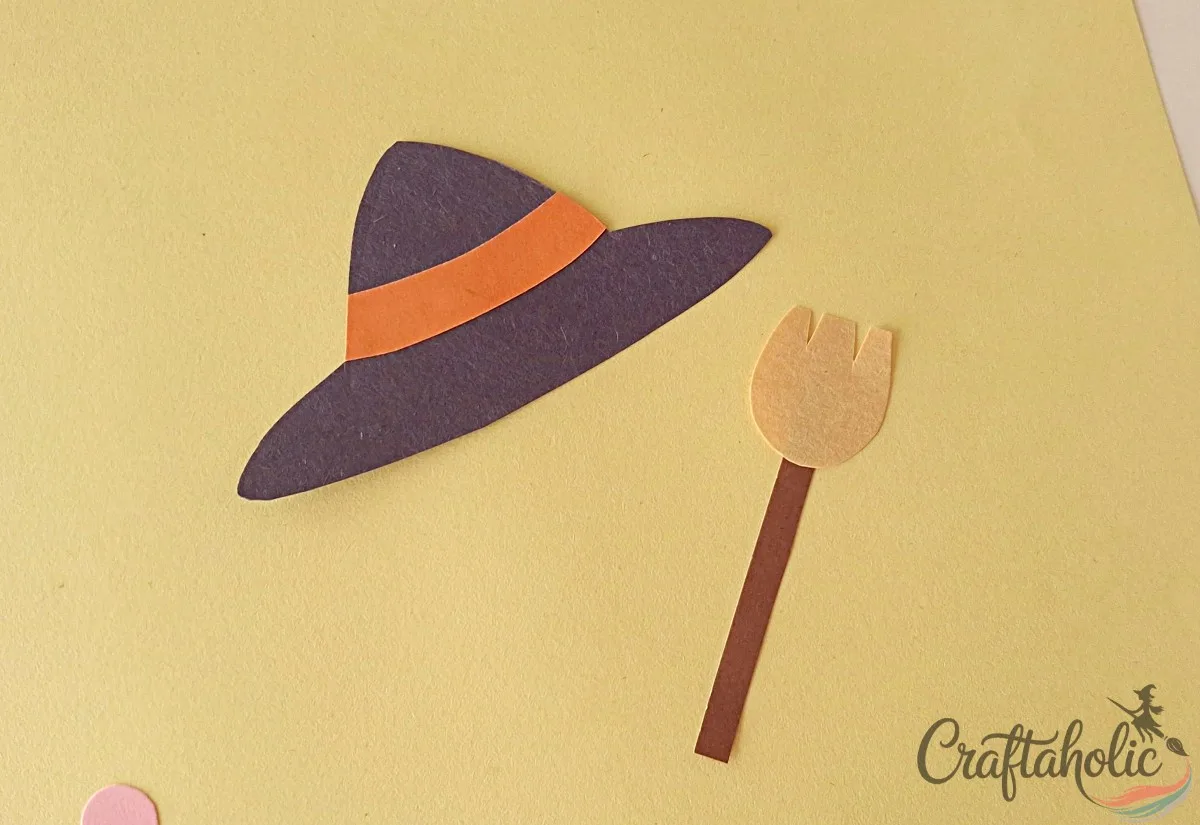
Glue the hat ribbon just above the brim of the hat base, then glue the broom head to the stick to build the broomstick. Set both aside to dry while you work on the ghost’s body.
Step 3: Draw the Ghost’s Face on the Body
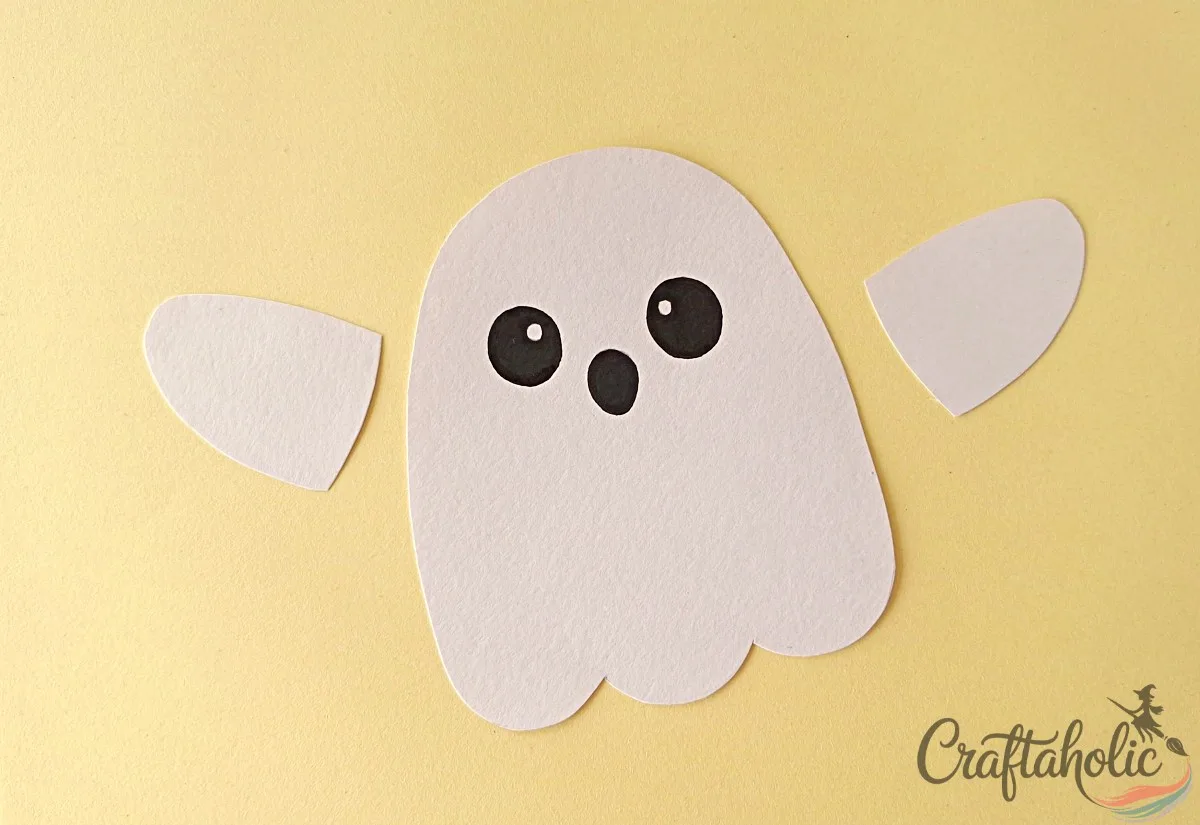
Lay out the ghost base and the two arm cutouts. Draw the ghost’s face on the top half of the body piece. This is the side that stays face up for the rest of the project.
Step 4: Mark Two Joint Holes on Each Arm
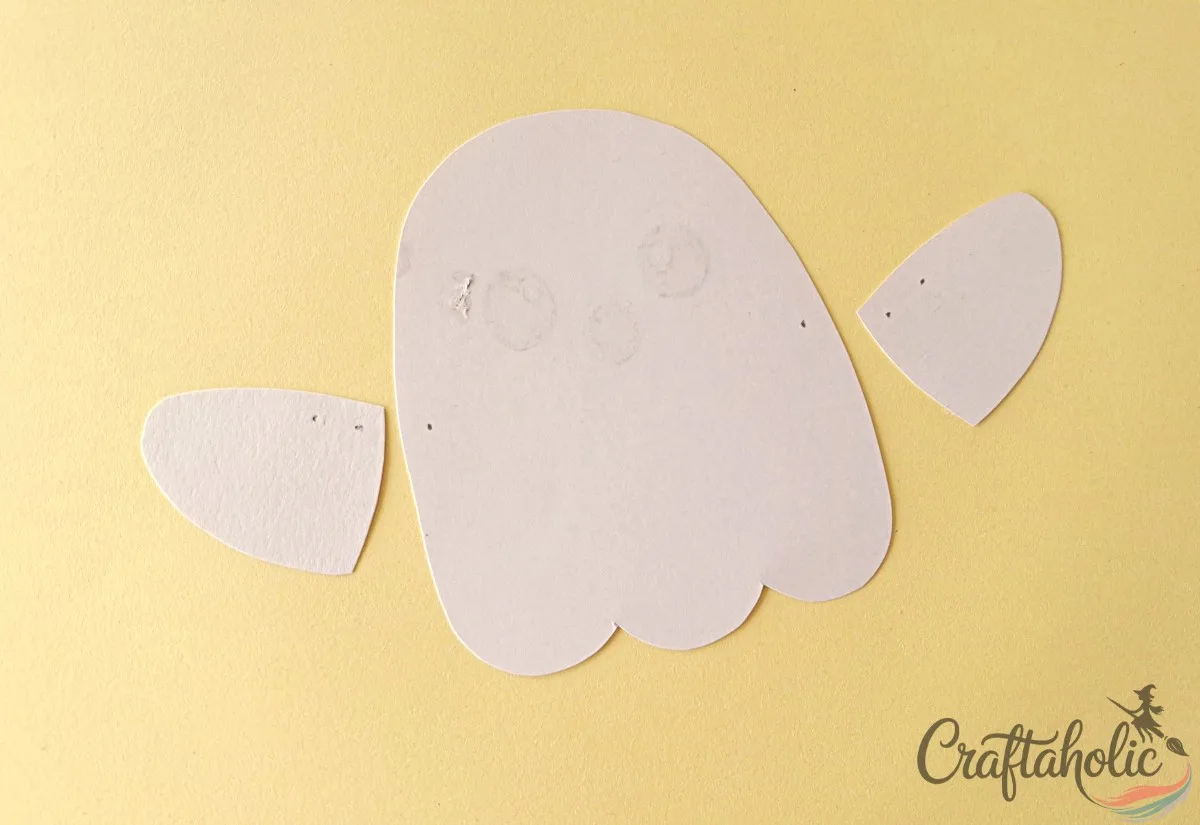
Flip the ghost base over so you’re working on the back. The arms don’t need flipping, since they look the same from both sides.
On each arm, mark two dots along the inner top edge, about 1 cm apart: one will be the pivot hole, the one you pin to the body, and the other stays open as the string hole you thread later. Then mark one matching dot on each side of the body, lined up with where each arm’s pivot hole will sit.
Step 5: Poke the Joint Holes With a Needle
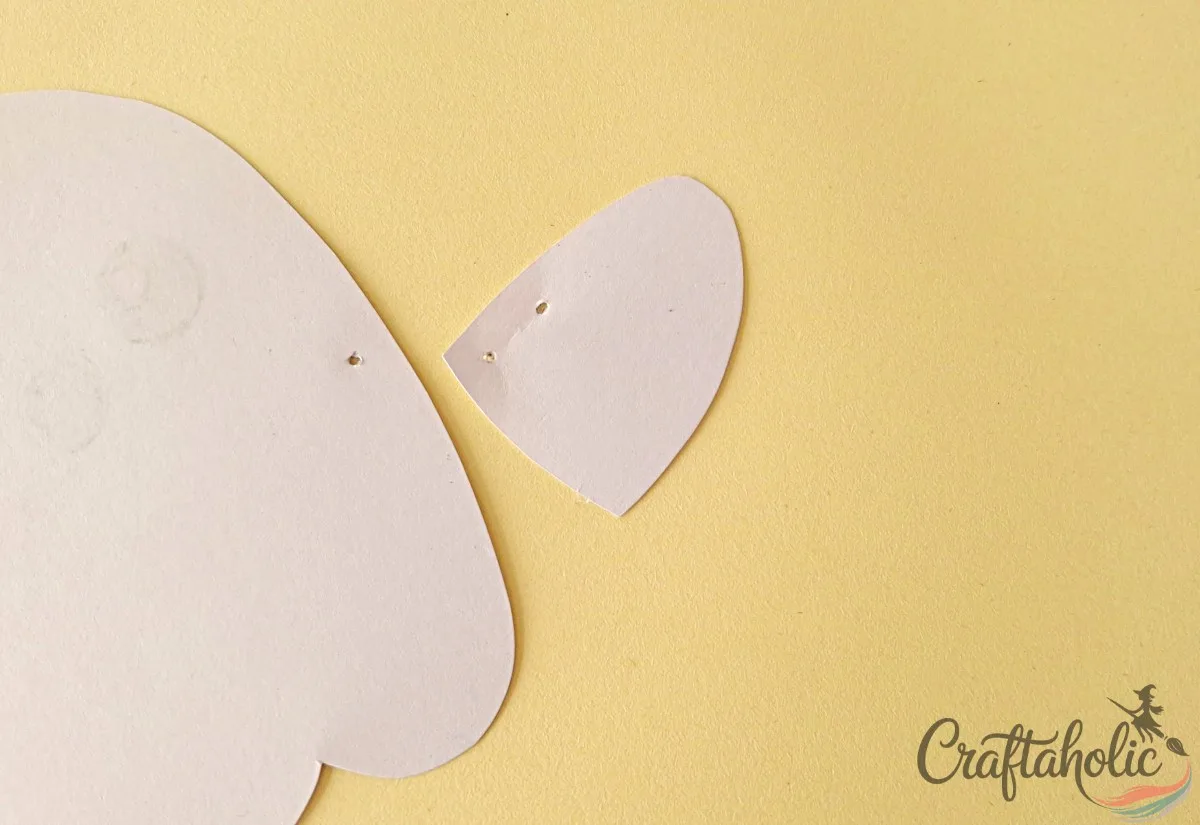
Use a needle to poke through every dot you marked, on the body and on both arms. Start with the right side, since that’s the arm you’ll attach first. Poke each hole just big enough for the brad pin’s prongs to slide through; a snug hole holds its shape better than a loose one.
Step 6: Line Up the Right Arm’s Pivot Hole
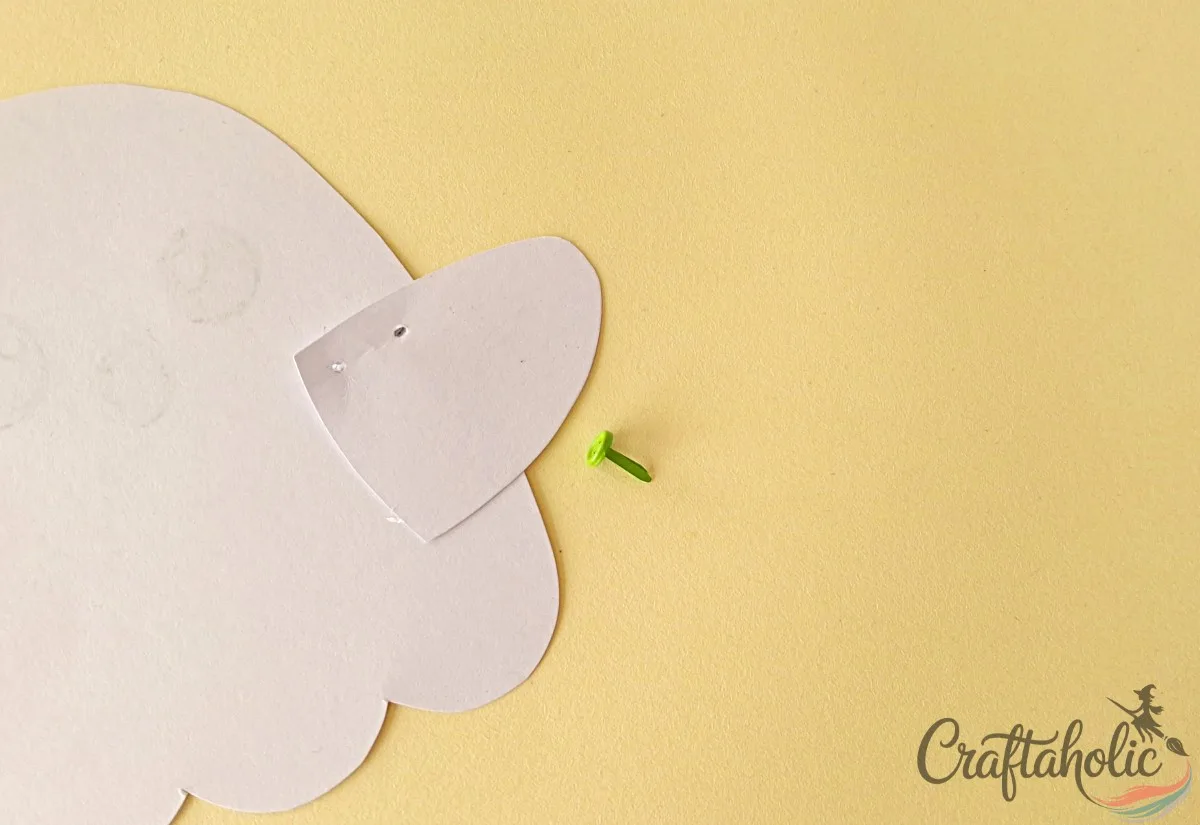
Line up the dot on the right side of the body with the right arm’s pivot hole so the two holes stack directly on top of each other. Leave the string hole free for now; it stays open until step 9.
Step 7: Pin the Right Arm in Place
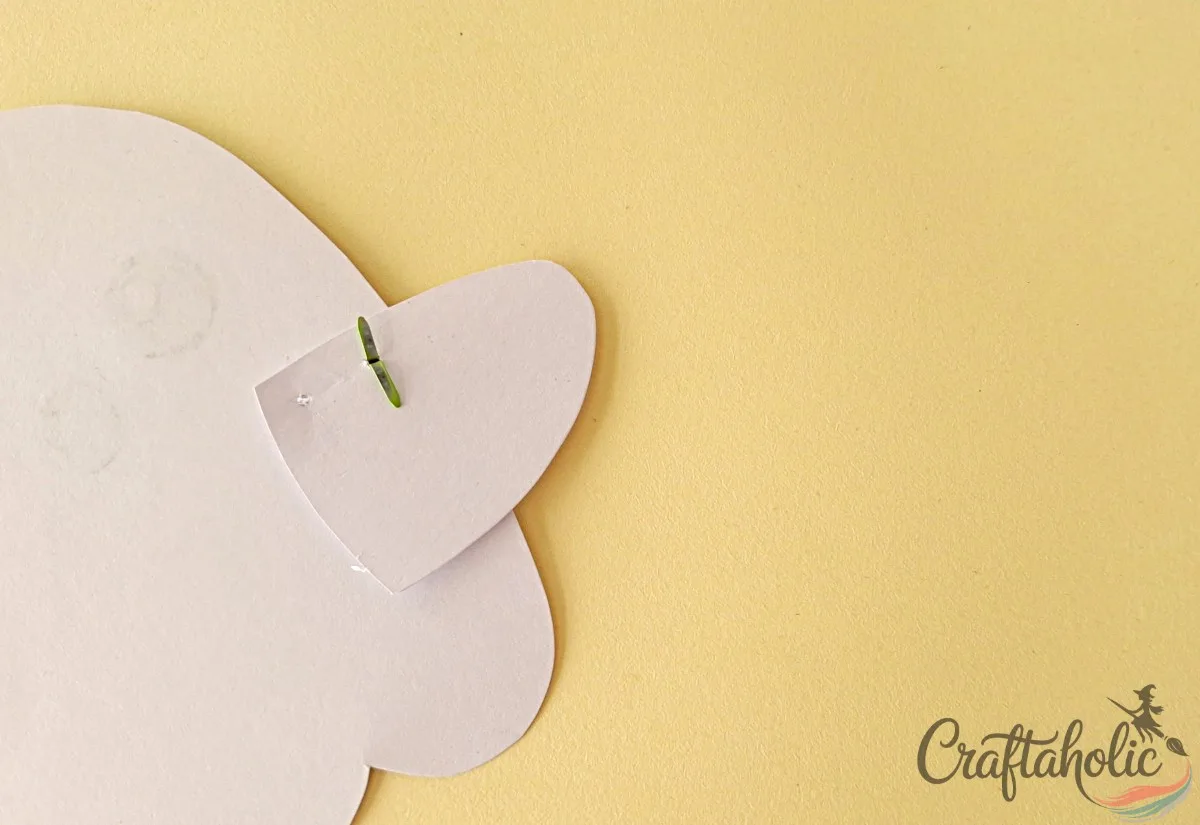
Push a brad pin through the two aligned pivot holes and fold the prongs flat on the underside to join the right arm to the body.
Tip: Leave the prongs just slightly loose instead of flattening them all the way down. The arm needs to pivot on the pin once the puppet is finished, and a pin that’s pressed too flat will pin the arm stiff.
Step 8: Pin the Left Arm in Place
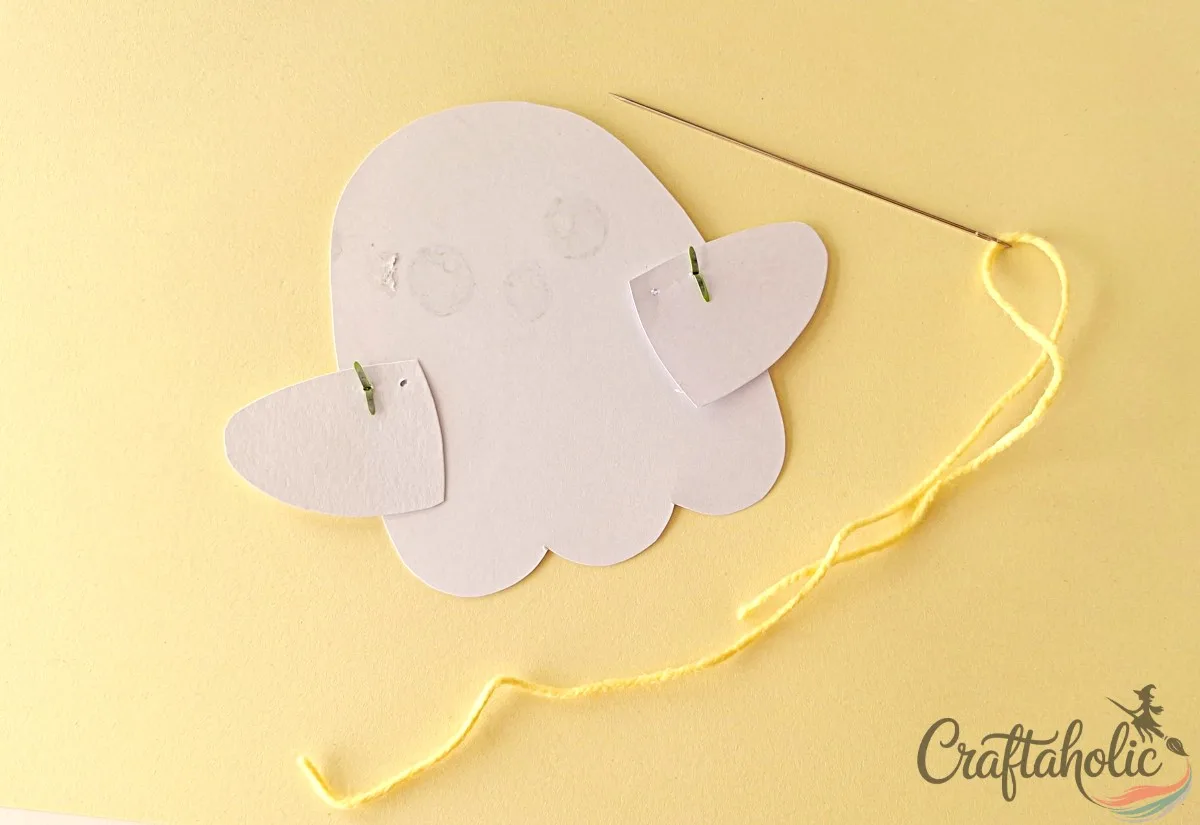
Line up the left arm’s pivot hole with its matching dot on the body the same way you just did on the right, then pin it in place with a second brad pin. Give both arms a gentle push. If they swing freely on the pins, you’re ready to move on to the string.
Step 9: Thread the String Through the Left Arm’s String Hole
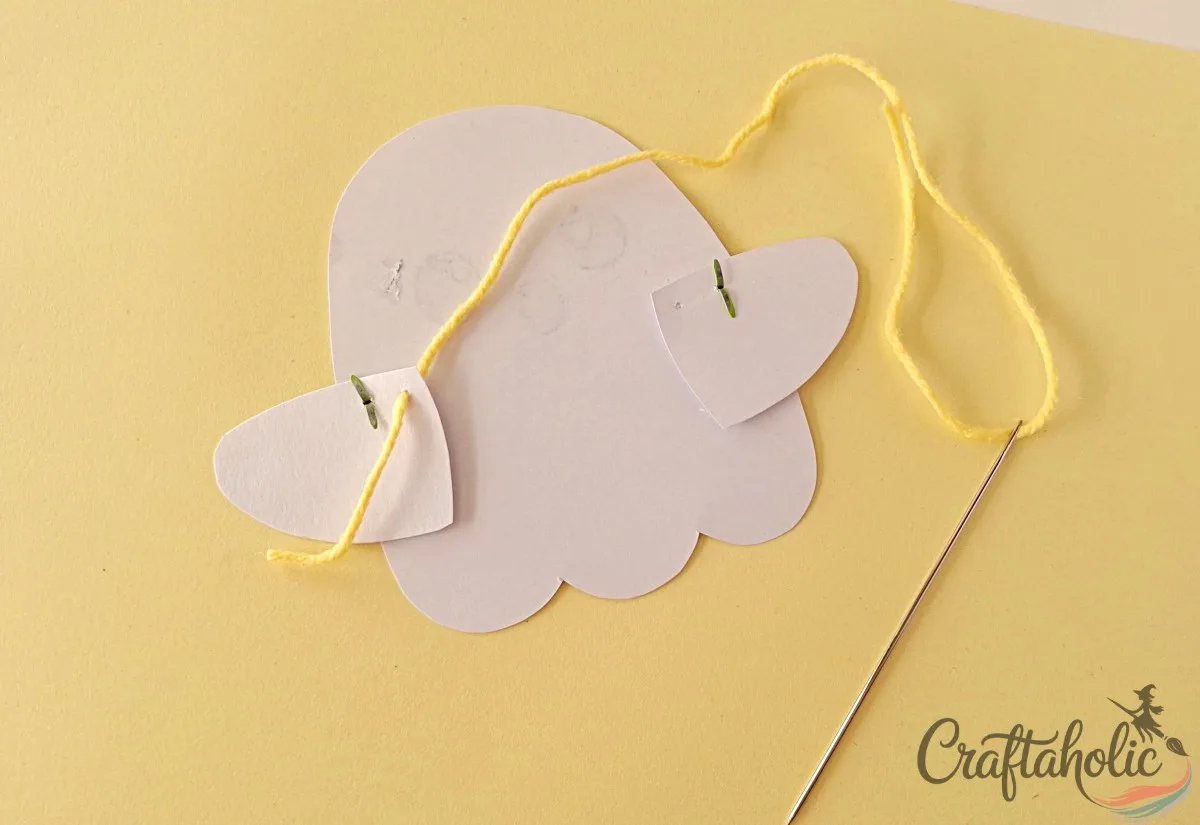
Thread a needle with a length of strong, non-stretch string or yarn. Push it through the left arm’s string hole from the top side and pull it through, leaving a long tail hanging out the open end.
Step 10: Pull the String Across to the Right Arm’s String Hole
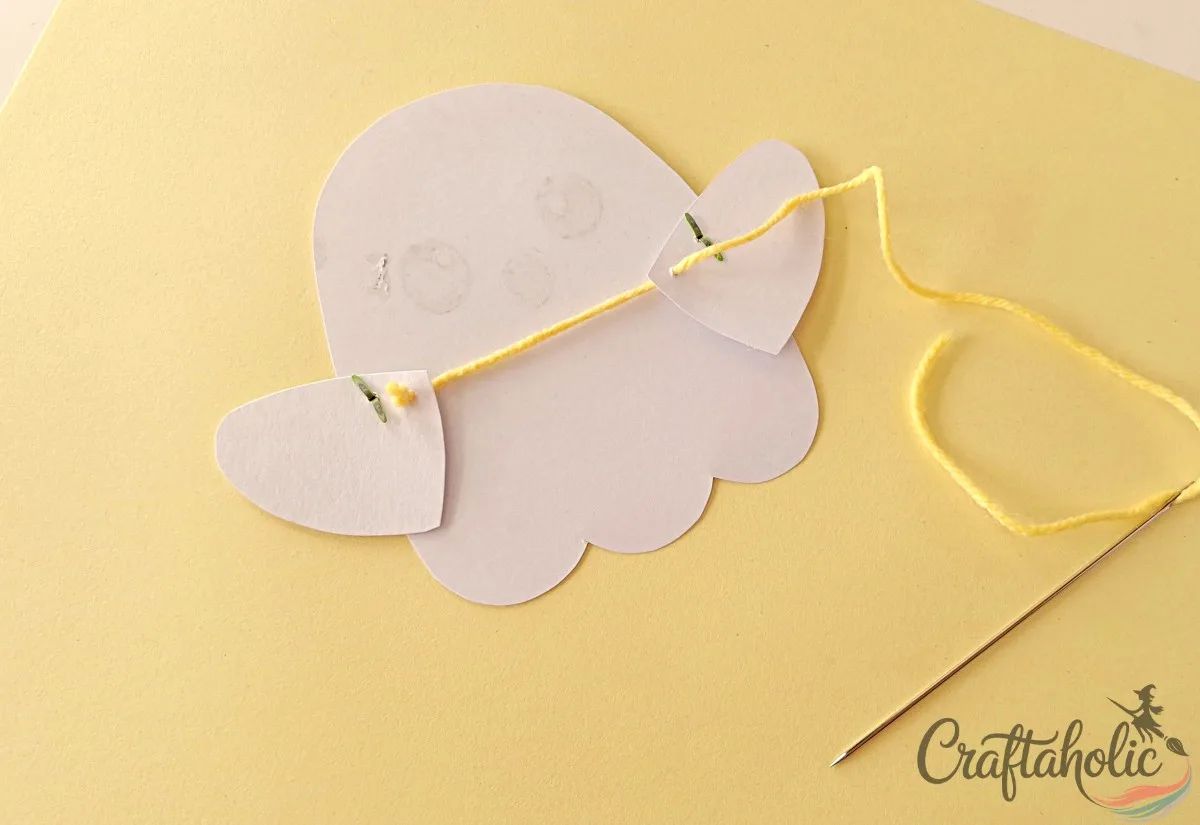
Tie two knots at that tail end so the string can’t slip back through the hole. Then thread the needle through the right arm’s string hole from underneath and pull the string all the way across, so it now runs behind the body connecting both arms.
Step 11: Knot Off the String
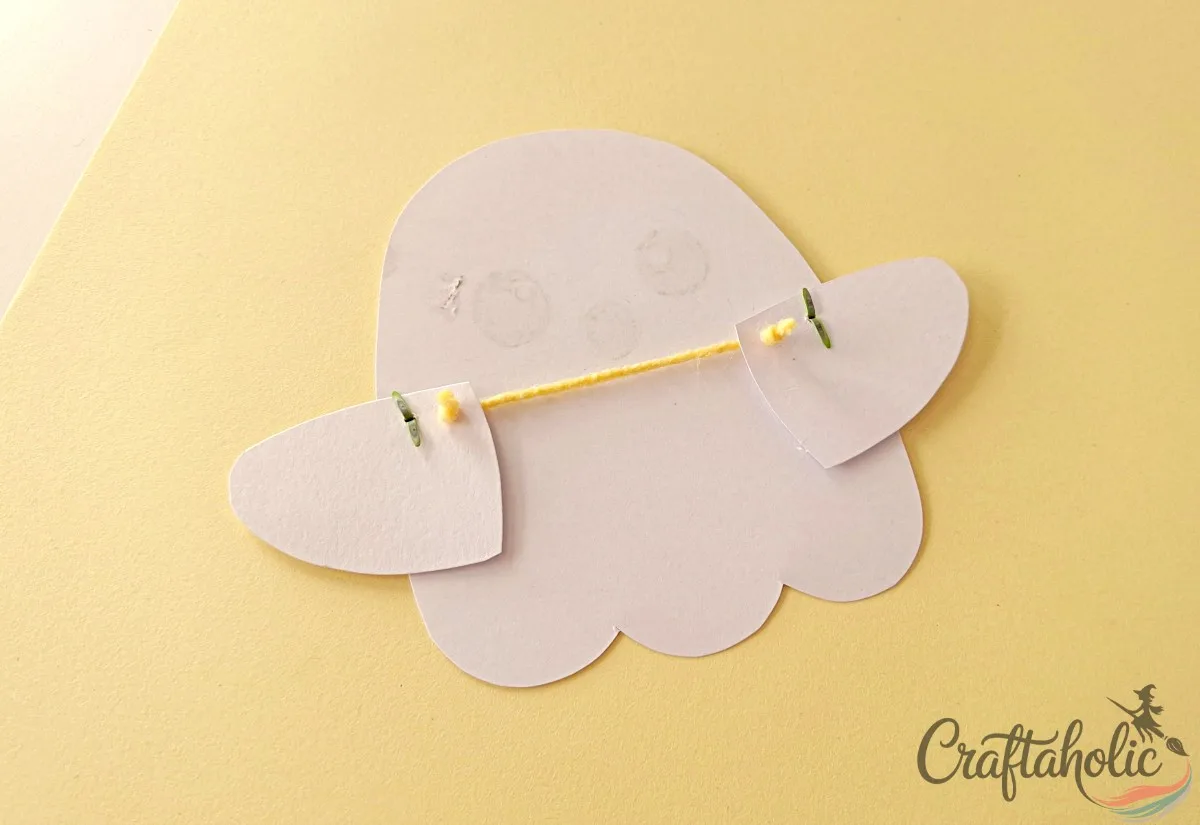
Tie a knot right against the right arm’s string hole and trim off the extra string. Give the string a gentle tug: both arms should pull toward each other slightly, which is the motion the popsicle stick will control.
Step 12: Glue On the Popsicle Stick Handle
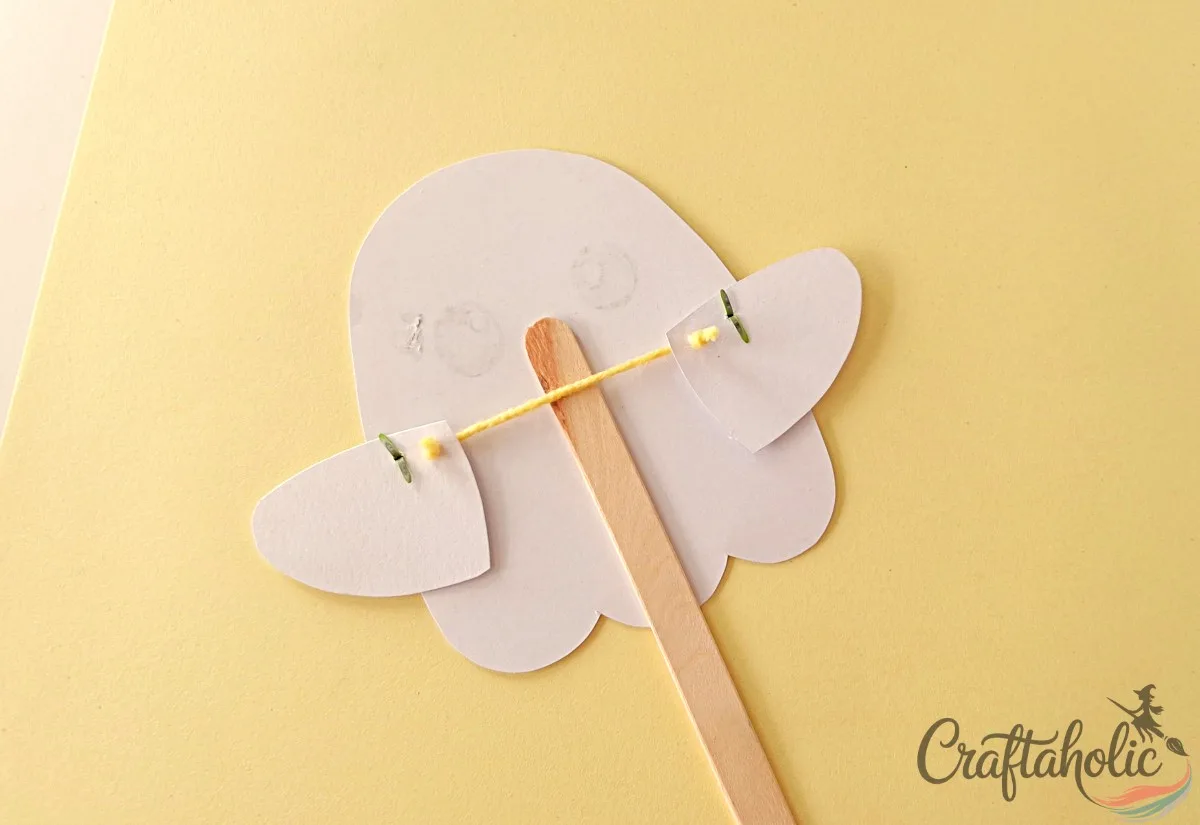
Center a popsicle stick under the string, right where it crosses the back of the body, and glue it in place with hot glue. This is what you’ll actually hold and pull once the puppet is finished, so give the glue a moment to set before testing it.
Step 13: Flip the Puppet to the Front
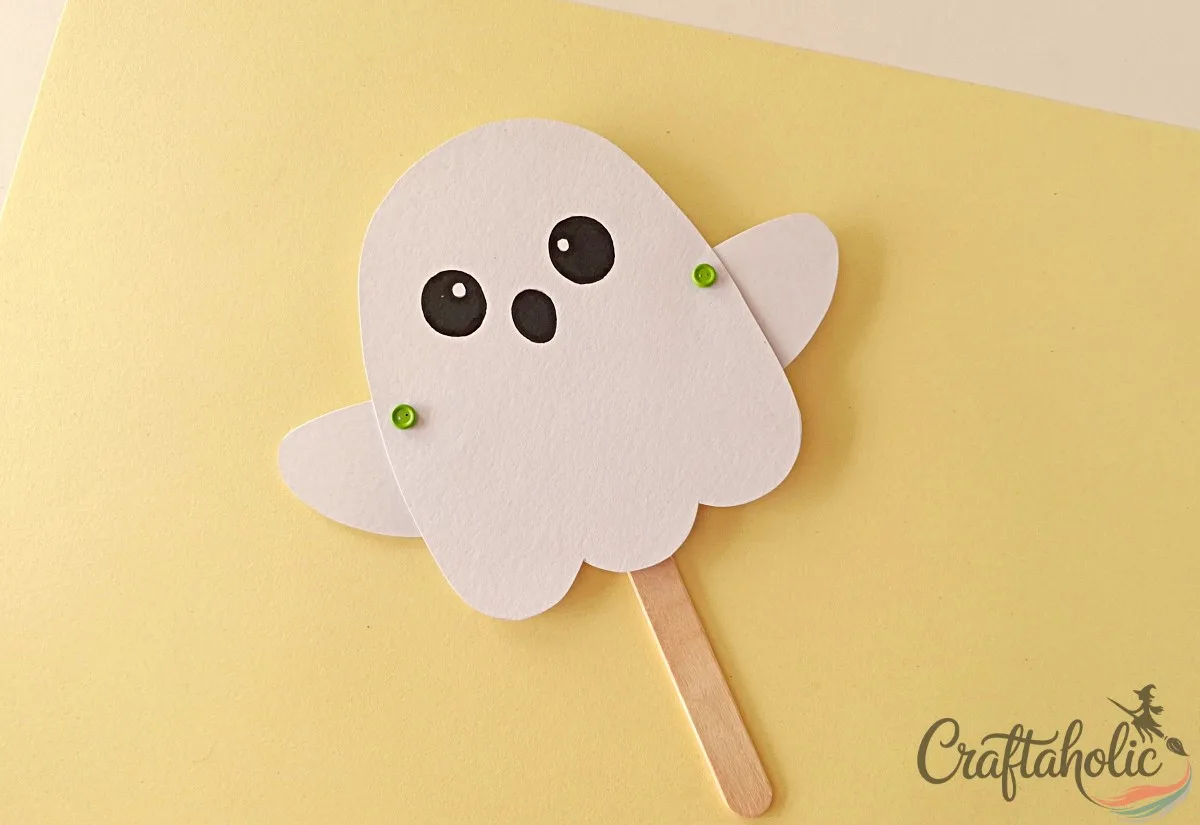
Flip the whole puppet over to the front. You’ll see the flat side of both brad pins poking through.
Step 14: Cover the Brad Pins With Blush Circles
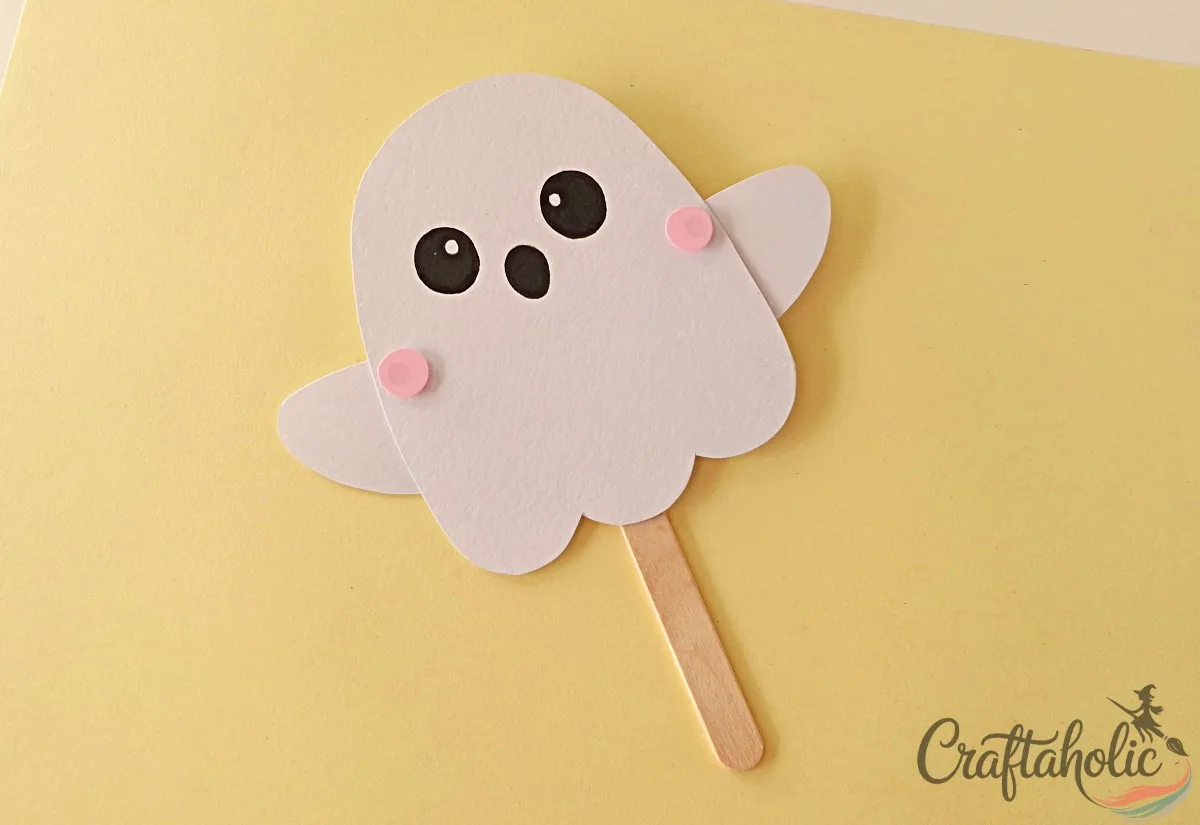
Cut two small circles from pink craft paper and glue one over each visible brad pin. They double as blush spots, so the fasteners disappear into the design instead of standing out.
Step 15: Glue On the Hat and Broomstick
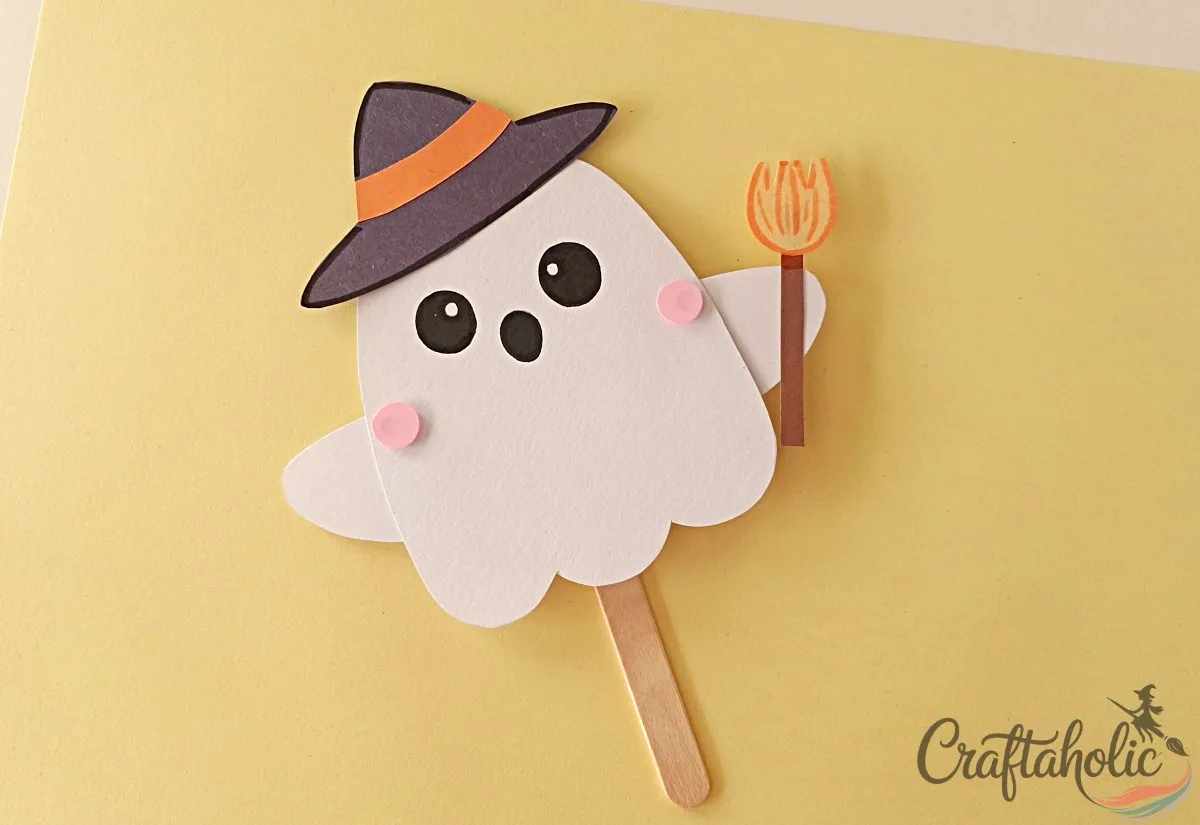
Glue the finished hat to the top of the ghost’s head and the broomstick to one of the arms. Once the glue sets, your ghost puppet is ready to move.
Hold the bottom of the ghost with one hand and pull the popsicle stick up and down with the other. The string pulls both pivot-pinned arms along with it, which is the whole trick behind this puppet.
Share it in "I Made It" and let us cheer you on.
Post your finished make in "I Made It" so the community can celebrate it with you. Cheer on other makers too. Each month, the most loved craft wins 1 year of Craftaholic Premium ($59)
Tips for Making a Moving Ghost Puppet
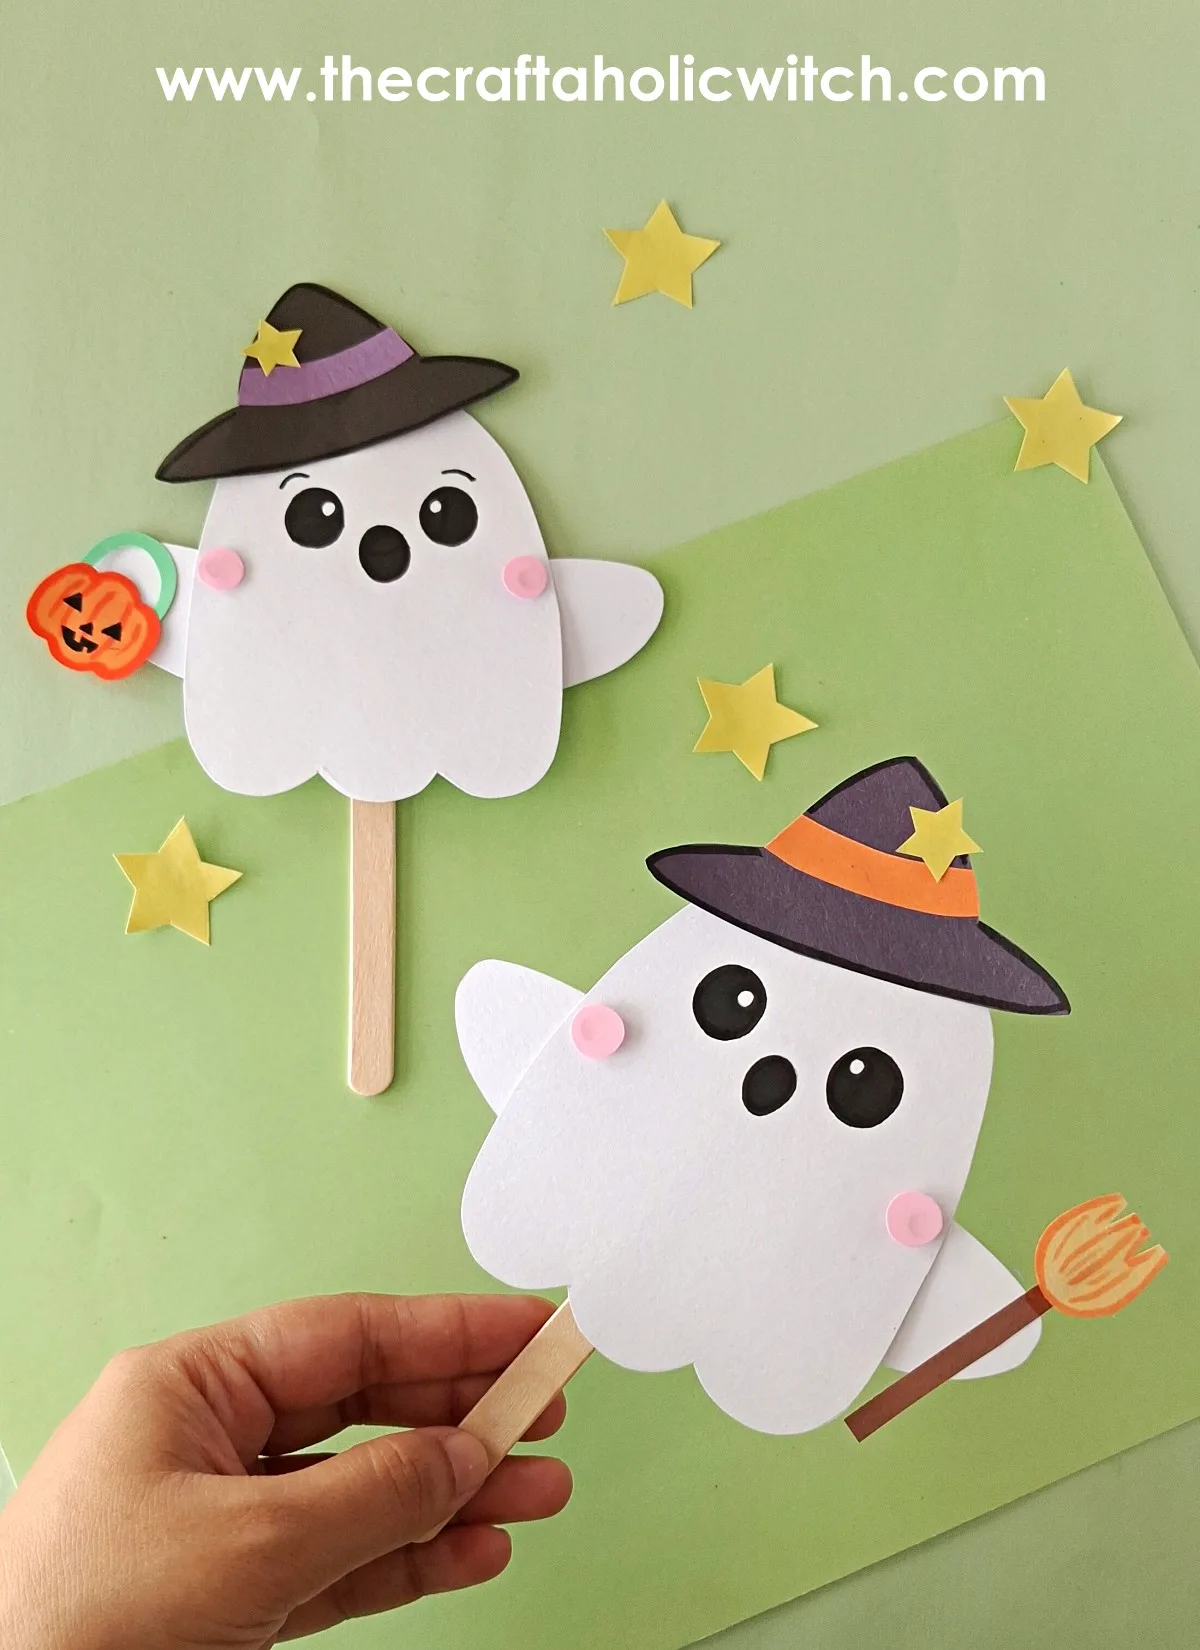
- Swap the witch hat for a small pumpkin or bat shape to turn the same base into a different Halloween character.
- No popsicle sticks on hand? A wooden coffee stirrer or a bamboo skewer works just as well as the handle.
- If the arms feel stiff after a few plays, gently loosen the brad pin’s prongs so they can pivot more freely.
- Store finished puppets flat in a folder or envelope so the paper doesn’t bend at the joints between uses.
Frequently Asked Questions
Is this ghost puppet craft safe for young kids?
It’s safe for kids around 6 and up when an adult handles the needle and brad pin steps. The needle only pokes small guide holes, and the brad pin’s prongs fold flat once it’s attached, so the finished puppet has no exposed sharp points.
What can I use instead of a brad pin?
A brad pin is really the part that lets the arm pivot smoothly, so it’s worth picking one up if you don’t already have any. A cheap pack from the craft aisle has more than enough for several puppets.
Why won’t my ghost’s arms move?
The most common cause is a brad pin pressed too flat, which pins the arm stiff against the body instead of letting it pivot. Bend the prongs back open slightly and re-flatten them with a little more slack.
Can I make this puppet without threading string through the arms?
You can glue the arms in a fixed position if you’d rather skip the string, but you’ll lose the moving mechanism that makes this puppet fun to play with. The string and popsicle stick are what let one hand control both arms at once.
How long does one ghost puppet take to make?
Most people finish one puppet in about 30 minutes once the template pieces are cut out. Cutting several sets of pieces at once speeds things up if you’re making more than one.
More Halloween Paper Crafts
- How to Make Easy Origami Ghost
- DIY Recycled Spoon Witch for Halloween
- 12 Spooky Felt and Plush Halloween Crafts
Share your moving ghost puppet in the I Made It space inside Craftaholic Community. The most-loved post each month wins a one year free Premium membership.
0 Comments
Join the conversation
Log in to your Craftaholic Community account to comment, ask questions, and cheer on fellow makers.
Log in to comment