

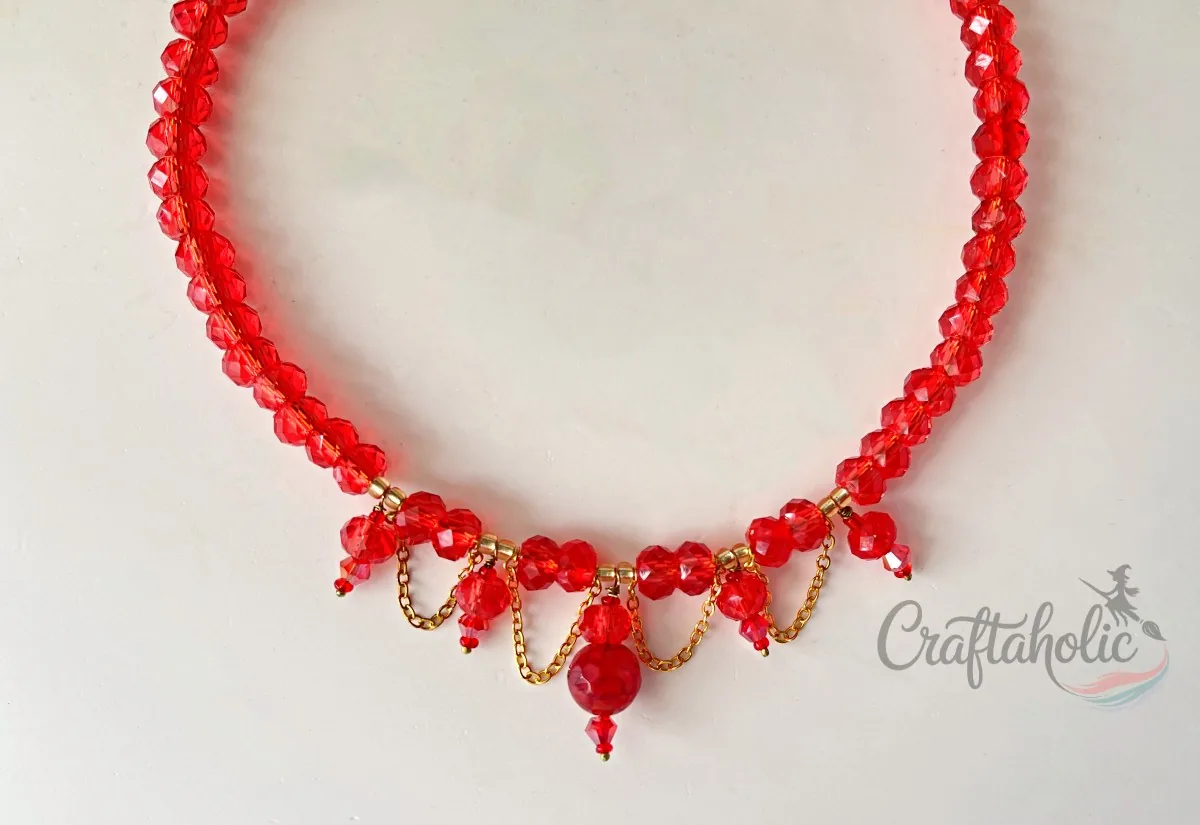
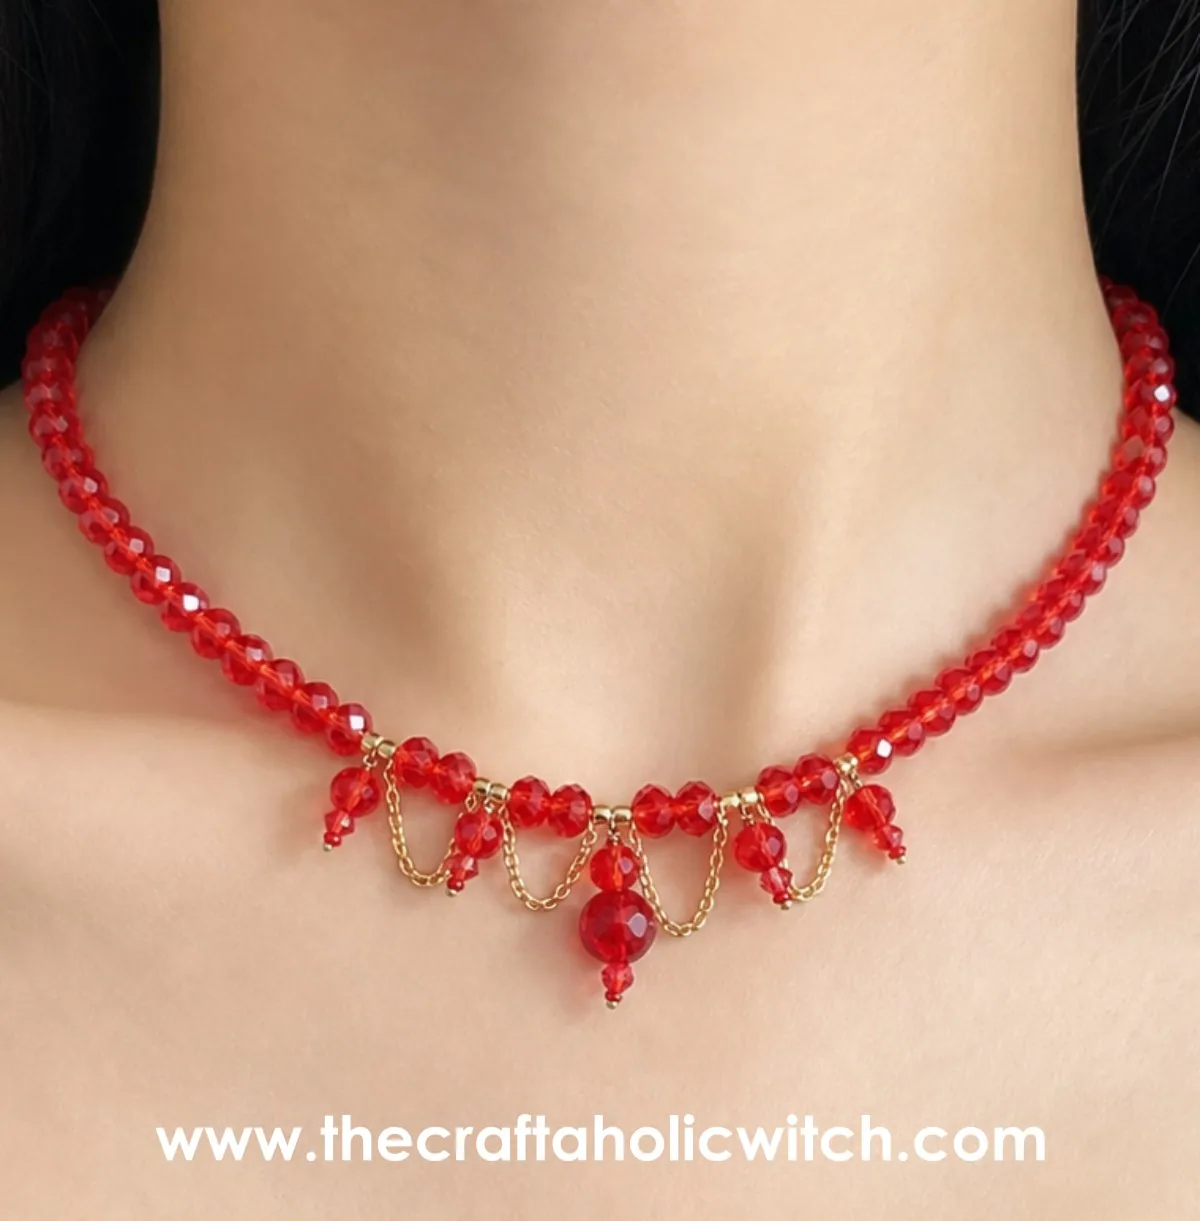
I sat down at my craft table to design a jewelry for this Halloween, and the moment I closed my eyes, one image came to mind: a blood-red beaded choker necklace paired with a plain black dress. It is not as visibly spooky as most of the Halloween chokers you will find on Etsy, and that is exactly why I chose it. Once Halloween is over, you can keep wearing it as a regular statement necklace instead of packing it away with the decorations.
This one is built from wire-wrapped headpin charms strung onto a beaded base wire, looping and coiling the same way through most of the project. Budget about an hour and a half at the table and a beginner-to-intermediate comfort level with jewelry pliers, since the real skill here is repeating that one loop-and-coil move cleanly, over and over.
This beaded choker necklace is one of my statement pieces from my necklace and pendant collection, and it joins the rest of my jewelry making projects here on the blog.
Beaded Choker Necklace at a Glance
- Difficulty: Intermediate
- Time: About 60-90 minutes, depending on how many charms you make
- Cost: Under $15
- Ages: Teens and up (adult help recommended for the wire cutting and coiling)
- Best for: A bold Halloween look you will keep wearing as an everyday statement necklace
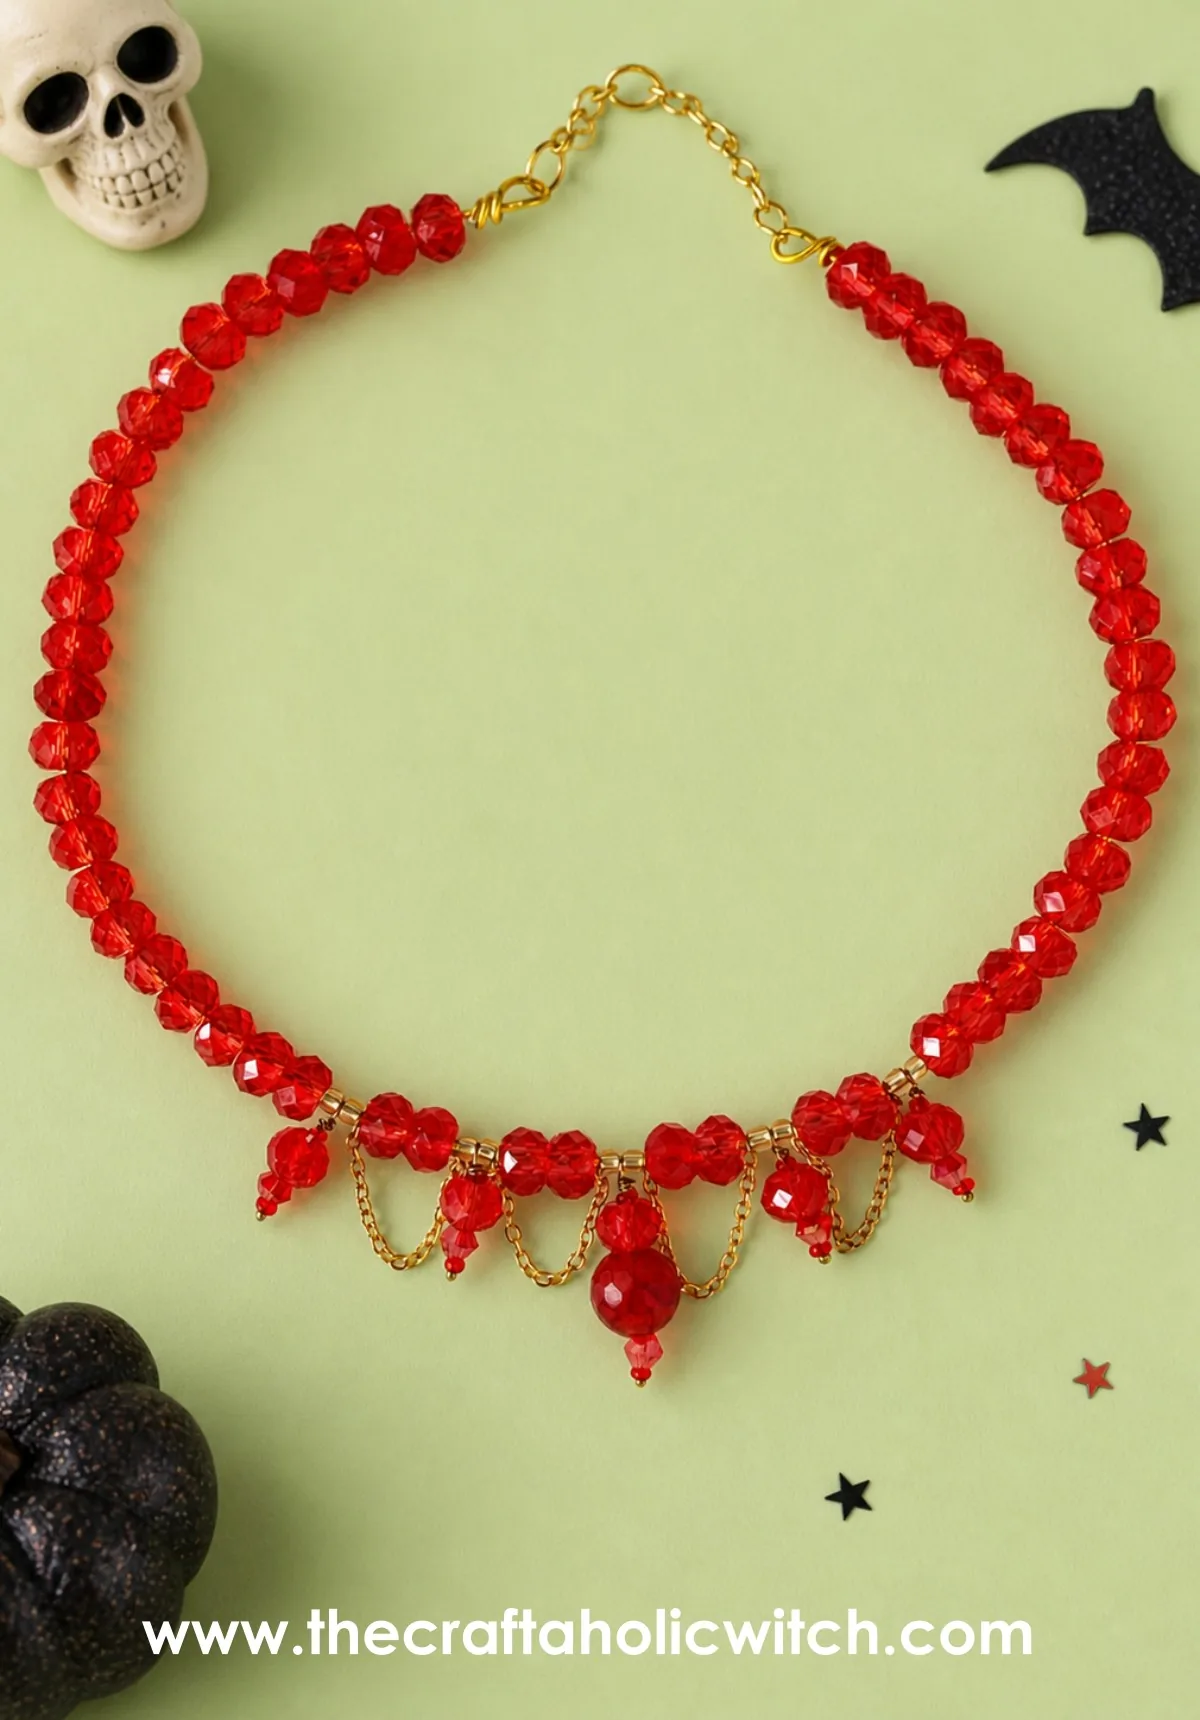
What You Need to Make a Beaded Choker Necklace
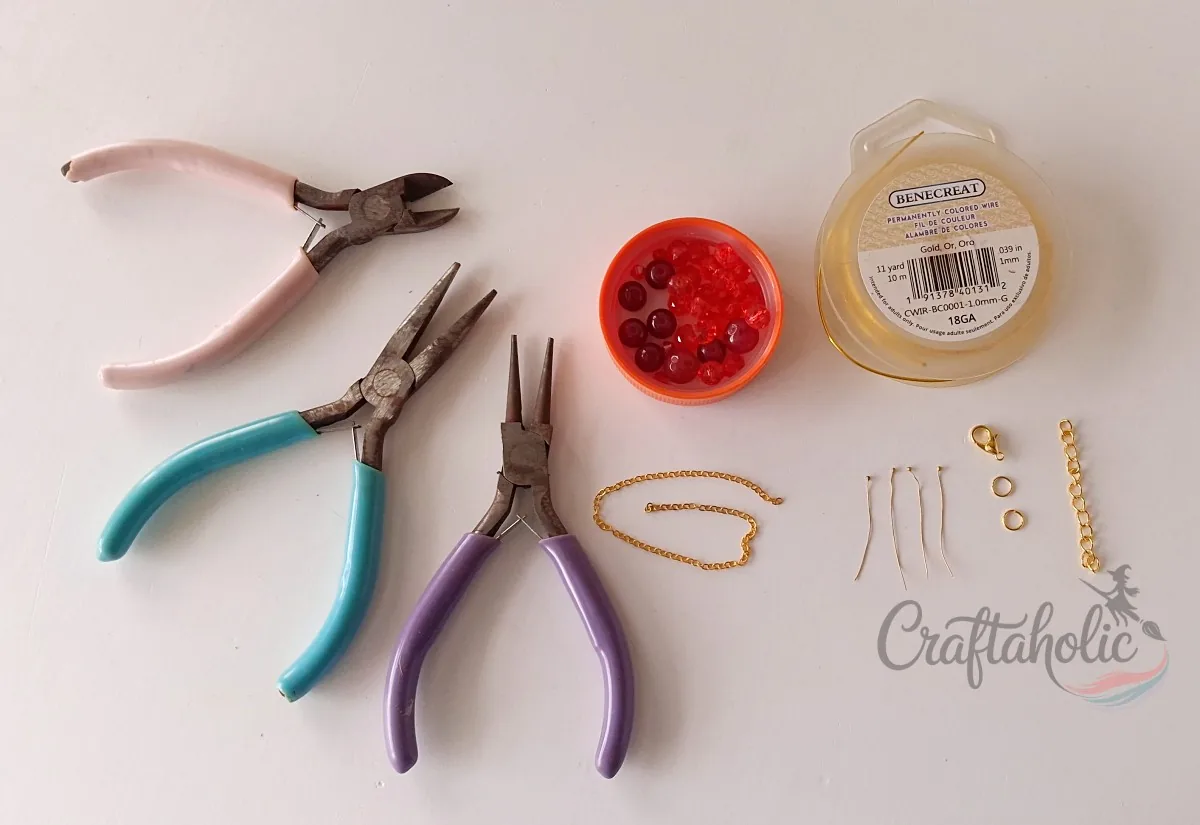
Materials
- Jewelry wire, 18 gauge, which forms the base of the choker and holds its rounded shape around the neck.
- Red crystal beads, medium and small, for the base fill and the dangling charms; the faceted cut is what gives the choker its sparkle.
- Red round beads, 1 cm, for the larger center locket charm.
- Red seed beads, which sit closest to the headpin loop so the crystal beads above them cannot slide down.
- Pinhead wire (headpins), threaded with beads and looped to build each dangling charm.
- Lobster claw closure, the clasp that opens and closes the choker.
- Jump rings, which connect the lobster claw to the base wire loop.
- Jewelry chain, thin and small, draped between the charms for the scalloped front detail.
- Extra jewelry chain, which extends the closure so the finished length is adjustable.
Tools
- Jewelry pliers (cutting, looping, and flat-nose): cutting pliers trim the wire, looping pliers form the headpin loops, and flat-nose pliers hold the wire steady while you coil it.
Ask inside "Crafty Q&A" while you are making.
"Crafty Q&A" is free to join. Share your question, photo, or the exact step where you got stuck, and chat with other makers plus the Craftaholic Witch team. You can also join any discussion thread already happening inside the space.
Step-by-Step Instructions
Step 1: Selecting the Materials
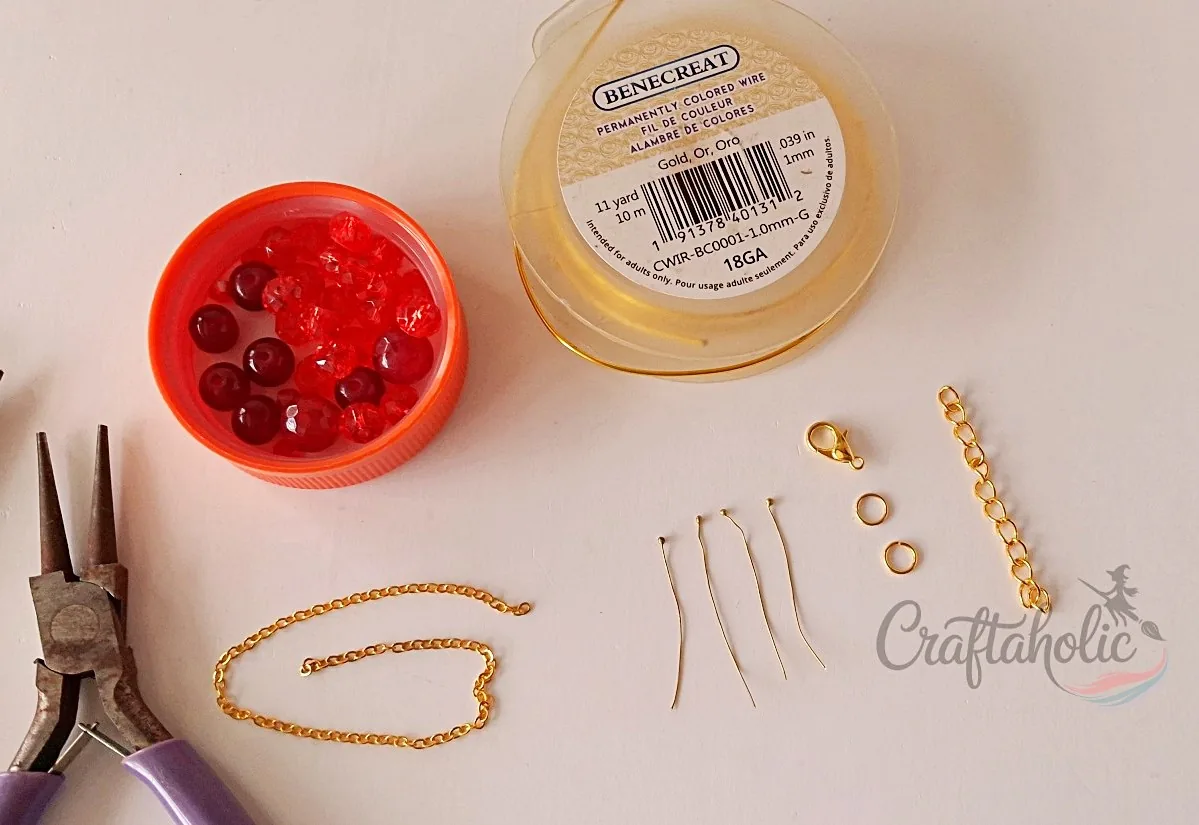
Pull out your one big, red, round bead first. That is the locket piece anchoring the center of the choker. The crystal beads fill out the base and become the dangling charms on either side of it, and the thin jewelry chain is what drapes between them. Set the extra, heavier chain aside too, since that is what extends the closure later.
Tip: Memory wire or beading thread both work here, but 18 gauge flexible jewelry wire holds a choker’s round shape best.
Step 2: Beading the Headpin Wire
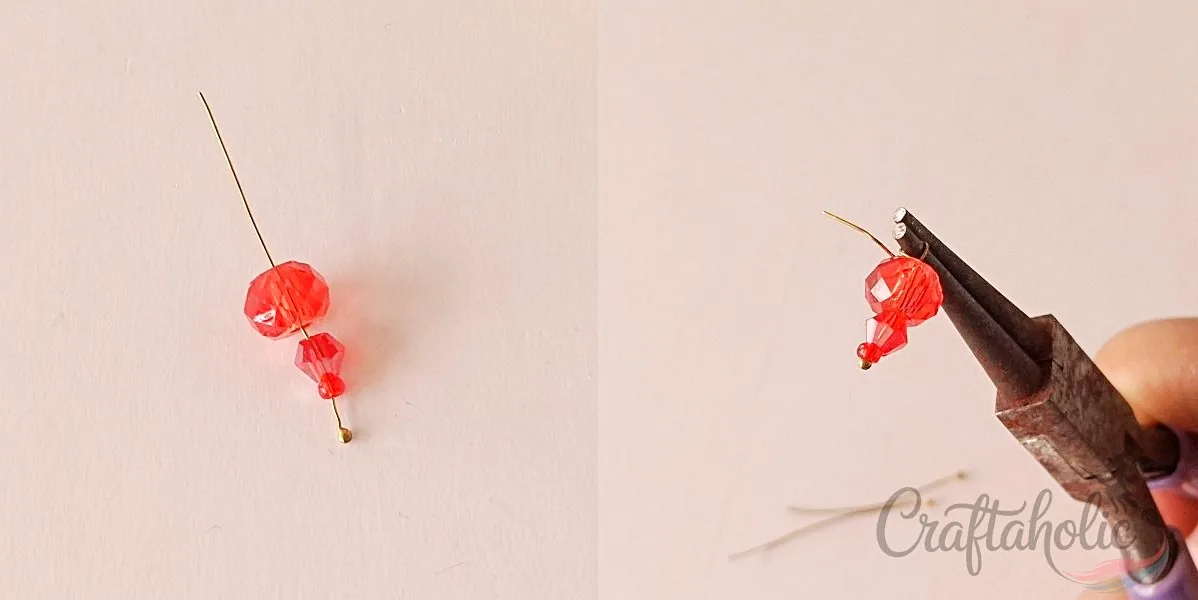
Slide a red seed bead onto the headpin first and push it all the way down to the pinhead, then follow it with a small crystal bead and a medium crystal bead. This loop-and-coil headpin technique is the same one behind my wire charm tutorial, worth a look if the looping feels unfamiliar. Grip the open end of the wire with your looping pliers and bend it into a small loop sitting right against that last medium bead.
Step 3: Securing the Beads
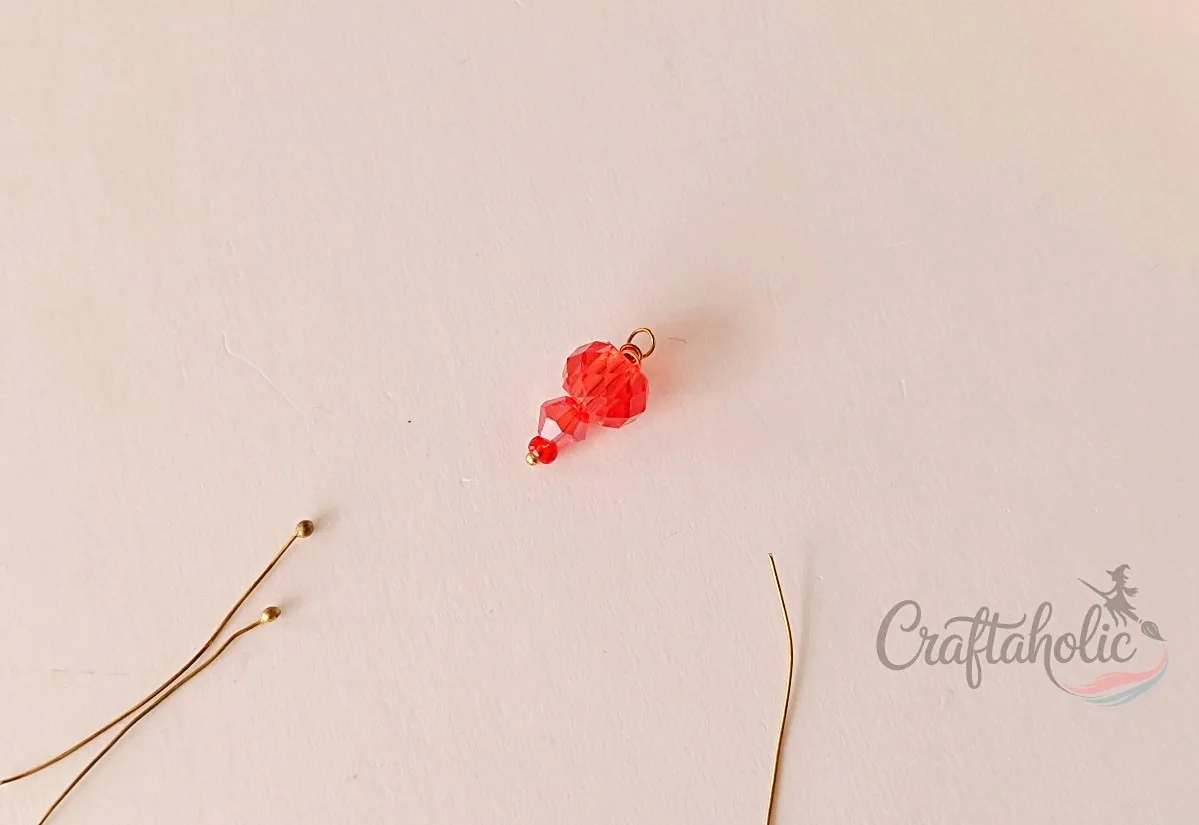
Wrap the leftover wire tightly around itself just below the loop to lock the beads in place. A few even coils look far neater than one loose wrap. Repeat this same loop-and-coil process to make several more beaded headpins, enough to mirror on both sides of the center, and make one extra using the larger round bead for the locket.
Step 4: Preparing the Base Wire
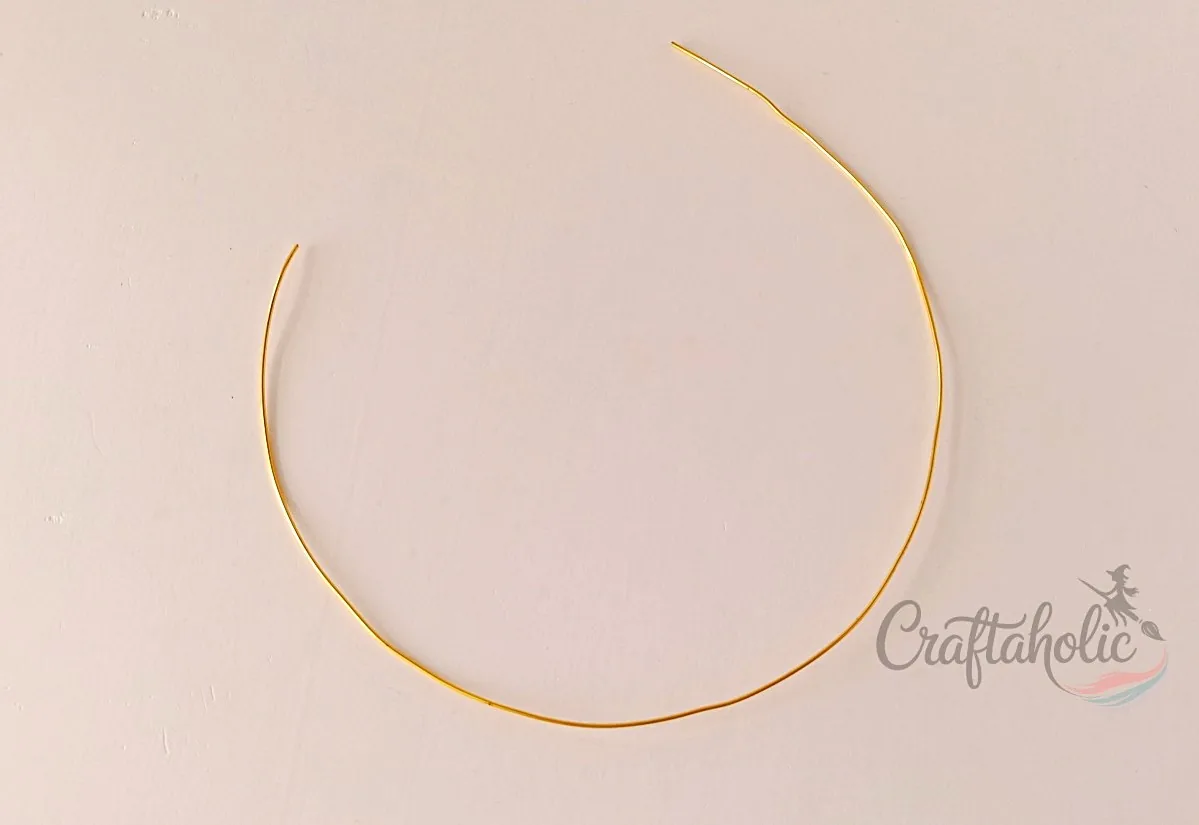
Measure around your neck with a measuring tape to get your choker length, then add 3 to 4 cm for ease and the closure. Cut your 18 gauge wire to that measurement with your cutting pliers.
Tip: Always err on the long side. You can trim extra wire away, but there is no adding it back once a piece is cut too short.
Step 5: Attaching the Closure Chain
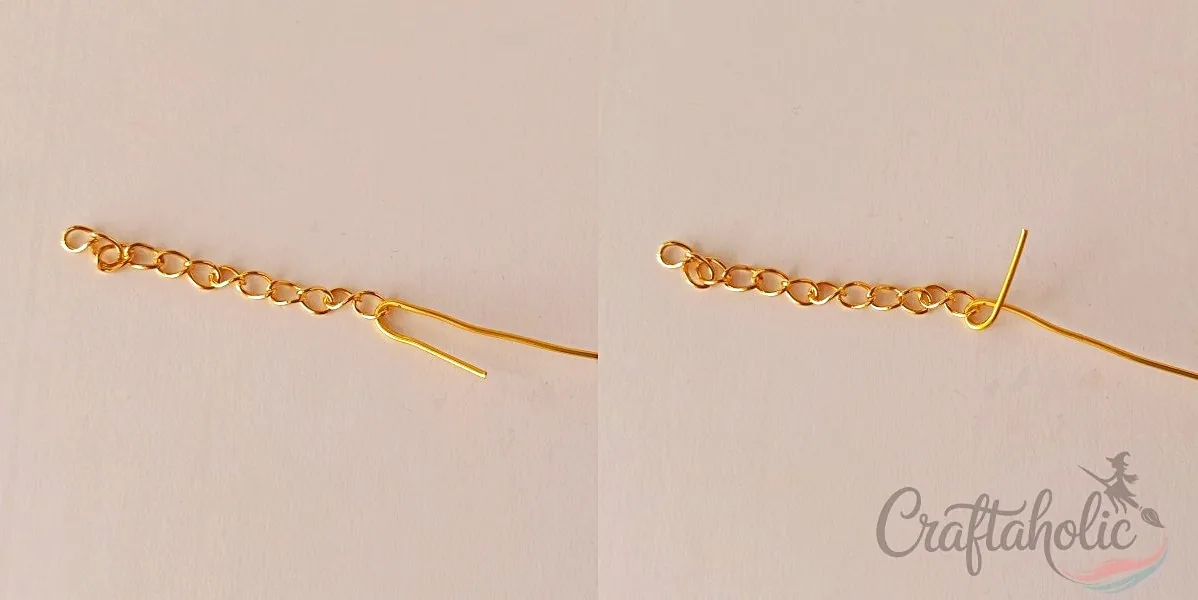
Thread the end link of your extra closure chain onto one open end of the base wire. Bend the wire back on itself about 2 cm from that end, wrapping it around the chain link to form a loop that holds the chain in place.
Step 6: Securing the Base and Chain
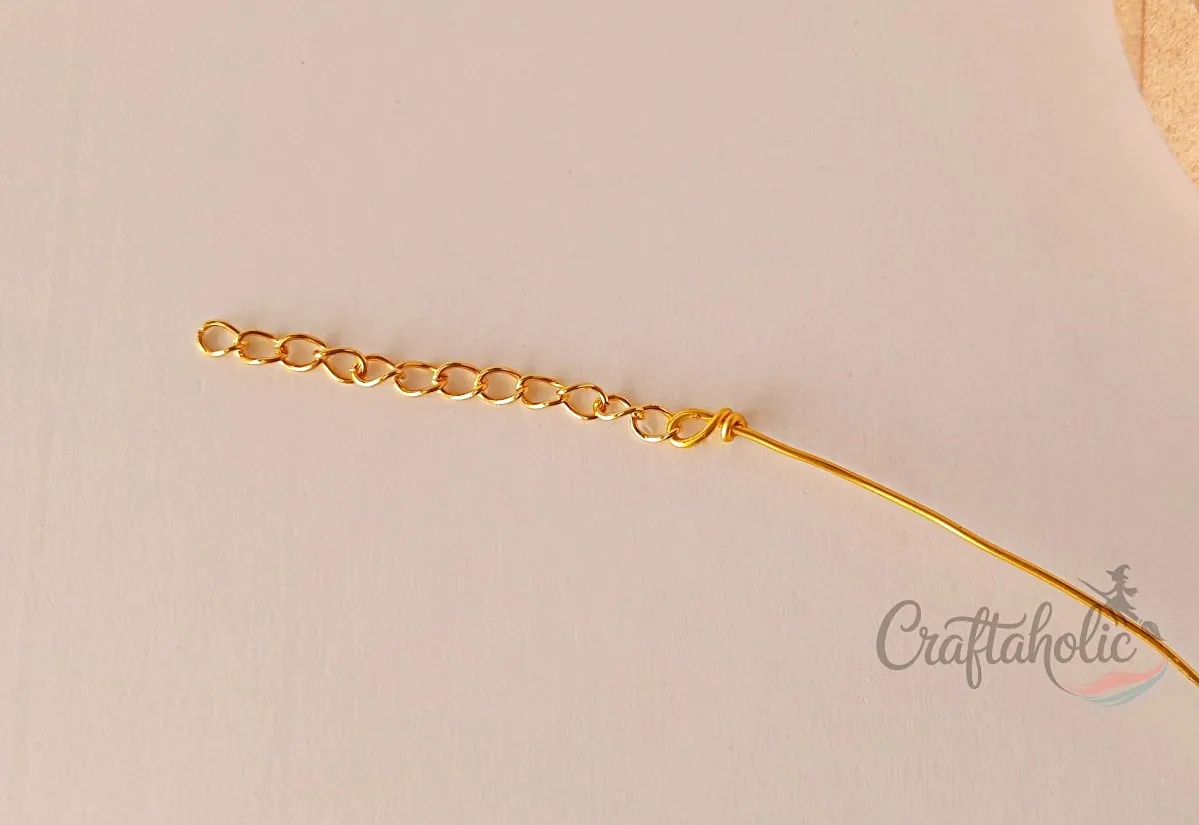
Coil that extra 2 cm of base wire tightly below the loop to lock the closure chain in place, the same wrap-and-coil move from step 3.
Step 7: Inserting the Base Beads
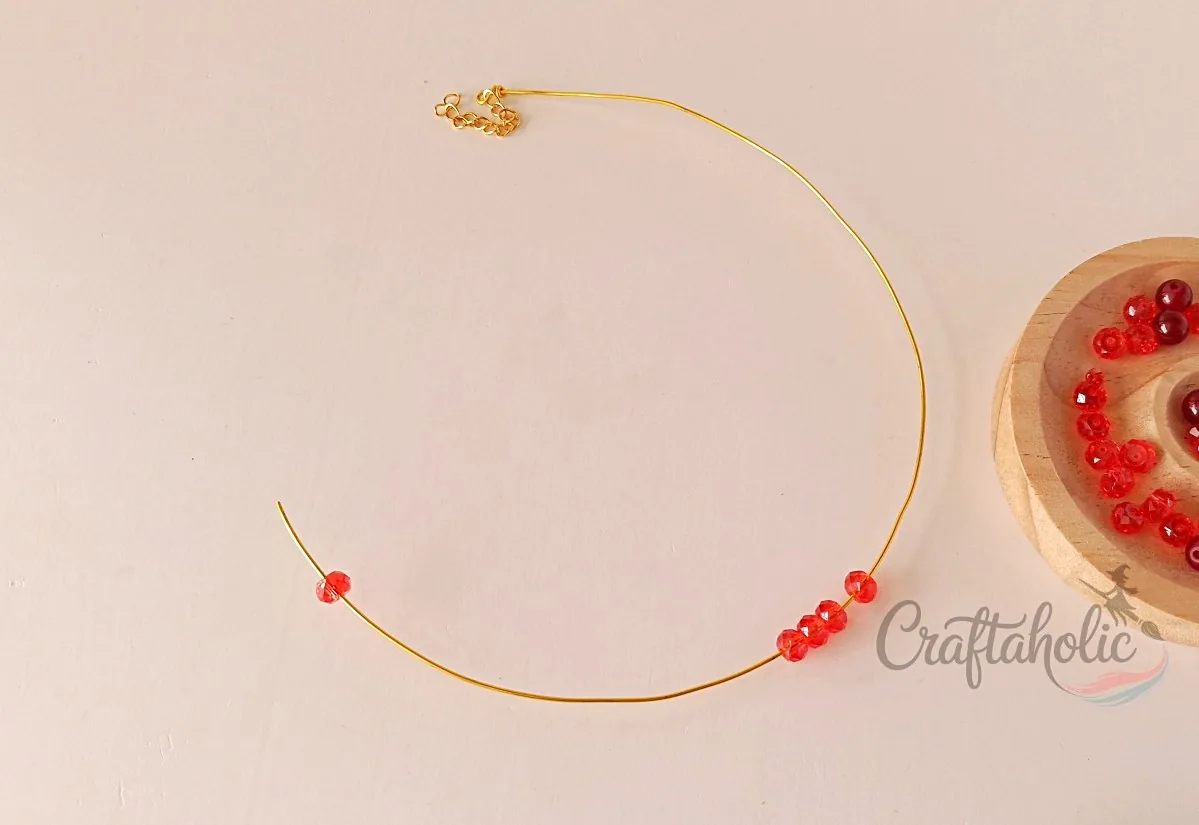
Now start threading base beads onto the wire, working from the closure end. Keep going until you have covered the back and side of the neck, the part that will sit against skin and hair, then stop.
Tip: Smooth, rounded beads make the most comfortable base, since anything faceted or sharp-edged will dig in against the back of the neck.
Step 8: Checking the Main Design
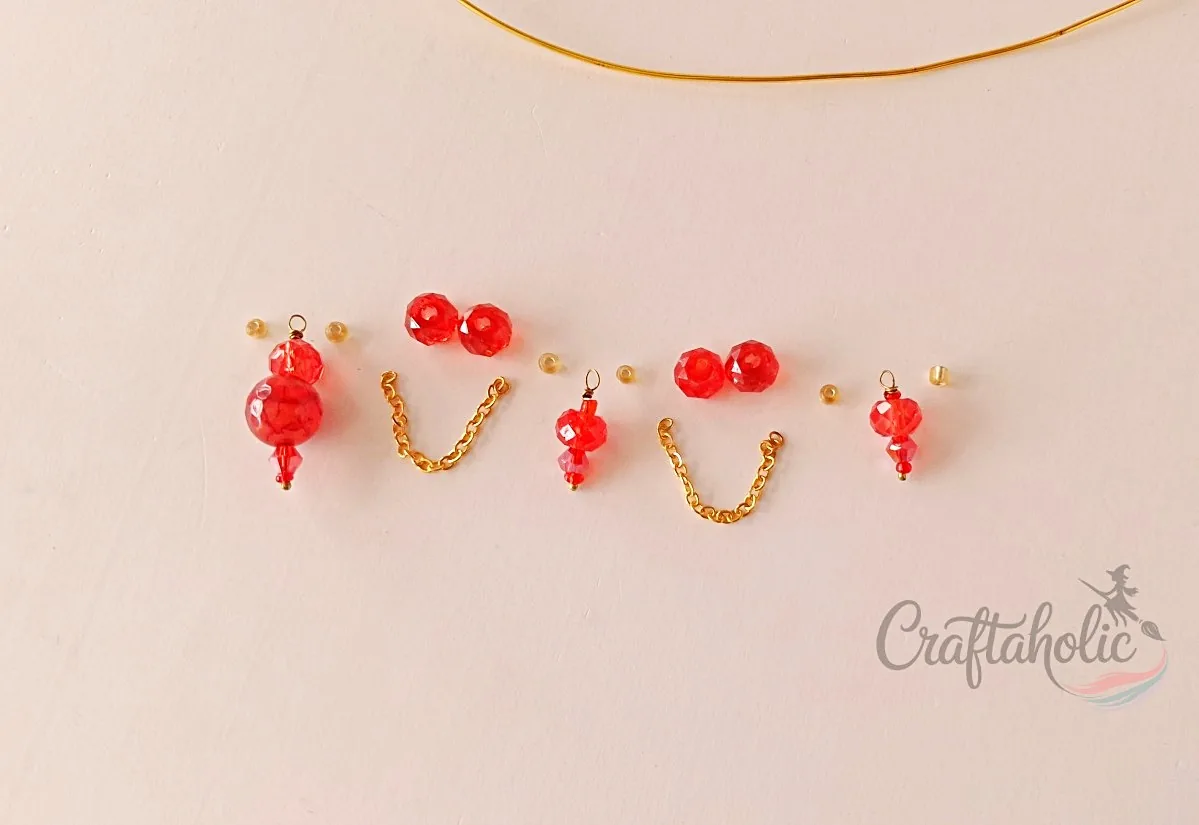
Lay your beaded headpin charms, the jewelry chain, and the locket bead out on a flat surface in roughly the order you want them to sit. This is your last chance to swap anything around before it is wired on for good.
Step 9: Inserting a Bead Charm
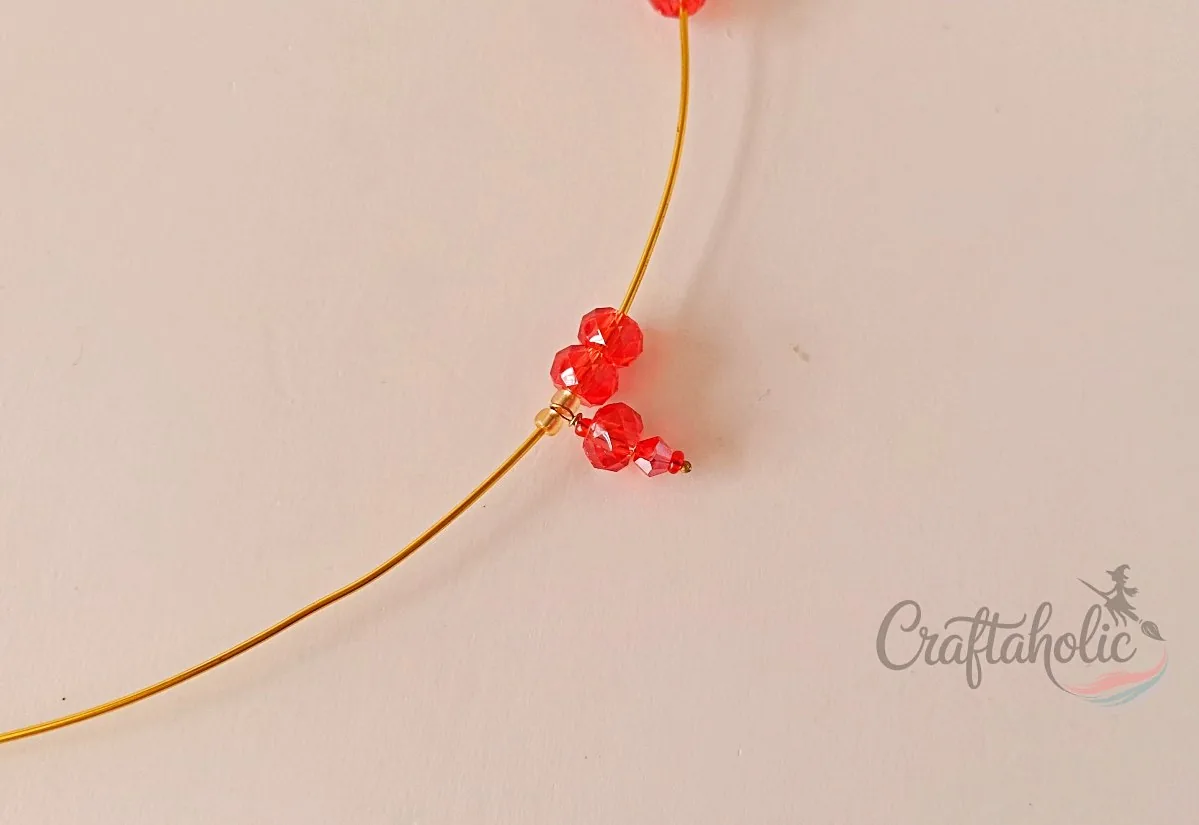
Slide one of your beaded headpin charms onto the base wire and push it flush against the last base bead.
Step 10: Inserting Jewelry Chain
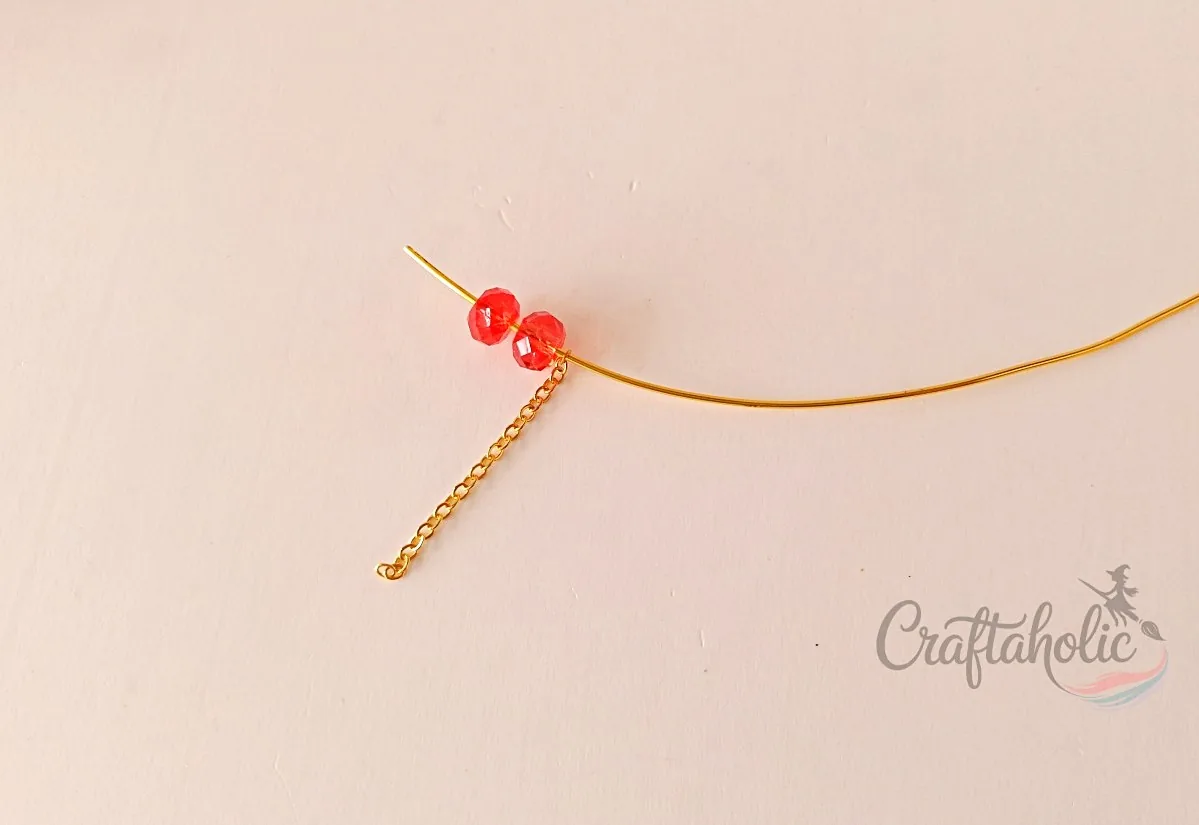
Thread one end link of a short length of jewelry chain onto the base wire, right after that charm. Keep it near the open end for now rather than pushing it flush, since it needs room to drape. Follow it with 2 more base crystal beads.
Step 11: Forming a Chain Loop
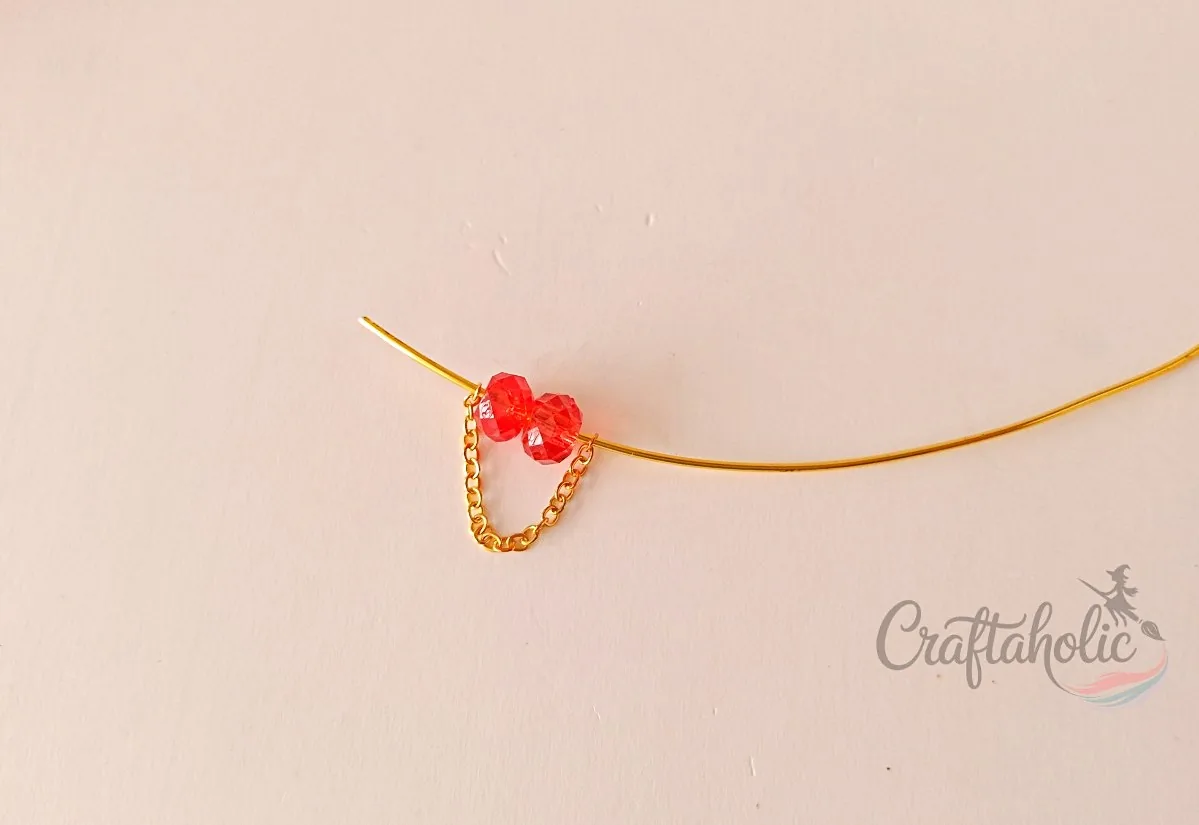
Thread the other end link of that same chain onto the base wire too, right after those 2 beads. With both ends anchored and the 2 crystal beads sitting between them, the chain hangs in a loose, scalloped drape, the swag detail you can see dipping between each charm in the photos.
Step 12: Continue to Bead
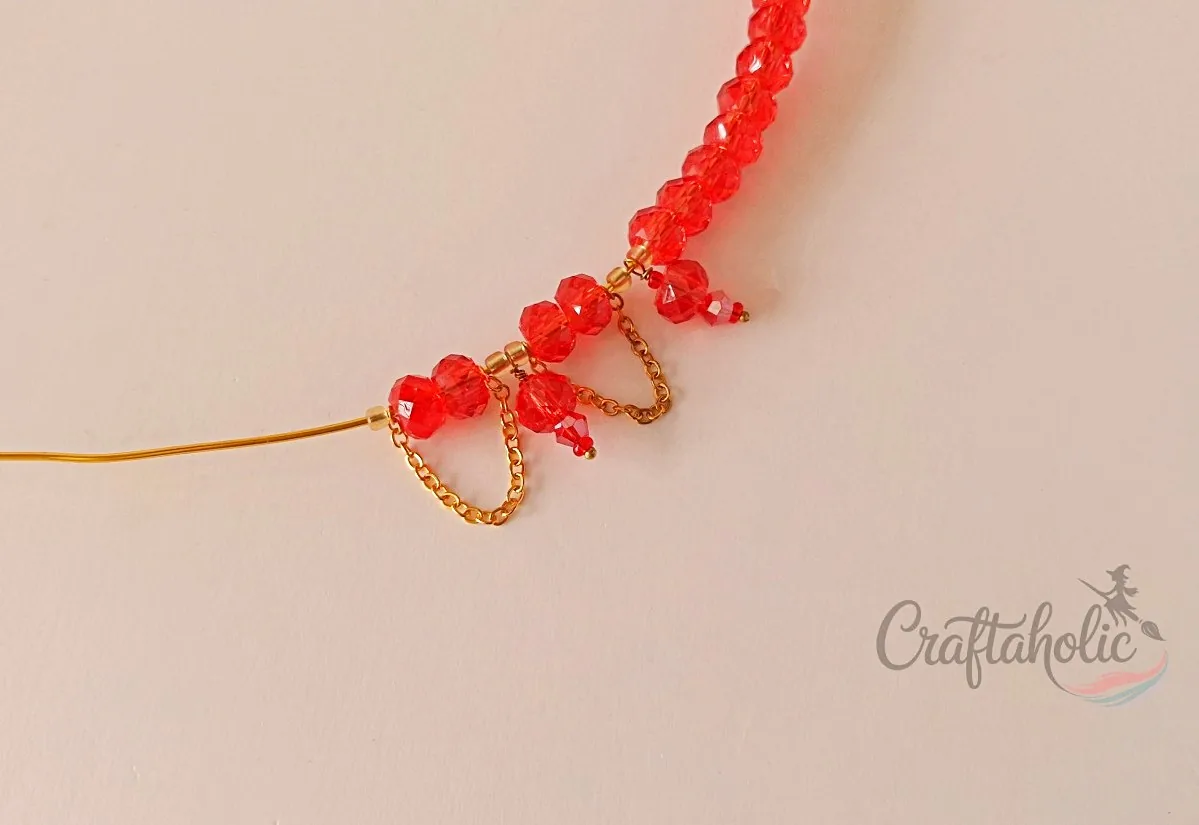
From here it is the same rhythm on repeat: a beaded charm, then a draped chain loop with its 2 spacer beads, moving along the base wire. Keep a rough pattern in mind, or sketch one out first, so the charms land evenly instead of bunching to one side.
Step 13: Complete the Main Design
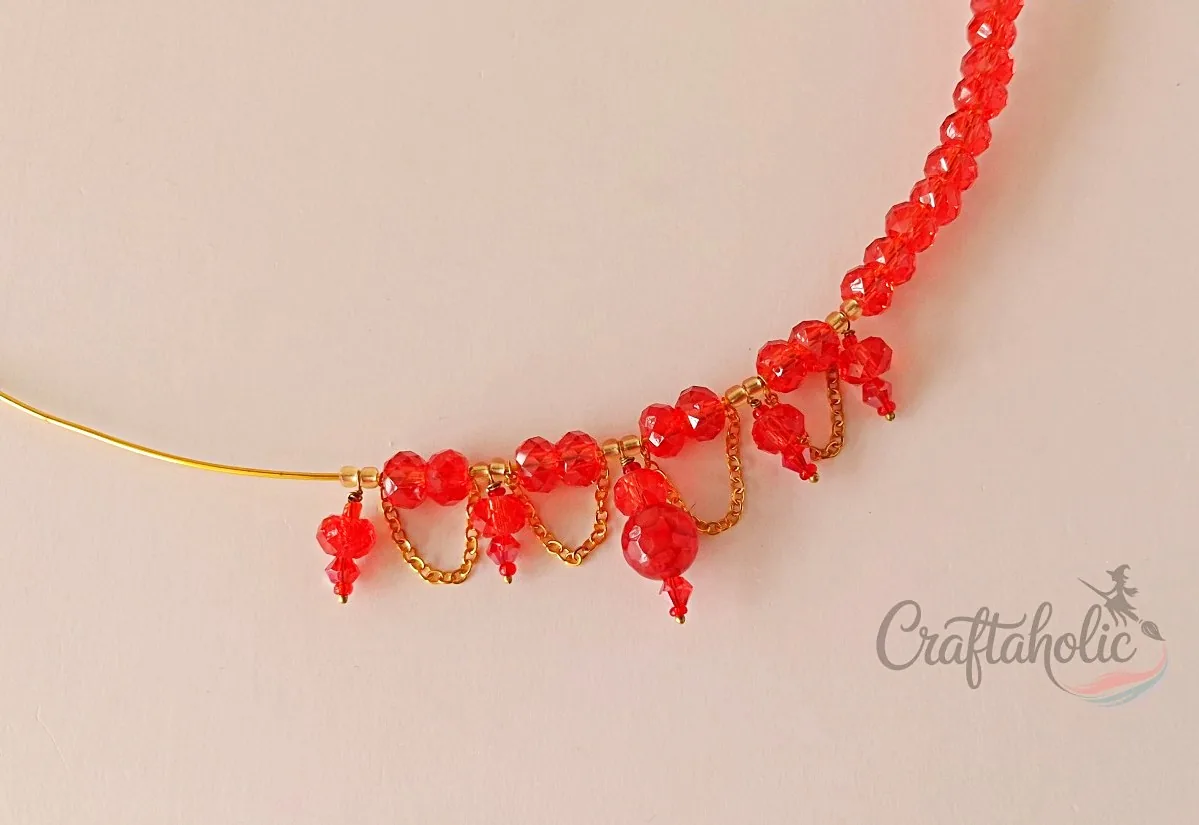
Keep repeating that charm-and-chain-loop rhythm across the front of the choker until every headpin charm you made is used and the scalloped design is complete.
Step 14: Fill the Base Wire
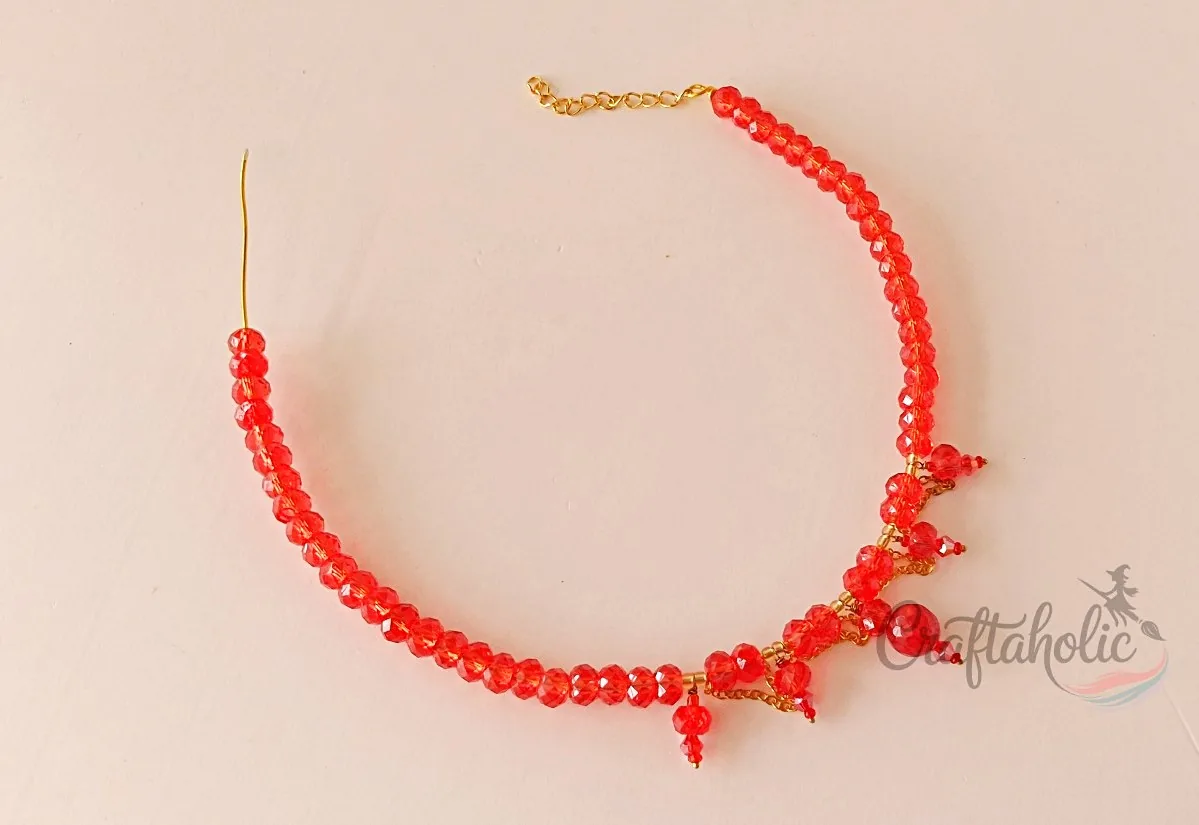
Switch back to plain base beads for the second half of the wire, threading them on the same way as step 7. Stop with 2 to 3 cm of bare wire left at the end, since you will need that for the closing loop.
Step 15: Secure the Base Wire
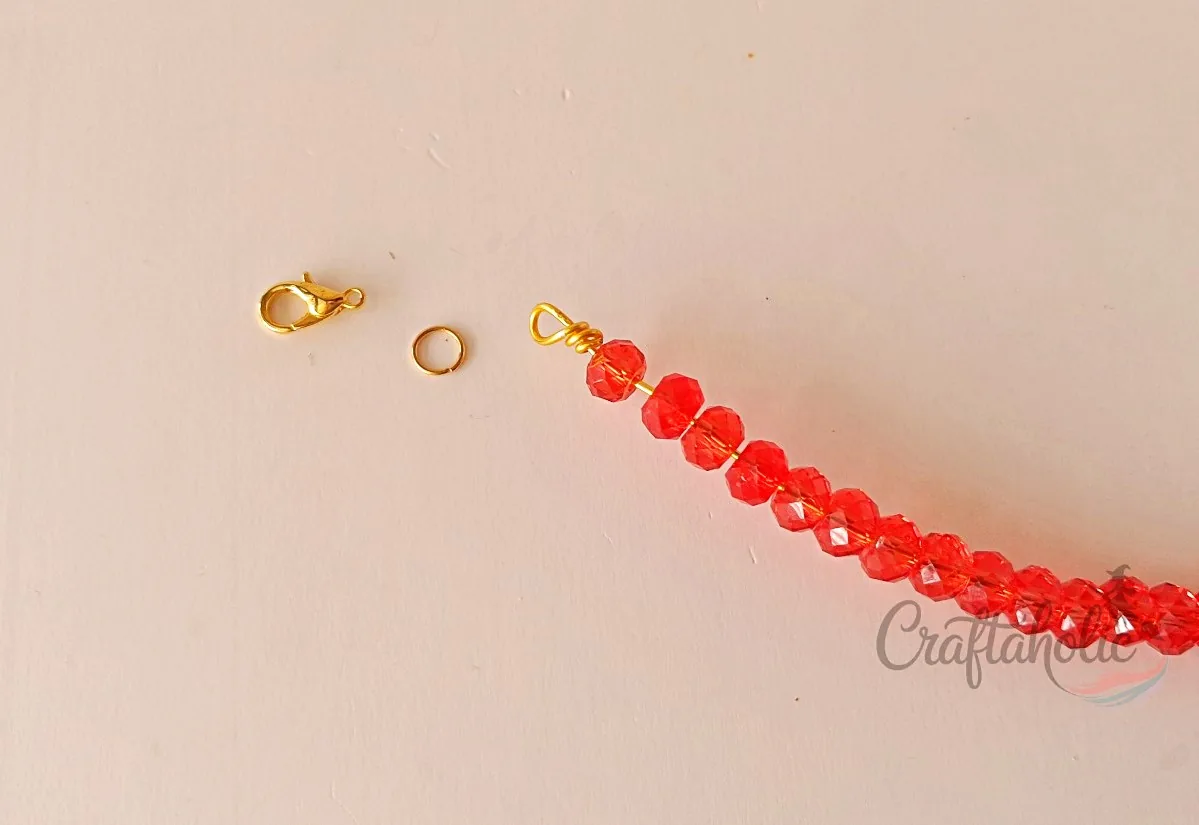
Bend that last bit of wire into a loop and coil it down against itself, the same wrap you used back in steps 3 and 6. Have your lobster claw closure and jump rings ready, since they attach next.
Step 16: Attach the Lobster Claw
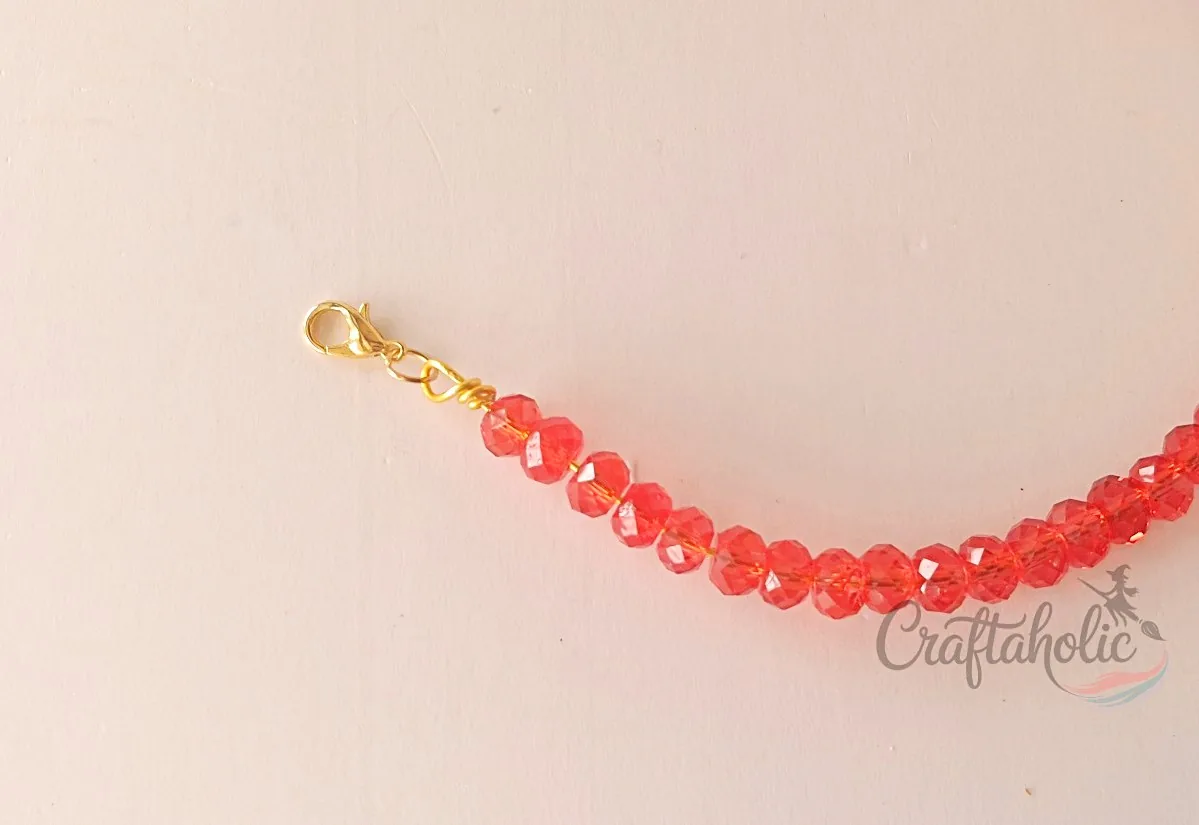
Open a jump ring and hook it through the wire loop you just coiled, then close the jump ring back up. Attach your lobster claw closure through that same jump ring. If you would rather make your own jump ring than buy one, my jump ring tutorial walks through it in a few minutes.
Step 17: Close the Choker
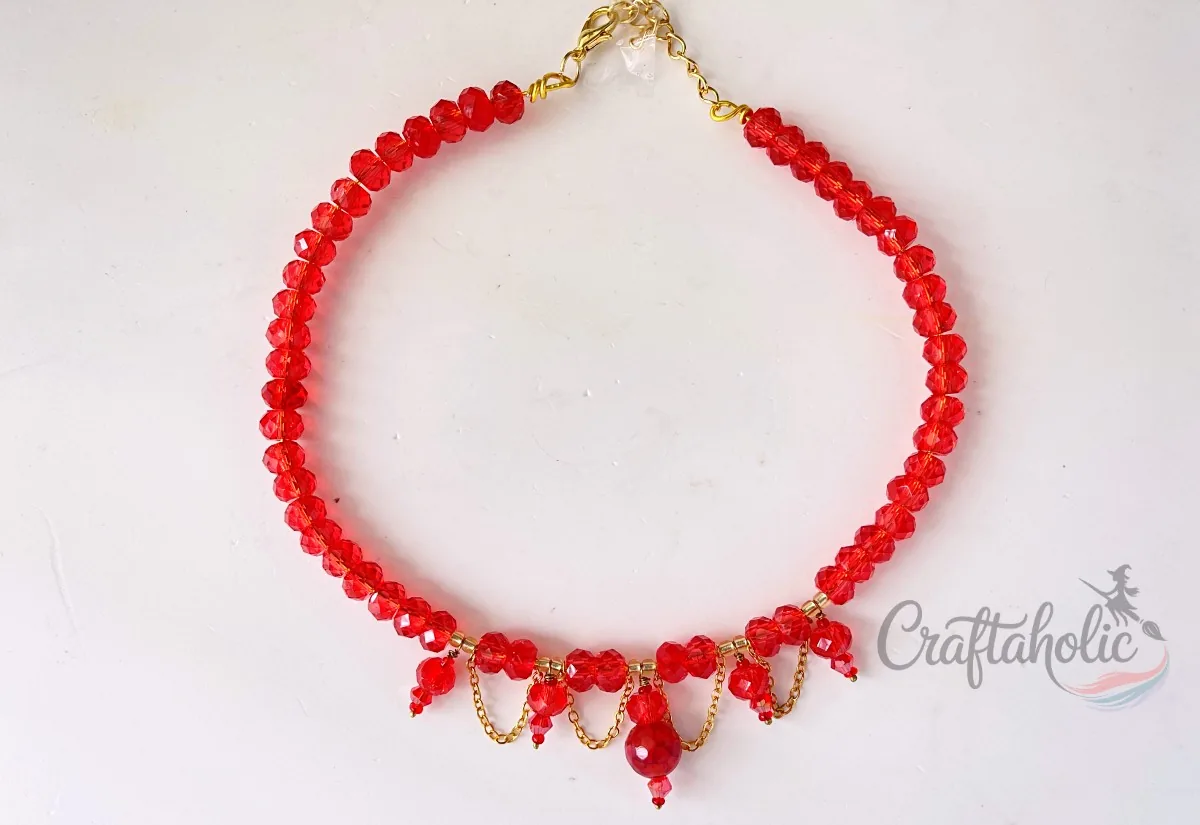
Clasp the lobster claw onto whichever link of the extra chain gives you the most comfortable fit. That is what makes the closure adjustable, so you can loosen or tighten it as needed.
Share it in "I Made It" and let us cheer you on.
Post your finished make in "I Made It" so the community can celebrate it with you. Cheer on other makers too. Each month, the most loved craft wins 1 year of Craftaholic Premium ($59)
Tips for Your Beaded Choker Necklace
- Swap the red beads for black, orange, or purple to match a different costume, or pick a single warm tone you would wear year-round.
- Store the choker flat in a jewelry box or pouch so the dangling chains do not tangle with other pieces.
- The same loop-and-coil headpin technique scales down easily into a matching pair of drop earrings if you want a full set.
Frequently Asked Questions
What can I use instead of crystal beads for this choker?
Any faceted glass or acrylic bead in the same size range works, so long as it has a hole wide enough for 18 gauge wire and headpins. Matte or opaque beads will mute the sparkle a little, but the construction stays exactly the same.
How long does it take to make a beaded choker necklace?
Plan on about 60 to 90 minutes total. Most of that time goes into making the beaded headpin charms one at a time, so the more charms your design uses, the longer it takes.
How do I adjust the choker to fit my neck size?
Measure your neck before cutting the base wire in step 4 and add 3 to 4 cm for ease. Once it is finished, the extra closure chain from step 5 lets you clasp the lobster claw at whichever link feels most comfortable, so the fit stays adjustable even after it is done.
Do I really need three different pliers to make this?
Yes, each one does a different job: cutting pliers trim the wire, looping pliers shape the small headpin loops, and flat-nose pliers hold the wire steady while you coil it. Trying to substitute one for another makes the loops and coils noticeably harder to control.
Can I still wear this choker after Halloween is over?
Yes, that is actually why I chose an all-red design instead of a more overtly spooky one. Once October ends, it reads as a plain statement necklace you can pair with a black dress or any solid-color top.
More Jewelry Making Tutorials
Share your beaded choker necklace in the I Made It space inside Craftaholic Community. The most-loved post each month wins a one year free Premium membership.
0 Comments
Join the conversation
Log in to your Craftaholic Community account to comment, ask questions, and cheer on fellow makers.
Log in to comment