


A friend of mine came home from a trip to Cox’s Bazar, the longest natural beach in the world, with a pocketful of cowrie shells and one goal: turn them into a necklace his wife could actually wear. Wire-wrap each shell, string it onto a beaded chain, and finish with a clasp, and you get a seashell necklace with a relaxed, beachy look that pairs just as easily with a sundress as a plain white tee.
I designed this pattern simple enough for a first-timer to follow start to finish, which is exactly what my friend did, with a little guidance from me along the way (he’s the one who made the green necklace pictured throughout this post). The whole project comes down to two repeated skills: wrapping a shell in wire and coiling a small wire loop, so once you’ve got the first shell wrapped, the rest goes faster. Budget about an hour to an hour and a half if you’re wrapping three or four shells, and the total cost stays under $5 if you’re working with shells you’ve already collected.
This project lives in our full jewelry making tutorials library, and once you’ve got the wire-looping technique down, our necklace and pendant collection has plenty more to try next.
Seashell Necklace at a Glance
- Difficulty: Beginner
- Time: 60 to 90 minutes
- Cost: Under $5 if you’re using shells you’ve already collected
- Ages: 10+, with adult help for the wire-looping steps
- Best for: Beach vacation keepsakes, summer accessories, or a handmade gift for a shell collector

What You Need to Make a Seashell Necklace
Materials
- Jewelry wire, 22 or 24 gauge, the base wire for the necklace band and for wrapping each shell
- Beading wire, thin and flexible enough to wrap tightly around a shell without kinking
- Round beads, 1 cm and 0.5 cm; mixing the two sizes keeps the beaded sections from looking like one repeating pattern
- A cowrie shell or two with a natural hole already through it, the fastest starting point if you don’t want to drill your own hole (see the FAQ below for how)
- Lobster claw closure, sturdy enough to hold the extra weight of the shells and beads
- End pins or clips to finish off the loops at each end of the base wire
- Jump rings, to connect the clasp to the necklace base (learn how to make your own if you don’t have any on hand)
Tools
- Craft pliers (looping, cutting, and flat-nose), one set handles every wire task in this project, from cutting to shaping loops

Heads up: some of the supply links above are affiliate links. If you buy through them, Craftaholic Witch may earn a small commission at no extra cost to you. We only link supplies we would actually use ourselves.
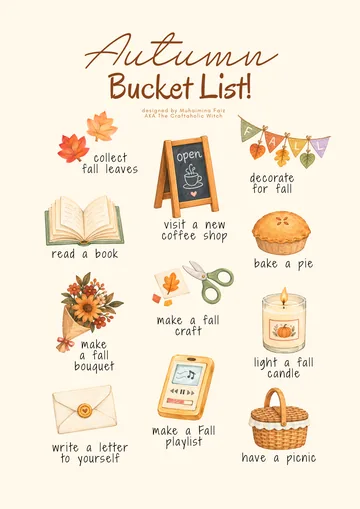





Free Autumn Bucket List + Printable Journal Pack
Everything you need for a cozy autumn, ready to print at home. Join the community for free and download it in one click.
- 13-page printable PDF
- 18 stickers and 6 bookmarks
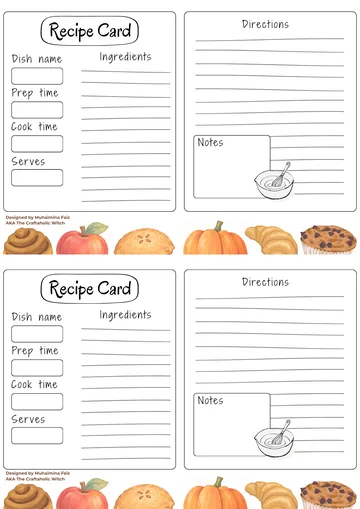
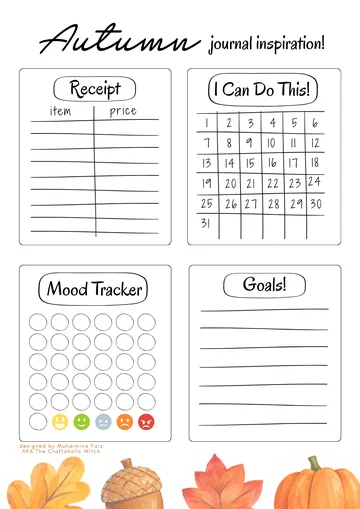
- Journal pages and recipe cards
- Phone and computer wallpapers
Watch How to Make a Seashell Necklace
This video walks through wiring each shell, beading the necklace base, and finishing the clasp, in case following along with the photos and text alone isn’t enough.
Step-by-Step Instructions
Step 1: Start the Necklace Base With a Wire Loop

Without cutting the wire free from the spool, hold the open end and bend it into a small loop, leaving about 2 cm of wire past the loop to work with.
Wrap that 2 cm tail tightly around the main wire band just below the loop to lock it in place. This is the same wire-looping and coiling move used for making earring hooks, so if the loop feels awkward at first, that tutorial breaks the motion down further. One end of your necklace base is now secured. Measure out enough wire for the full necklace plus a second loop at the far end, then cut it free from the spool.
Step 2: Thread the Beading Wire Through the Shell

Cut a 3-inch length of beading wire and thread it through the hole in your cowrie shell, sliding the shell to the center of the wire. If your shell doesn’t already have a hole, a hand drill with a fine bit works, just go slowly so the shell doesn’t crack (see the FAQ below for more on that).
Pull the two open ends of the wire toward opposite sides of the shell so they’re ready to wrap around it in the next step.
Step 3: Wrap and Bead the Shell

Bring one strand of wire along the back of the shell and the other along the front, so the wire wraps once, vertically, around the whole shell.
Slide beads onto the wire and settle them into the shell’s natural opening (the aperture) so they sit snug against the wrapped wire instead of floating loose.
Step 4: Twist the Wire and Loop It Off

Bring both wire ends back together at the point where you started wrapping, and twist them tightly against each other.
Use your pliers to bend the twisted wire into a small loop right next to the shell, the same loop-and-coil move from Step 1.
Step 5: Coil the Loop Closed and Repeat

Wrap the leftover wire tightly around the base of the loop to secure it, then trim any excess.
Repeat Steps 2 through 5 for two or three more shells, or as many as you want hanging on the finished necklace.
Step 6: Wire a Plain Shell (No Beads This Time)

For a plainer accent shell, thread a beading wire strand through its hole or aperture gap.
Instead of wrapping it around the shell like before, just hold both open ends together and twist them into one tightly twisted strand.
Step 7: Loop and Coil the Plain Shell’s Wire

Use your looping pliers to bend the twisted wire into a small loop right next to the shell, then coil any remaining wire tightly below that loop to secure it, the same finishing move you used on the decorative shells.
Step 8: Start Beading the Necklace Base

Choose whatever mix of bead sizes and colors you like, and start threading them onto the main necklace base wire from Step 1.
Keep checking the base against your body as you go, so you know how much length you have left for the wired shells.
Step 9: Arrange the Shells Into the Beaded Pattern

Slide your wired shells onto the base wire wherever you want them in the pattern, spacing them however looks best to you against the beads.
Leave at least 3 cm of bare wire at the open end so you have enough to work with for the closure.
Step 10: Loop Both Ends and Attach the Clasp

With the remaining wire, bend a small loop right next to the last bead and coil the leftover wire below it to secure the end, the same loop-and-coil move from Step 1.
Attach a lobster claw closure to a jump ring on one end’s loop, and a plain jump ring to the loop on the other end.
Step 11: Try It On and Check the Fit

Put the necklace on and check that the length feels right and the clasp opens and closes smoothly. If both check out, your seashell necklace is finished.
Share it in "I Made It" and let us cheer you on.
Post your finished make in "I Made It" so the community can celebrate it with you. Cheer on other makers too. Each month, the most loved craft wins 1 year of Craftaholic Premium ($59)
Tips for Your Seashell Necklace
- Swap the cowrie shells for sea glass, small charms, or other found beach materials if you want a different look using the same wire-wrapping technique.
- Store the finished necklace flat or hanging rather than balled up in a drawer, so the wire loops keep their shape.
- If you’re making a few as gifts, wire-wrap several shells in one sitting since the technique is identical for every shell.
Frequently Asked Questions
Can I make this necklace if my shells don’t already have a hole?
Yes, you can drill your own hole with a hand drill and a fine bit, going slowly so the shell doesn’t crack under pressure. Cowrie shells with a natural opening are the easiest starting point if you’re new to this, since you can skip the drilling step entirely. Either way, thread the beading wire through the hole exactly as described in Step 2.
What can I use instead of beading wire?
Thin, bendable jewelry wire works if that’s what you have on hand, though a soft cord or thread is lighter and easier to knot for beginners. Keep in mind the finished necklace gets heavy once the shells and beads are on, so whatever you choose needs to hold that weight without stretching or snapping.
How long does a seashell necklace like this take to make?
Budget about 60 to 90 minutes if you’re wrapping three or four shells and beading a full-length base. Most of that time goes into the repeated wire-looping on each shell, and it goes faster on your second or third shell once the loop-and-coil motion feels familiar.
Why does my wire loop keep coming undone?
This almost always means the coil below the loop isn’t wrapped tightly enough, or you’re leaving too little wire to coil with. Aim for at least 1 to 2 cm of wire below each loop, and wrap it around the base wire firmly, in one direction, instead of loosely crossing back and forth.
Can I wear a seashell necklace in water or the shower?
It’s best to take it off first. Jewelry wire can tarnish with repeated water exposure, and the shells themselves can lose their shine faster if they’re constantly wet. Store it somewhere dry between wears and it’ll hold up for years.
More Jewelry Making Tutorials
Share your seashell necklace in the I Made It space inside Craftaholic Community. The most-loved post each month wins a one year free Premium membership.
Happy Crafting!
0 Comments
Join the conversation
Log in to your Craftaholic Community account to comment, ask questions, and cheer on fellow makers.
Log in to comment